
Well I've finished more than 6 and less than 12 knives. I'm still wet behind the ears for sure when it comes to knife making. I thought I would share my first build along.
I had a talented knifemaker that recommend me the bubble jig. I can't say enough about how well this tool has improved my grinds.
I'll tell you about what I have to work with. My grinder is a Grizzly 2 x 72, I have a 9x12x3 granite block, set of 1-2-3 blocks, 6" grizzly height gauge( money well spent), several squares, scribe, tabletop drill press, drill press vice (money well spent), bubble jig (money well spent), an assortment of files, and for belts, I've been using blaze 36, 60, 80, and 120, and some jflex belts for contours and handle work. All of this is in my basement being lit by one 100 watt lightbulb in the tin reflector that's mounted on a spring clamp. I need more light, but have just been moving this one around and it sort of works for now. My grizzly I welded a removable tool rest that bolts on under the flat platen and is angle adjustable. It's a lot "better" than the one that came with it. It is still a long ways away from being a great grinder. At this point it still has more potential than I have knife making skills.
I have a long piece of 1/8"x 1" x48" piece of 1095. I figured I'd practice my grinds on a small classic drop point hunter. This blade is a tad bit over 7" long overall.
Here is a pic of pattern scribbled out i created.

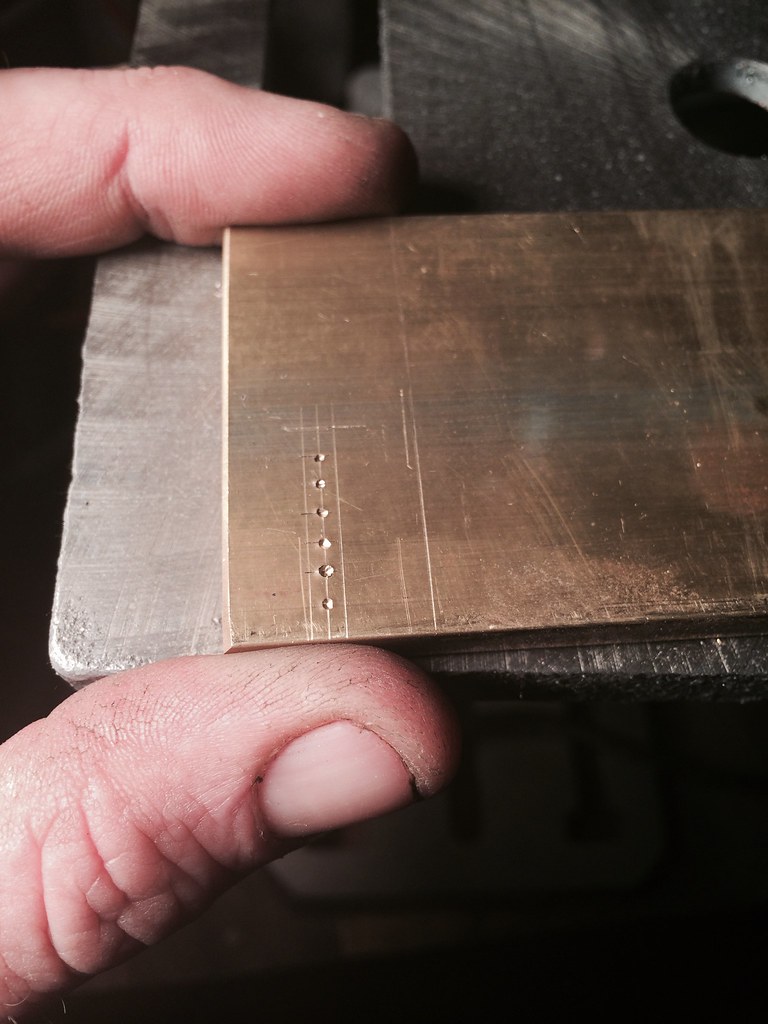
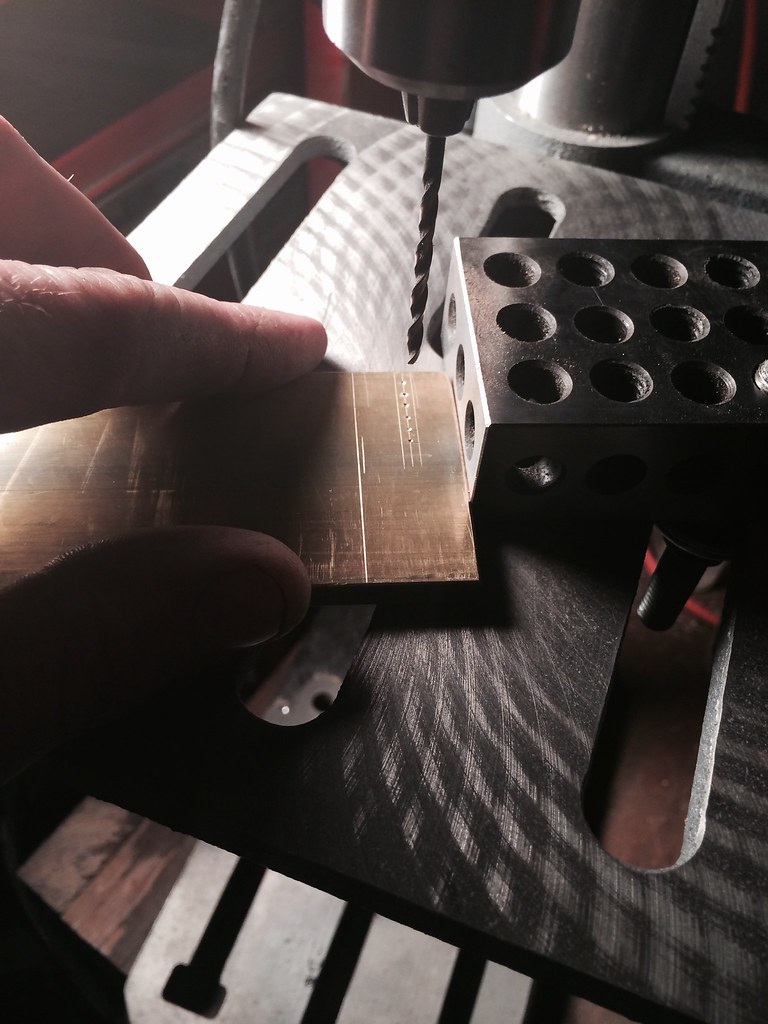
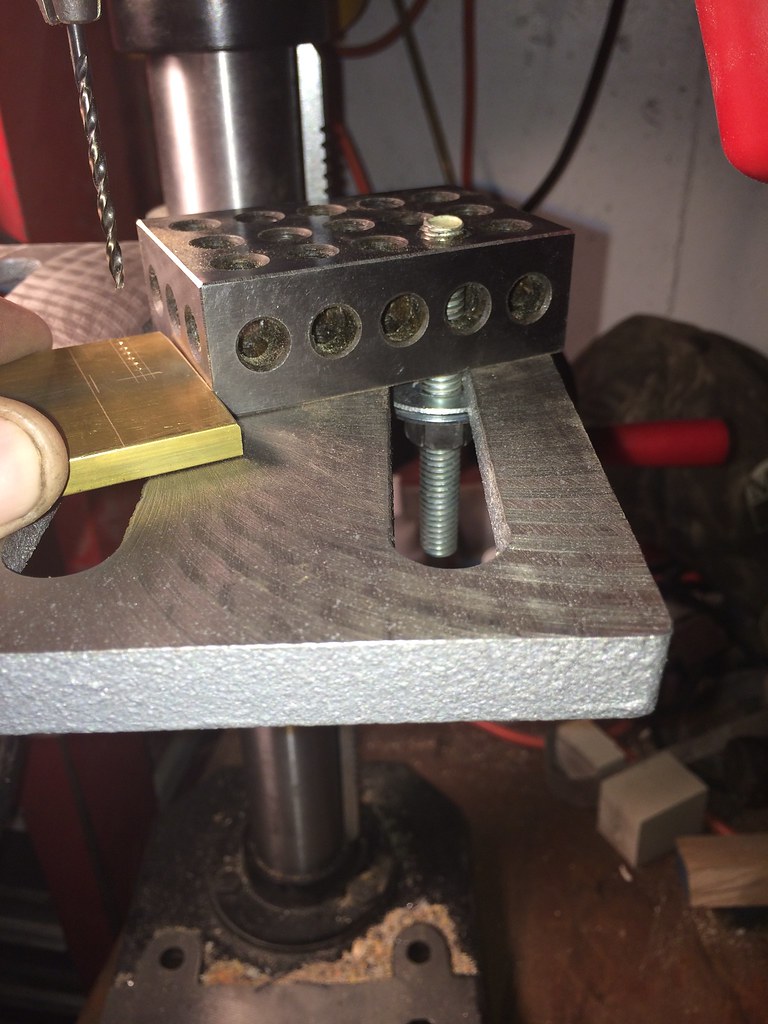
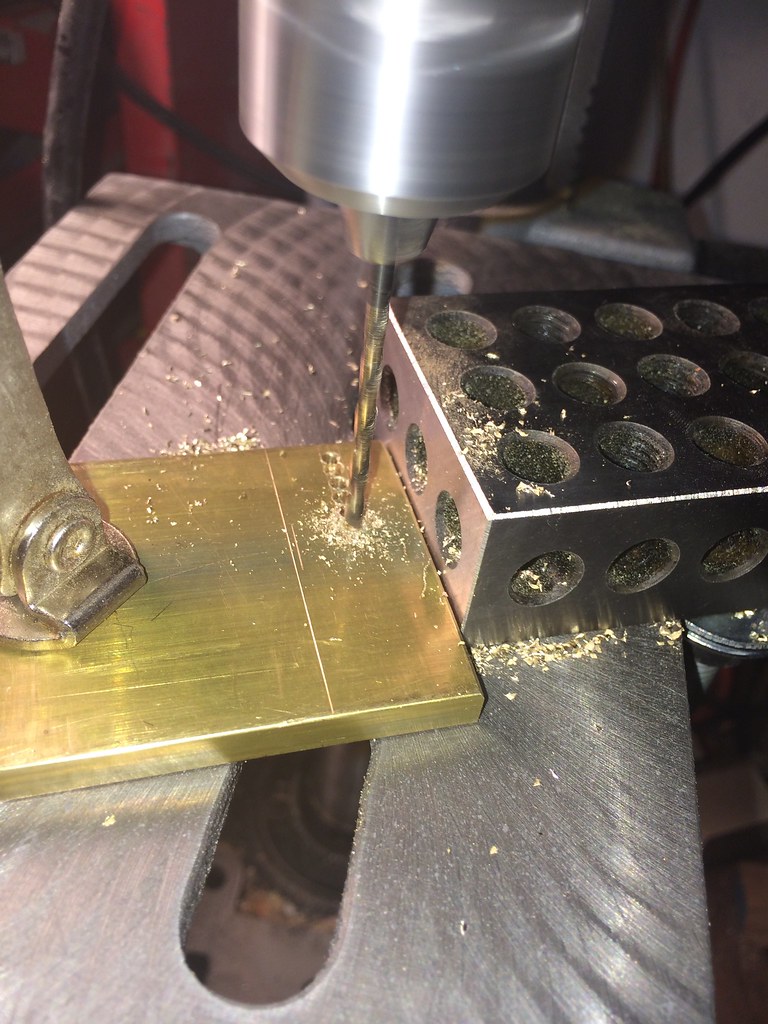
Here is my blank I cut out with a hacksaw, and profiled with a blaze 36 grit belt, a Dremel for the finger choil, and drilled holes for Loveless style hardware. I used a chainsaw file and my drill press vice to make the small half sphere where the edge stops at the plunge line. I clamped the blank to my 1-2-3 block vertical, used my square to get it close to perpendicular to my granite surface plate, then used my height gauge to mark my plunge line, then also used it to mark where my 1/4" thick brass finger guard will go. I also traced this pattern onto paper before started grinding the edge, in case I liked the completed knife, and want to make another in the future.

On this thin 1/8" blade I started with 60 grit, and stepped up to 80, and then 120 when I got to close for comfort to my desired grind lines I marked. I'm pretty well pleased with these grind lines. They are not as well as I'd like them to be, but still something for a newb to improve on.

Now I need to heat treat this. I have a knife maker about 2 1/2 hours away, that I've used his kiln in the past, I've also hardened a couple smaller 1095 blades with my oxygen/acetylene torch and ATF. It's not the way I want to do it, but poor folks have poor ways. I think I'll acquire an electric heat treat oven in the next couple months one way or another. So this WIP may take a while. Also am waiting for my 1/4" thick brass to get here, I just ordered it.
I'm all ears and appreciate any criticisms or comments.
Thanks for looking.
I had a talented knifemaker that recommend me the bubble jig. I can't say enough about how well this tool has improved my grinds.
I'll tell you about what I have to work with. My grinder is a Grizzly 2 x 72, I have a 9x12x3 granite block, set of 1-2-3 blocks, 6" grizzly height gauge( money well spent), several squares, scribe, tabletop drill press, drill press vice (money well spent), bubble jig (money well spent), an assortment of files, and for belts, I've been using blaze 36, 60, 80, and 120, and some jflex belts for contours and handle work. All of this is in my basement being lit by one 100 watt lightbulb in the tin reflector that's mounted on a spring clamp. I need more light, but have just been moving this one around and it sort of works for now. My grizzly I welded a removable tool rest that bolts on under the flat platen and is angle adjustable. It's a lot "better" than the one that came with it. It is still a long ways away from being a great grinder. At this point it still has more potential than I have knife making skills.
I have a long piece of 1/8"x 1" x48" piece of 1095. I figured I'd practice my grinds on a small classic drop point hunter. This blade is a tad bit over 7" long overall.
Here is a pic of pattern scribbled out i created.
Here is my blank I cut out with a hacksaw, and profiled with a blaze 36 grit belt, a Dremel for the finger choil, and drilled holes for Loveless style hardware. I used a chainsaw file and my drill press vice to make the small half sphere where the edge stops at the plunge line. I clamped the blank to my 1-2-3 block vertical, used my square to get it close to perpendicular to my granite surface plate, then used my height gauge to mark my plunge line, then also used it to mark where my 1/4" thick brass finger guard will go. I also traced this pattern onto paper before started grinding the edge, in case I liked the completed knife, and want to make another in the future.
On this thin 1/8" blade I started with 60 grit, and stepped up to 80, and then 120 when I got to close for comfort to my desired grind lines I marked. I'm pretty well pleased with these grind lines. They are not as well as I'd like them to be, but still something for a newb to improve on.
Now I need to heat treat this. I have a knife maker about 2 1/2 hours away, that I've used his kiln in the past, I've also hardened a couple smaller 1095 blades with my oxygen/acetylene torch and ATF. It's not the way I want to do it, but poor folks have poor ways. I think I'll acquire an electric heat treat oven in the next couple months one way or another. So this WIP may take a while. Also am waiting for my 1/4" thick brass to get here, I just ordered it.
I'm all ears and appreciate any criticisms or comments.
Thanks for looking.
Last edited:


")


