2013 St. Jude Childrens Hospital Sub Hilt WIP

J S Machine

Well-Known Member
Hey folks. It's been a while since I have been a regular around here. My work schedule keeps me just far enough away from my knives to be able to do them as much as I'd like, so not much comes out of my shop. I do, however, try to reserve time for at least one a year. That knife is donated through another forum I'm a part of to benefit St. Jude Children's hospital. This is a cause that is very important to me, because these sick children need as much help as they can get.

This WIP will be for a Sub hilt style fighter. I did a WIP for last year's knife on the forum that this knife will be auctioned on, and it was a big hit. I already started a WIP thread there, and I figured here could possibly benefit anybody who might wonder about this style.

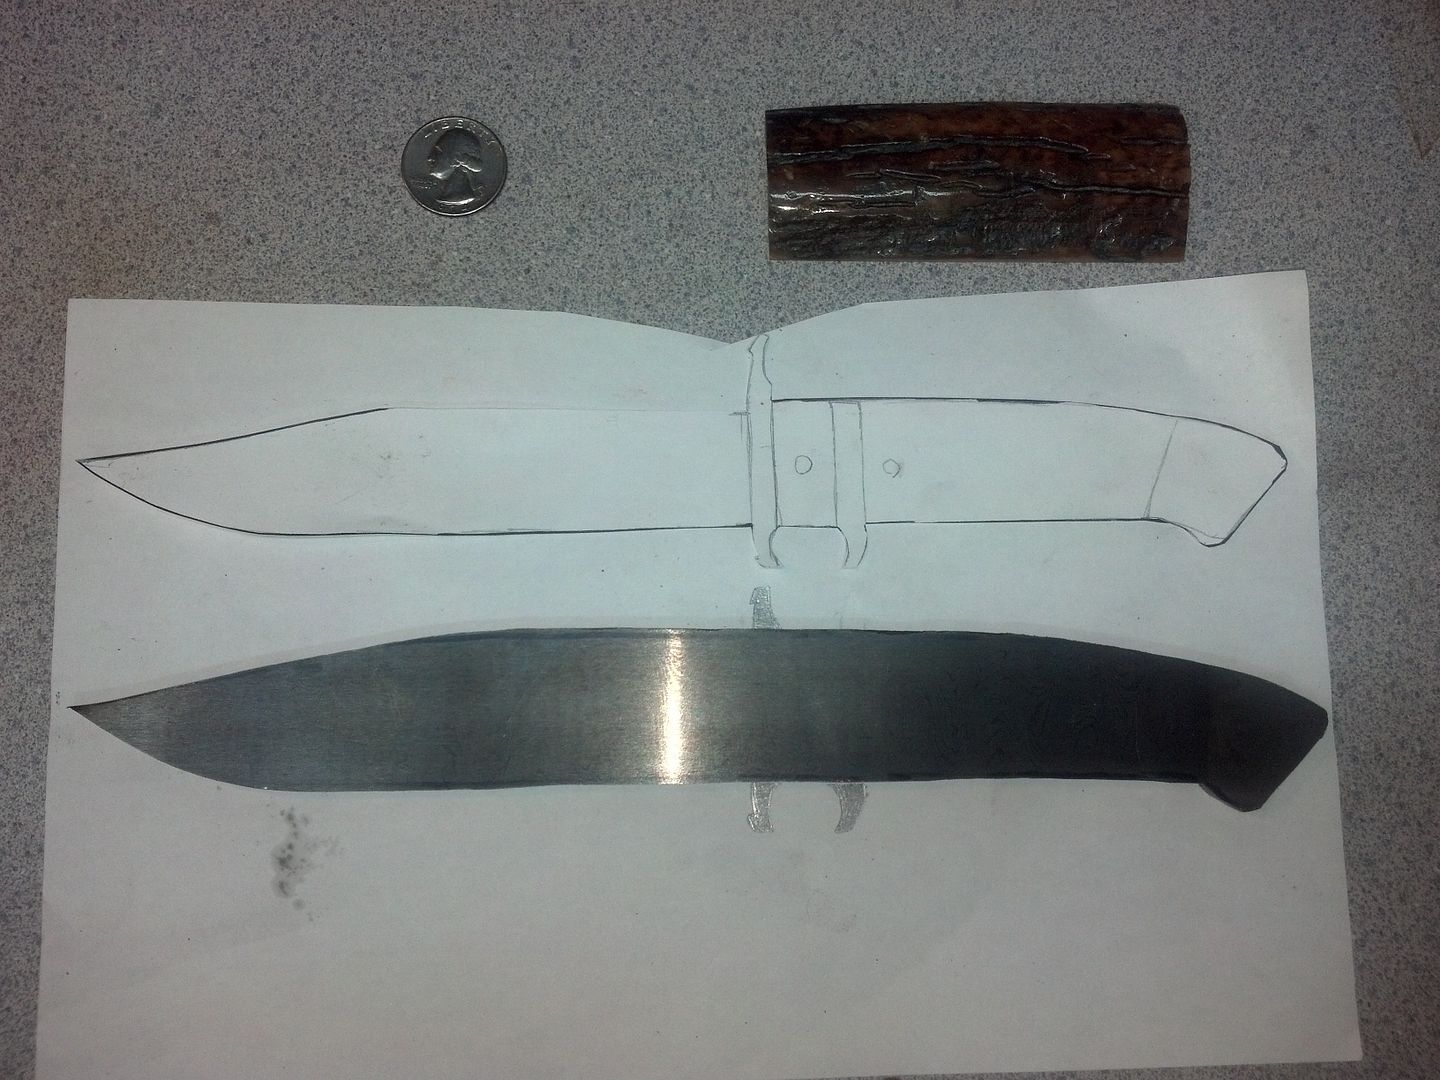
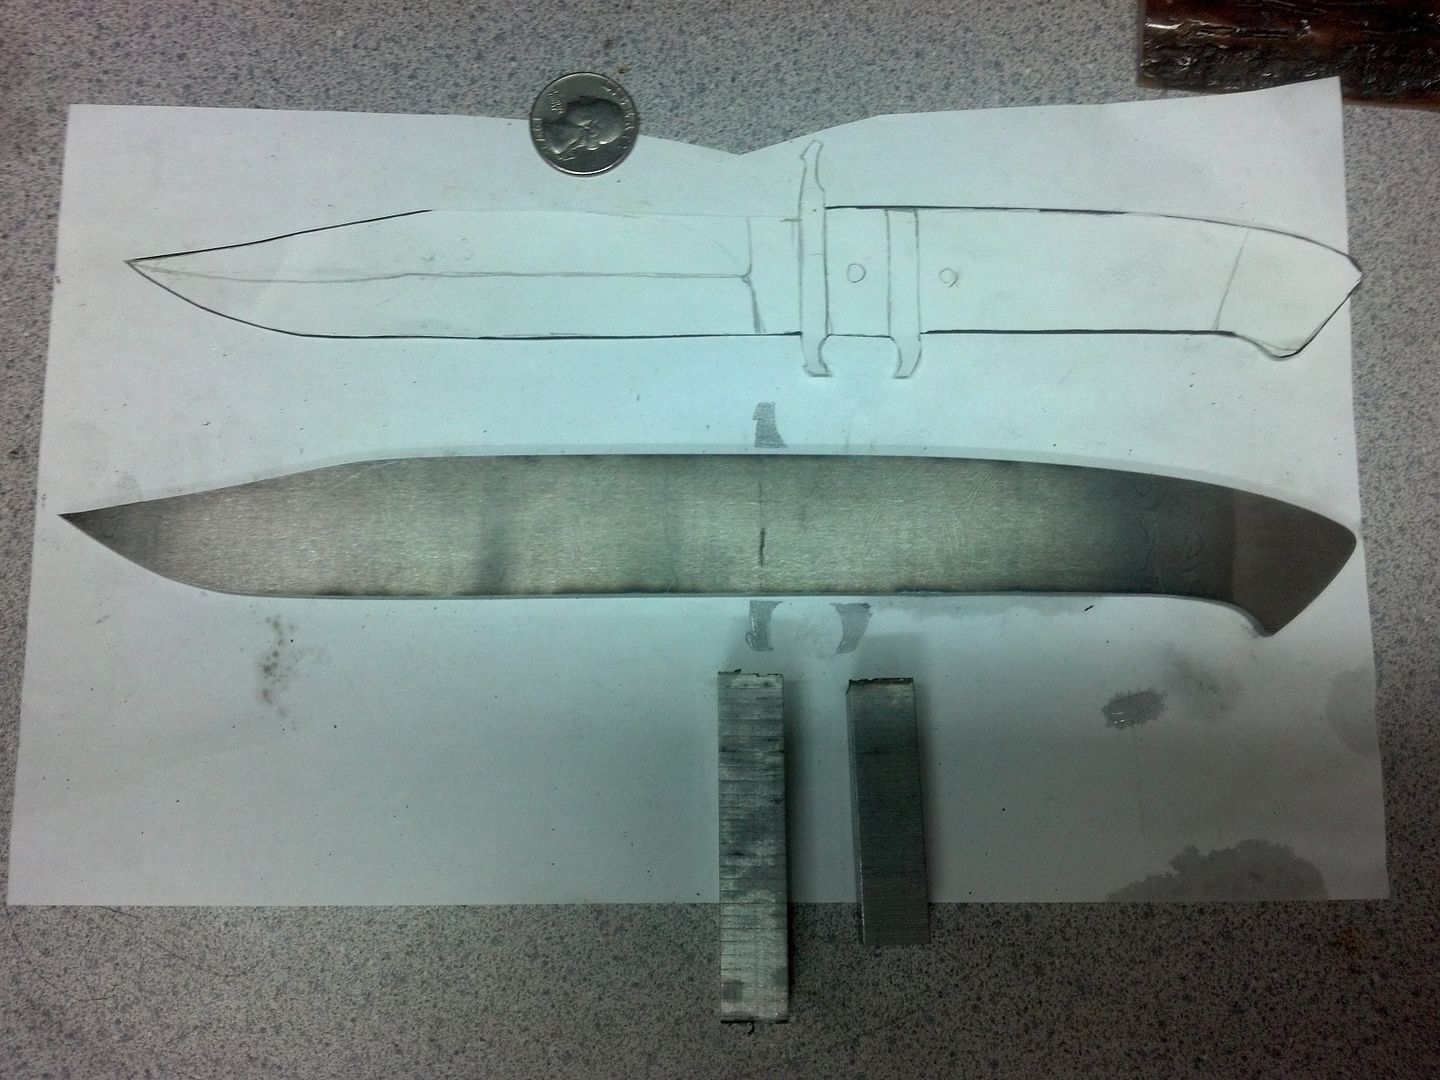
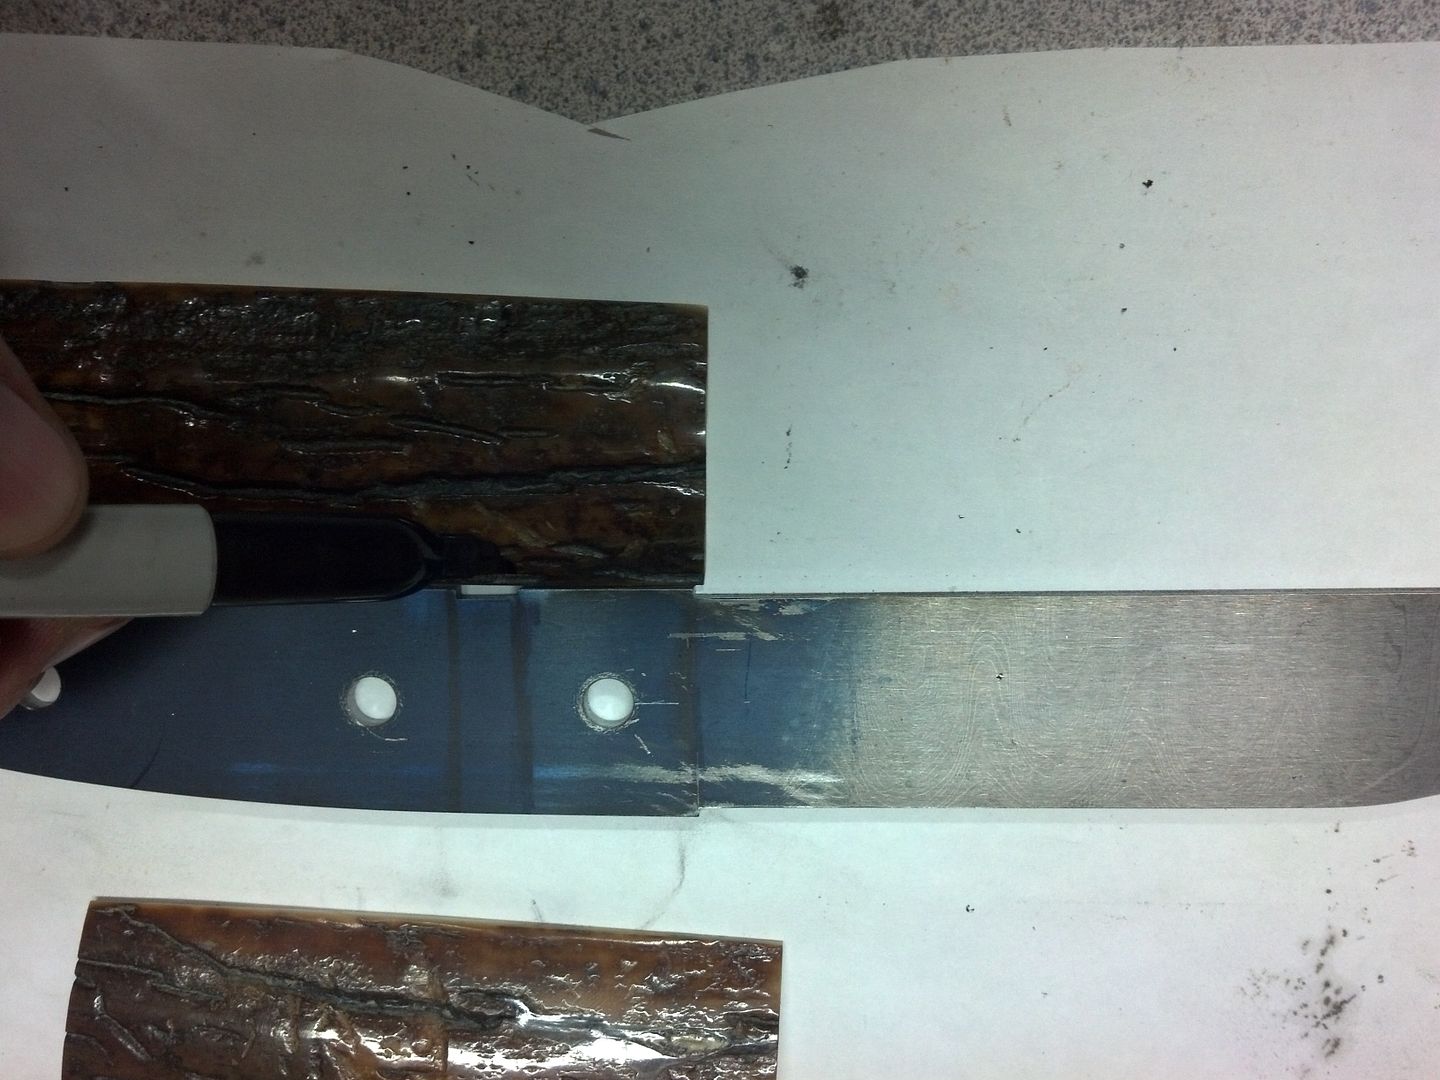
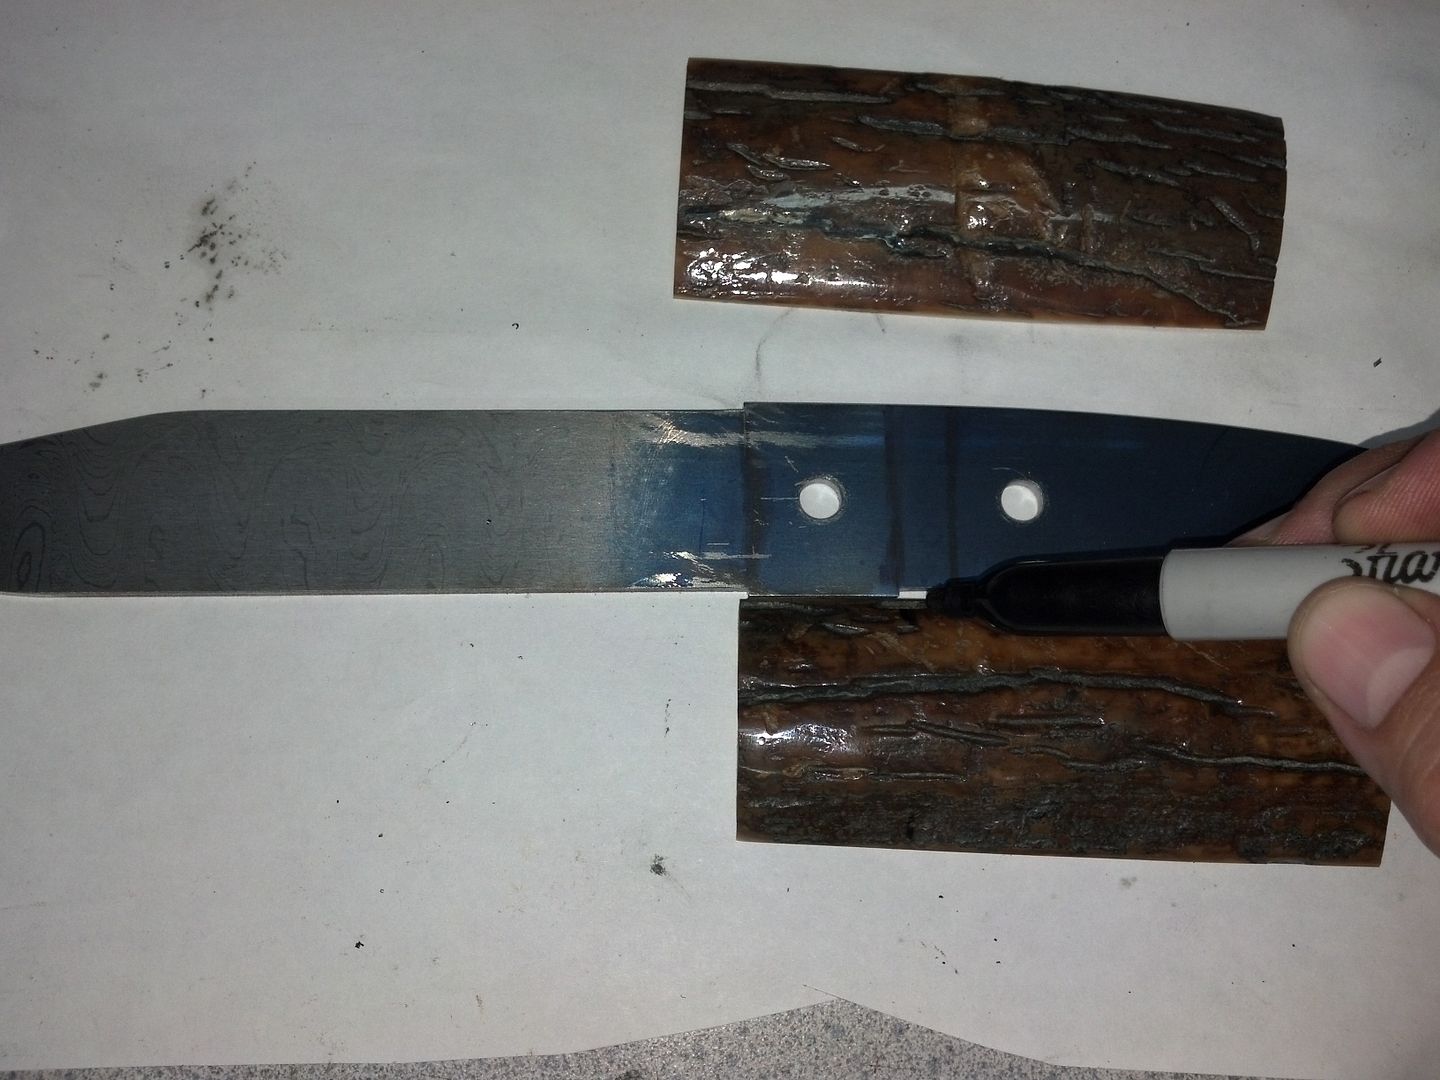
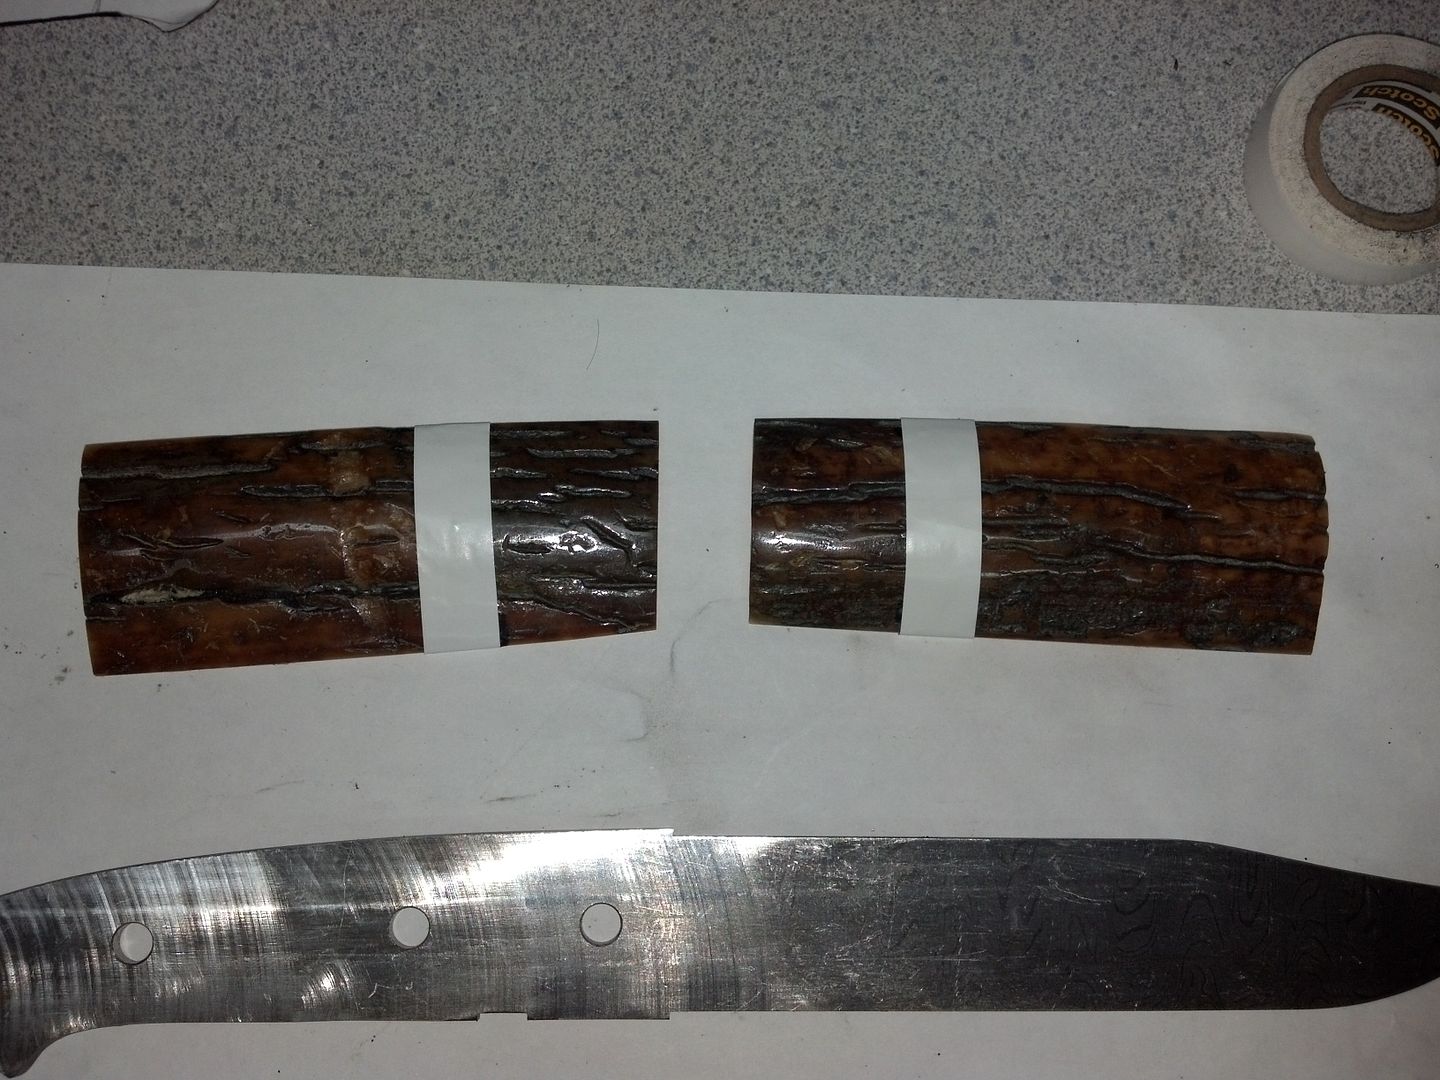
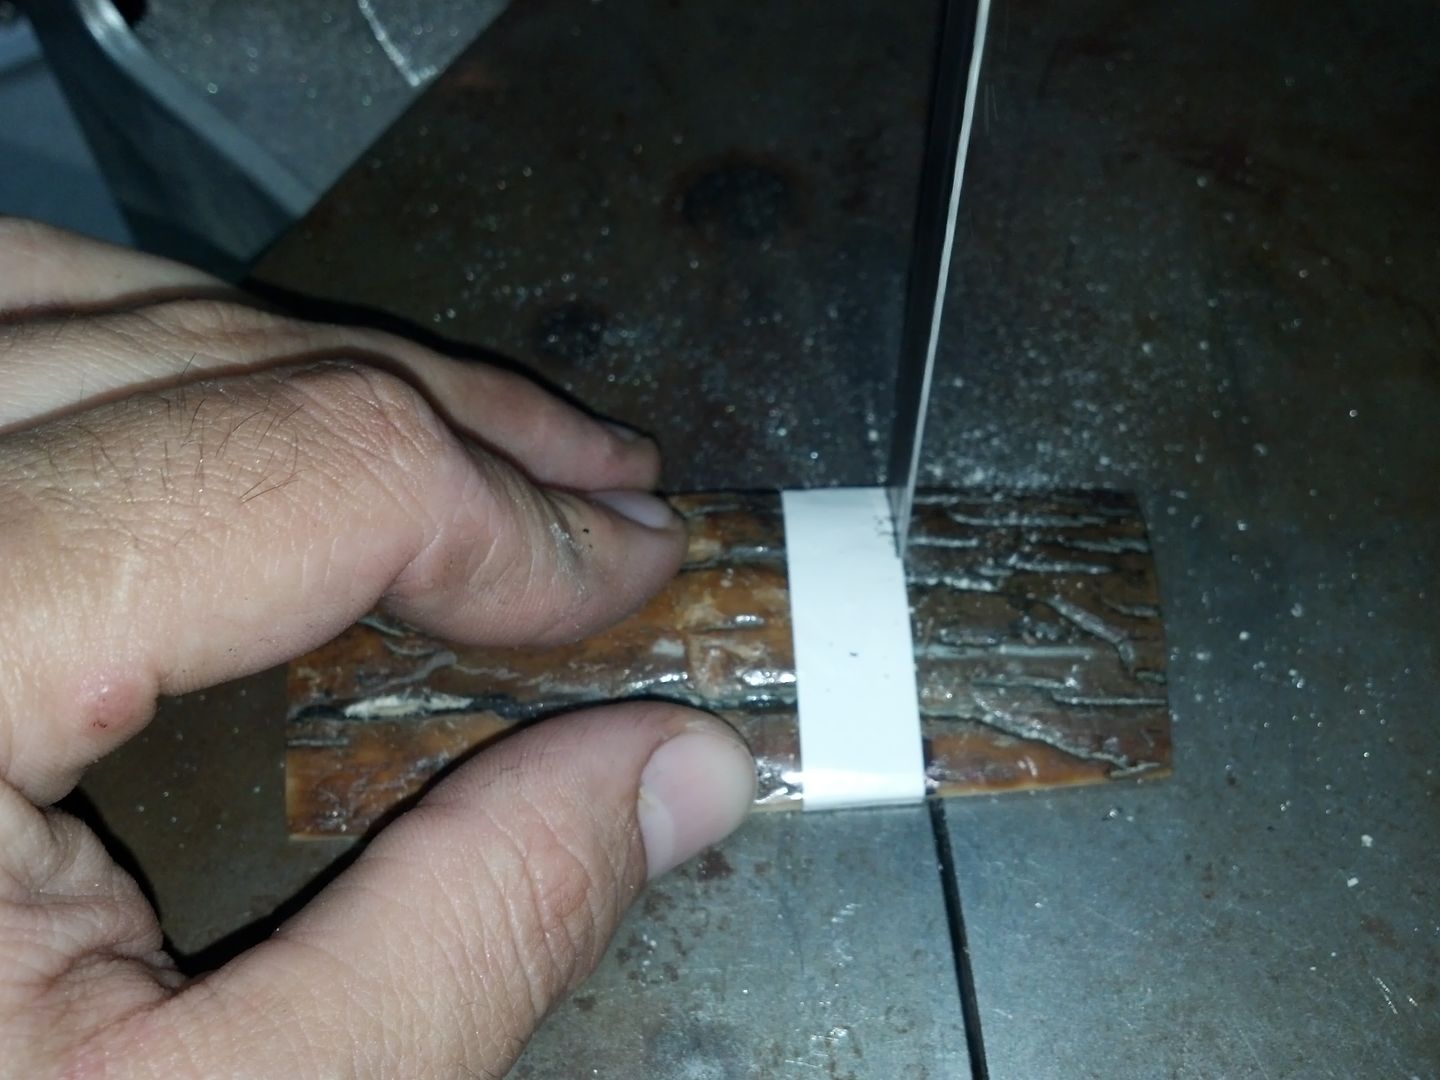
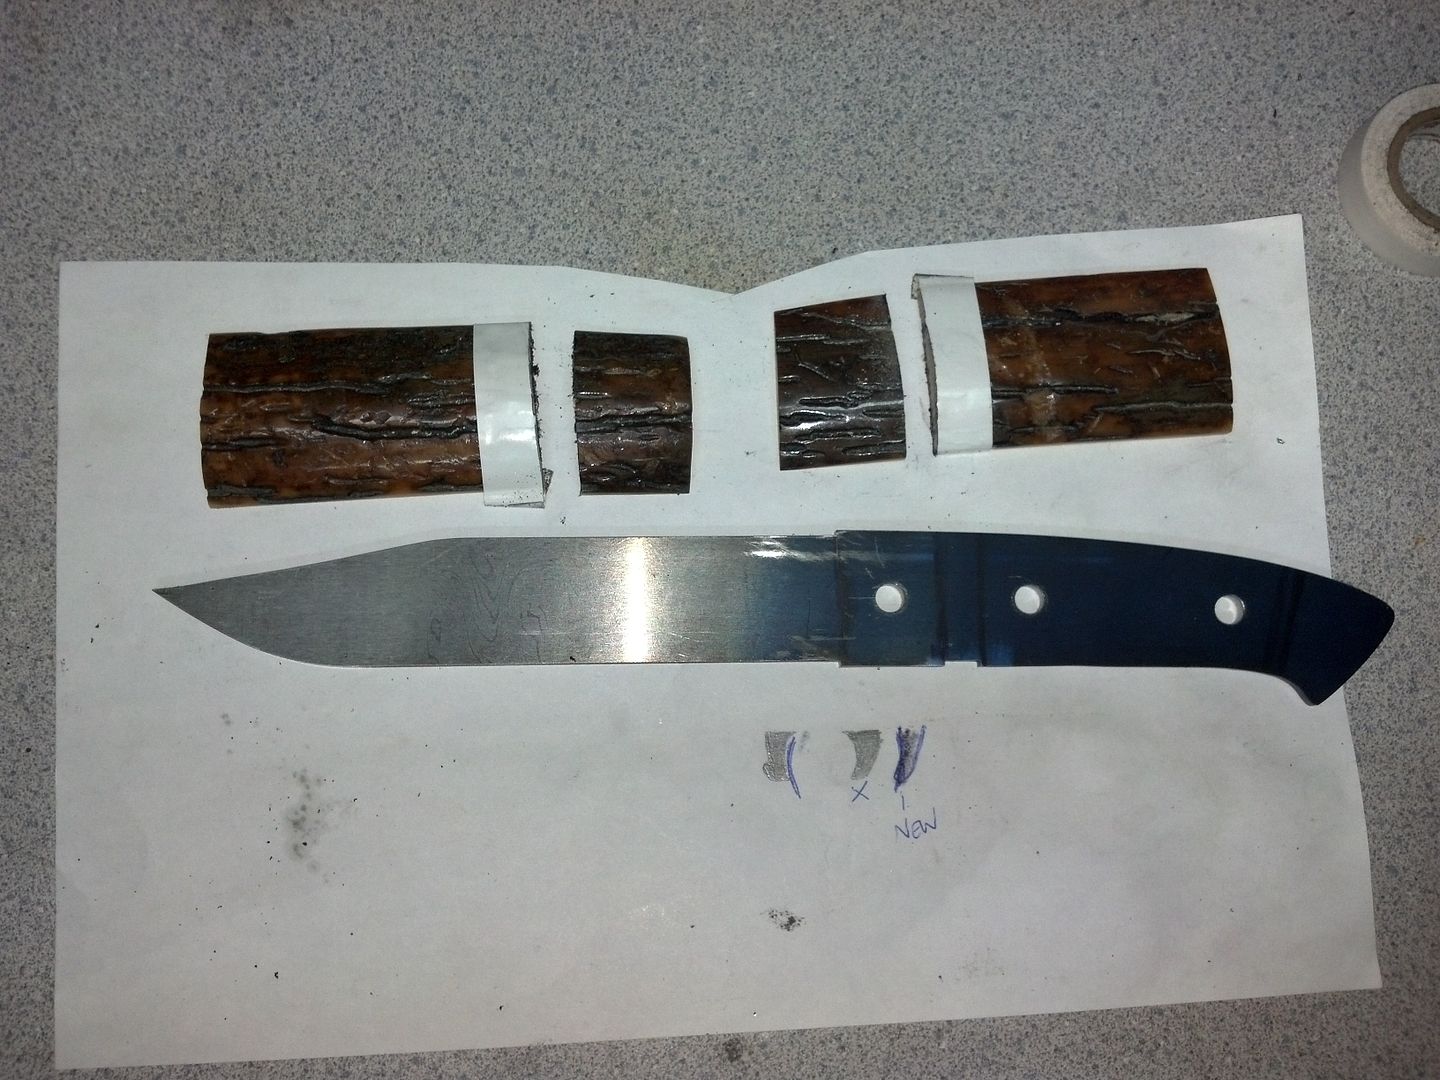
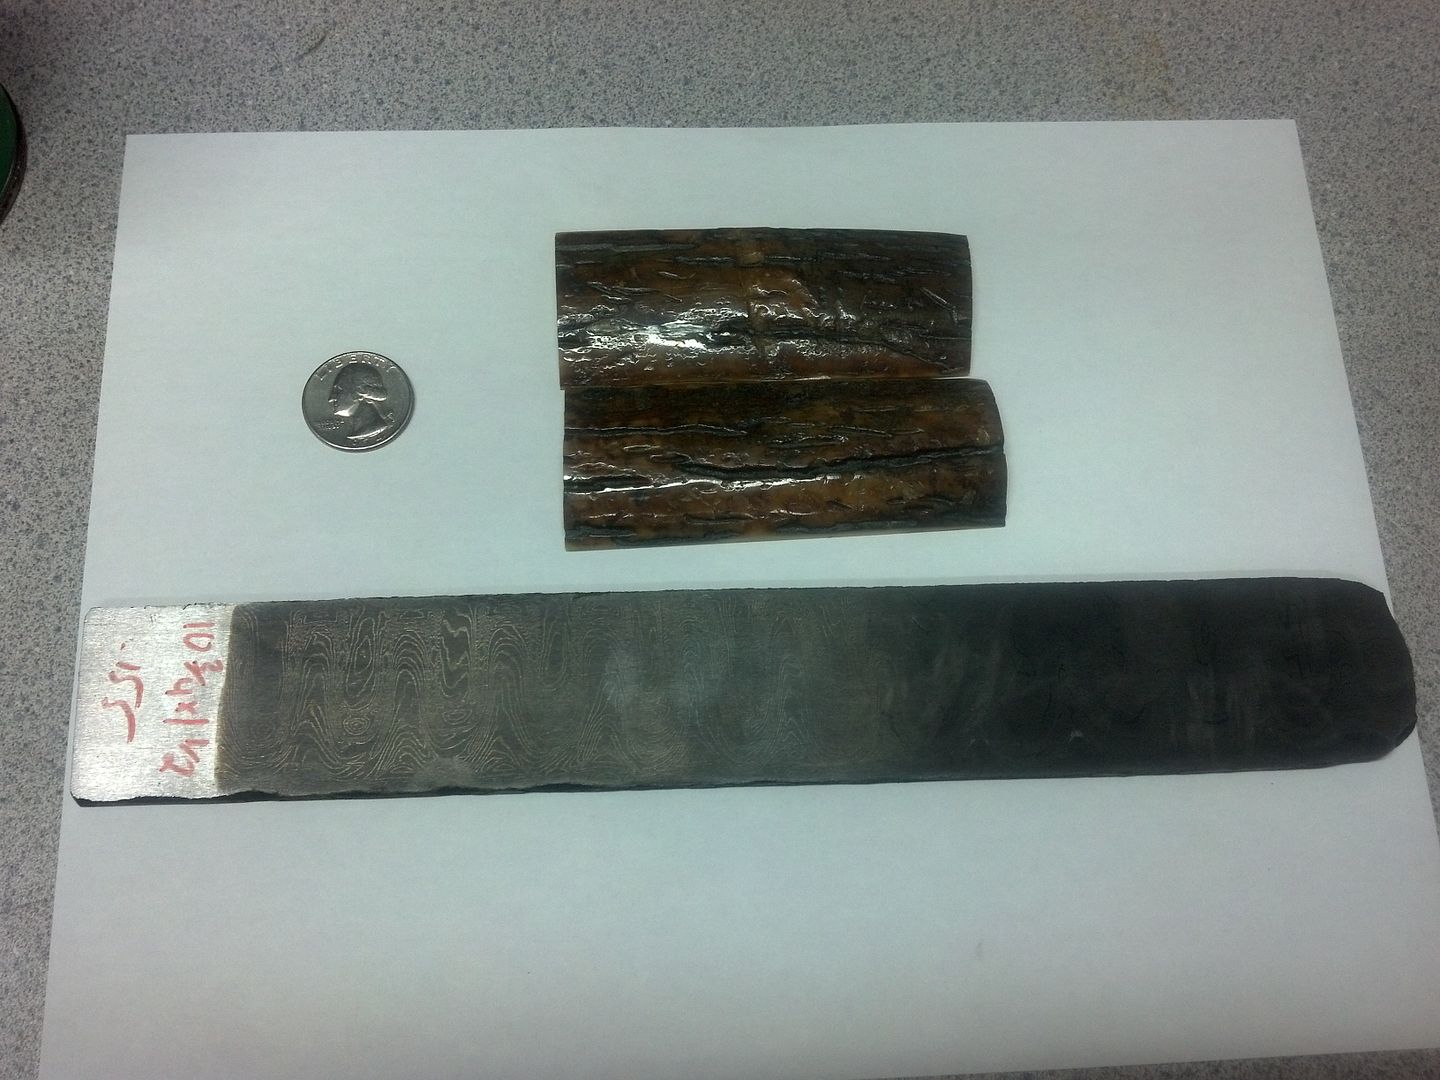
Randy Haas (HHH Knives) was the source for two of the materials for this knife. He provided to Tsunami pattern damascus bade blank, and also the fossil mammoth Ivory for the scales. I can do many things, but I don't forge my own steel or damascus. The reason is because I don't have the time or space to put in a power hammer or anvil and the neighbors would never put up with the noise...:(

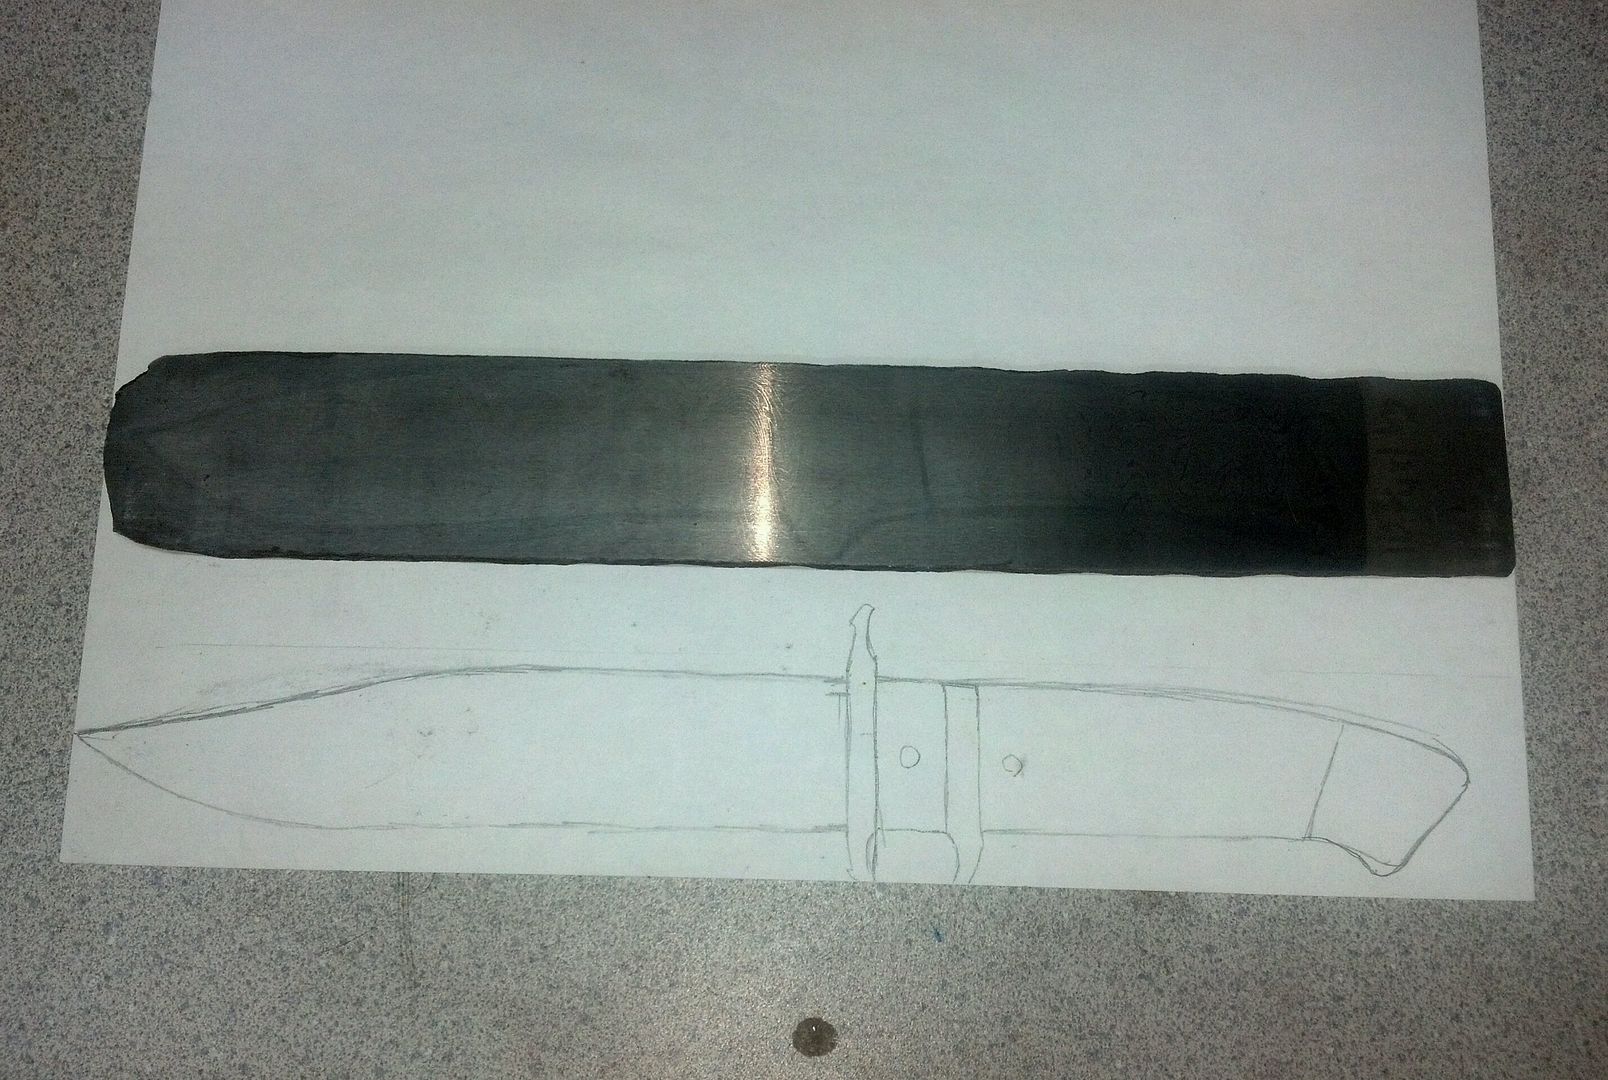
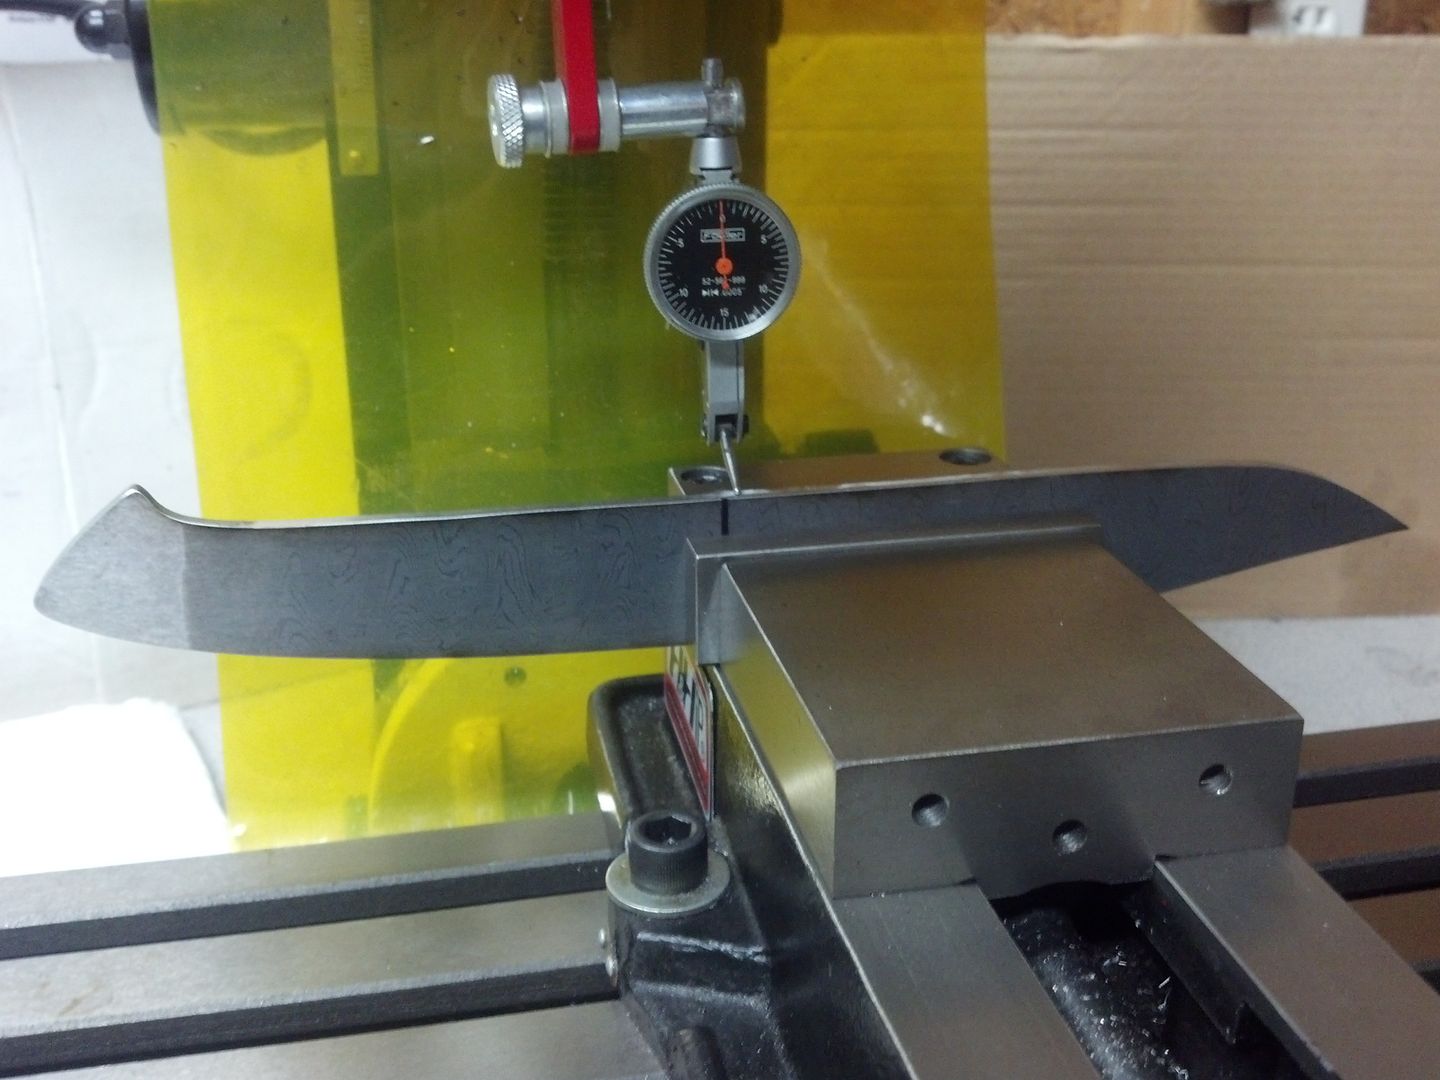
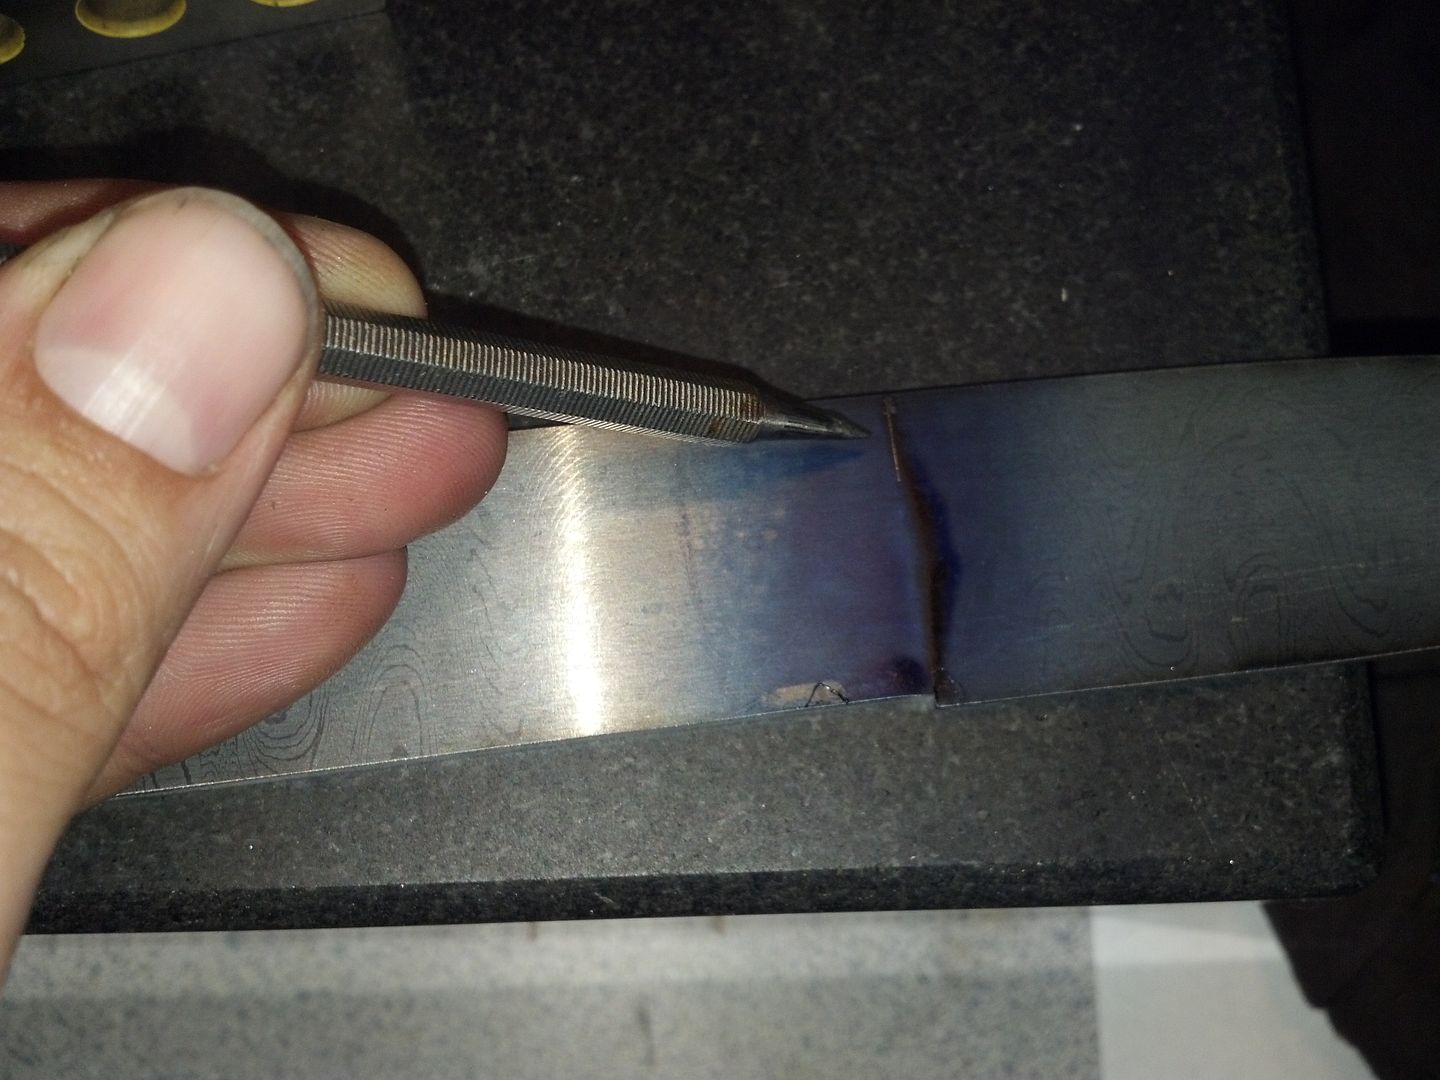
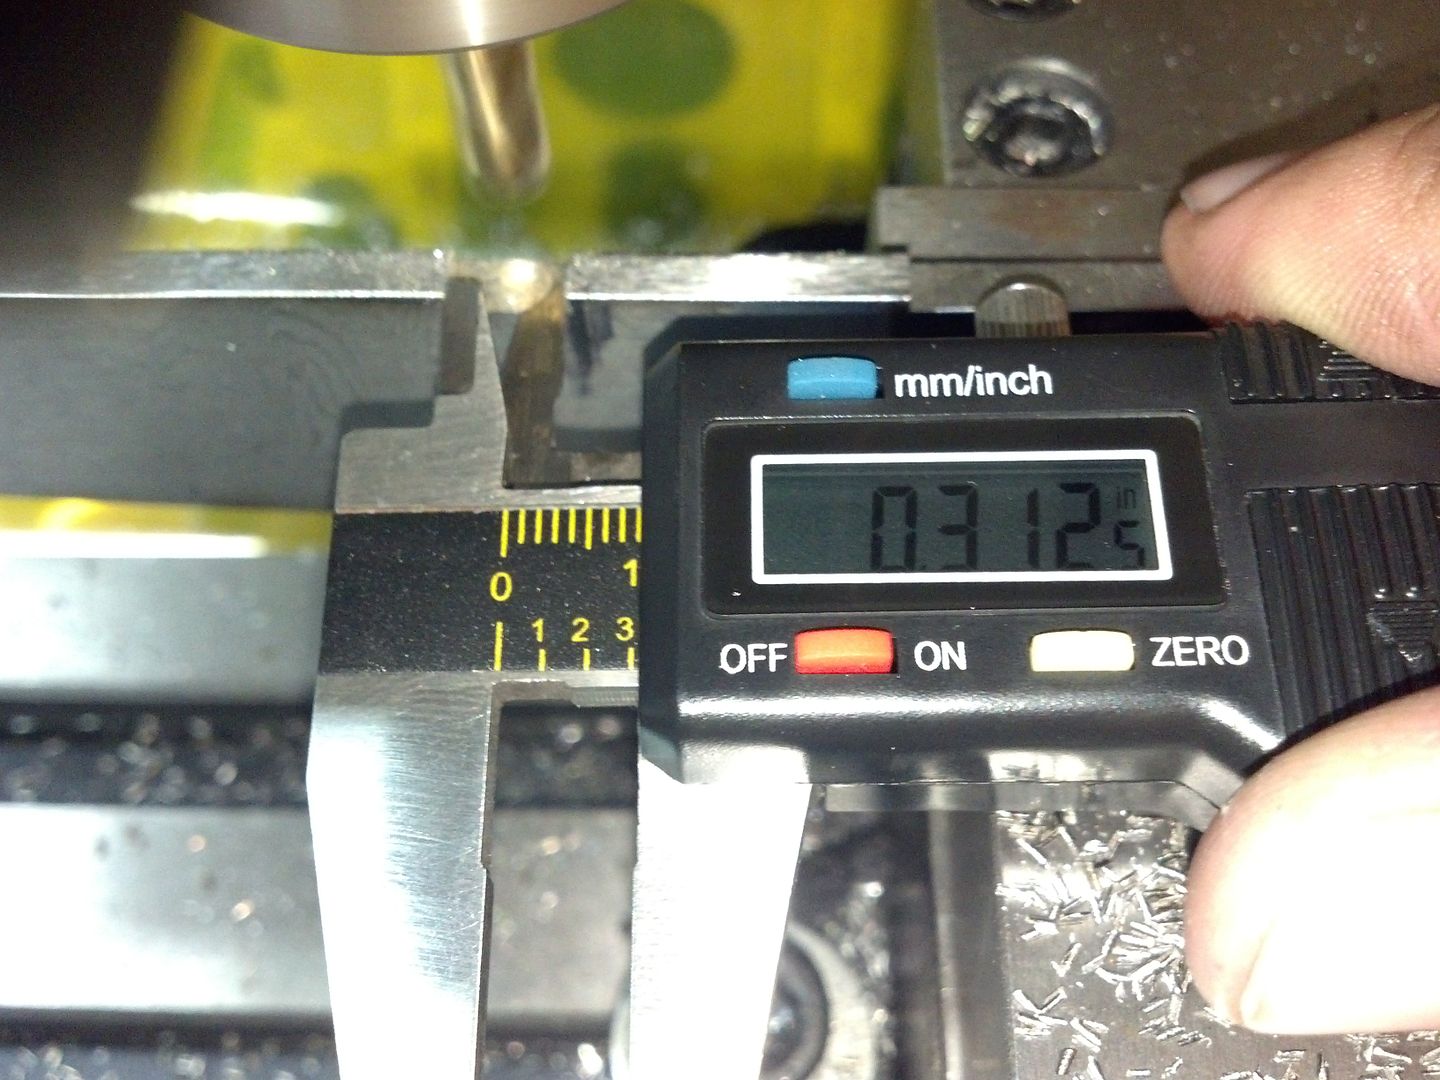
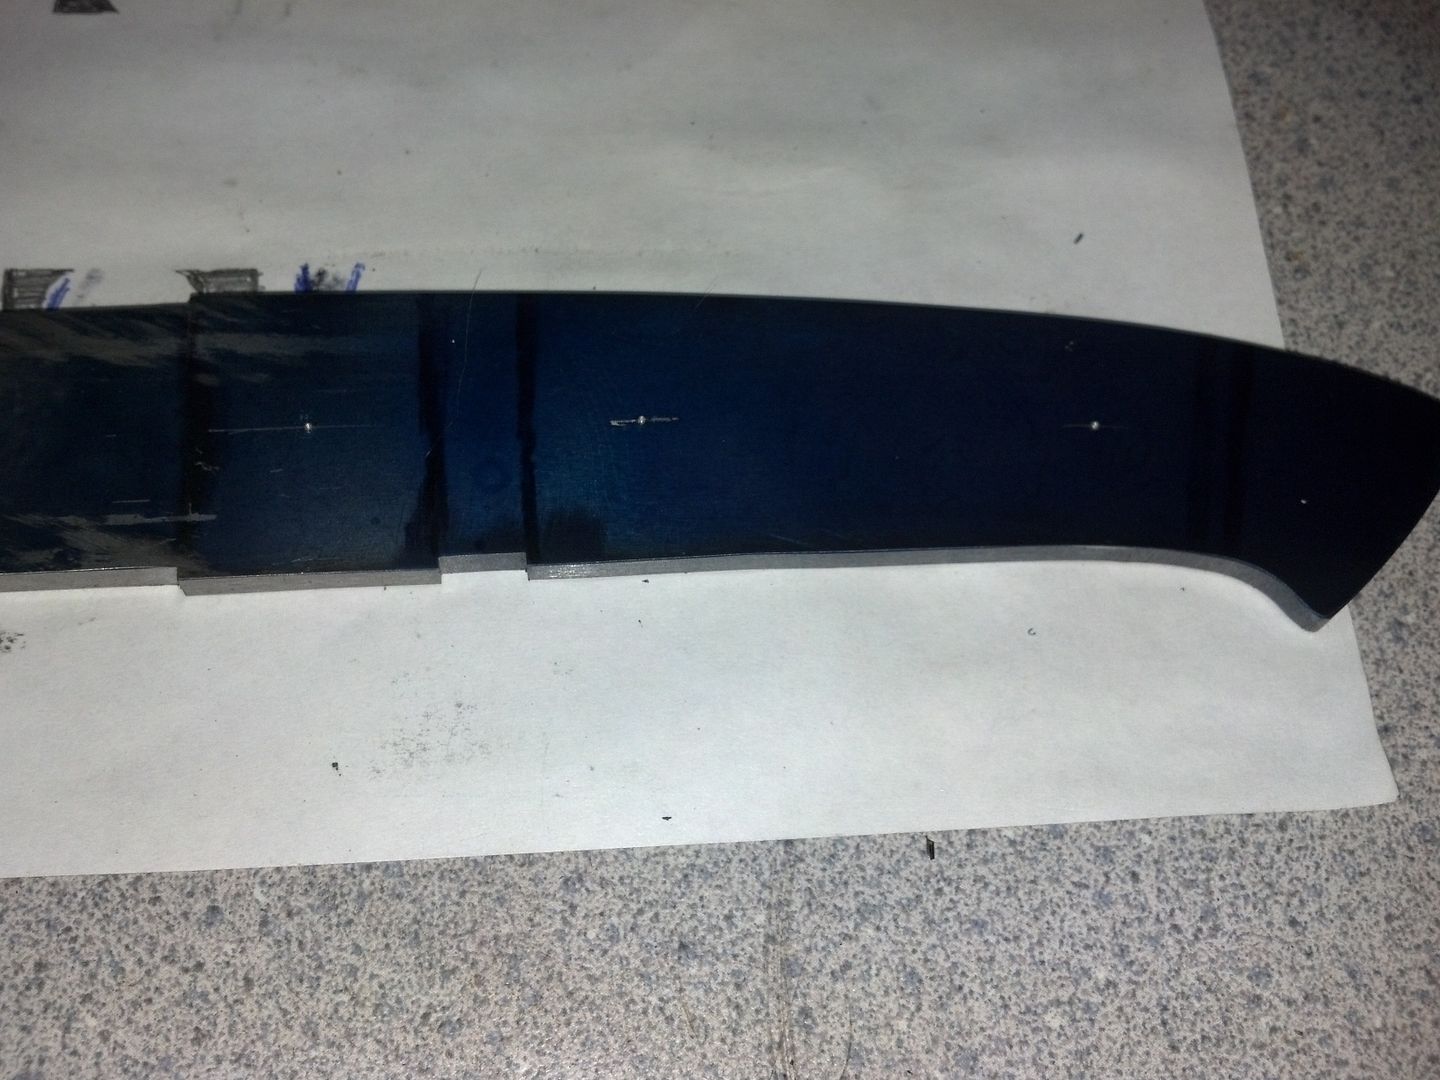
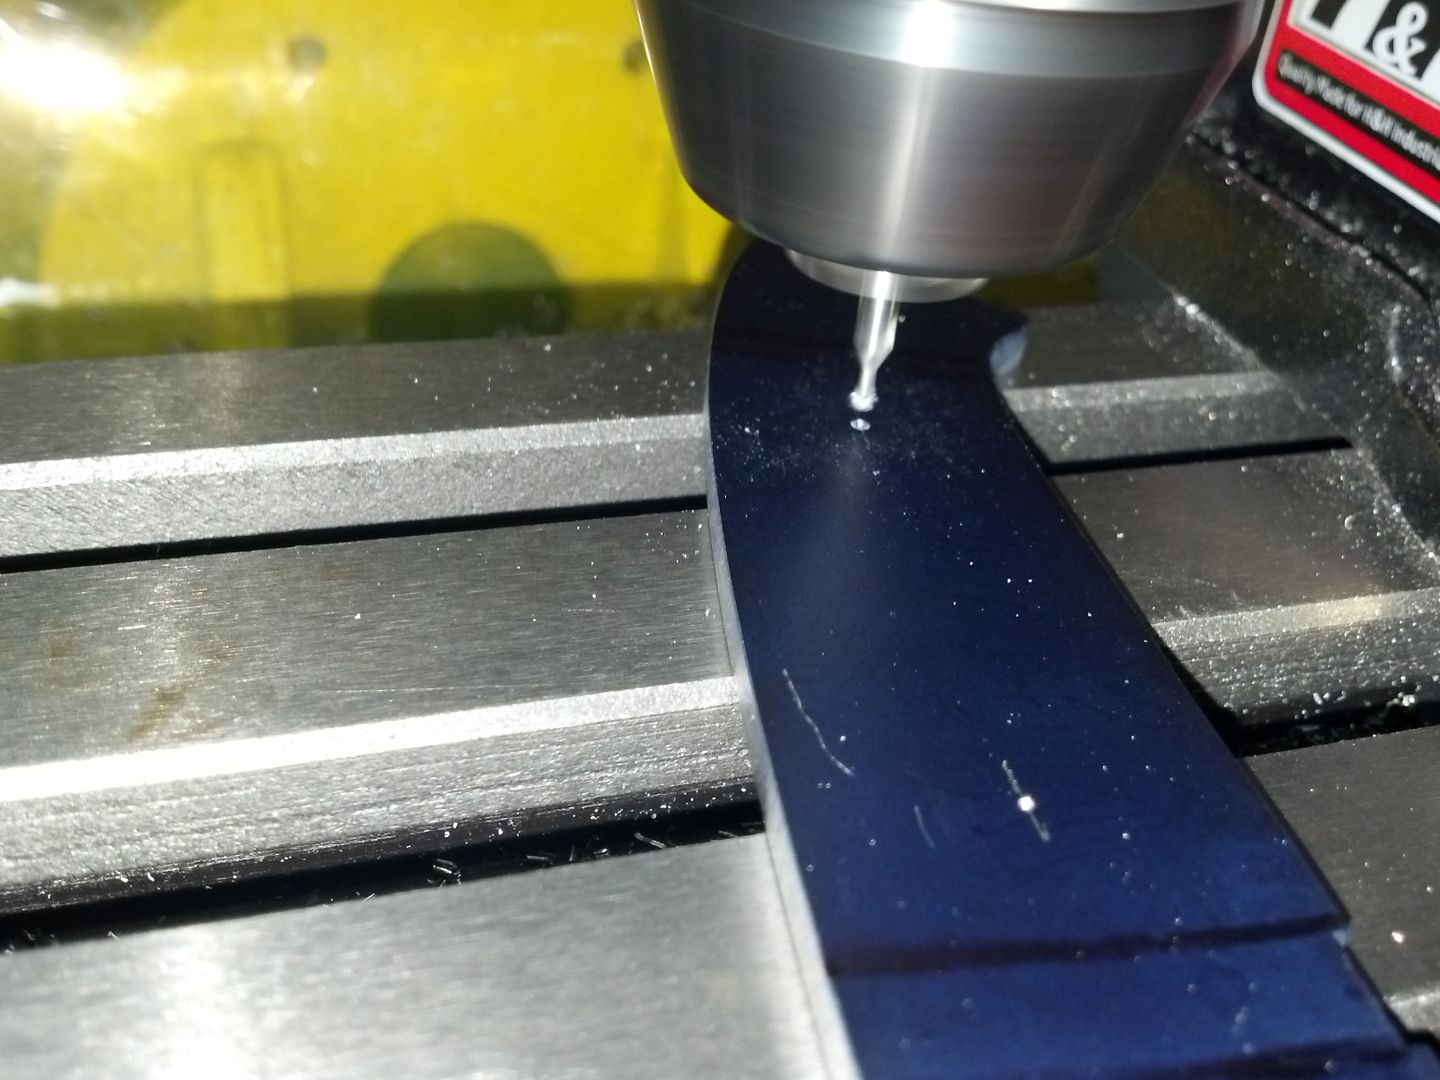
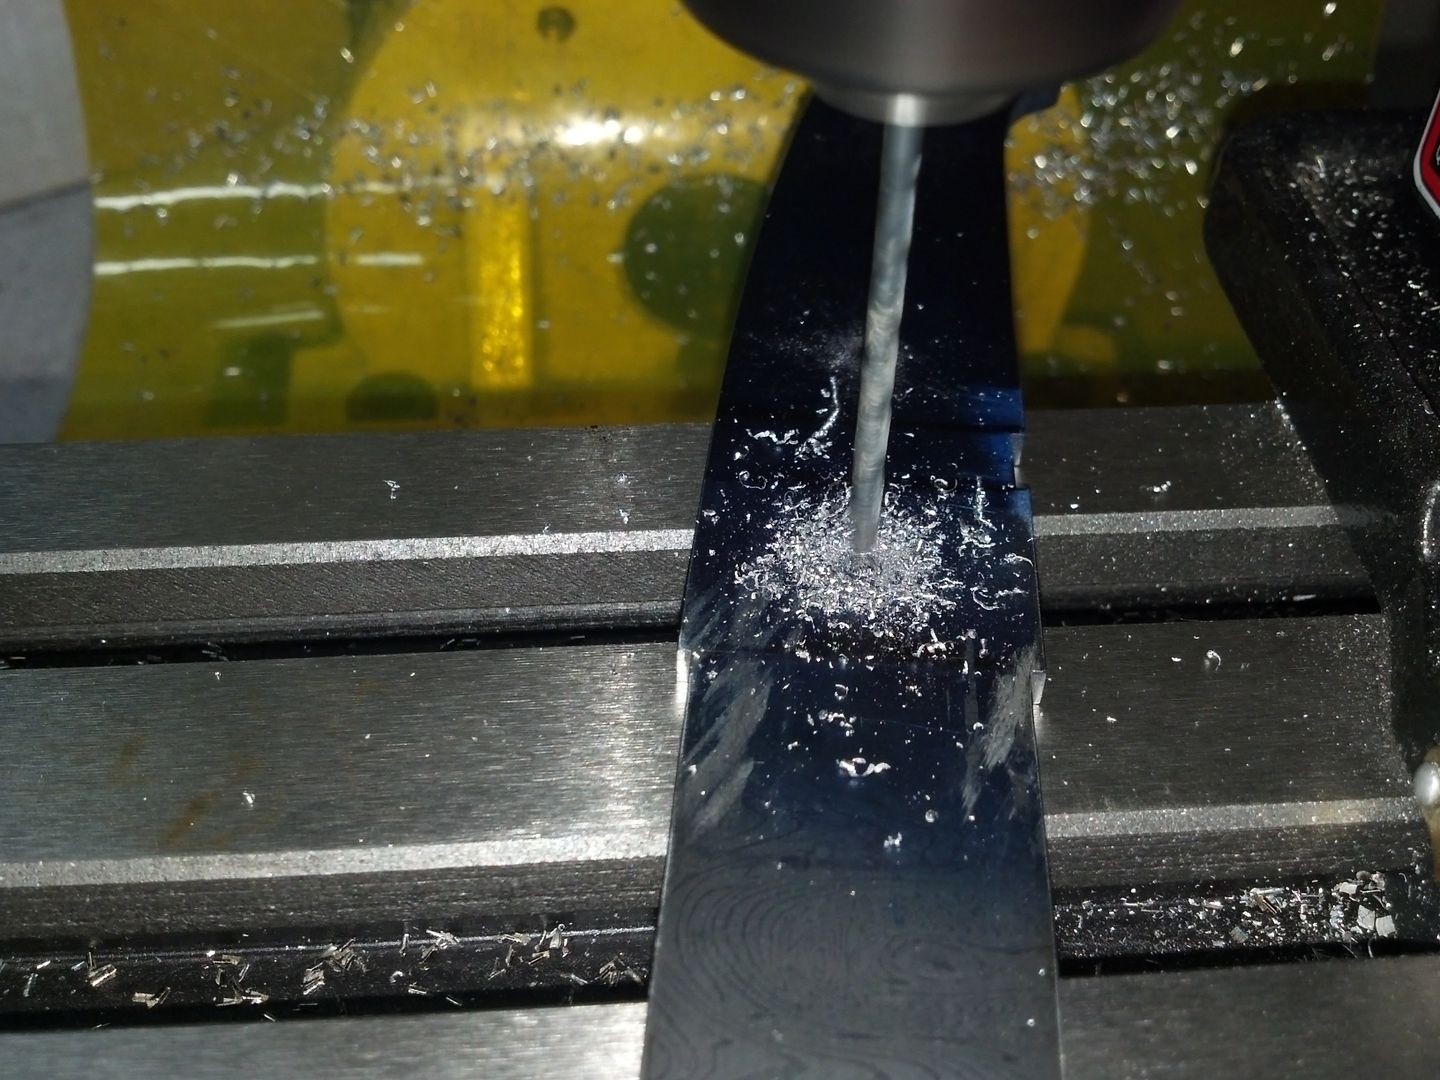
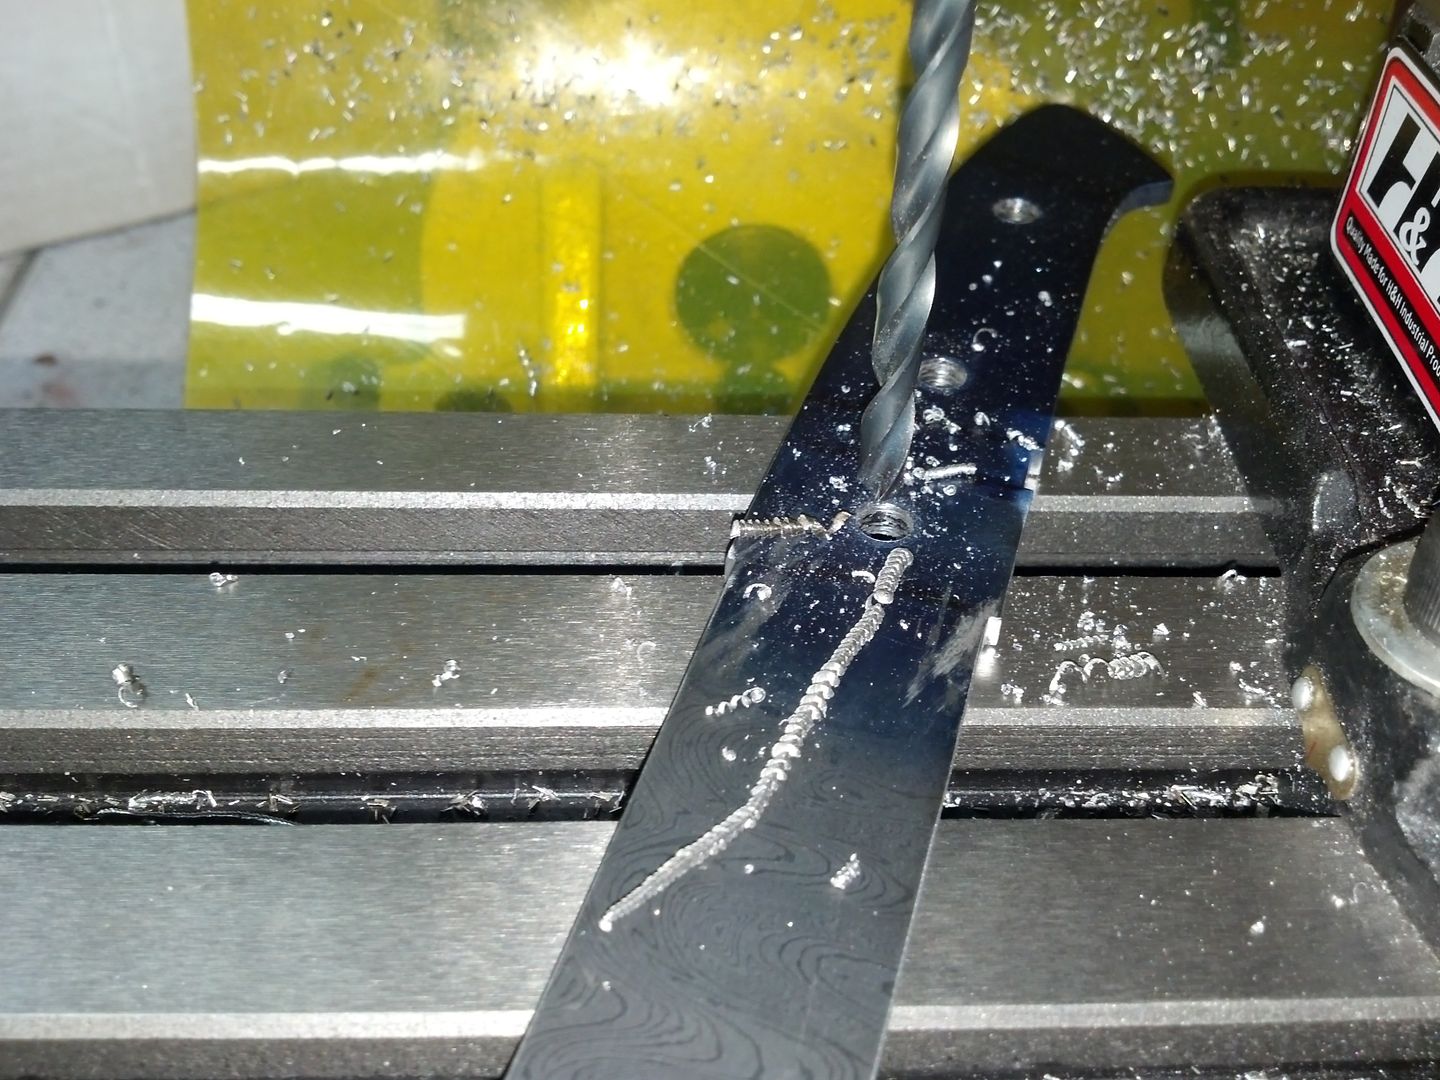
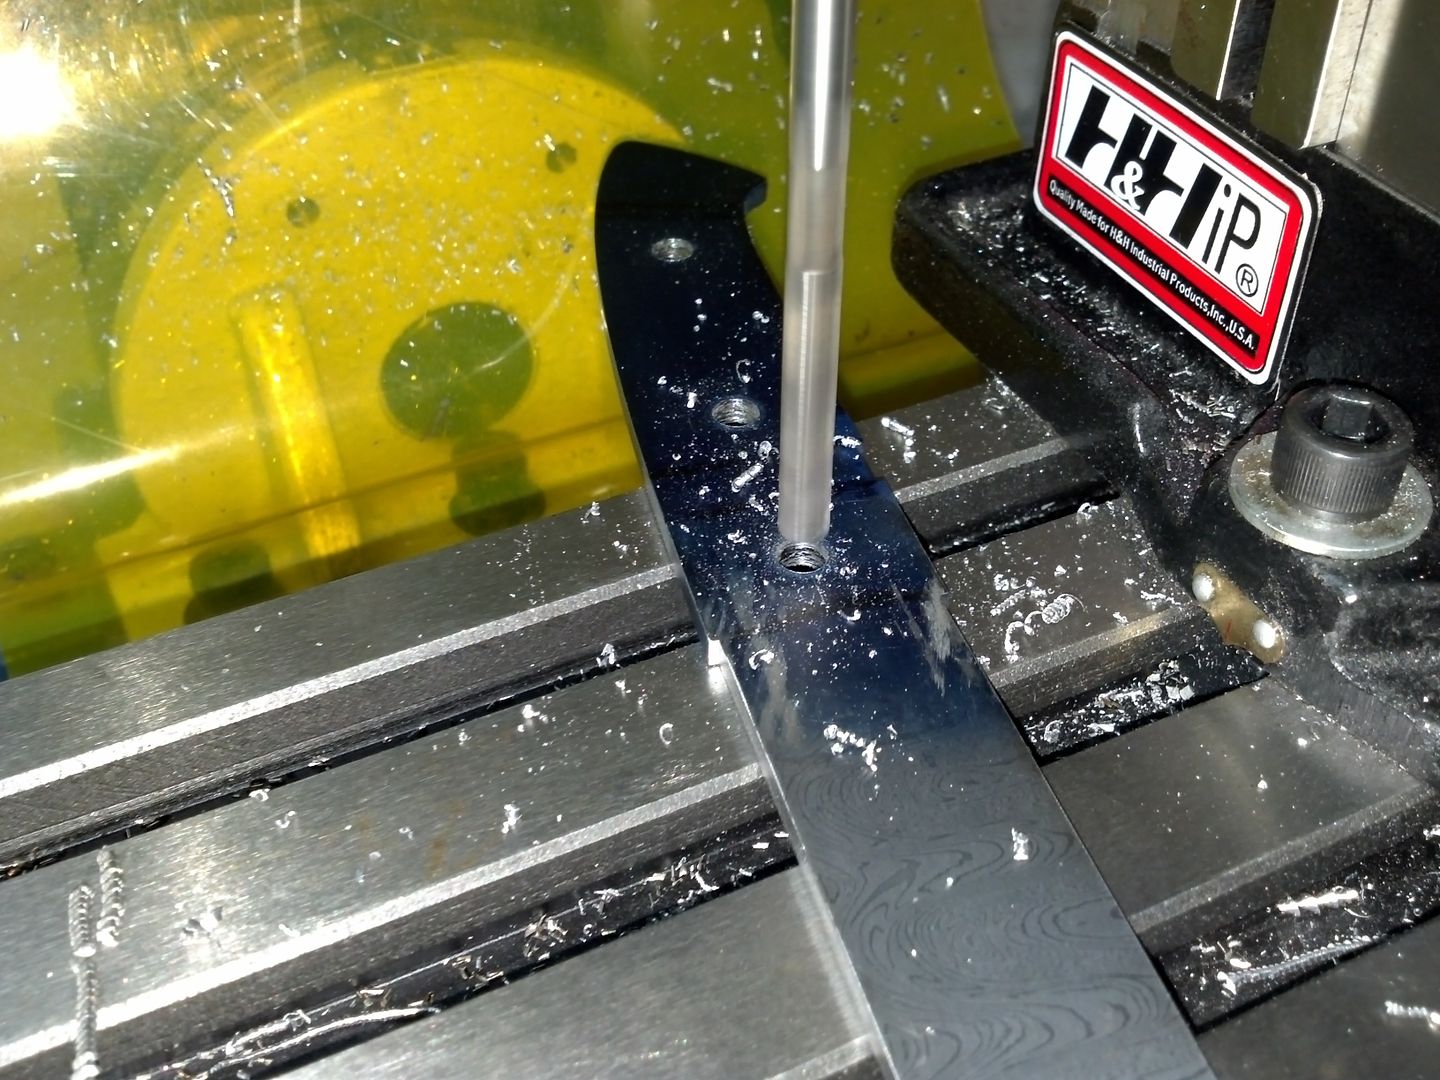
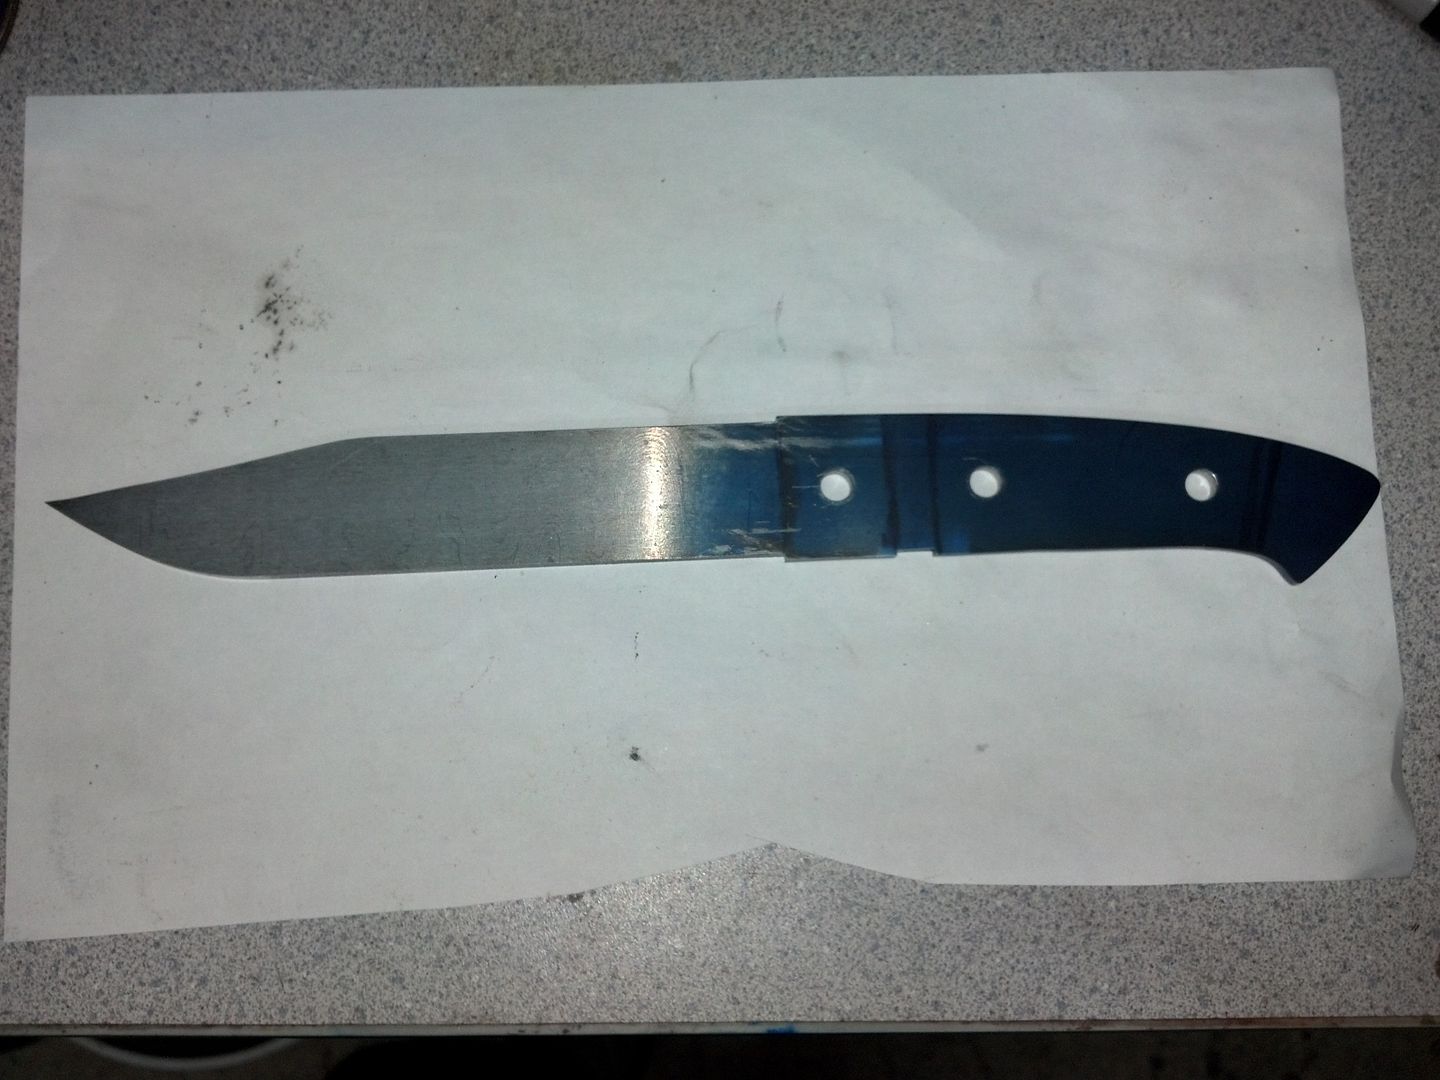
Anyway, Randy's Tsunami pattern damascus is made from 1080 and 15N20 steels. You should be able to see a little of the pattern in this first picture.

IMG_20130605_170006_535_zps235d129f.jpg


Paul Long usually makes my sheaths, but he is swamped right now. Looking through the forum here I found the guys from Rowe's leather in Hope, AR. I gave them a call and asked if they would be interested in doing a sheath and they said they would be glad to. :)

I was having trouble trying to decide on a design and was talking with Rex about this. You may know Rex here on the forum as McClellan Made Blades. I was telling him how I really liked fighters. I have never done a knife with a guard. I don't have any particular reason for that, other than that I've just never tried it. Rex told me he thought I should do a fighter, so I think I will.

Now, what kind of fighter? I had an idea. I have been a big fan of everything Bruce Bump does since the day I started doing knives (can we get around of applause for Bruce!), so I went to his forum. After looking around there for a bit, I decided I really liked the Bob Loveless Sub Hilt design knife. He did a WIP for one there, and mine will closely follow his.

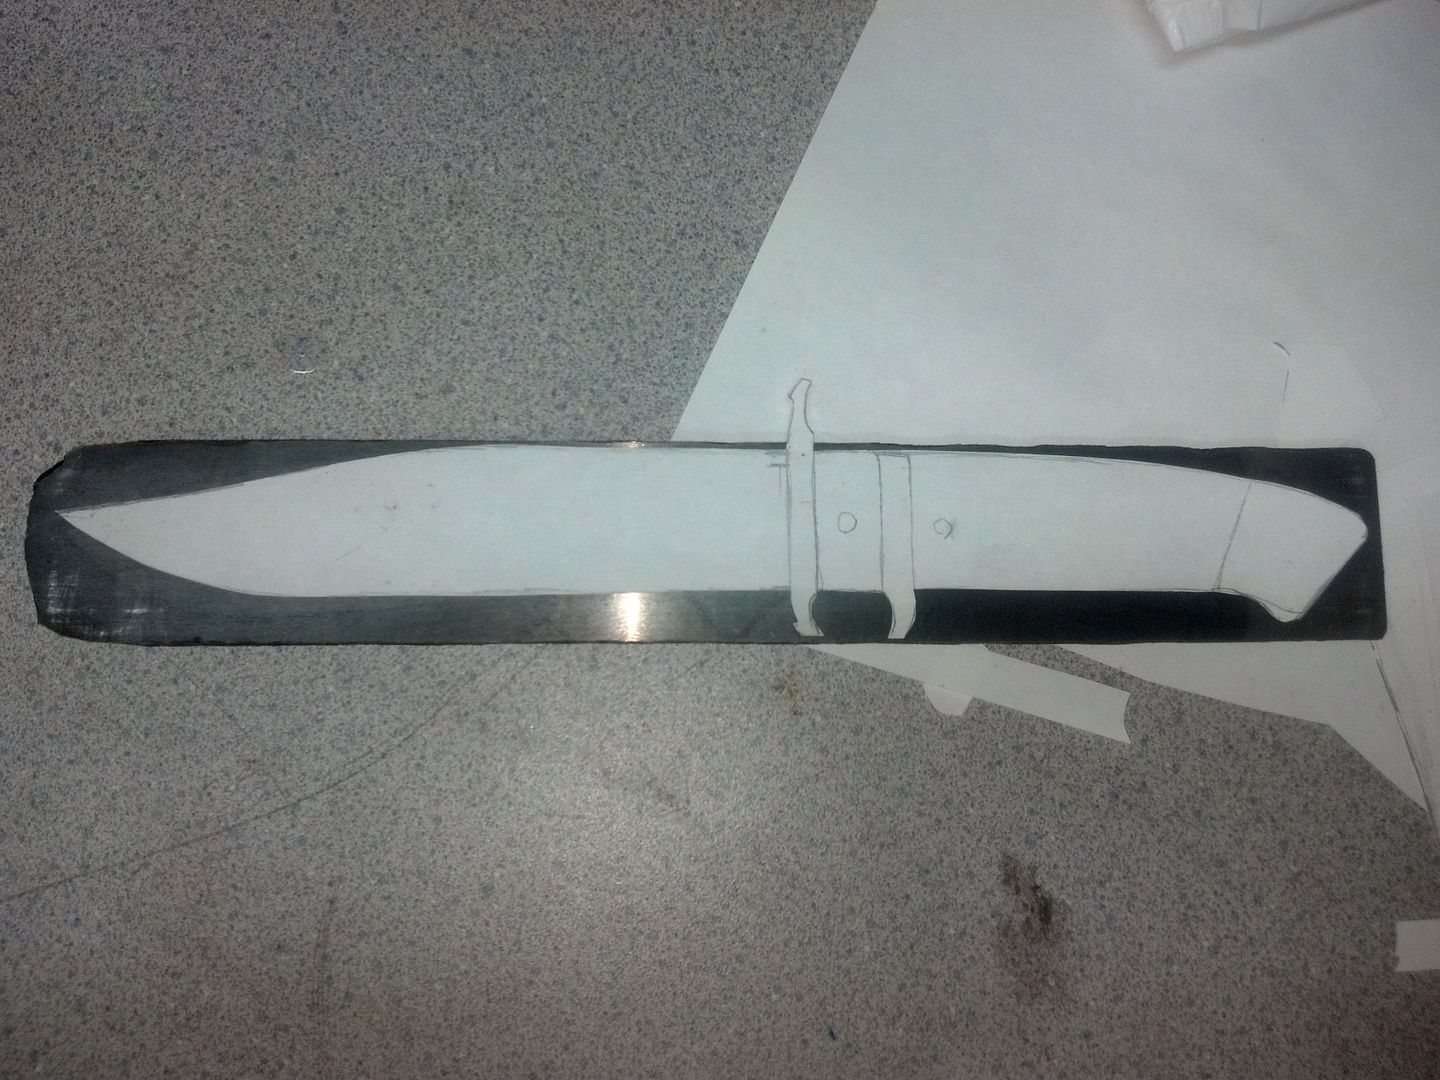
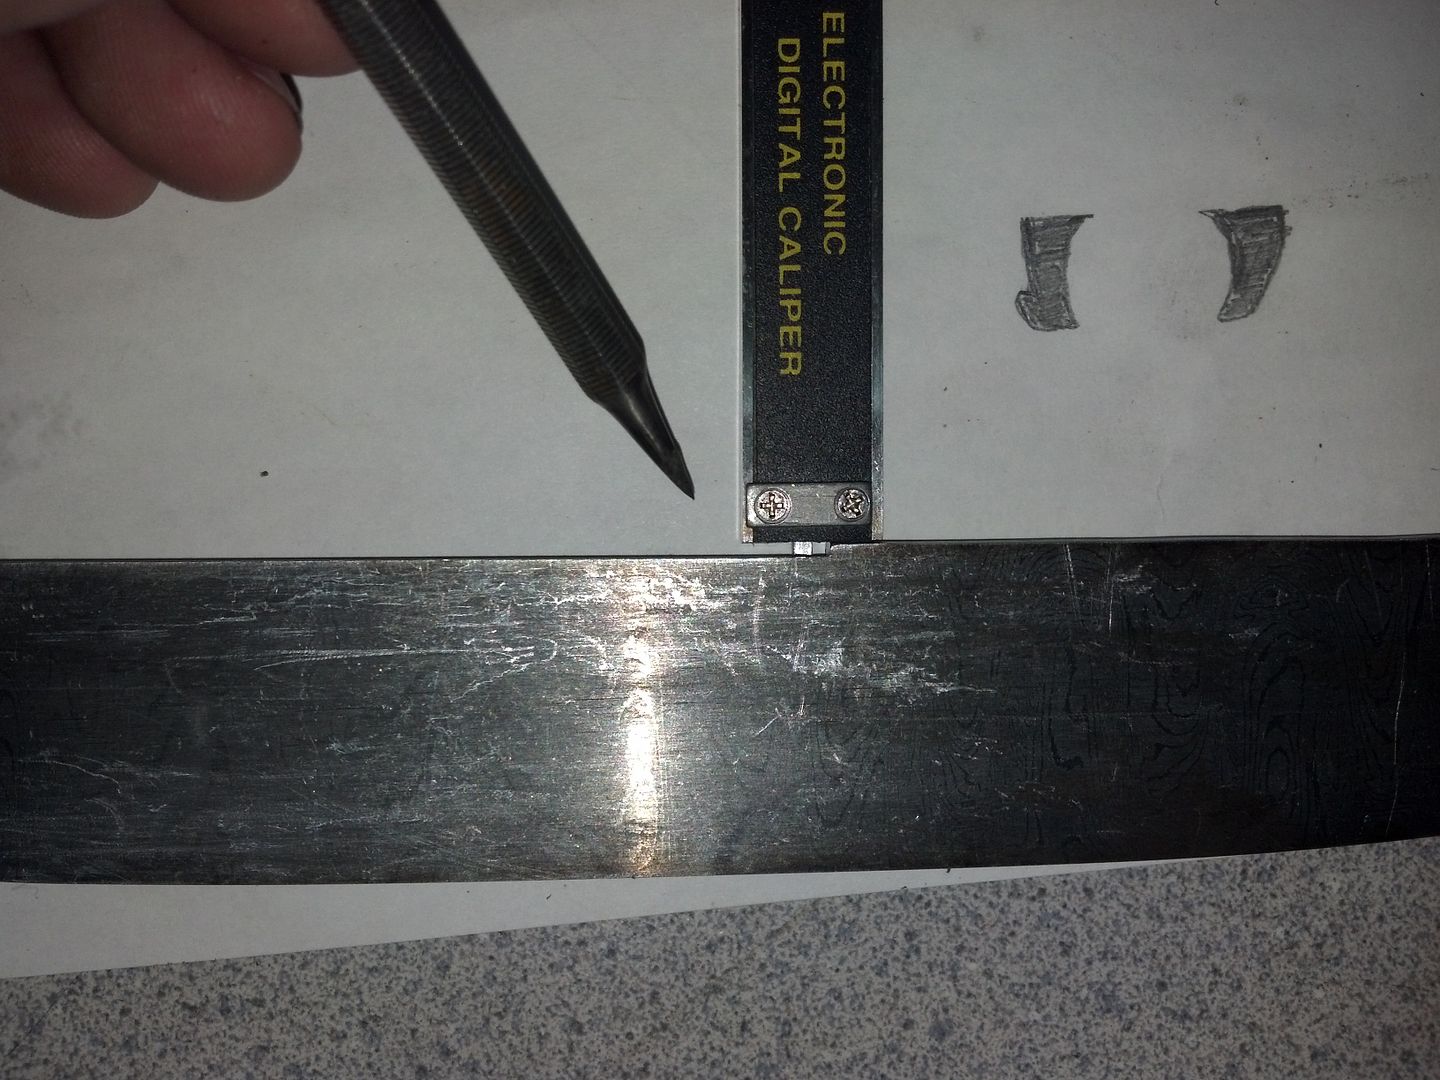
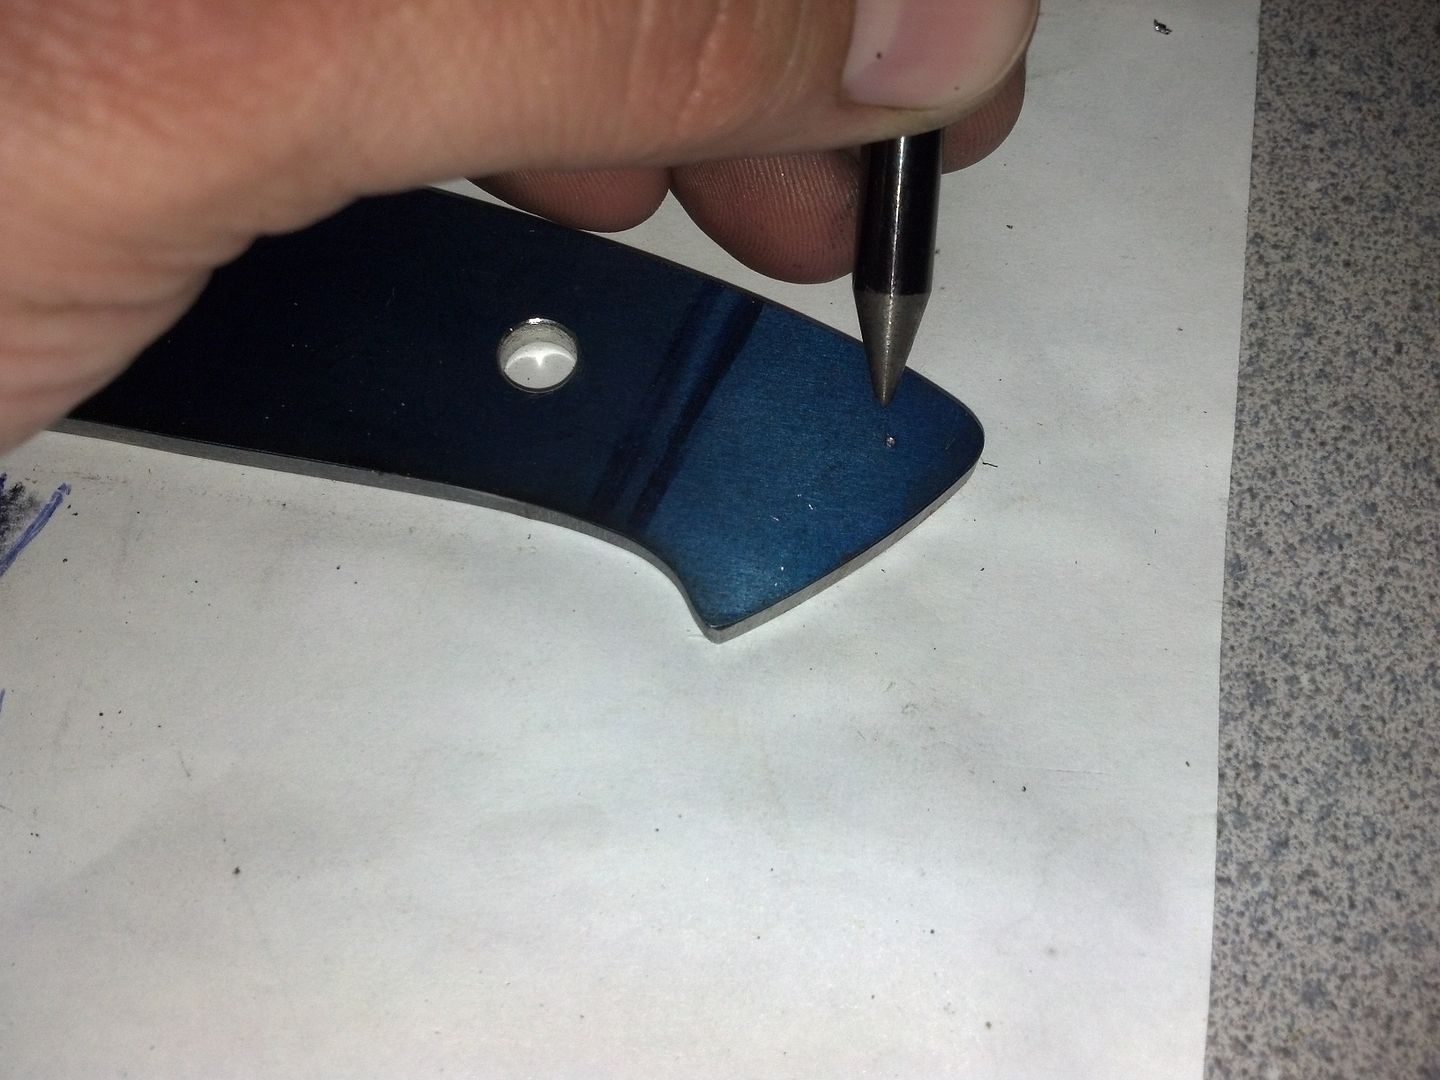
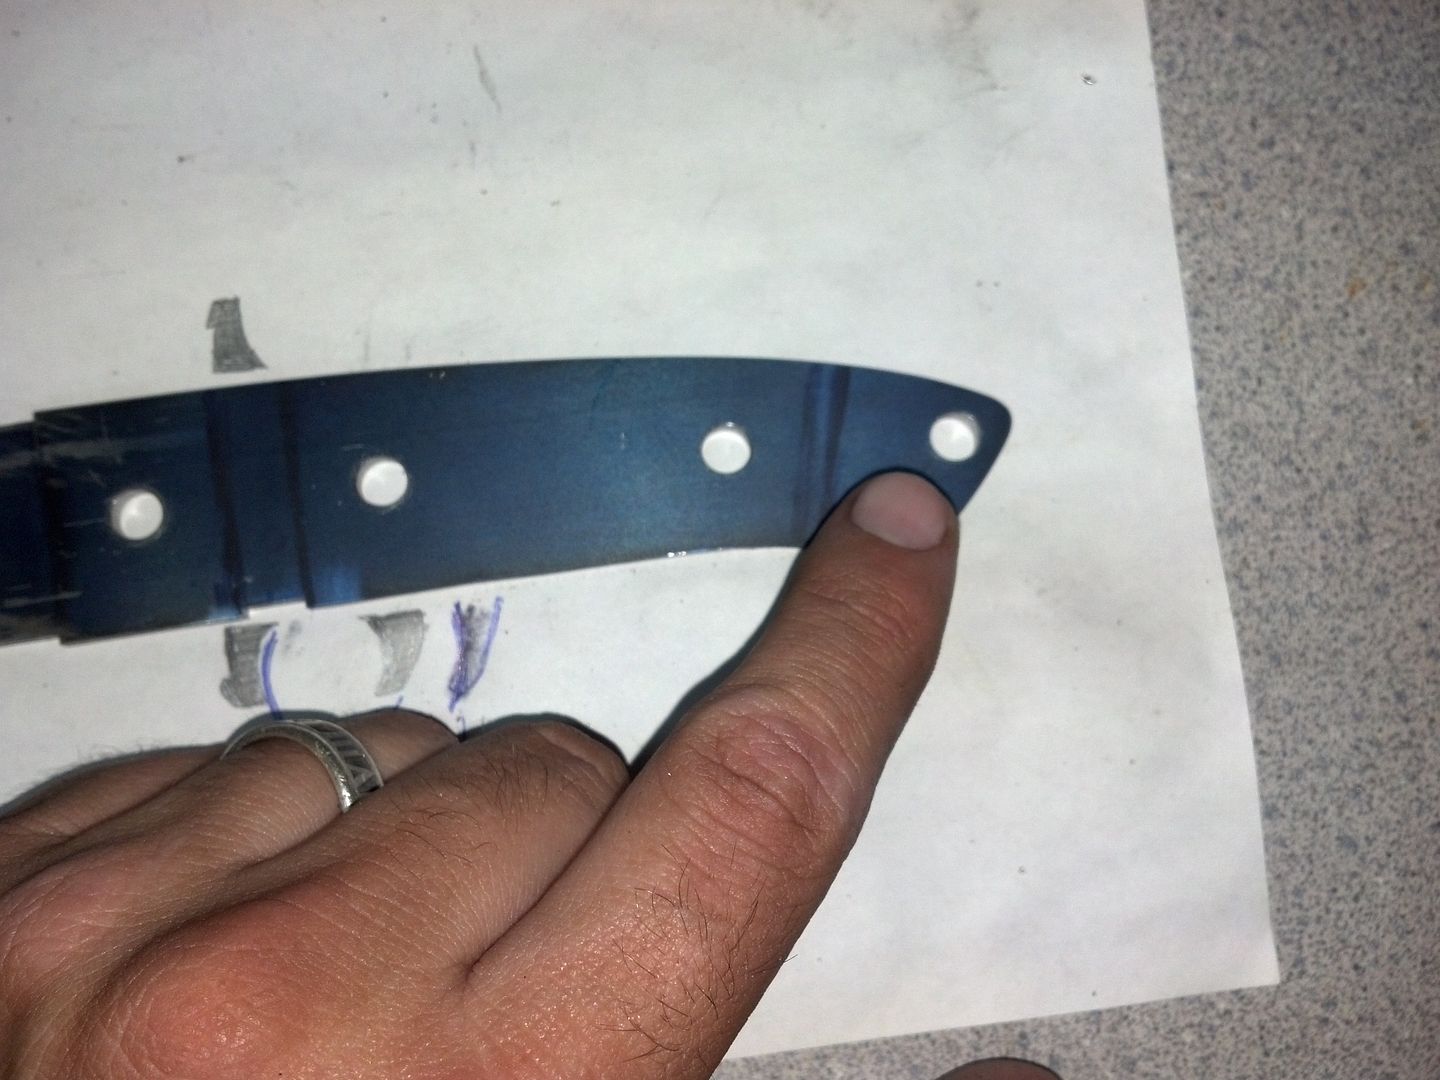
One of the things Bruce and I talked about was that if you do a knife like a Bob Loveless Sub hilt, it really needs to be an exact copy. I don't have that much steel. I think his was around 14" overall length, and my steel from Randy is only about 11" or so. Since this is the case, this knife will look somewhat like the Bob Loveless version, but with some of my own touches.

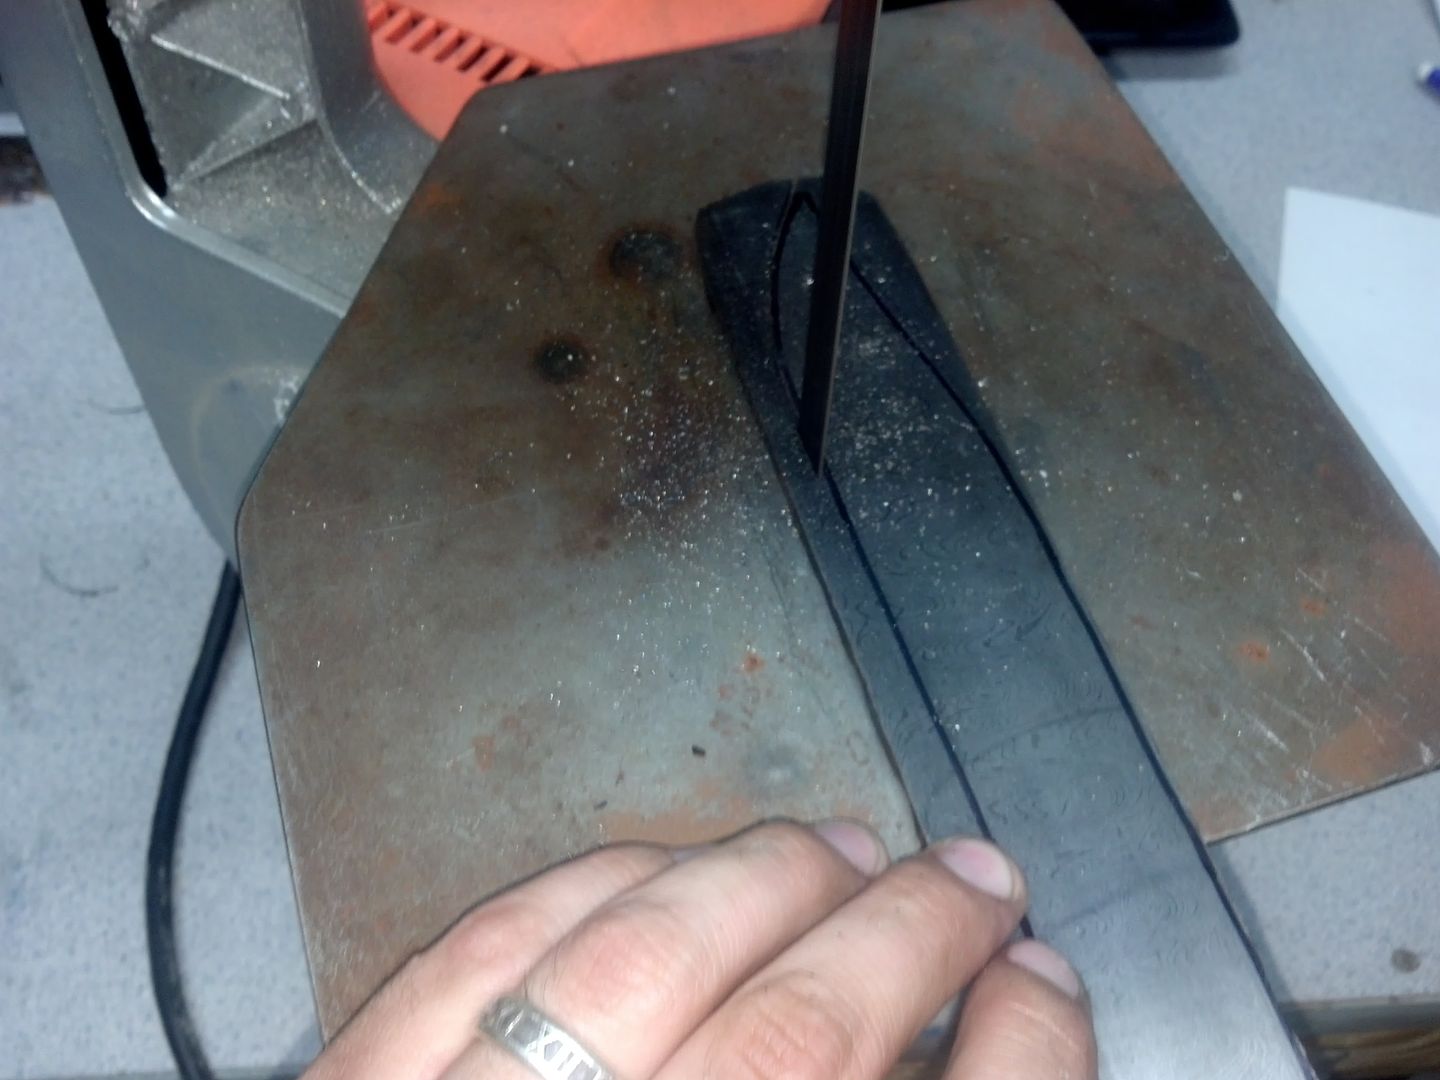
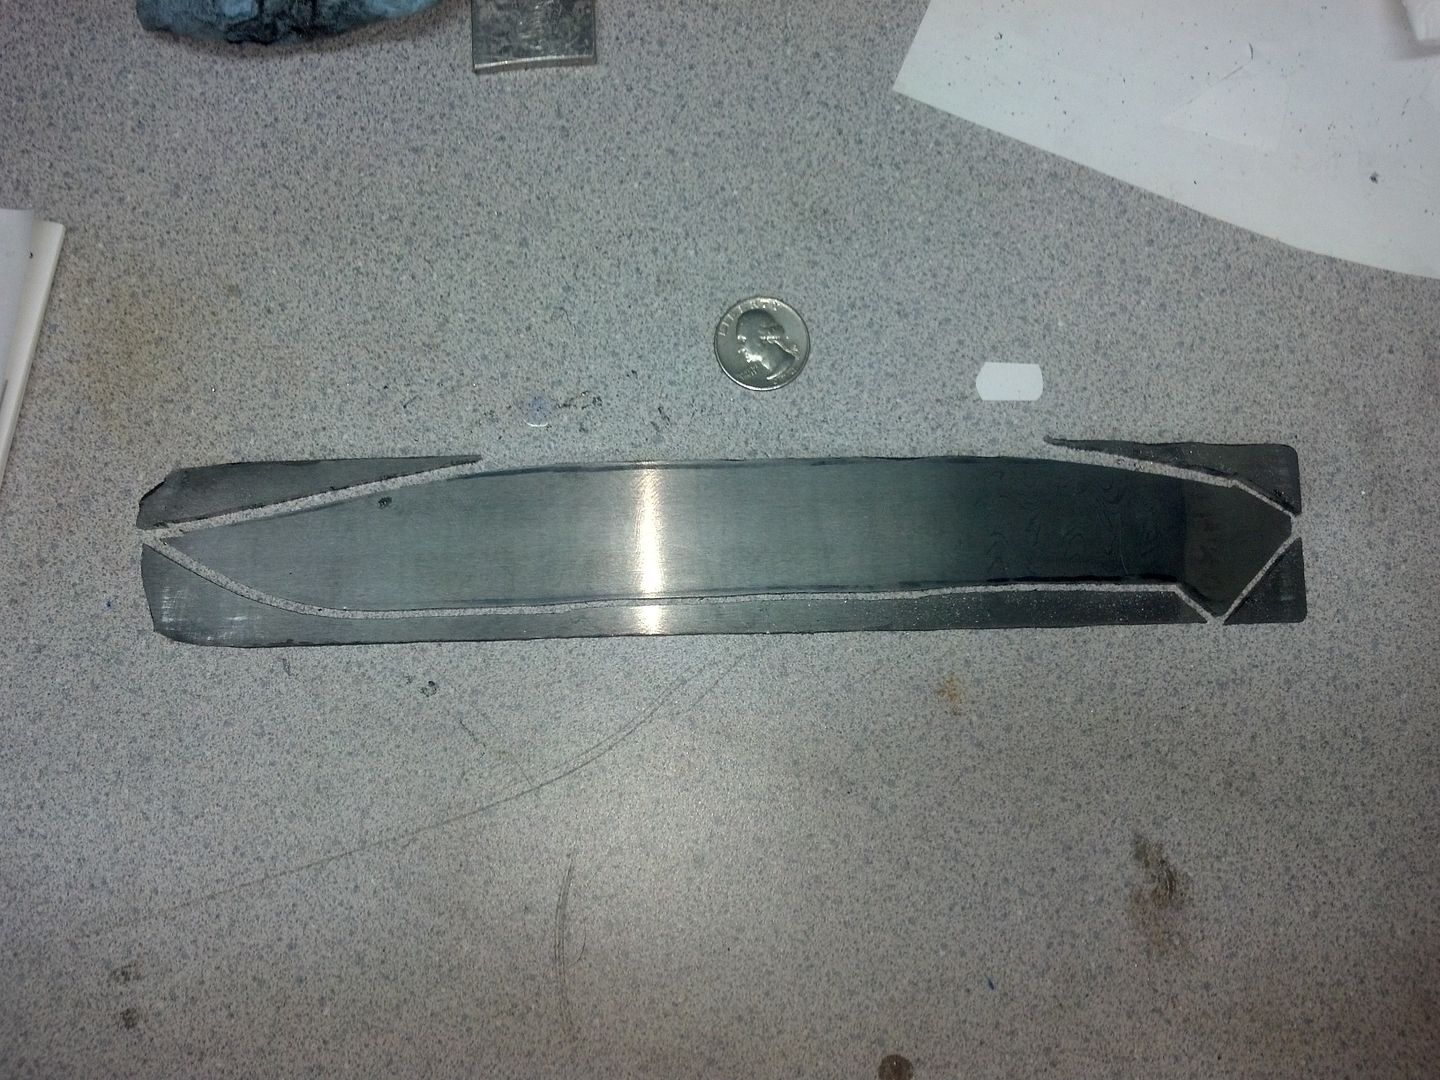
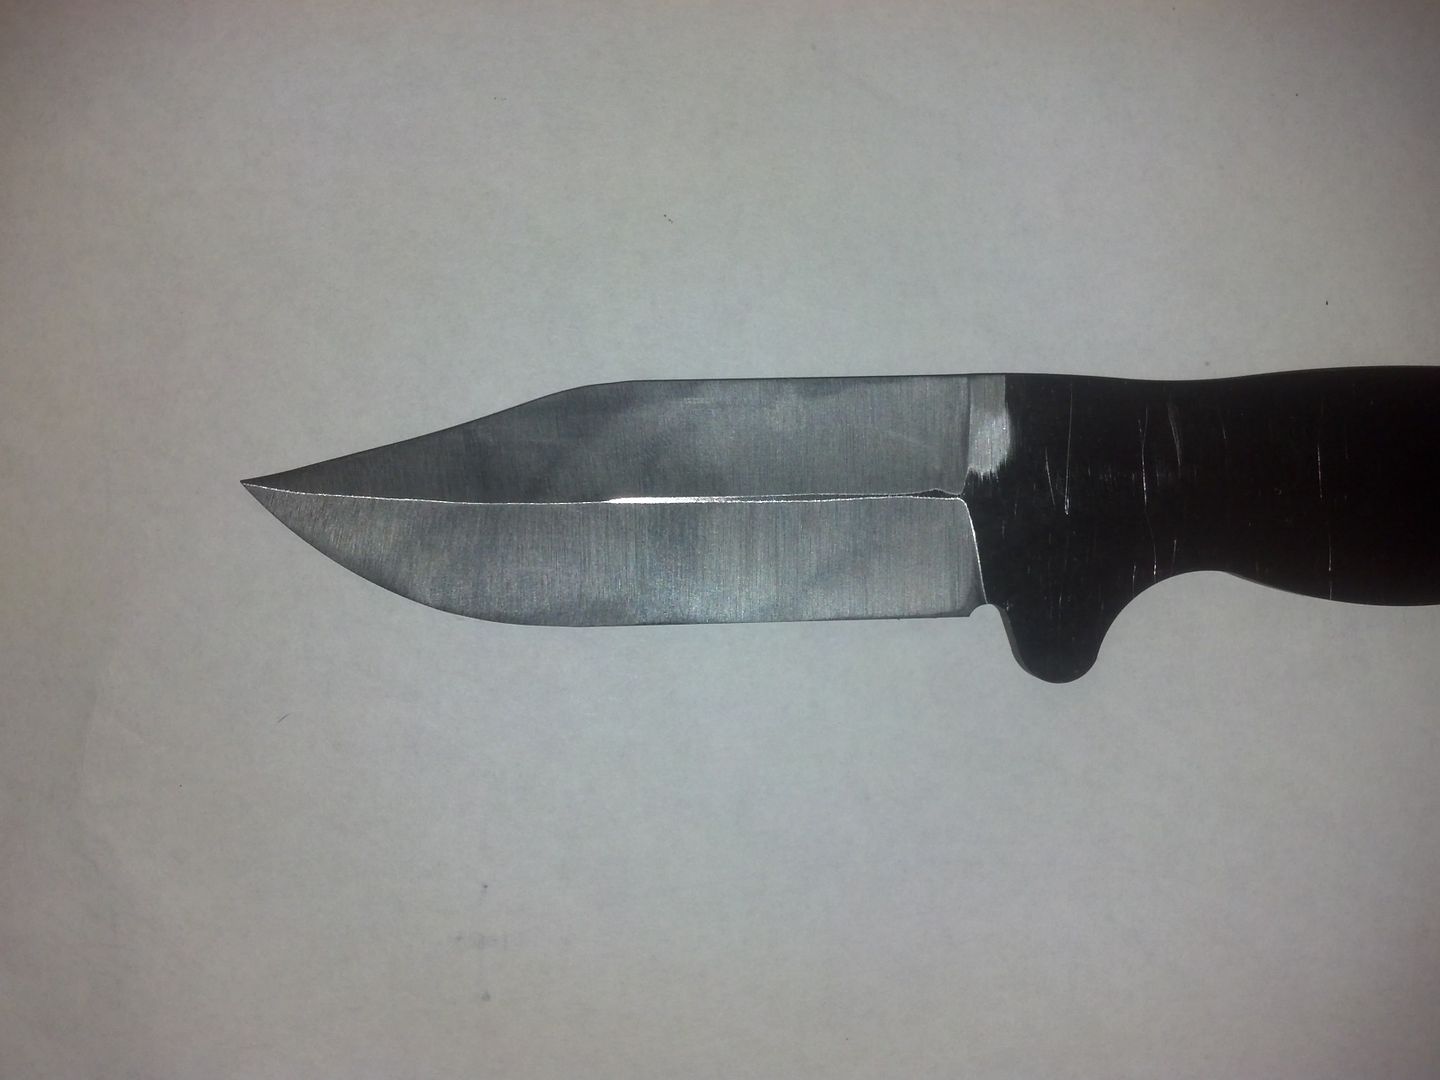
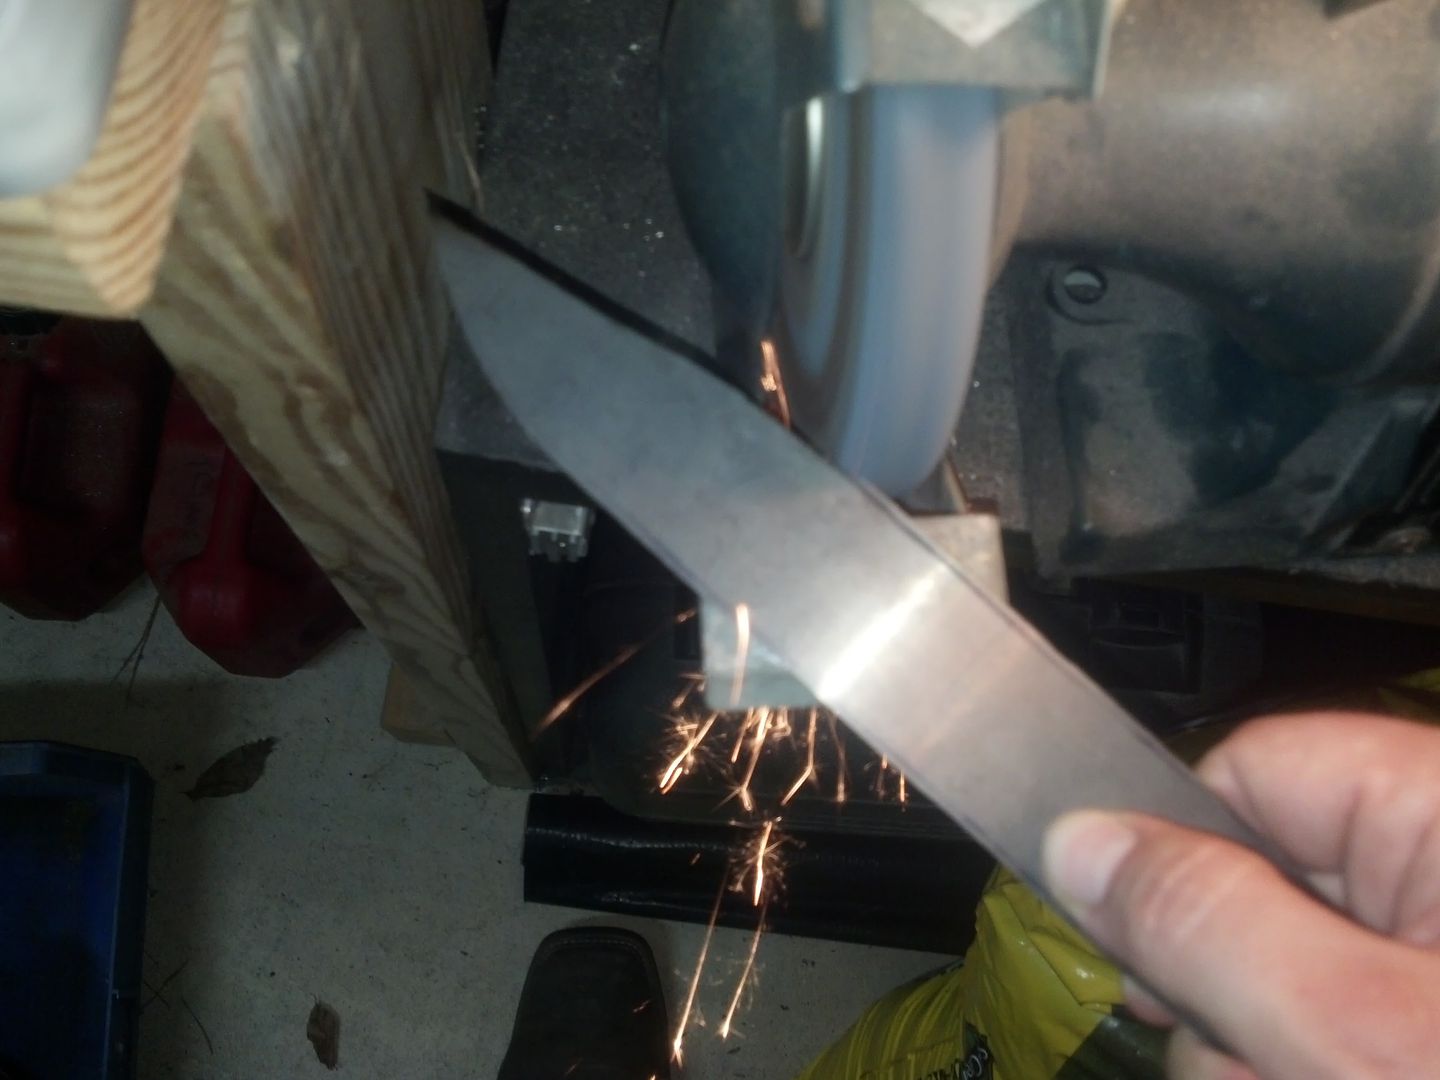
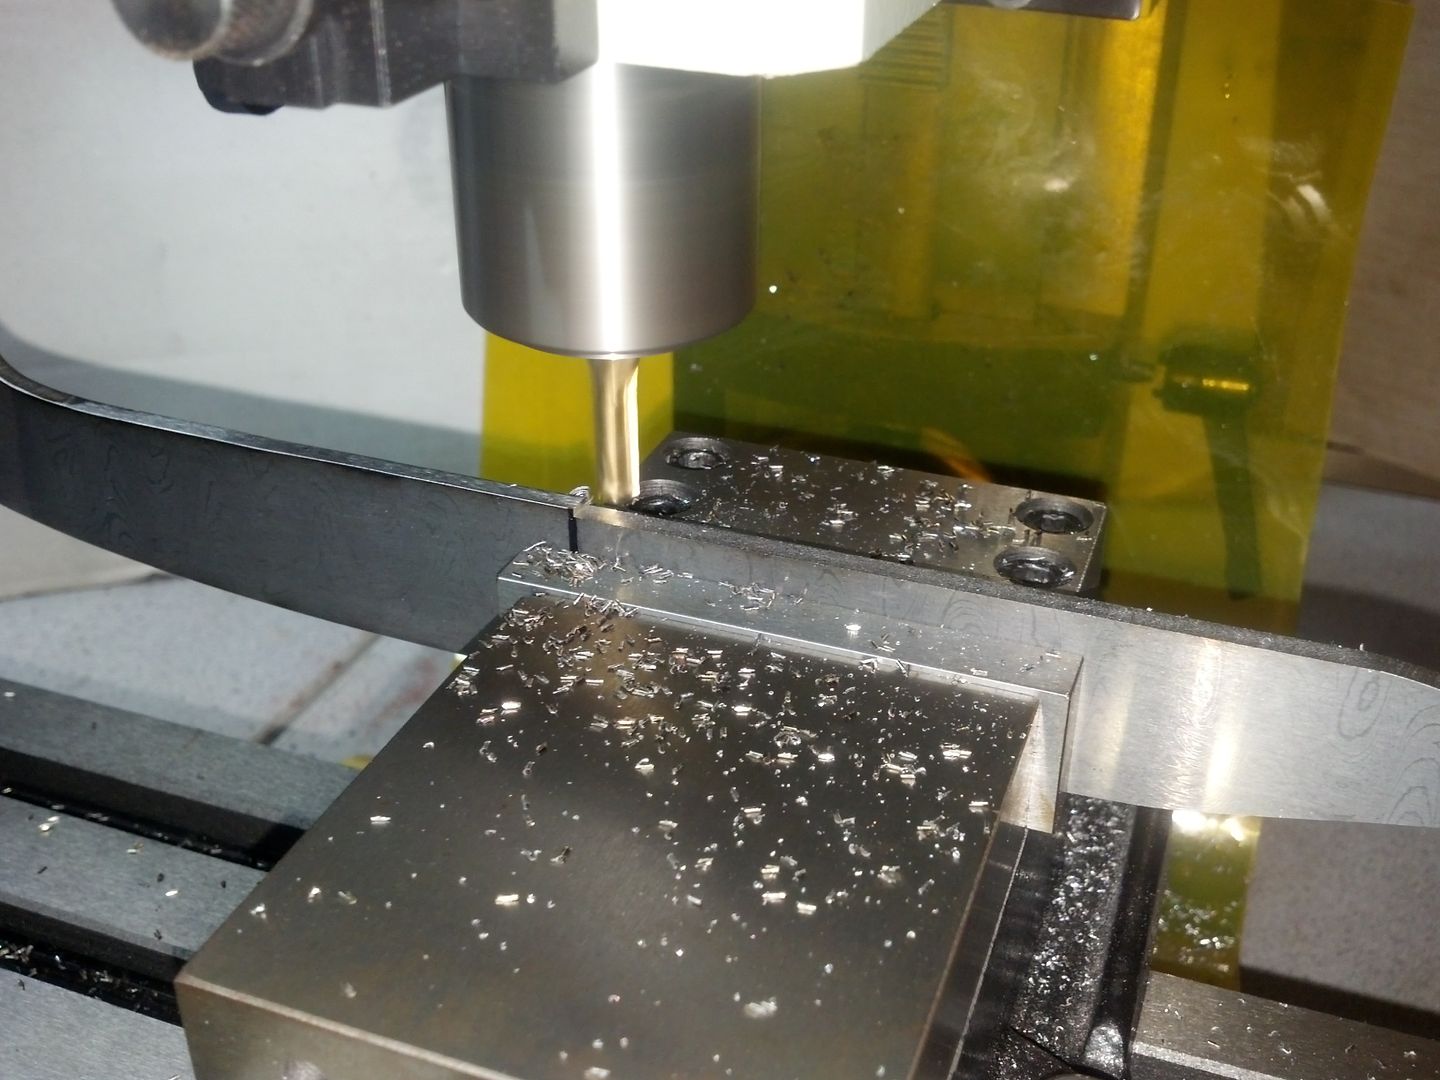
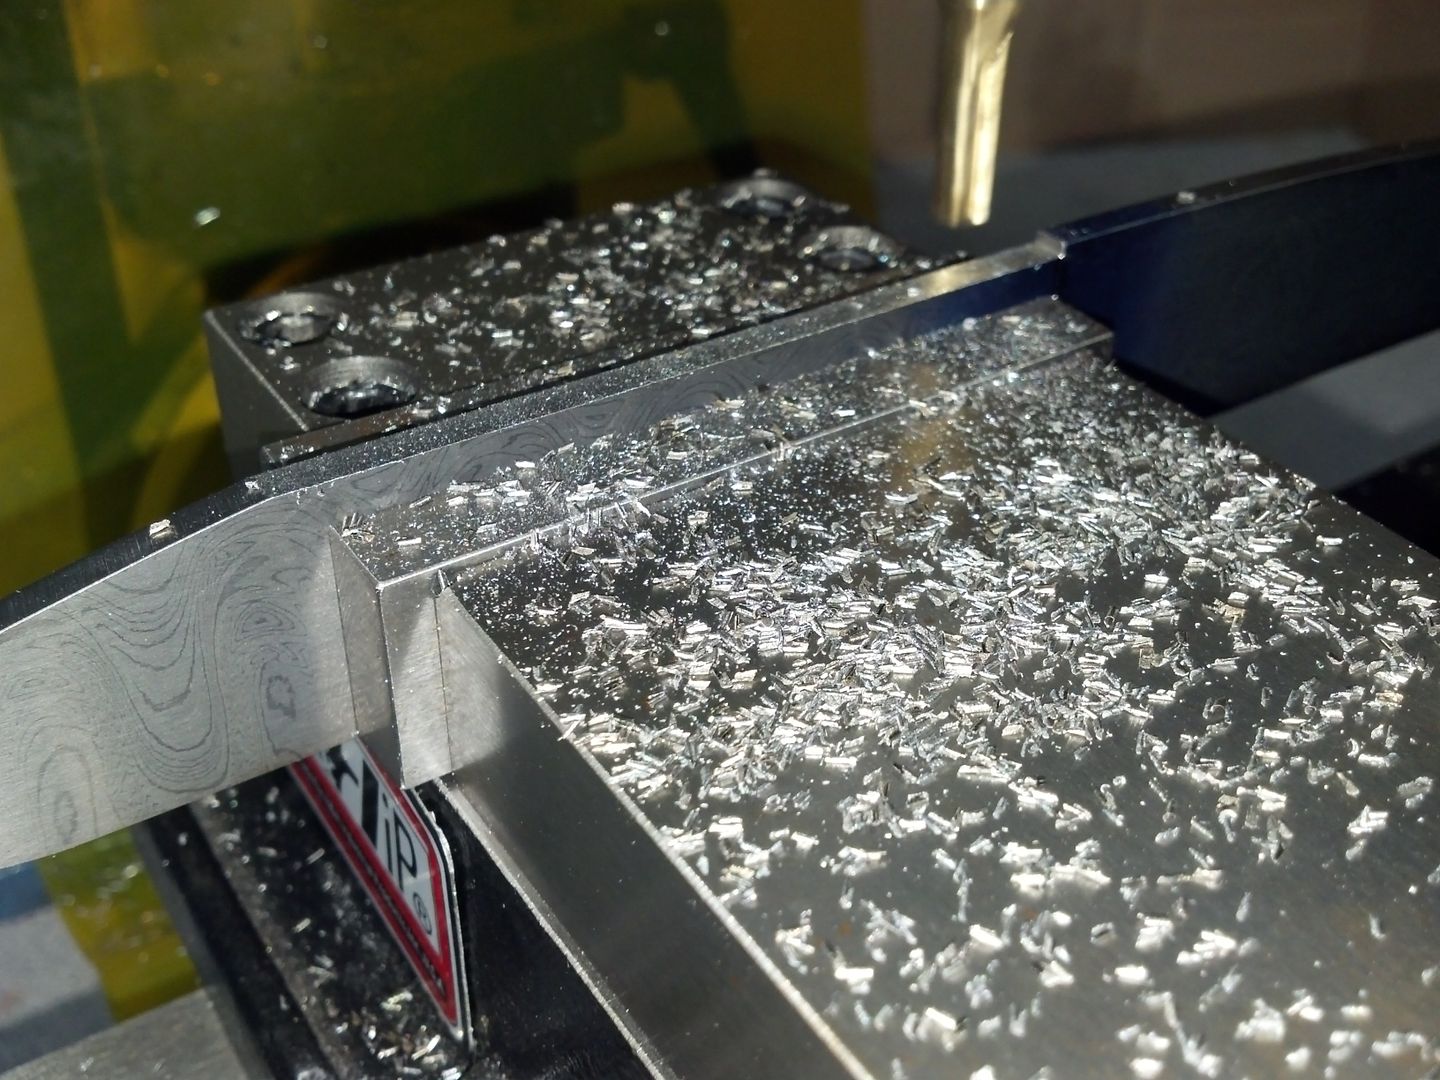
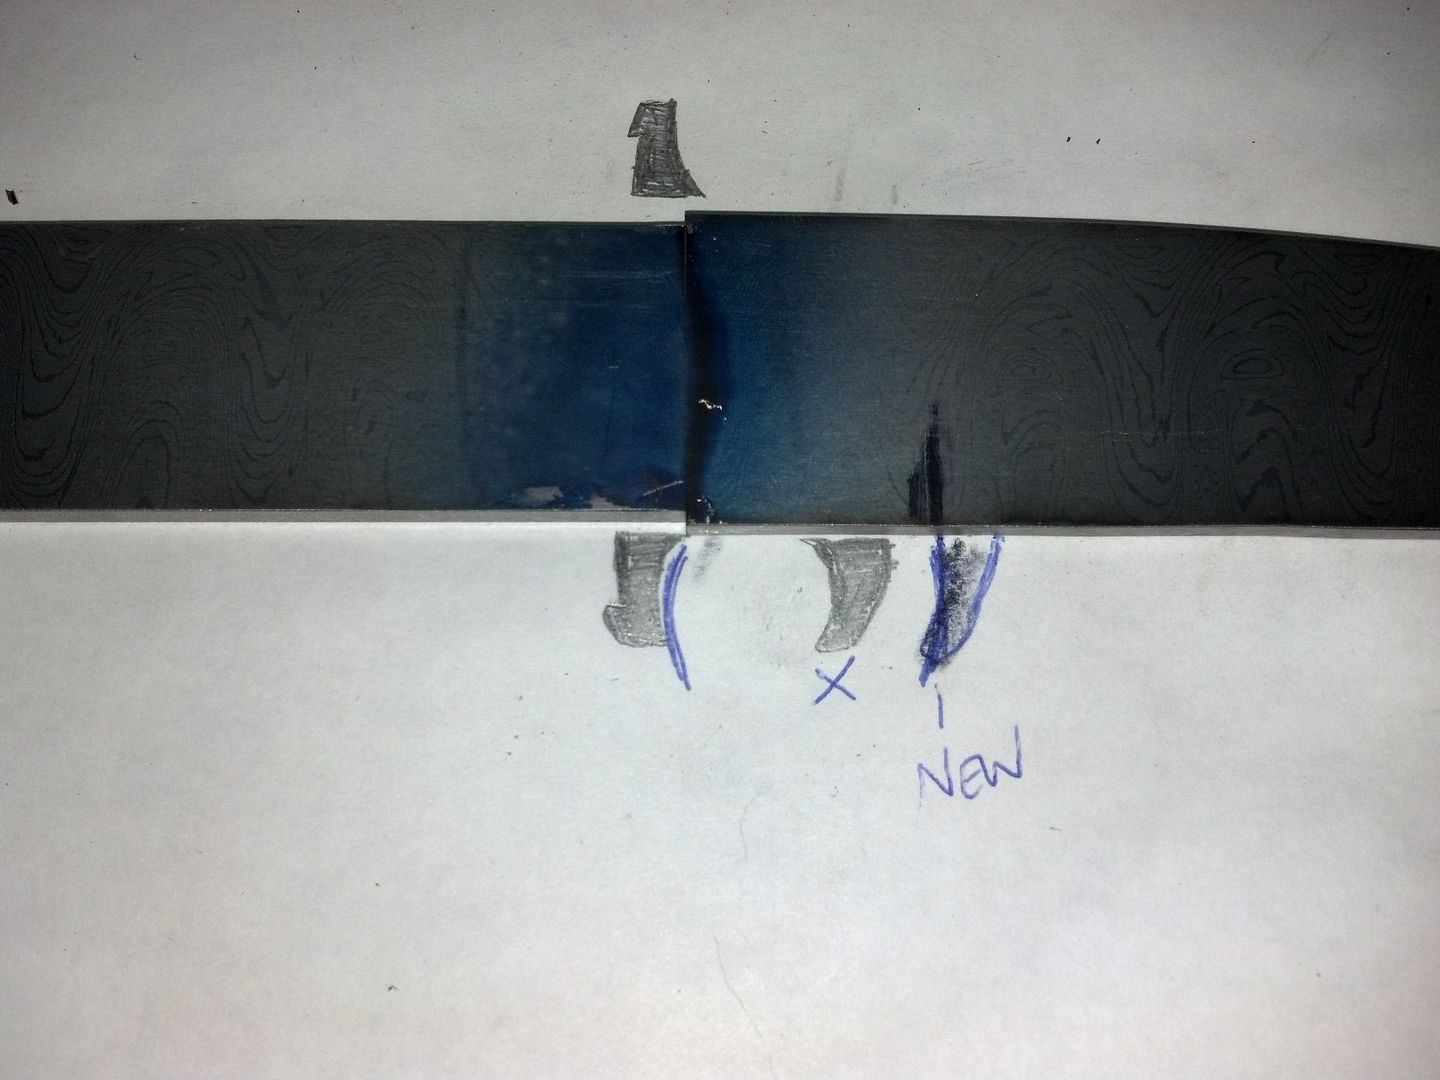
This style blade actually has a double grind on top and bottom, with the top being a false edge. I was talking with Bruce about all of this. Grinding blade profiles has never been one of my strong suits. I can do it, but it is extremely hard for me. I guess being good at it comes after a lot of experience and practice. At this point, Bruce offered to do the heat treating and blade grinds and jump in to a collaboration effort. I am honored that he would even offer to do this. After thinking about it, I decided to try that double grind. I'll never know if I can do it unless I try, right?
 
Last edited:
Here are some pictures of the design. This one won't quite be as big as the Loveless sub hilt, but it will be big enough. First I drew the design out on paper and transferred it over to the steel.

IMG_20130608_233618_92101_zps429967e5.jpg


IMG_20130608_234121_425_zpsee5d9751.jpg


The guard, trigger, and end bolsters will be some sort of stainless steel. Most of these sub hilt style fighters don't have end bolsters, but I don't have quite enough mammoth ivory in the scales to go all the way back to the end of the handle. I was going to use Ti - just to be different, but I don't have any that thick. We'll get to that later.

Rowe's leather out of Hope, AR has stepped up to do the sheath. I'm really excited to get them in on this. They do incredible work.

I sawed the design out and did a little grinding.

IMG_20130608_234803_902_zpsed3c65c0.jpg


IMG_20130609_241725_532_zps52608e1c.jpg


IMG_20130609_243126_429_zpsceefa595.jpg


Stay tuned :)
 
John,
The WIP is going to be a good one to come back to every day. I'm glad you're doing one, it should also generate some new comers to our forum if you can link it to the advertisement for the auction.

You may want to cut out a cardboard copy of it so the trigger can be placed for comfort. In this shot it looks a bit forward mounted.
 
Bruce you are exactly right. I was messing around with the paper last night and realized that gap is way to small. I also was looking at the one you did and saw that it was much larger. I will adjust to make it fit better :)

I have pieces of 420SS cut for the guard and bolsters, but this could turn into a problem if I can't find 420SS rod. I need it for pins. I have done a little looking, haven't seen any yet.
 
Last edited:
John,
Ok, errr I don't know how to say this other than, "have you BUMPed your head", I don't mean to BUMP you on your WIP, but when you hit a BUMP in the road and an Angel comes to you with a Gift.....would you BUMP IT!!!! Your Angel's name is I don't know, let's call him, Bruce, just for kicks! And this angel wants to do a collaboration...hmmm, now I may not be the sharpest tack I the box, but how the BUMP CAN YOU TURN DOWN A BUMPin' Angel!!!!!!!

Your St. Jude knife just got the BIGGEST FRIGGIN BUMP it could ever get!!!! With an angel's name on it, it would bring BIG BUCKS FOR ST. JUDE!!!!
So don't do the grind your self!!!!! Send it to Bruce and if y'all need a stencil with both of Y'alls name on it, I will make it for free!
Collaboration with Bruce Bump......, err I dont know, let me see.....errrr, heck yeah!!!!!!Ya know, I don't know exactly where you live, but I can find you, sounds like you need some sense beat into your head!!!!!!!

I guess you'd turn down a million dollars too?!?!?!?!?!?! I'm just busting' your chops, I know what you were thinking, you were more focused on the work than the possibilities it would create having a friggin Master Smith work on the knife your building for St. Jude , that about right? I will call you, soon as I can, might wait until you get off work...somyounmay not see this. Holler at you in a bit, Rex
 
Rex, I actually did a test grind on this ladt night. After talking with Bruce about it, I began to think about this. Whenever I have a fear of somthing, if I just take it head on, I usually succeed. I decided to grab one of the blanks I had made that was sitting on the shelf and give it a shot. This is what I came up with.

IMG_20130610_180006_021_zpsf37dff7d.jpg


Keep in mind this is a roughed in test piece, I think I used a 180g belt. The lines will be much cleaner when finished all the way down through the finer grits.

The lesson in this is that maybe all I needed was Bruce to offer to do it, for me to realize that I should at least try it instead of running from it. :)
 
Well it looks like I have a correction I need to make. The guard piece and trigger I have cut are not 420SS. They are 440C. I'm wondering if I should still use them. I have no doubt that I can machine them, and grind them (they will not be hardened), but pins are the problem. Any rod that I can find is pretty expensive. I guess if I have to I can turn a piece of square milled stock to get the pins, but I'm wondering if it will be soft enough to use and if it will work.
 
Did some work the past few nights. First thing to do after I get the blade sawn out is to do a little profiling and try to smooth up the rough edges. I use a rock wheel to do some of the roughing, because at times there is alot of metal that has to come off.

IMG_20130610_201118_121_zpsd7dcb9f0.jpg


Then we swap over to the disc to do some more profiling.

IMG_20130610_202646_344_zps296304a4.jpg


When finished, we have this.

IMG_20130610_203459_832_zps7c2c1637.jpg


Ihave also cut two pieces of metal to serve as the main guard and sub hilt. Only problem I have at the moment is that this is 440c steel. I really need some 416. The 440c would work, but I don't have pins for it. I will have to turn down some square pieces into round to make pins in the event that I use it. That is, unless I can find some 440c welding rod or something (and I don't know if that specific filler rod even exists). This part is still up in the air, and I am going to have to figure out what to do. Working on that at the moment.

Next step is working the blank down on top and bottom to create the actual blade shape. Once that's done the guard will fit and hit the stop I will create. I use an indicator in this step to be sure the blade edge is flat before I make the cut.

IMG_20130611_191555_224_zps6d0d06c6.jpg


After this, I mill a little material off from the tip of the blade back towards the handle area until I hit a predetermined stop point where the guard will be placed.

IMG_20130611_192120_780_zpscb7226d0.jpg


Next, to get the stop in the same position on both sides, I use my 123 blocks and a surface plate. First thing is to slide the first 123 block up to the edge that was milled, and run it up to the stop. After this, I place the other 123 block against the first one, and it creates a 90 degree surface so I can scribe a line to the other side of the knife. When finished, you can see the line that was created to get it exactly perpendicular with the other side.

IMG_20130611_192648_348_zps8a24b0e0.jpg


IMG_20130611_192719_459_zps94ee360e.jpg


IMG_20130611_192819_842_zpsfa7f357a.jpg


After this, I check the depth of that first cut so I can make it the same on the other side. It tuned out to be around .050". This doesn't have to be anything exact really, there just needs to be enough material removed so that the main guard will have a place to rest against.

IMG_20130611_193250_110_zpsd6da8992.jpg


After that depth is determined I flip it over and mill the opposite side to match the first side.

IMG_20130611_193624_697_zps0d48d657.jpg


When finished, you can see the reliefs cut and where the guard will sit. You can also see in this pic where I have changed the location of the sub hilt. There needs to be room there for a fairly large index finger, so I moved it back a tad.

IMG_20130611_194333_796_zps9e98daa5.jpg


Then I cut the slot in the bottom of the tang area where the subhilt wil lock into. I made this the same .050" depth as the other cuts, and about 5/16" wide. This means that the subhilt will actually be about 5/16" wide. Got my cheap electronic calipers here..they actually work very well for the price.

IMG_20130611_195138_579_zps847bc73b.jpg


Now I am laying out the location for the handle scale pin holes. I'm going to use mosaic pins that measure 1/4". First I measure the width of the tang in the area where the pin goes, and divide it by two. This way we know the pins are in the center.

IMG_20130611_195935_308_zps16bd59bc.jpg


Do the same for the other two pins and center punch those. Here is the tang center punched in all three areas. When you center punch, it keeps the drill from walking off of location.

IMG_20130611_200446_246_zps5813e1b2.jpg


First I start with a tiny center drill. Even though the hole location is center punched, I always doubt whether or not a larger drill will still walk, so I always step up in drill sizes. Note I am drilling on the mill table here. I would have really liked to have just donr this in the drill press, but I could not separate my drill chuck from my R8 holder.. So I just left it there and did the work in the mill. Oh well, it is much more accurate on this dialed in tabletop anyway, lol.

IMG_20130611_201307_019_zpsa318dabd.jpg


Then a #35 drill (it measures like .110" I think)

IMG_20130611_201645_928_zps526a4e6a.jpg


And then a 7/32" drill which is undersize for the 1/4" reamer I will use next

IMG_20130611_202320_939_zps473b88a6.jpg


Then the 1/4" reamer.

IMG_20130611_202213_539_zpsee62d169.jpg


After all of this I use a little chamfer tool to knock off the burrs.

IMG_20130611_202428_266_zpsf6dff3b4.jpg


So we have made it this far :)

IMG_20130611_202635_769_zps7c04aac9.jpg
 
Thanks Bruce! it means alot to have someone like yourself give someone like me compliments :)

I have posted a thread over in the want to buy section of the classifieds for the SS I need. I will wait that out a few days and see if I can get the stuff I really should be using.
 
Great WIP. Looks like your making some good progress. Great photos as well. Thanks for sharing and taking the time to post this.


God Bless
Randy
 
Thanks Bruce! it means alot to have someone like yourself give someone like me compliments :)

I have posted a thread over in the want to buy section of the classifieds for the SS I need. I will wait that out a few days and see if I can get the stuff I really should be using.

John, I told you I have 416 SS that I will give you as much as you need! I can't says if I have the matching pins though...
just don't remember. Let me know, Rex
 
Thanks Bruce! it means alot to have someone like yourself give someone like me compliments :)

I have posted a thread over in the want to buy section of the classifieds for the SS I need. I will wait that out a few days and see if I can get the stuff I really should be using.

John, I have 416 SS that I will give you as much as you need! I can't says if I have the matching pins though...
just don't remember. Let me know, Rex
 
Rex, Josh stepped up and sent some yesterday. It should be here in a day or two and I can move on with the knife :)

Thank you for the offer though.
 
A little More-

I have to cut the handle scales so that I can get the two seperate pieces needed for each side. Here I am marking the piece on both sides so I can make the cut. I always mark a little wider than it is, so I have some room to grind it down to fit.

IMG_20130613_193119_713_zps6db8db78.jpg


IMG_20130613_193132_274_zpsa1916bf6.jpg


I put a piece of electrical tape on so I can see the line I am supposed to be cutting. It is difficult to judge the imaginary line between the sharpie marks on either side, so this gives me a straight edge to follow.

IMG_20130613_193556_328_zpsaa84deb7.jpg


Making the cut..

IMG_20130613_193804_221_zpsccb9b847.jpg


The finished cut pieces

IMG_20130613_194209_285_zpsbba060c6.jpg


Here I have center marked the lanyard hole. I forgot this the other day when I was drilling the other holes.

IMG_20130613_194405_261_zpsff98c577.jpg


The completed hole - same process as the other holes

IMG_20130613_195103_272_zps9e9e70c9.jpg


I got the 416 stainless steel I needed yesterday to do the guards and bolsters. Thanks to our own Josh Dabney for helping out with that. I hope to be able to start on them in the next day or two, but I don't know if I'll get the chance. Praying I don't have to work tomorrow. As ususal, I have no idea yet if I will or not.
 
Rex, I actually did a test grind on this ladt night. After talking with Bruce about it, I began to think about this. Whenever I have a fear of somthing, if I just take it head on, I usually succeed. I decided to grab one of the blanks I had made that was sitting on the shelf and give it a shot. This is what I came up with.

IMG_20130610_180006_021_zpsf37dff7d.jpg


Keep in mind this is a roughed in test piece, I think I used a 180g belt. The lines will be much cleaner when finished all the way down through the finer grits.

The lesson in this is that maybe all I needed was Bruce to offer to do it, for me to realize that I should at least try it instead of running from it. :)

I know this is a bit late, been a little busy of late, but I wanted to say that that grind is friggin' AWESOME!!!!
I know how hard it is to do that grind while keeping the center line down the middle centered and not over running
the grind, absolutely awesome!

I tend to buy a lot of supplies because I hate to need something and have to wait on it, so I try to keep
a good supply on hand, especially handle material, I catch a lot of flack about it from the wife, but, she handles it pretty well.

Good to know that you have what you need, but whatever else you need, please ask, if I have it, it's yours!!!!
I know you do these knives out of the goodness of your heart and I know you need a little help with financing these builds,
so ask! OK!?!?!?
Rex
 
Back
Top