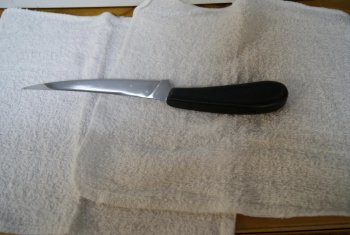
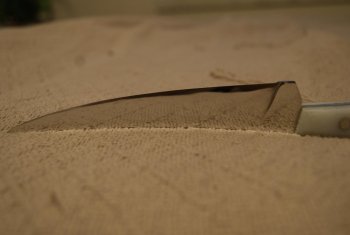
WIP Polishing Fillet Knife and Plasti Dip Handle

dswait

Well-Known Member
I have a neighbor who does a lot of fishing on his boat and really wanted a fillet knife. He insisted on stainless steel and a plastic handle to stand up against salt water. Since I don't have the means to heat treat stainless yet, I ordered a fillet knife blank from our good friends USA knife makers.

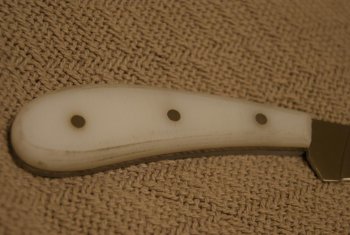
I already put the handle on the knife which is made from some kind of white polyethylene (kind of like a kitchen cutting board) given to me to use for a knife handle from a good friend. This material is really tough to work with, I went through at least 2 ceramic 60 grit belts trying to grind it down, that stuff does not move. After I finish polishing the blade, I will spray the handle with plasti dip. I've never used plasti dip before, so it will be interesting to see how this comes out.

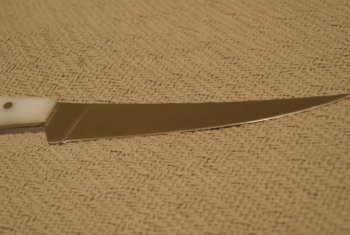
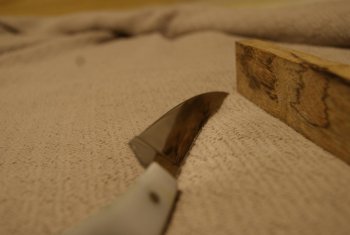
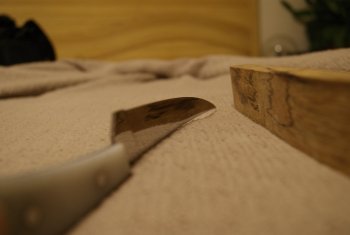
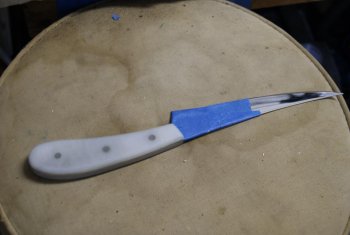
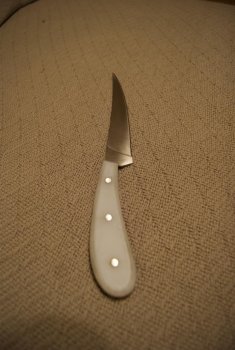
Here is a photo of the fillet knife with handle before polishing.
_DSC8886.jpg

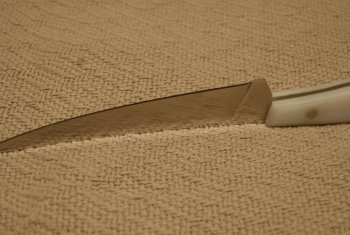
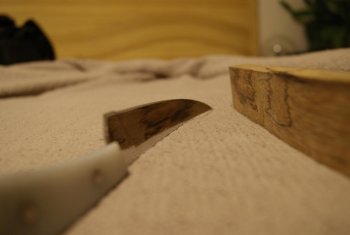
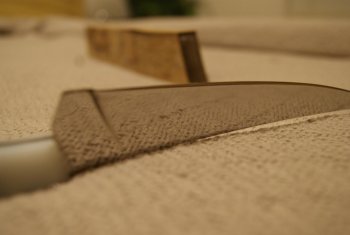
Some more pictures
_DSC8887.jpg _DSC8888.jpg

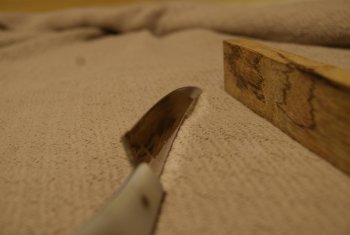
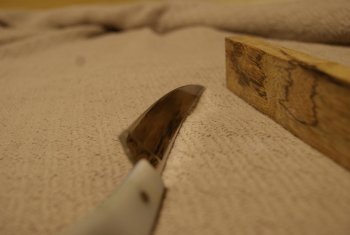
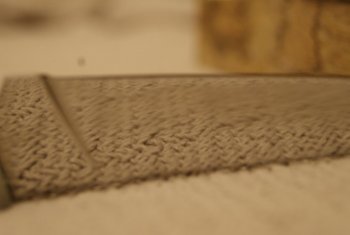
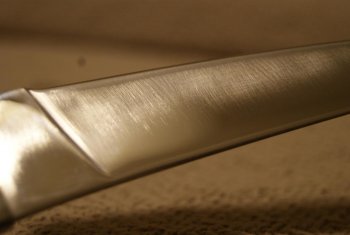
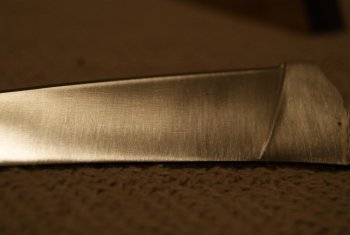
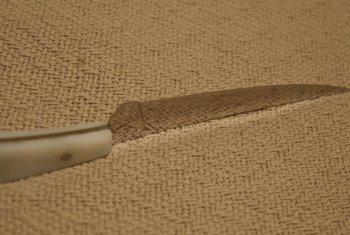
I did start polishing one side for about an hour before I had started taking pictures. The side on the left picture was the side I started working on.
_DSC8889.jpg _DSC8890.jpg

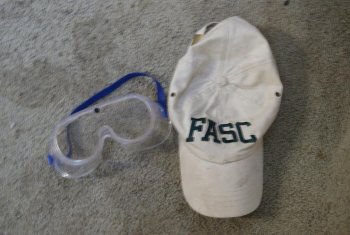
To polish a blade on a grinder, it is important to use the following two safety items. The goggles will protect your eyes from any debris that comes out of the grinder and the hat will protect your head in case the belt snaps off the grinder. It hasn't happened to me yet, but I've heard stories so it's better to be safe than sorry.
_DSC8899.jpg

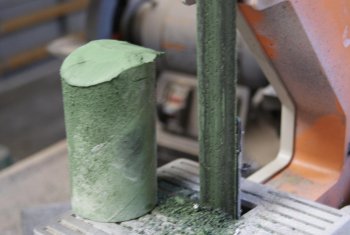
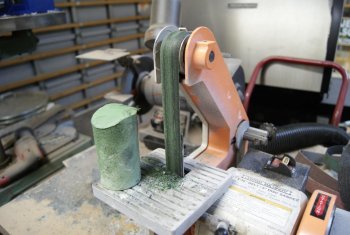
To polish the blade, I use a cork belt with a green chrome oxide polishing compound brick on a 1x30 belt grinder.
_DSC8891.jpg _DSC8892.jpg

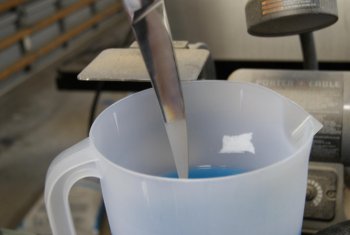
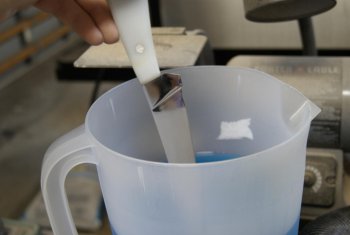
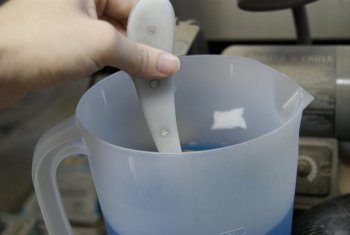
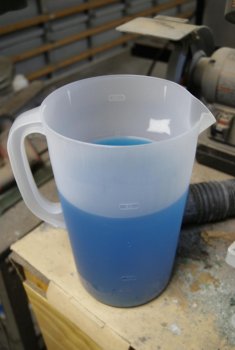
Since the blade has already been heat treated, allowing it to get hot while polishing on the grinder can undo the heat treatment. Therefore I use a pitcher filled with glass cleaner to keep my blade cool at all times. I usually use water, but when polishing I switch to glass cleaner. I like to think that it helps with the polishing, and I've found that helps against rust building up while working with the blade. While this fillet knife is stainless steel, I've had my first knife I was working on start building rust within an hour after I started grinding and dumping in water. Glass cleaner seems to help against that.
_DSC8894.jpg
 
Last edited:
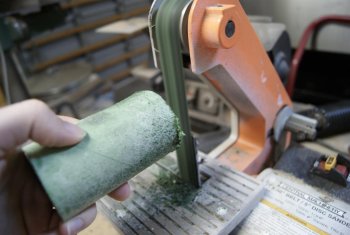
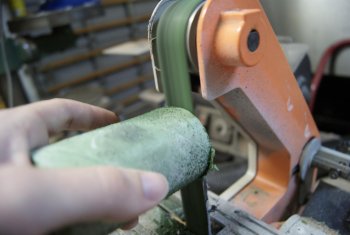
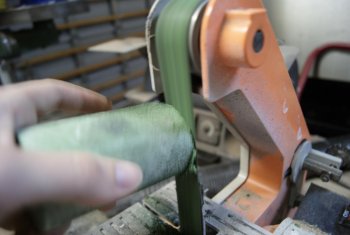
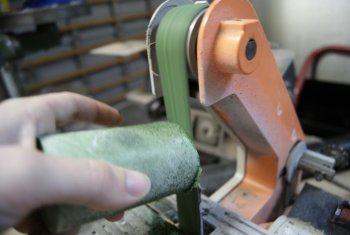
First I start out by applying the green compound brick to the cork belt. To do this, press the brick up against the belt while it is running. Do this until there is a nice even green coat on the belt.
_DSC8895.jpg _DSC8896.jpg _DSC8897.jpg _DSC8898.jpg


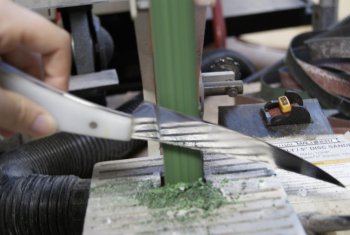
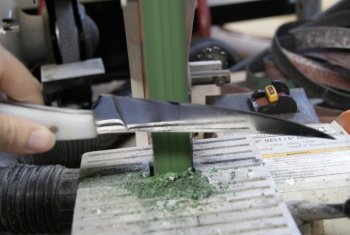
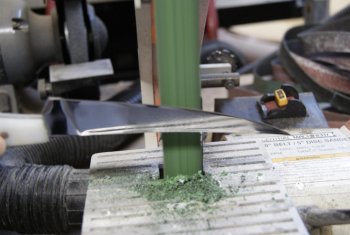
After the compound has been applied, run the blade across the belt to begin polishing. Note that I use two hands to do this, one holding the handle and another applying light pressure behind the blade against the belt. I couldn't do this and take the picture at the same time unfortunately, I needed one hand to take the photo. Hopefully you get the idea. I also do this without wearing gloves so I can feel the temperature of the blade.
_DSC8906.jpg_DSC8907.jpg_DSC8908.jpg


Once it starts to feel warm I stick it in the glass cleaner to cool it down. I had to do this between almost every swipe or two.
_DSC8903.jpg_DSC8904.jpg_DSC8905.jpg

Repeat this process until you have the polish you like, in my case hundreds of times. Reapply compound when the belt is not looking green anymore.
 
Last edited:
After about 40 minutes at the grinder polishing I decided to take a quick break and take some more pictures. There appears to be some slight improvement in the reflection of the blade.
_DSC8910.jpg_DSC8911.jpg_DSC8912.jpg

But taking a closer look at the photo below, you might be able to see that the half part towards the edge is not as reflective as the half part towards the spine.
_DSC8913.jpg

Tilting the blade towards the light, we can see there are still many scratches on the metal interfering with the reflection.
_DSC8914.jpg

And just for a quick comparison, I took a picture of the opposite side that I haven't started working on yet.
_DSC8915.jpg

To remove these scratches, I went back to the grinder and went down a belt which is my felt wool belt. It's slightly more aggressive than the cork belt and I thought it would take the scratches out faster. After about 10 minutes I was still seeing no results, so I went onto a very worn out 320 grit belt which is probably more like a 400 grit or finer. Even this belt took quite a bit of time to get out the scratches, but as I started seeing less and less scratch marks I went back up to my felt wool belt. Then eventually back to my cork belt. This entire process took me about 3 hours and the blade is still not a perfect reflection, but it has fairly nice polish. This is just one side.
_DSC8917.jpg_DSC8918.jpg_DSC8919.jpg

I will try to spend a few hours in the morning polishing the other side and then after that attempt to cover the handle with plasti dip.

If anyone has any tips for using plasti dip on a knife handle, please feel free to share your knowledge. This my first time ever working with the stuff and I have the spray can bottle type. I'm assuming I spray it on like spray paint in even coats. Let each coat dry for about 20 or 30 minutes between coats. I'm thinking of maybe doing 5 coats or so and then take it from there.
 
Last edited:
Now that the polishing is done I'm uploading photos while the first coat of plasti dip dries on the handle.

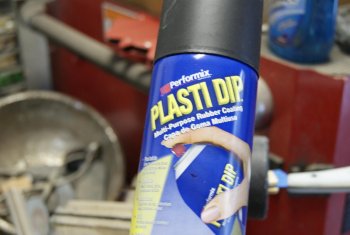
This is the can of plast dip I'm going to use. I picked it up at my local hardware store.
_DSC8936.jpg

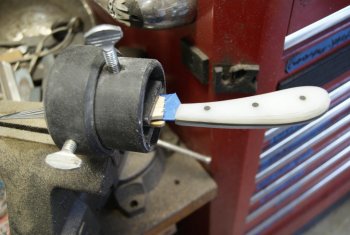
Before spraying the handle, I wrap some blue masking tape around the blade that I don't want to have covered in the plasti dip.
_DSC8935.jpg

Then I place the knife in my vise grip, with two pieces of wood to protect the blade from the vise.
_DSC8937.jpg

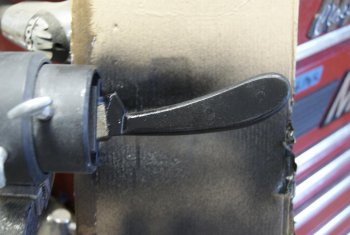
Before I begun spraying, I also placed a piece of card board box against my tool box to protect it from the plasti dip. Here is a photo after the first coat.
_DSC8938.jpg

I hope this comes out okay, I'm not too experienced with using spray paint bottles. I tried to apply as evenly as I could.

Here it so far after just applying the third coat:
_DSC8940.jpg

After the 7th coat and letting it sit in the vice to dry for 2 hours I finally take it off.
_DSC8941.jpg

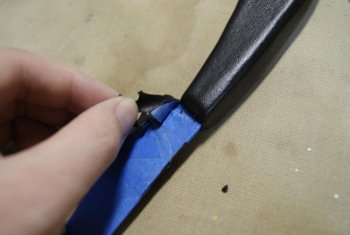
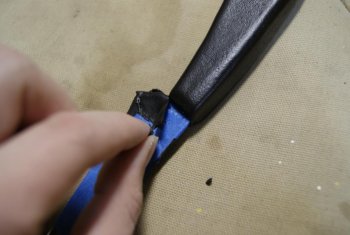
Apparently this stuff peels off quite easy.
_DSC8942.jpg_DSC8943.jpg

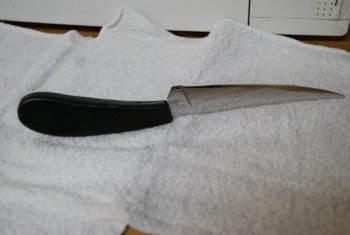
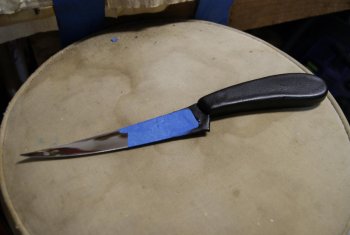
Here is the almost finished fillet knife. The instructions say to let it dry for 4 hours before handling, so I carefully placed it back into the vice to finish drying over night. I think it came out nice and my neighbor will surely like it. After tonight I will need to start on the sheath next and then do some final resharpening as it became a little dull from the polishing.
_DSC8945.jpg_DSC8947.jpg

attachment.php
 
Last edited:
This makes me almost scared for you, polishing with the sharp edge up your looking to loose a finger. Ive only got 10 or so stitches all because of polishing a blade.It looks to me like this blade is sharp. You need to sand a blade in progresion from 120,240 400,600,then 800, 1200 and 3000 then go to the green cro to finish and some times white jewlers rouge works better.Kellyw
 
What HELLGAP said. Sand then polish. Makes for a better looking blade. It's easy to tell if someone tried to cheat by going straight to polish. Those scratches will show up in different lighting and look pretty bad.
 
Thanks for the tips gentlemen. This is my second time ever trying to polish a knife. I've been taught to always work the knife sharp edge up, not sure if there is an exception to this rule when polishing or not. Due to the safety concern, I decided to wear leather gloves to be safe, but then the problem is I can't feel if the metal is getting hot or not. I decided to start at 240 grit this time around, which I think was a mistake. I started seeing more scratch marks and it begun to reform the blade a bit after just a few minutes of sanding. I went up to 320 grit and spent about 2 hours trying to undo what the 240 grit had done. Also, during the 320 grit process I applied a little too much pressure and caused a burn mark on the blade in one single swipe and went through to the other side of the blade. That took about another 2 hours using the 320 grit to take the burn marks out of both sides. Not sure if there is a safe way to polish a blade and be able to feel for heat for a blank that comes already sharpened.

Then I moved up to my worn out 320 grit which is like a 400 grit I guess. Spent an hour on each side with this belt. That is the finest grit belt I own so I have to make do with what I have. Then I polished both sides with the felt wool and cork. After spending all day trying to polish, I think there's a slight improvement from last night. I might need to invest in finer grit sand belts perhaps.

This is a photo of the other side:
_DSC8934.jpg
 
Last edited:
looks good to me my only question to anyone is can i get these spray in something with a texture ive used truck bed liner just to textured ?
 
First,
You need a respirator to add to your safety gear. Very important.

Worn belts to not become a finer grit. Just worn, Use sharp fresh belts for your finish work and you will cut the time by over half. I double the grit in a sanding progression. 120, 220, 400 Grits.

For wood & synthetic handles I use 40 -120 -220 grit Aluminum Oxide belts. These are inexpensive and work better than Ceramic belts which are for metal

I like the knife. keep at it you are doing great!

Laurence

www.rhinoknives.com
 
If the cr ox on the belt grabs and flips that blade to will never stop it from doing what it wants. Buffing wheels in my opinion work better to polish you need to use your cork for sharpening then youll be in the right direction . If you held a blade sharp up like that on a buffing wheel it would tear it out of your hands and throw the knife at 100 plus miles an hour, ive seen it and its the scaryest machine in my shop.
 
Back
Top