Leather Carving WIP

Josh Dabney

Moderator
It's been about forever since I've made a sheath so please forgive if I'm a bit rusty :)

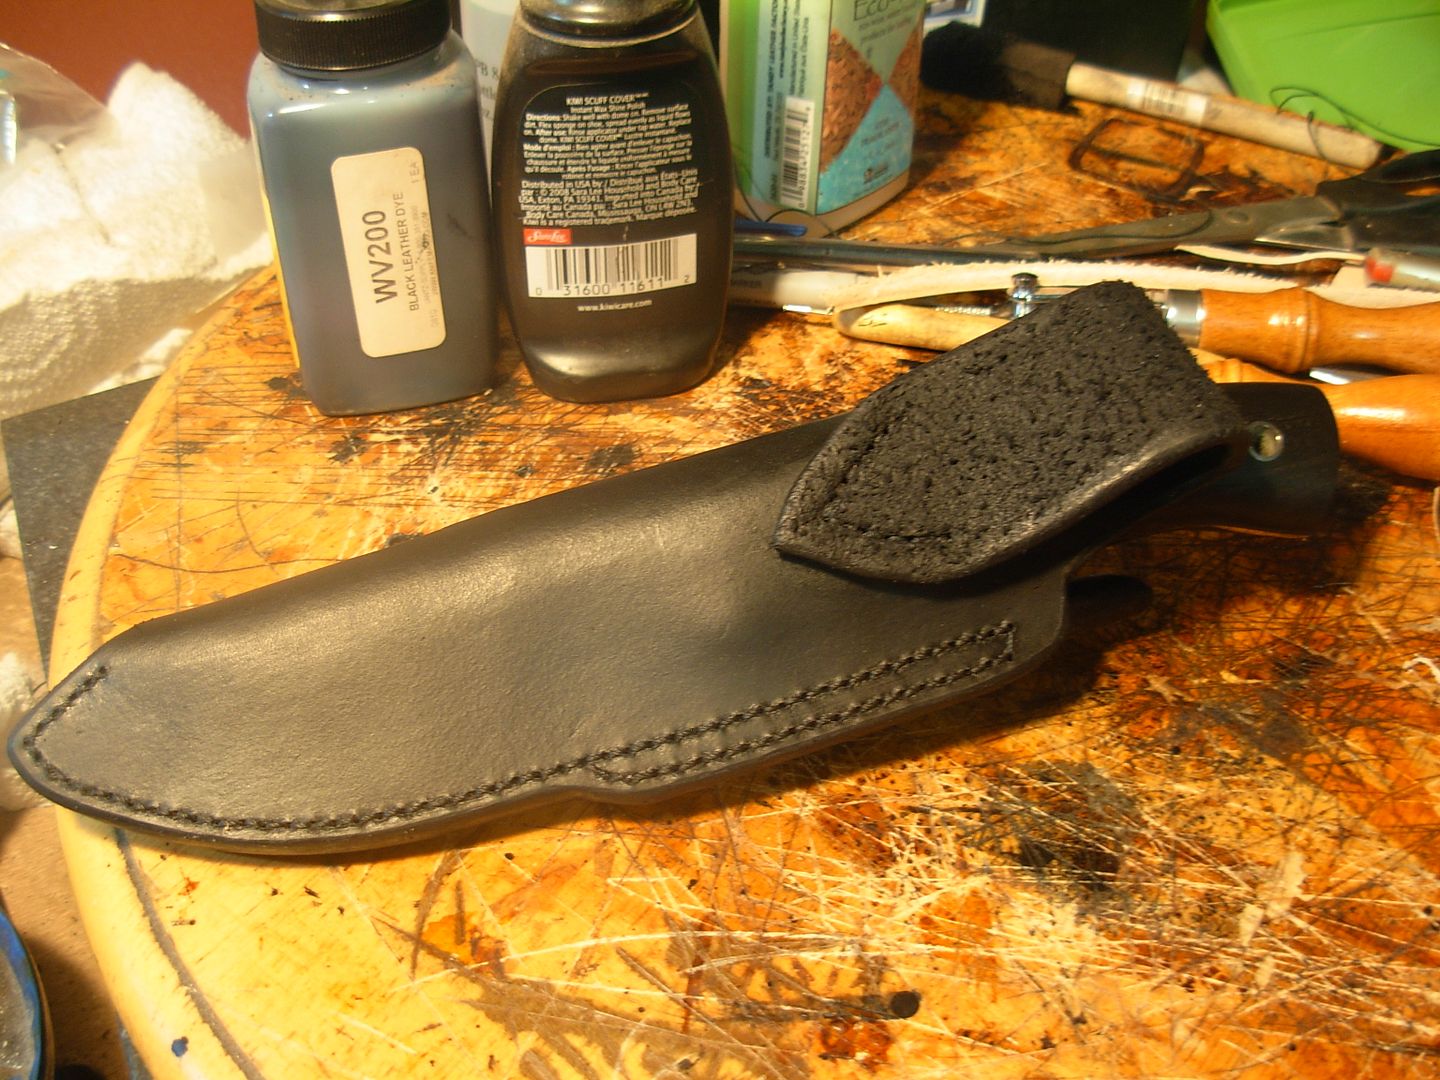
This sheath is a pretty basic 2 piece butterfly style pouch sheath. Only the body & Belt loop and the welt. The sheath is going to be carved in a Sheridan inspired floral pattern that is HEAVILY influenced by my friend Sandy Morrisey's work.

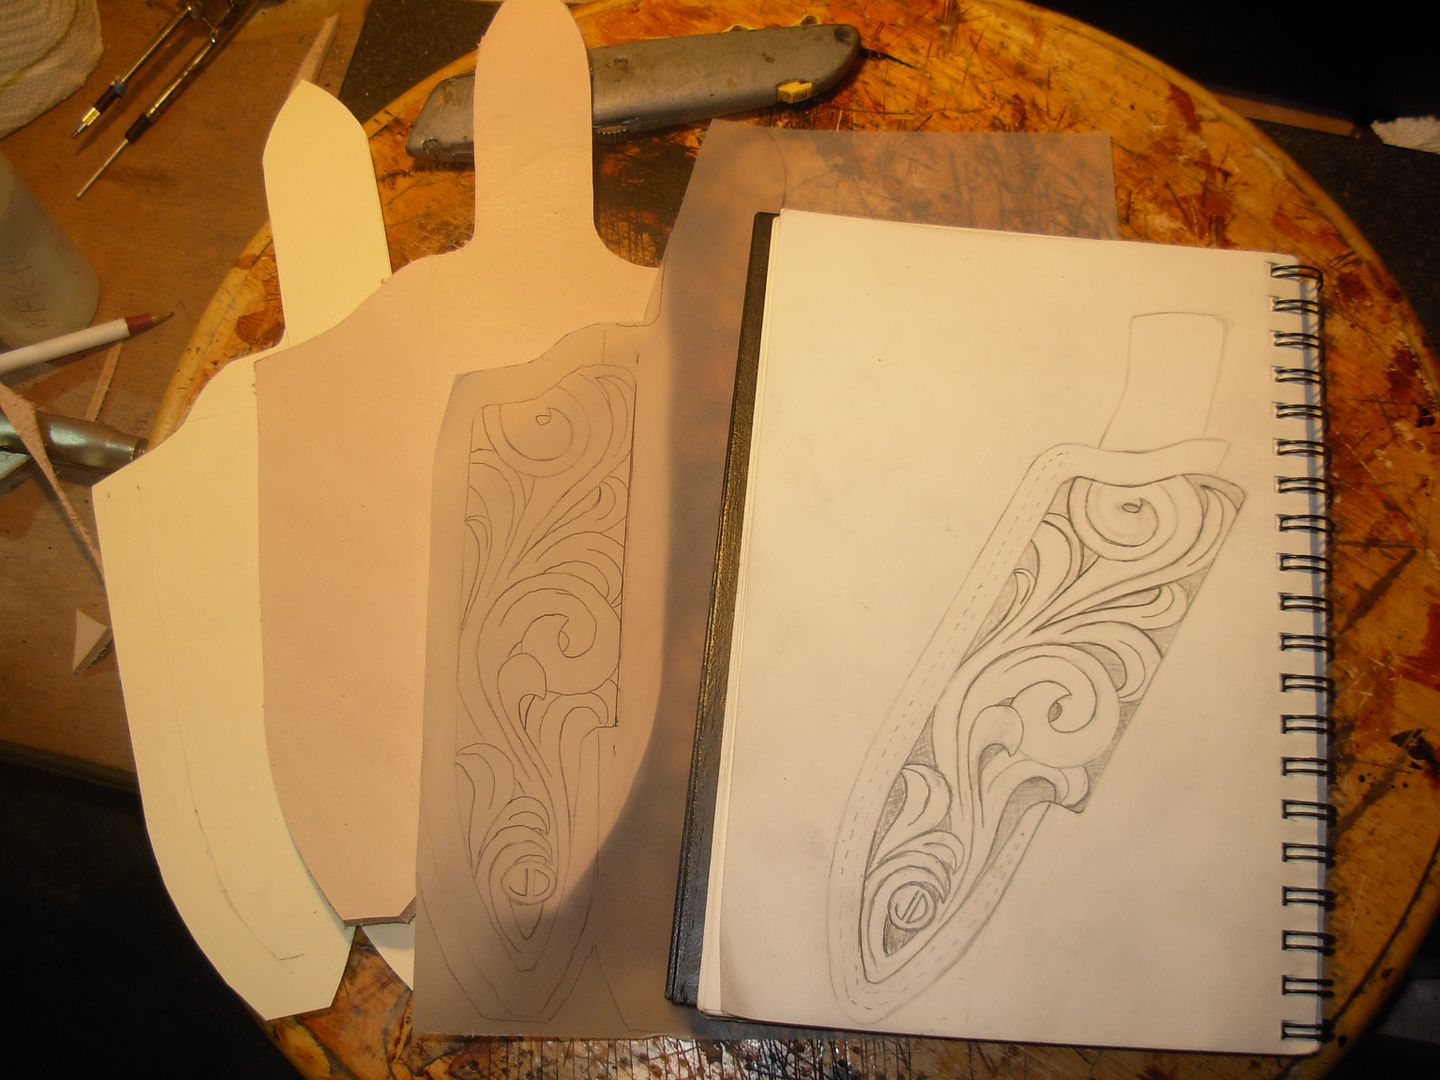
I always draw my work out first and go from there. So here we've got my original drawing, a pattern of my cut lines made on tracing paper, my sheath body in some 10 oz. leather, and my original file folder pattern.

SheathCarving001.jpg


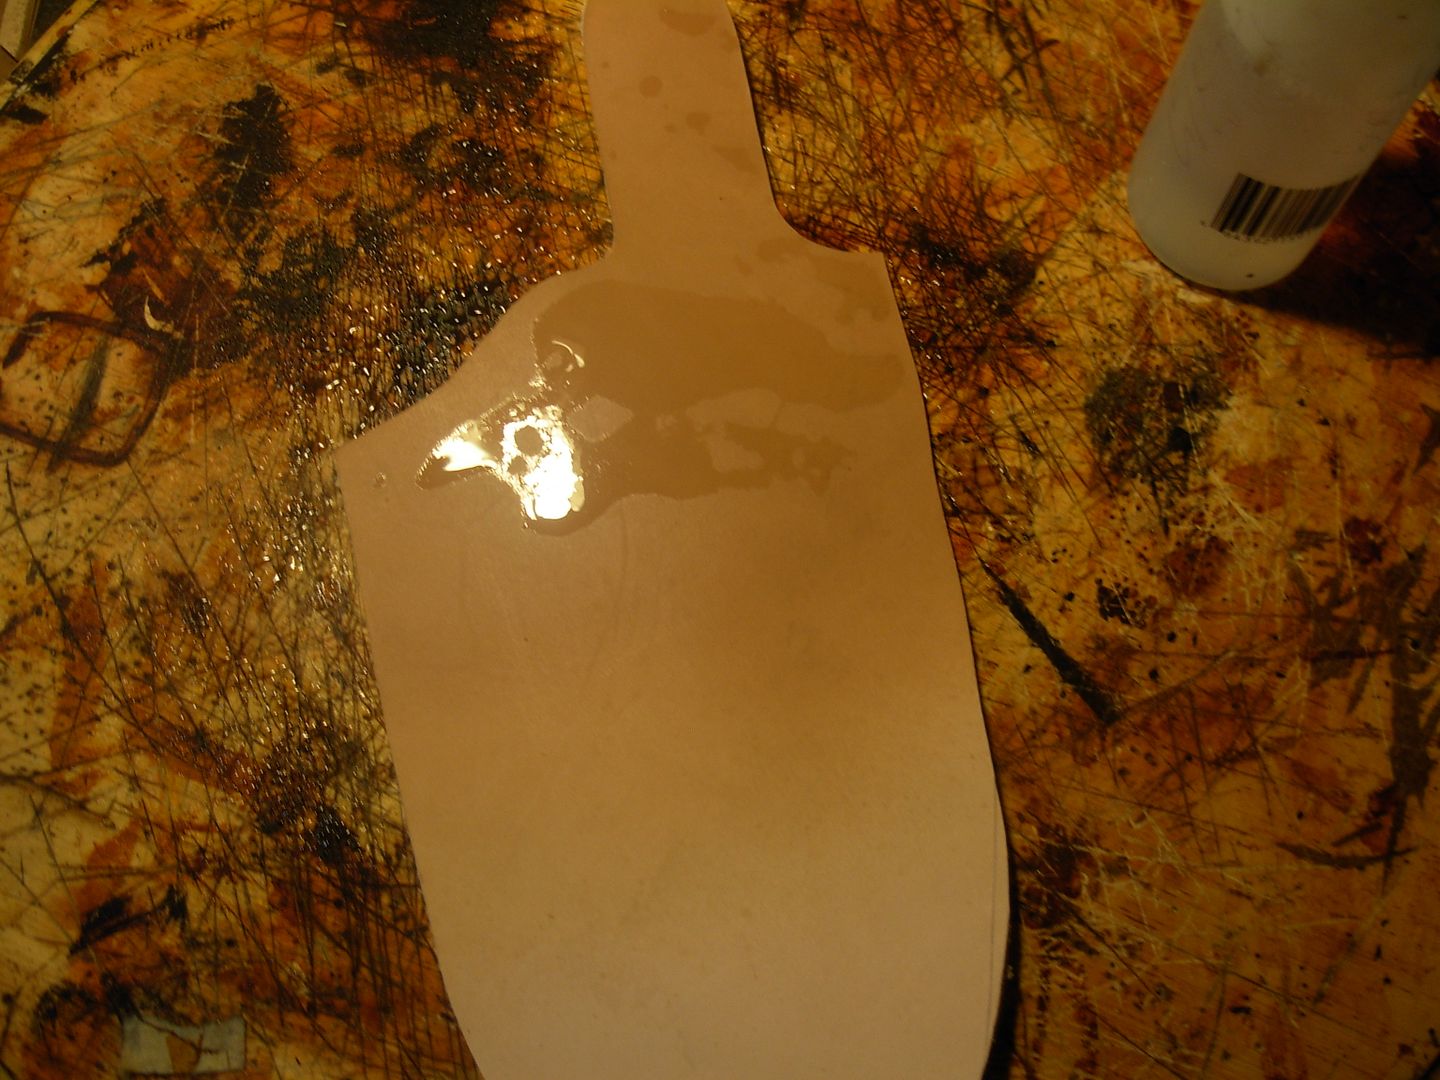
I first need to case my leather to soften it up for the pattern transfer. I don't use too much water to case the leather and just spritz the leather with plain old tap water. I snapped this pic just to show that I spritz it until get some water remaining on the surface and let that soak in but each time I spritz I wet the entire piece as evenly as possible. After wetting the piece leave it dry until it returns to looking it's natural color.

SheathCarving003.jpg


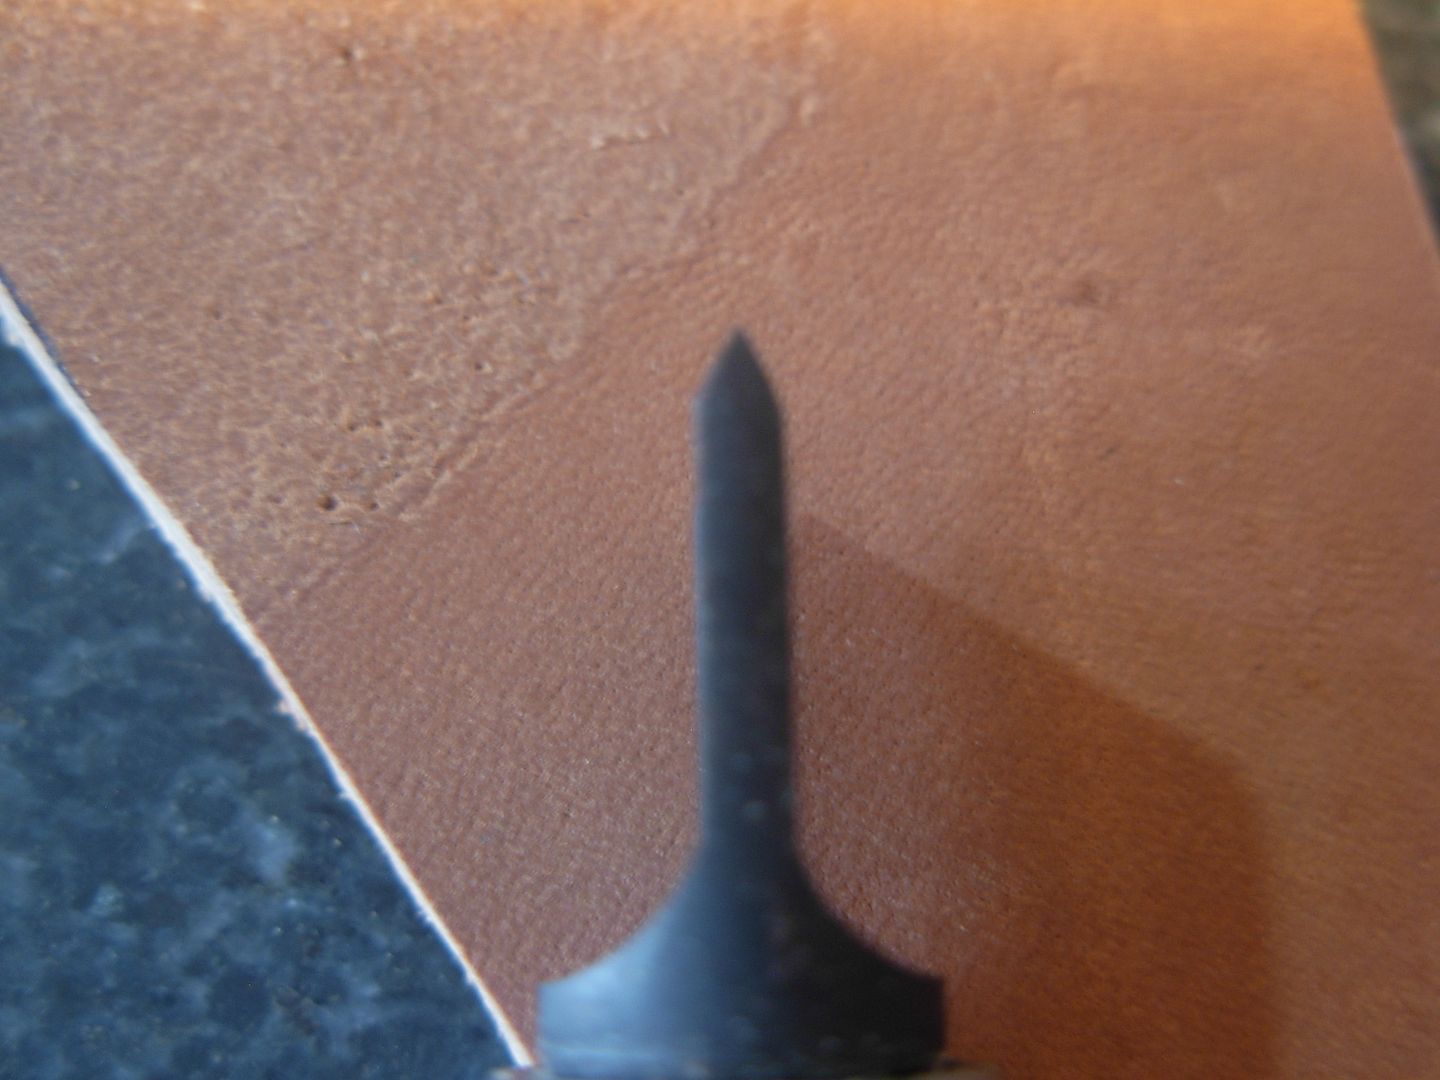
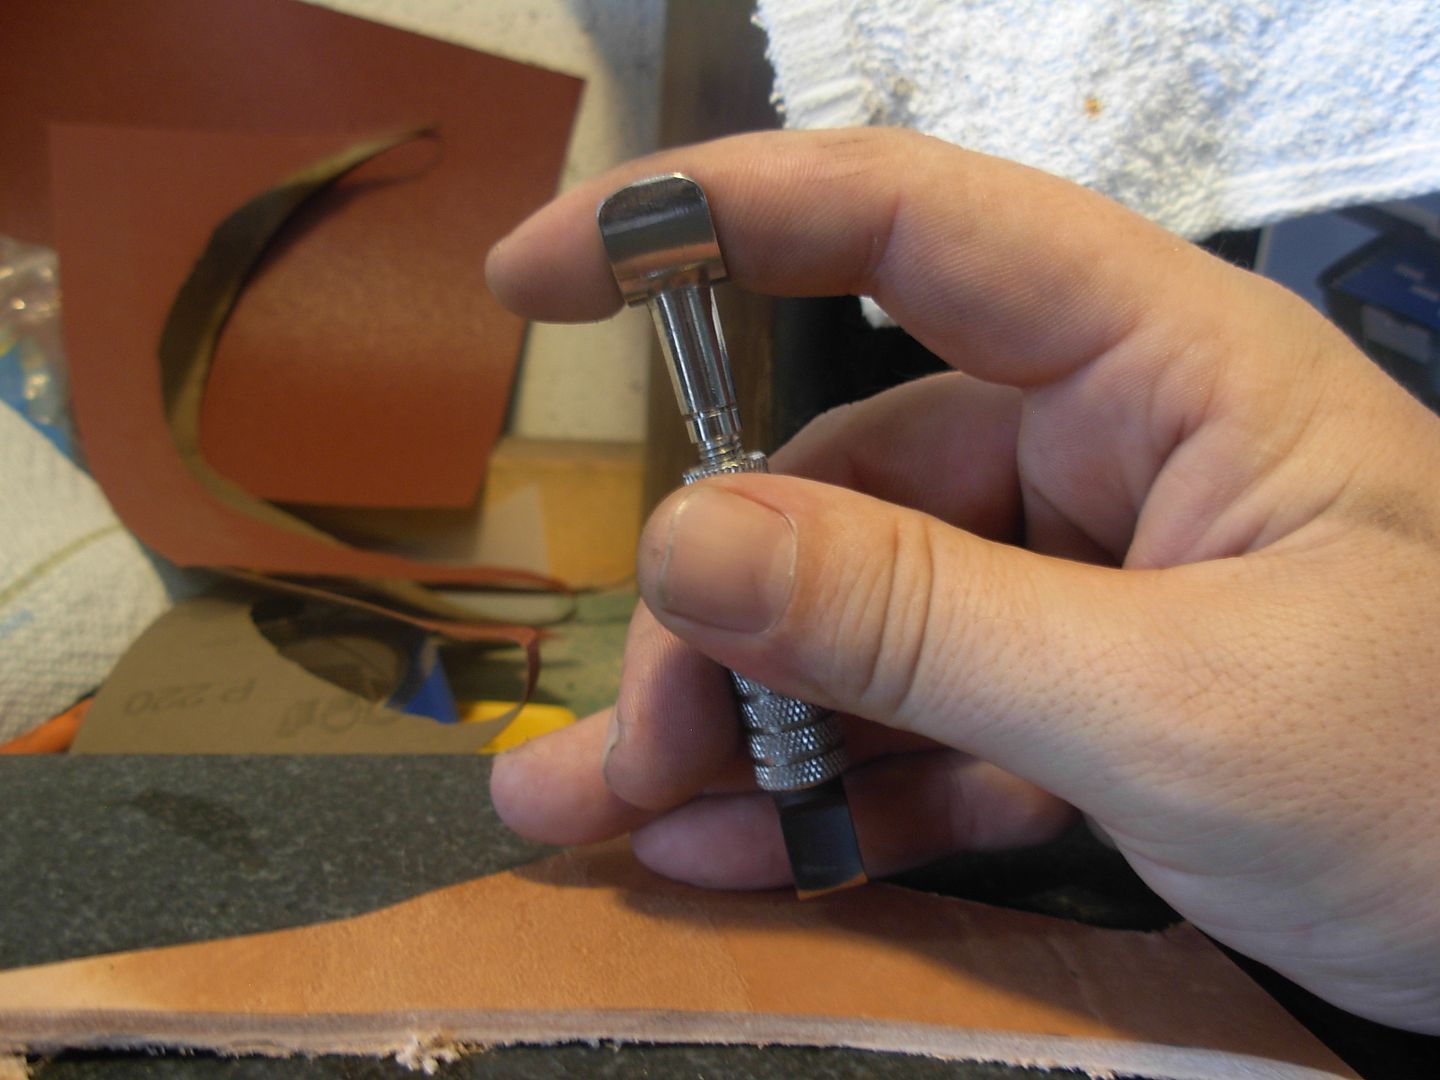
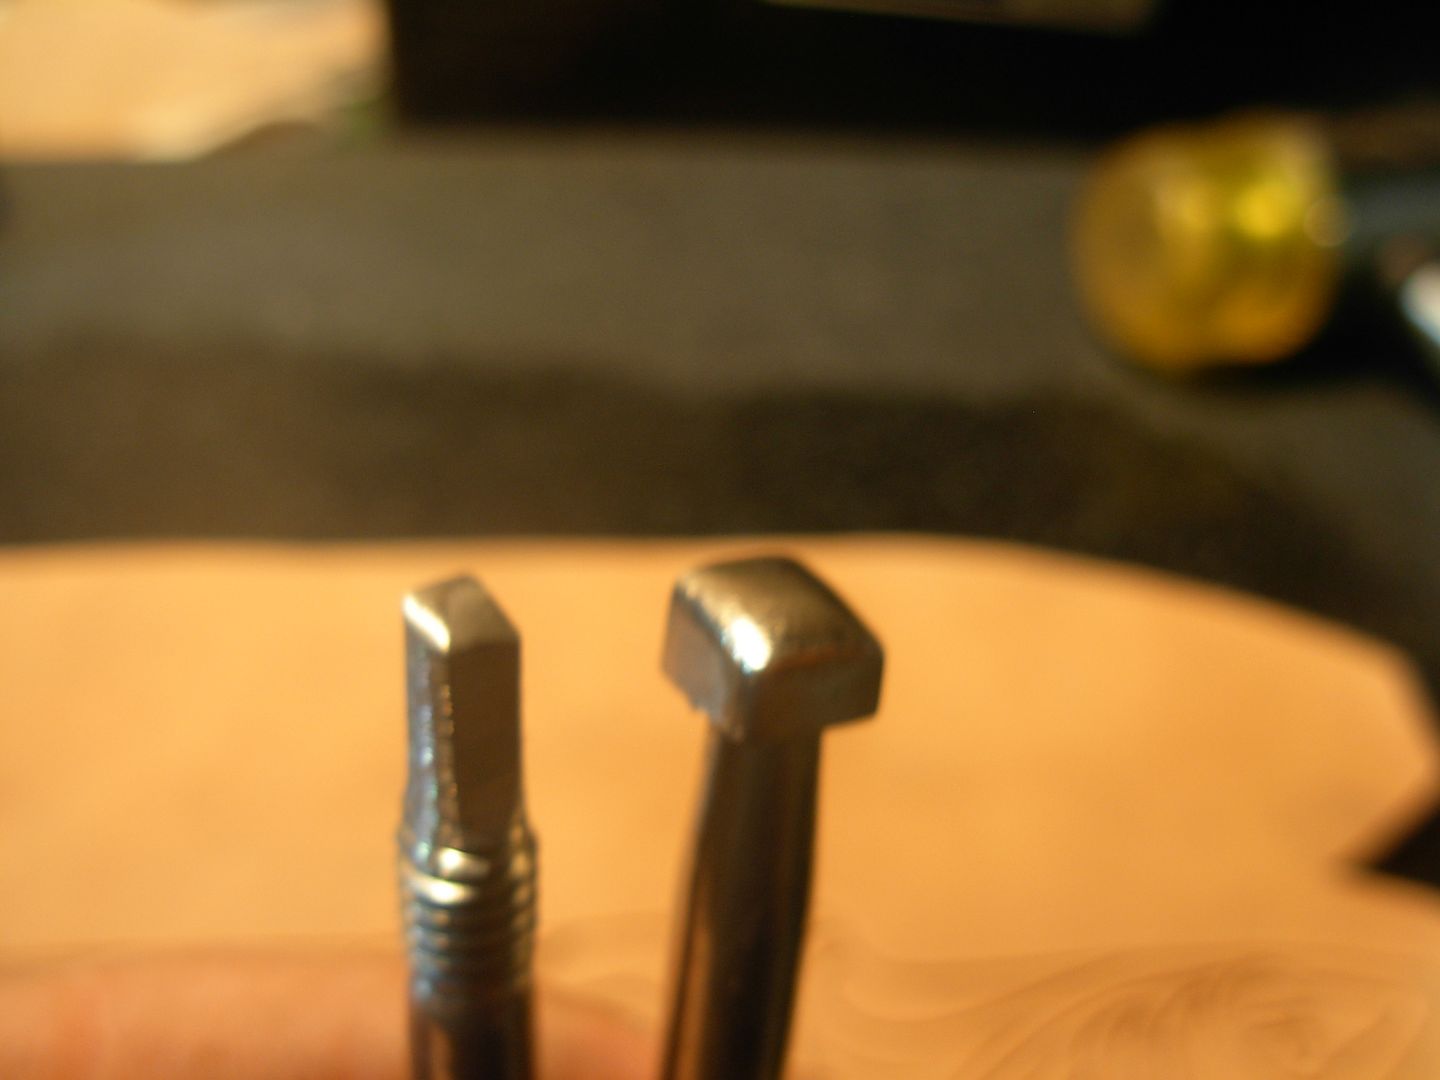
While I waited for my leather to case I whipped up this little homemade bevelling stamp. The craftool beveller is rather large for the interior of the carving so something smaller was in order. Nothing fancy, just a 1/4 Stainless bolt from the hardware store and a few minutes at the grinder.

SheathCarving013.jpg


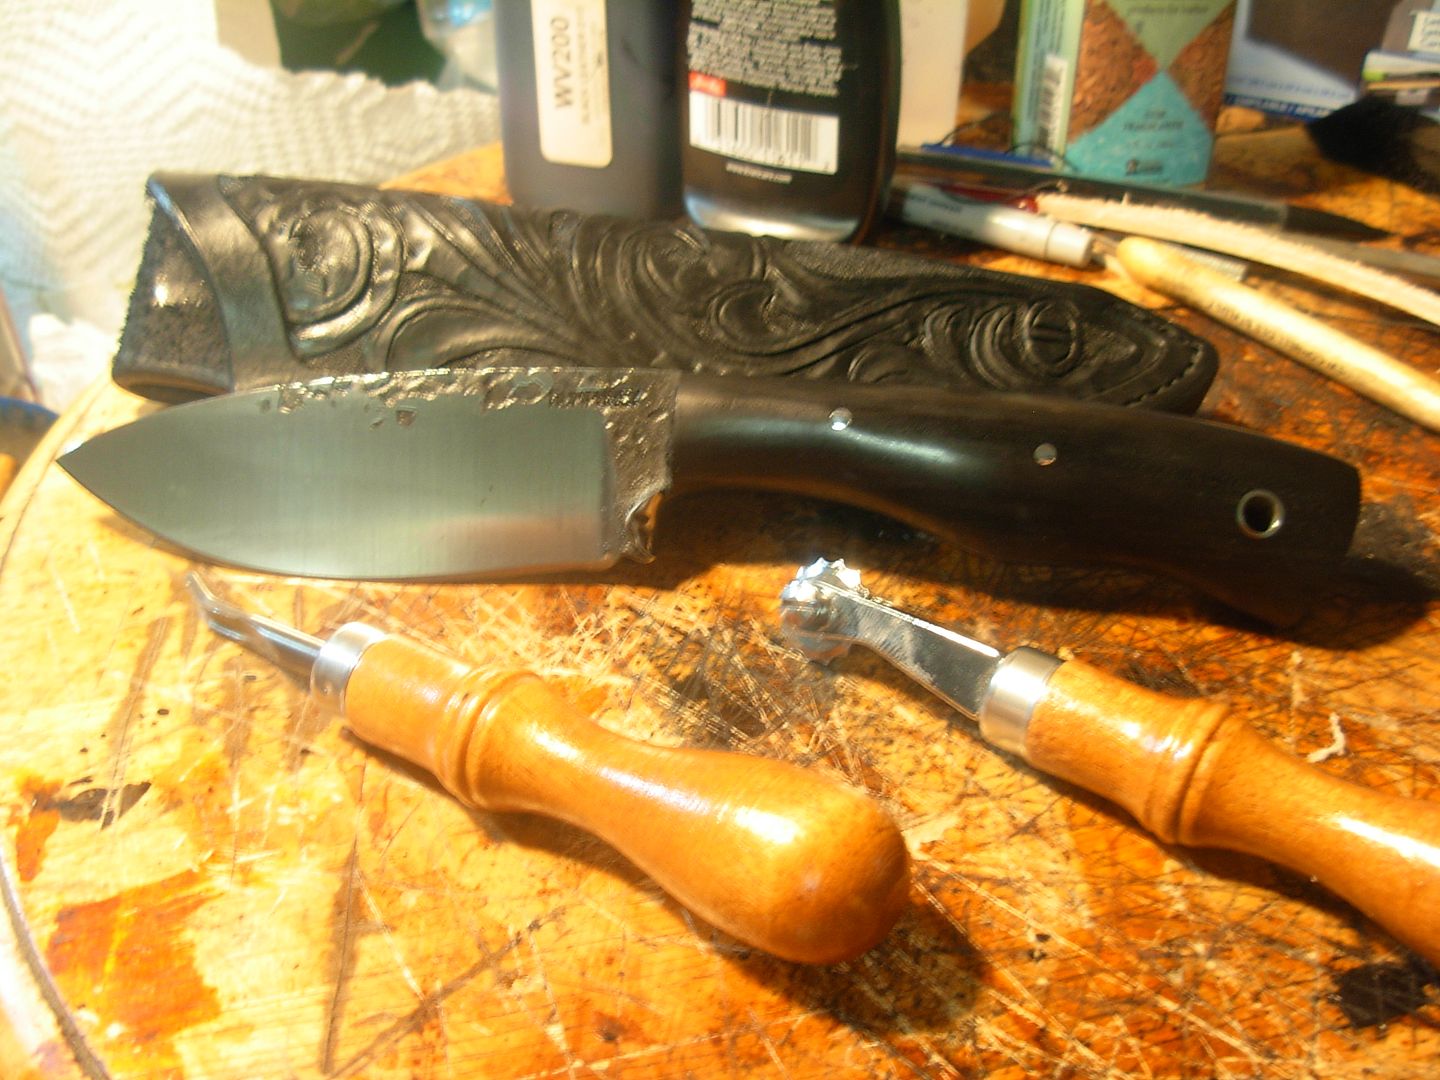
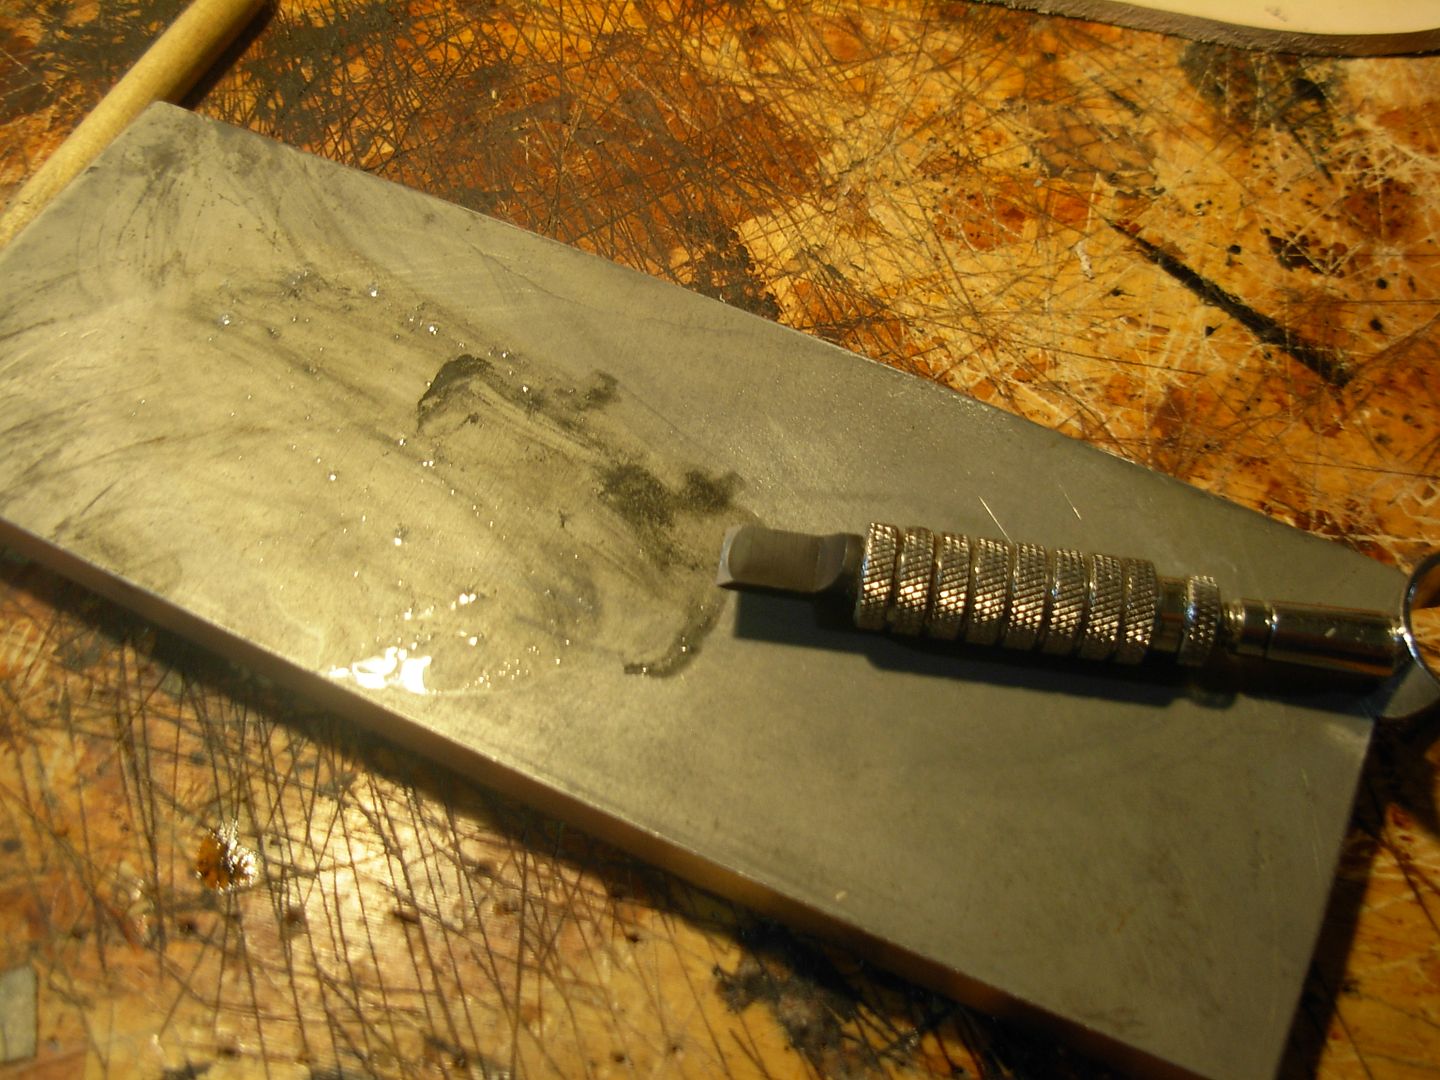
The other thing I needed to do since I haven't used my leather tools in so long is sharpen my swivel knife blade to ensure a clean cut. Just sharpen it up on a 1200 grit diamond stone and we're good to go.

SheathCarving006.jpg


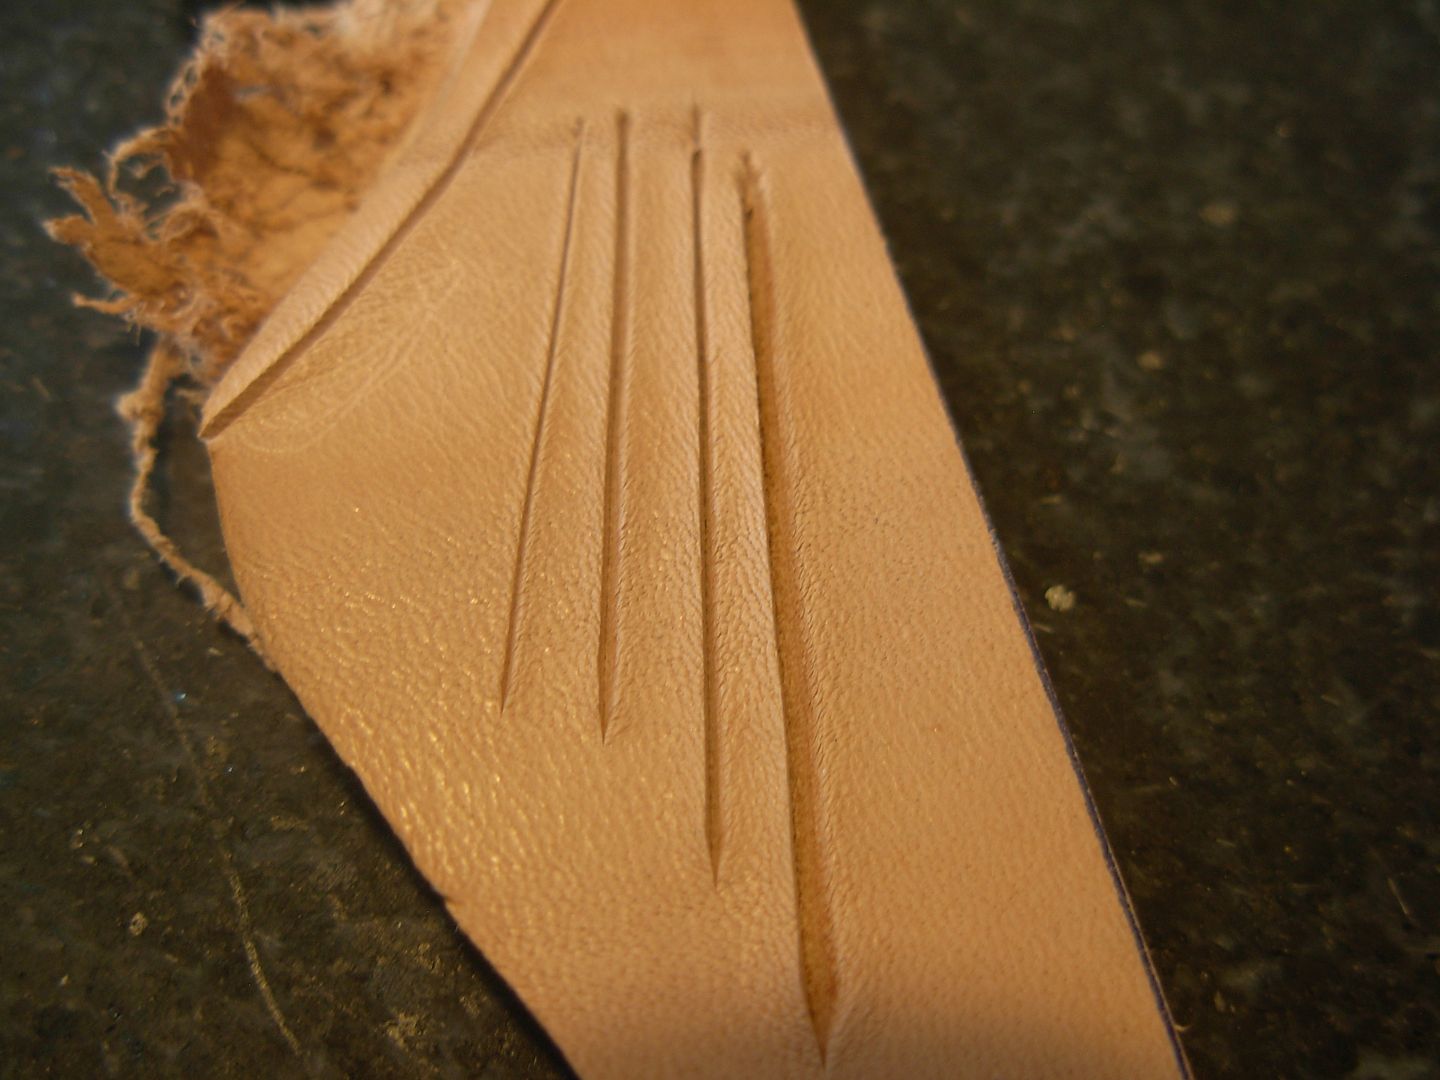
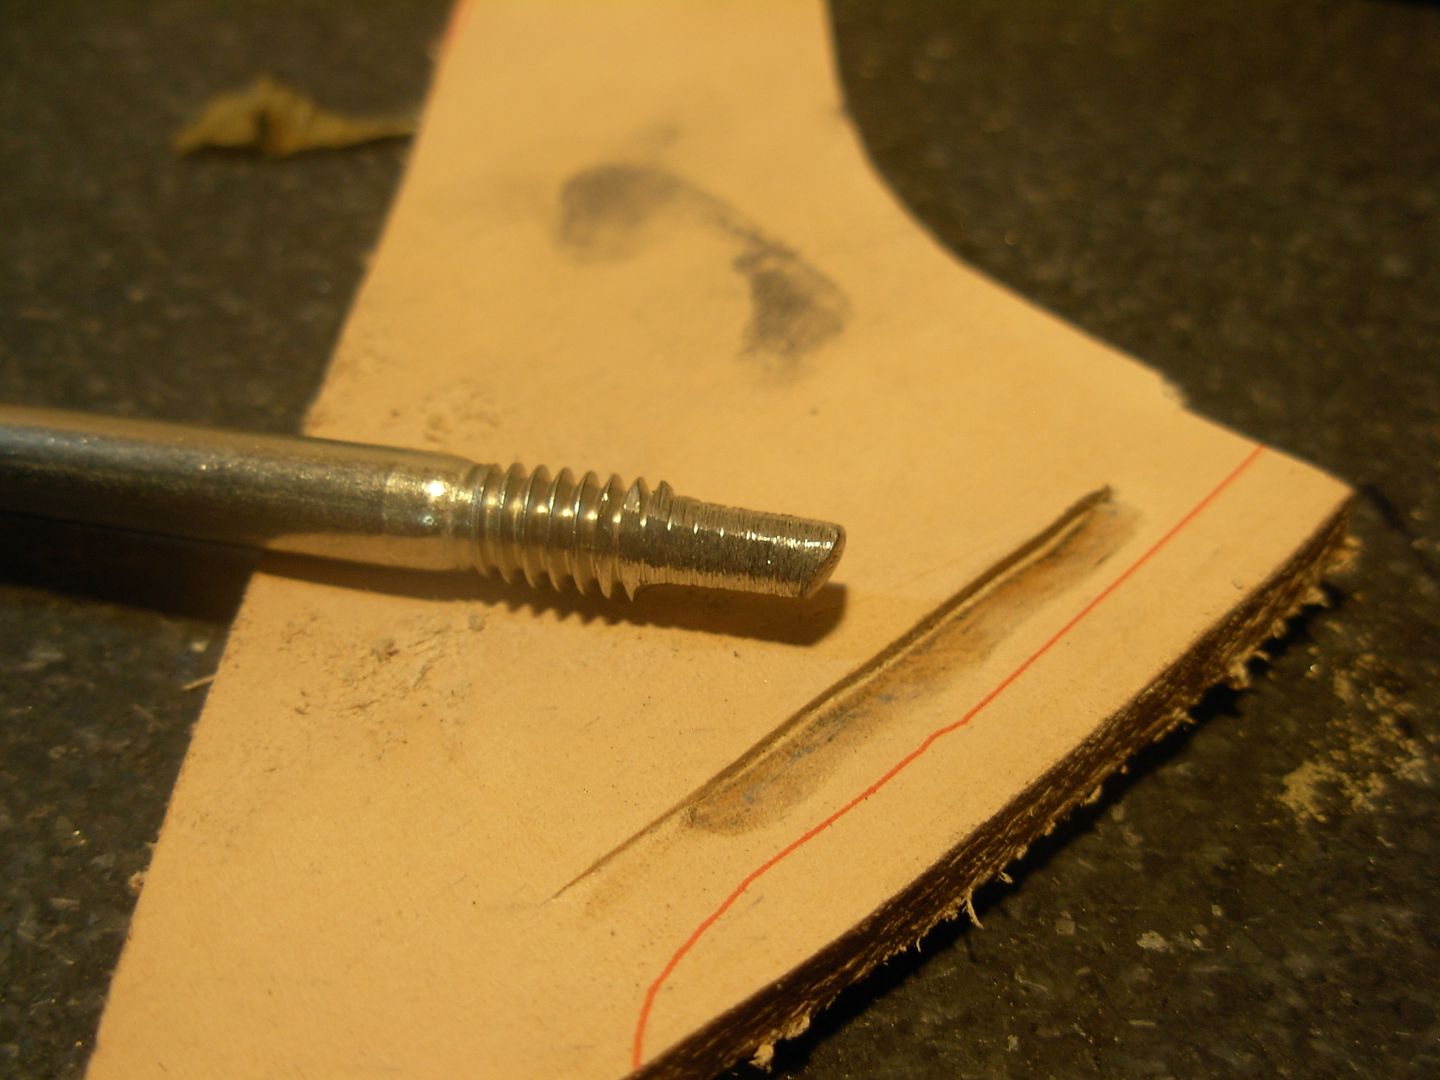
Of course it's a good idea to grab a piece of scrap and lay a cut with the swivel knife and give the new beveller a test run. Should do the trick I think.

SheathCarving009.jpg


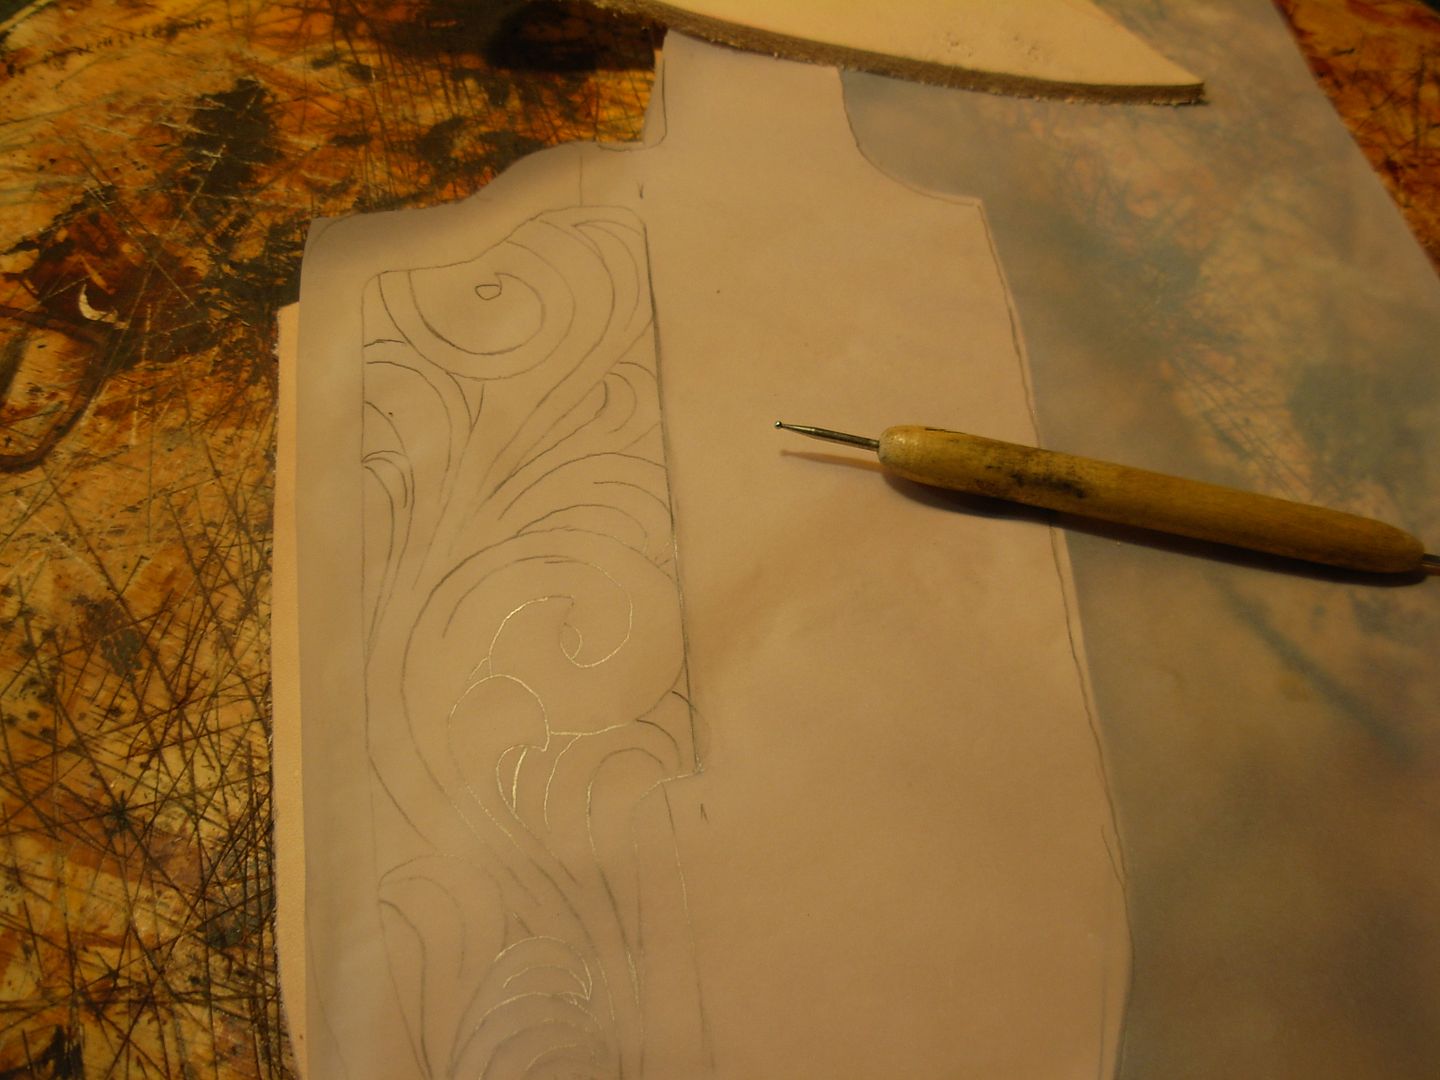
Now I'm ready to transfer my carving pattern to me cased leather. Line up my tracing paper pattern on my leather and trace all the lines lightly with this ball point stylus. I picked this tool up at JoAnn Fabrics a few years back and use it alot while working leather

SheathCarving004.jpg


Here's the pattern tranferred and ready for the swivel knife

SheathCarving007.jpg


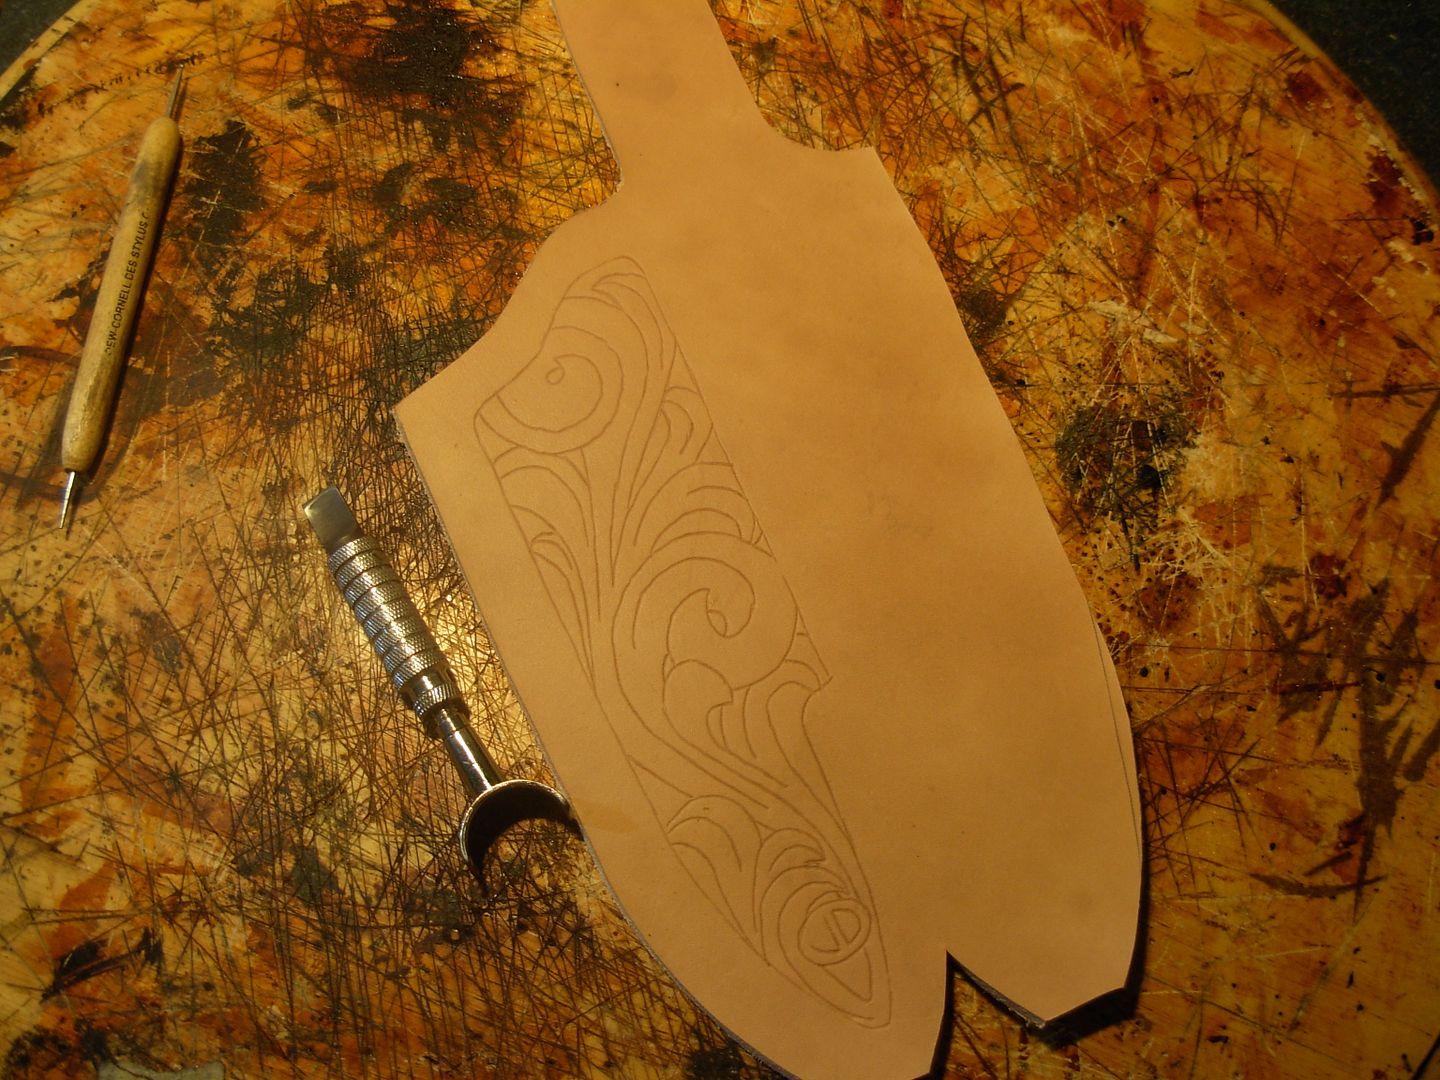
I always start by cutting the outside boarder first

SheathCarving010.jpg


With the boarder cut I start at one side and work my across cutting the longest main lines first, then the shorter cuts that join the first ones, then finish with the accent cuts in the middle of the leaves

SheathCarving011.jpg


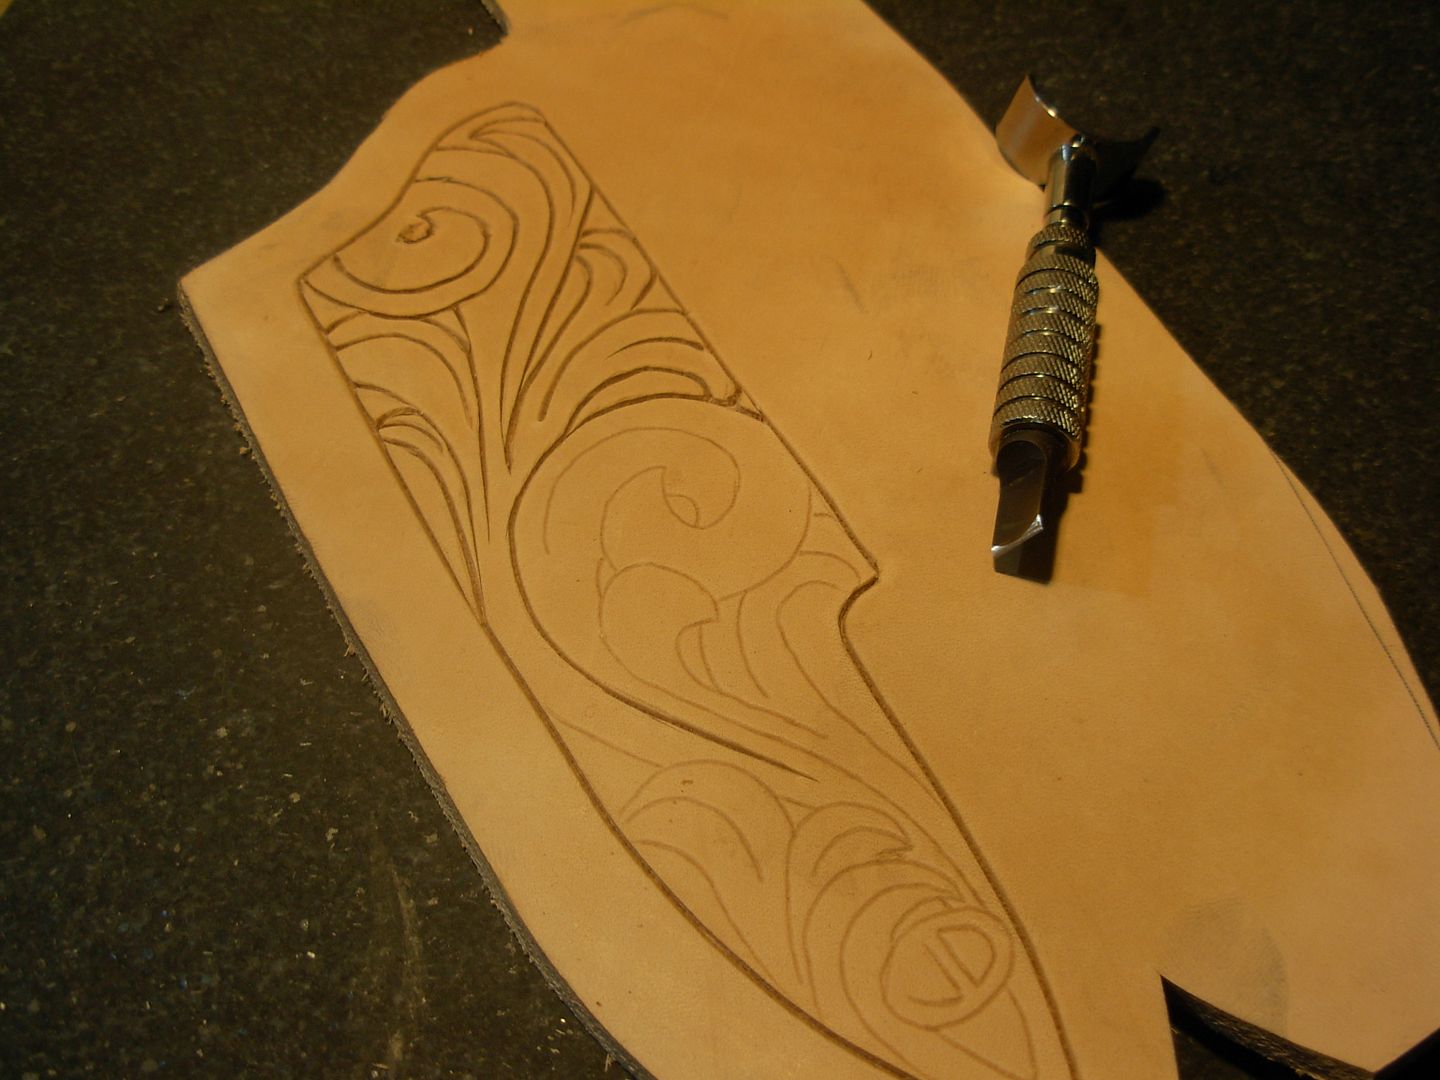
Take your time with the swivel knife and stick to the pattern as best you can

SheathCarving012.jpg


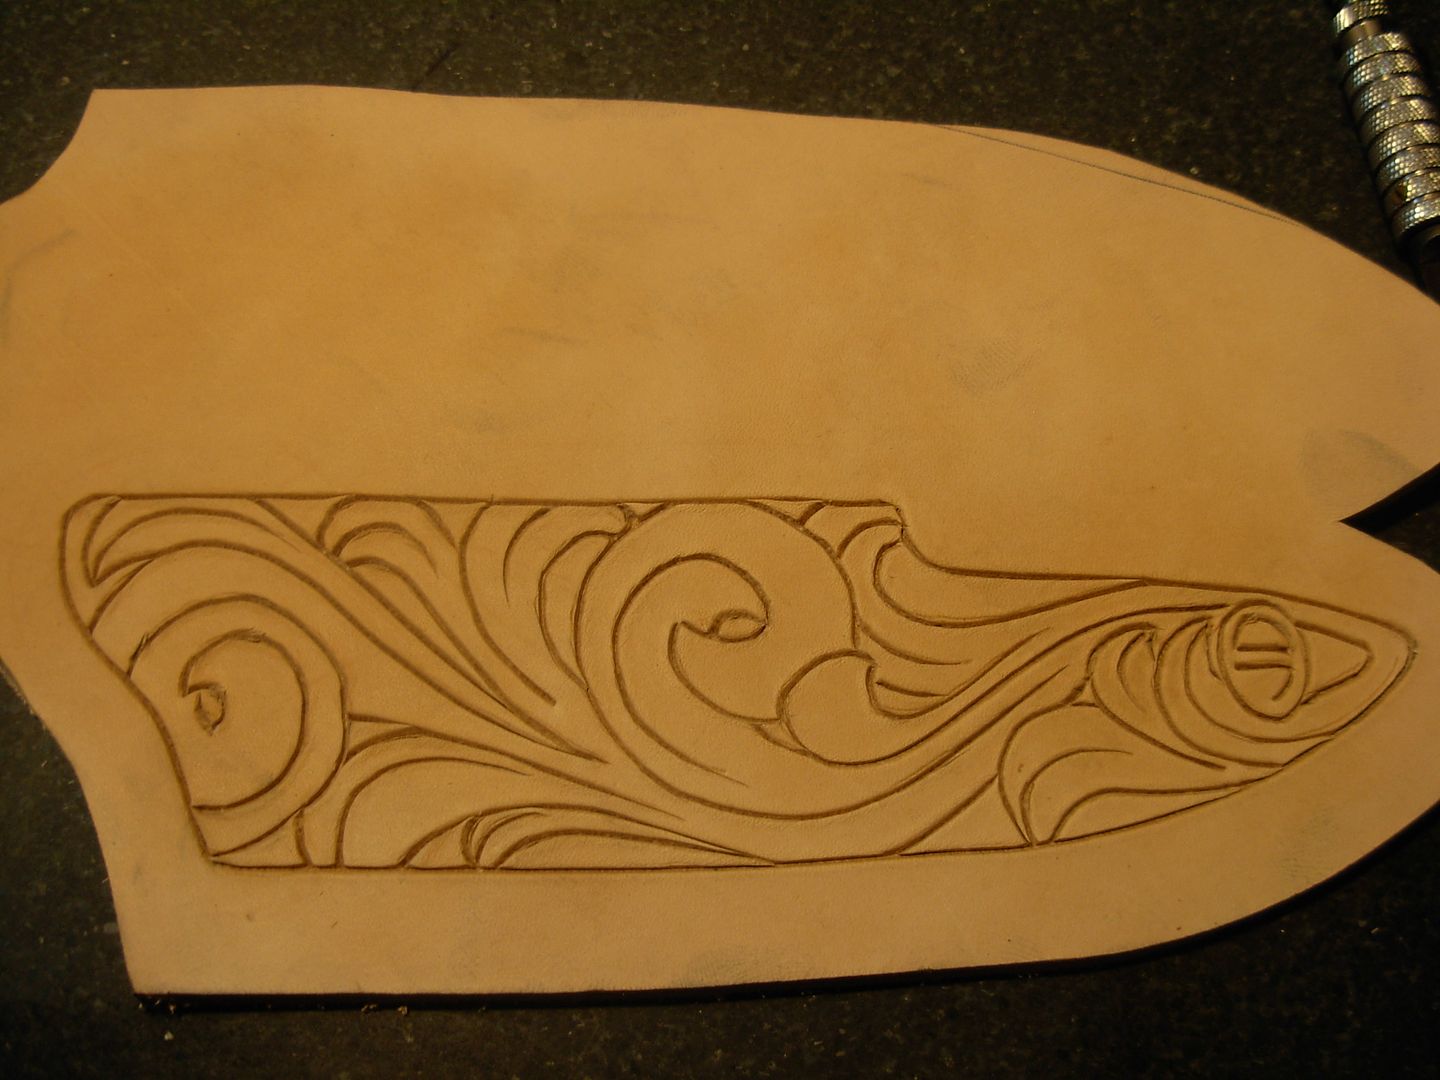
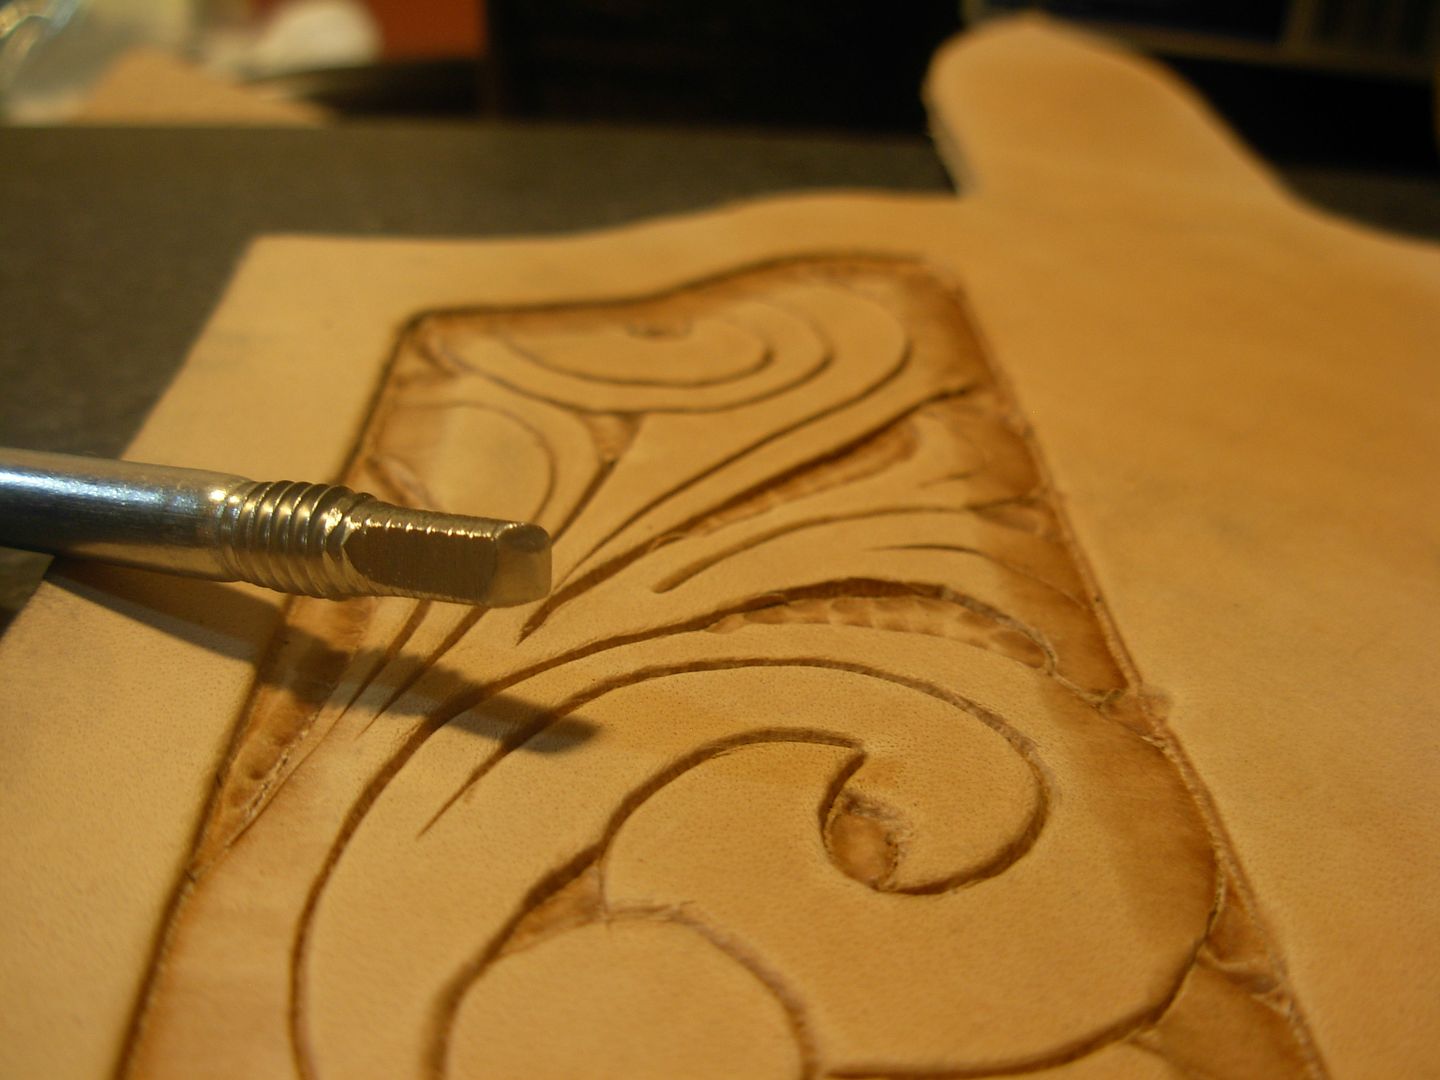
Finished cutting and ready to begin stamping. Starting out with the Craftool beveller to stamp the entire outside boarder to define my carved area from the main sheath body surrounding it

SheathCarving014.jpg


Then move on to the interior of the carving with my small beveller to stamp down the boarders of my backround areas which will define the carving and bring the floral aspects "forward"

SheathCarving015.jpg


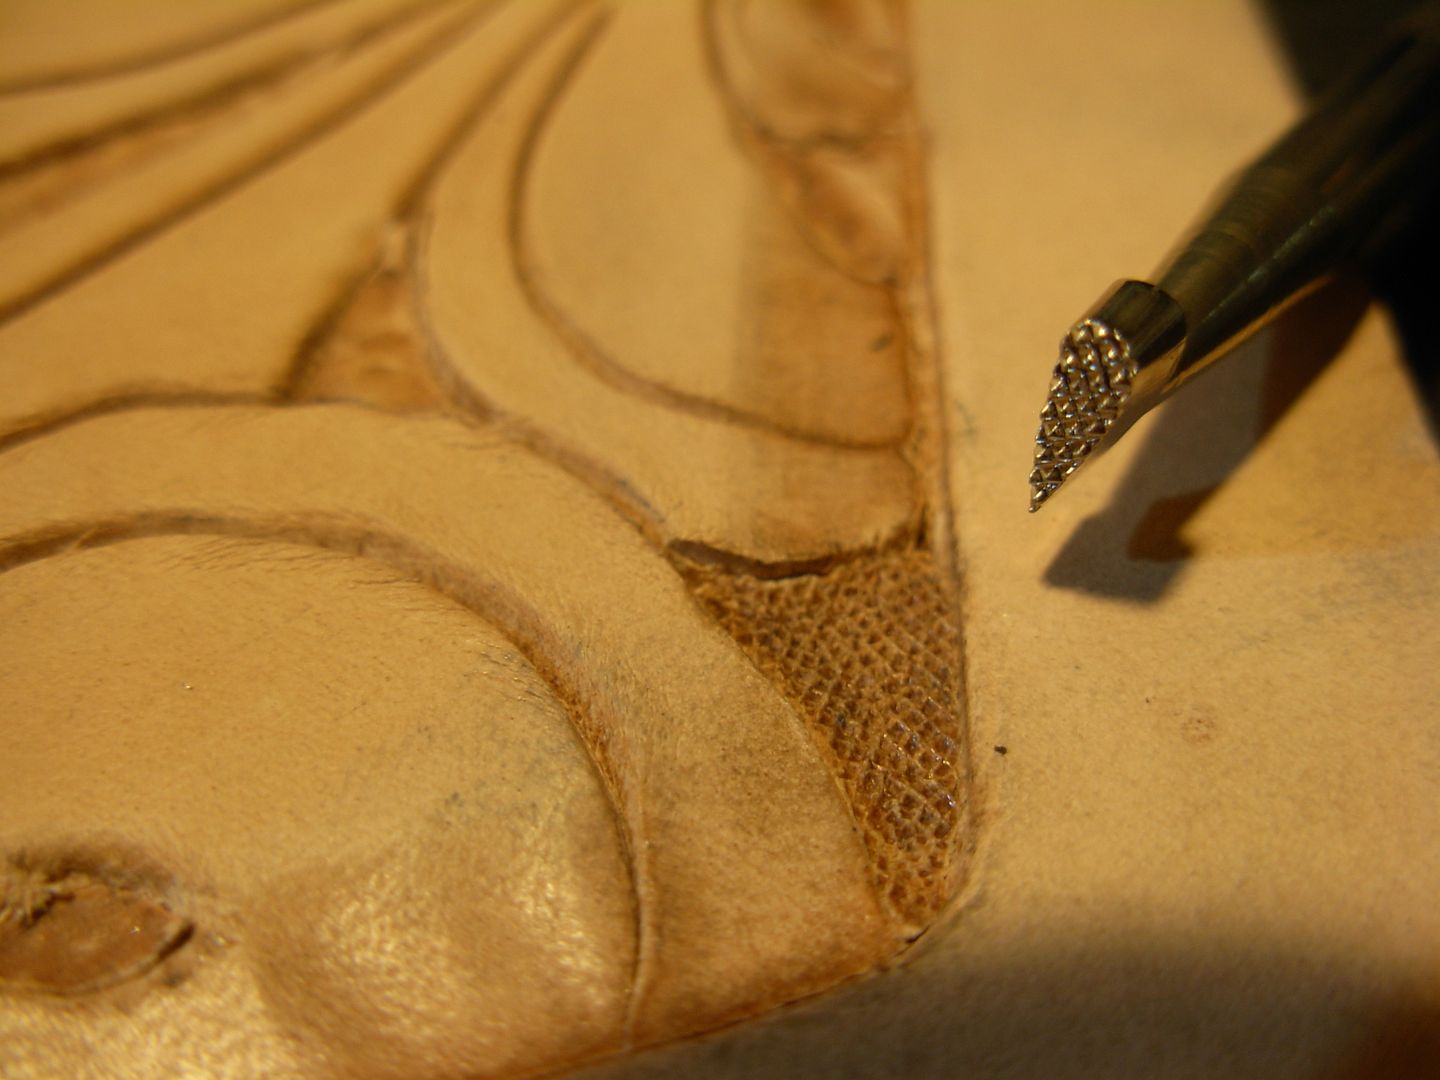
Bevelling done I move on with my tiny backrounding tool to really get the backround stamped down, even, and textured.

SheathCarving016.jpg


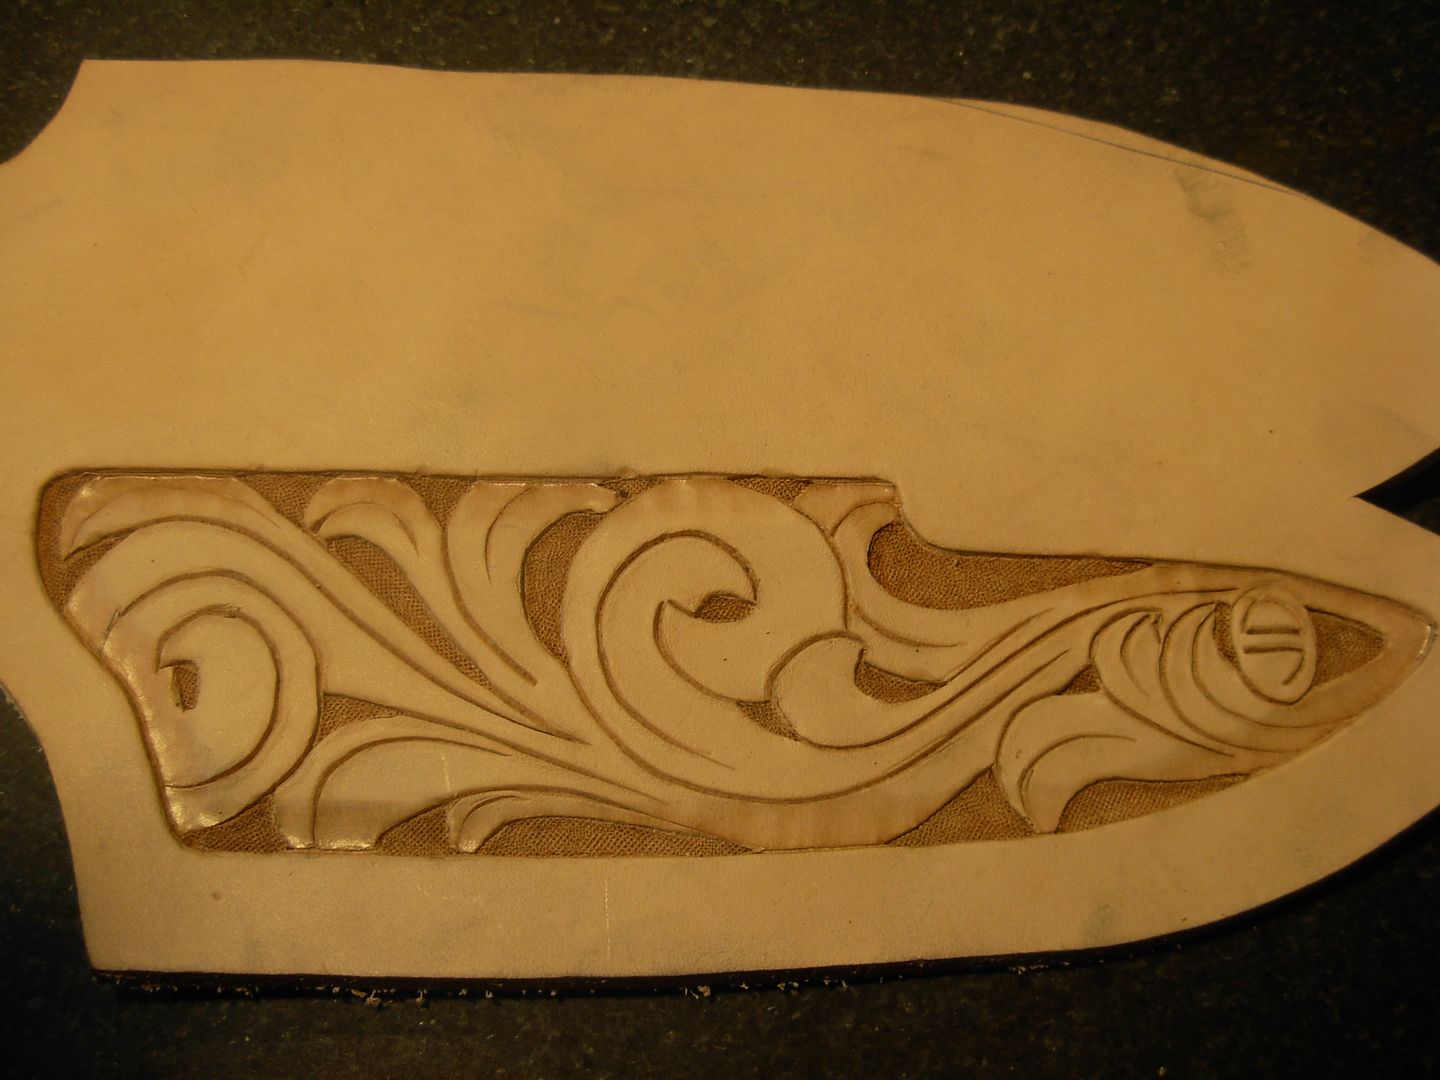
Done with the backround.

SheathCarving017.jpg


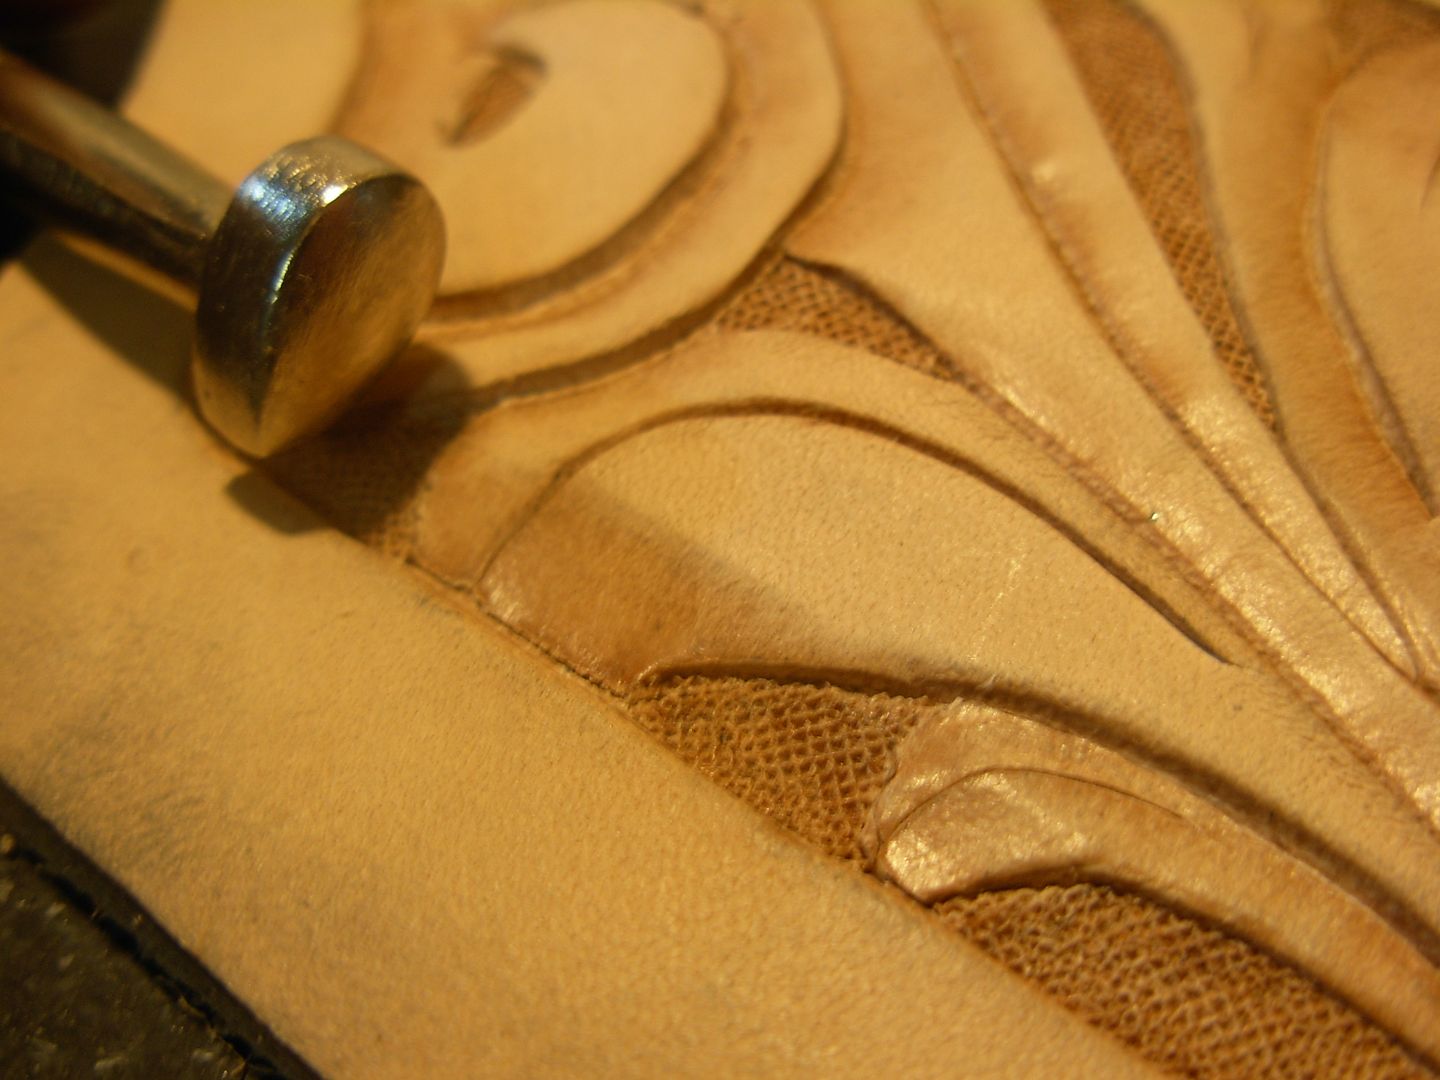
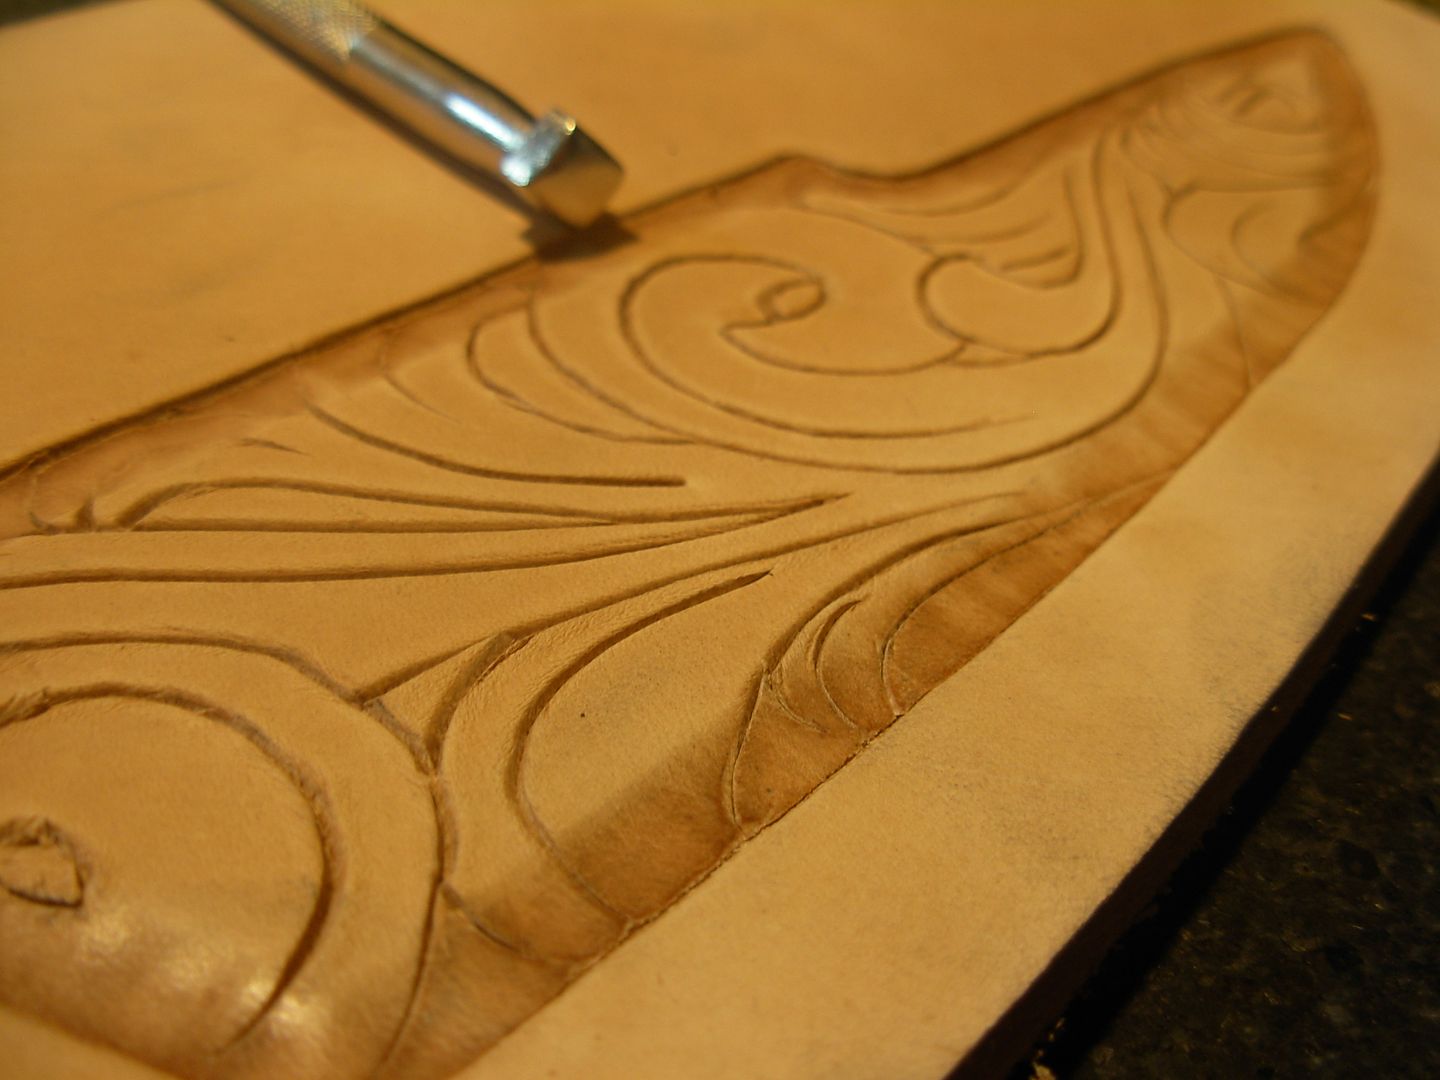
Now back to the craftool beveller to take my 2-D floral carving into 3-D by adding depth stamping down the furthest parts of the design to bring the closest parts into the foreground

SheathCarving018.jpg


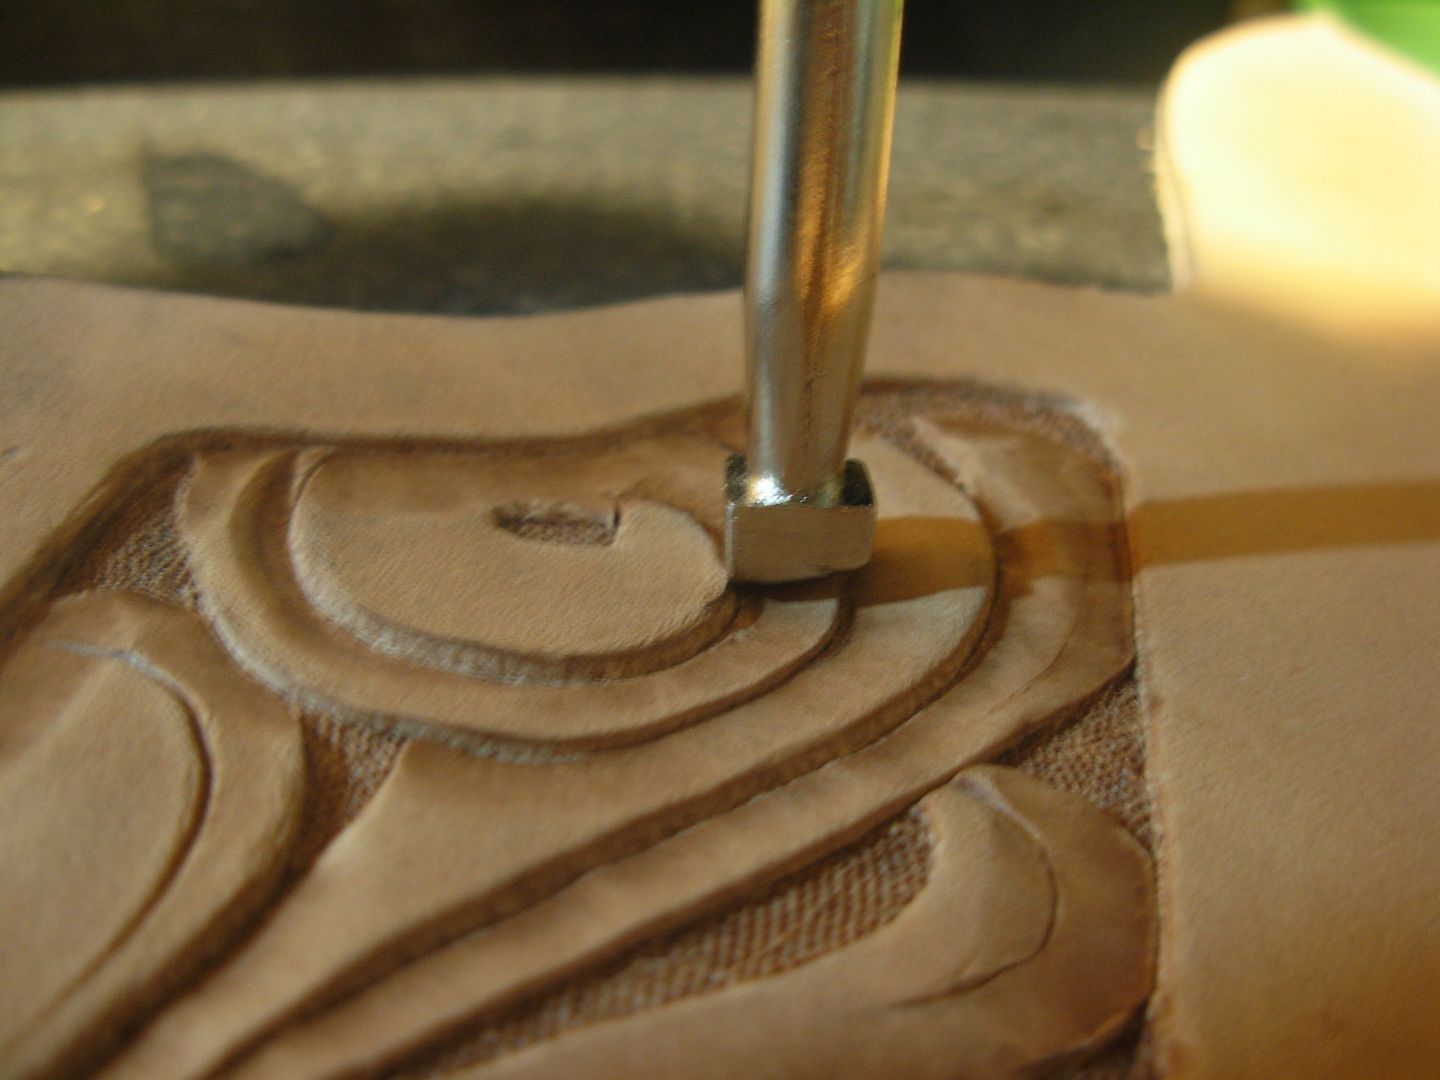
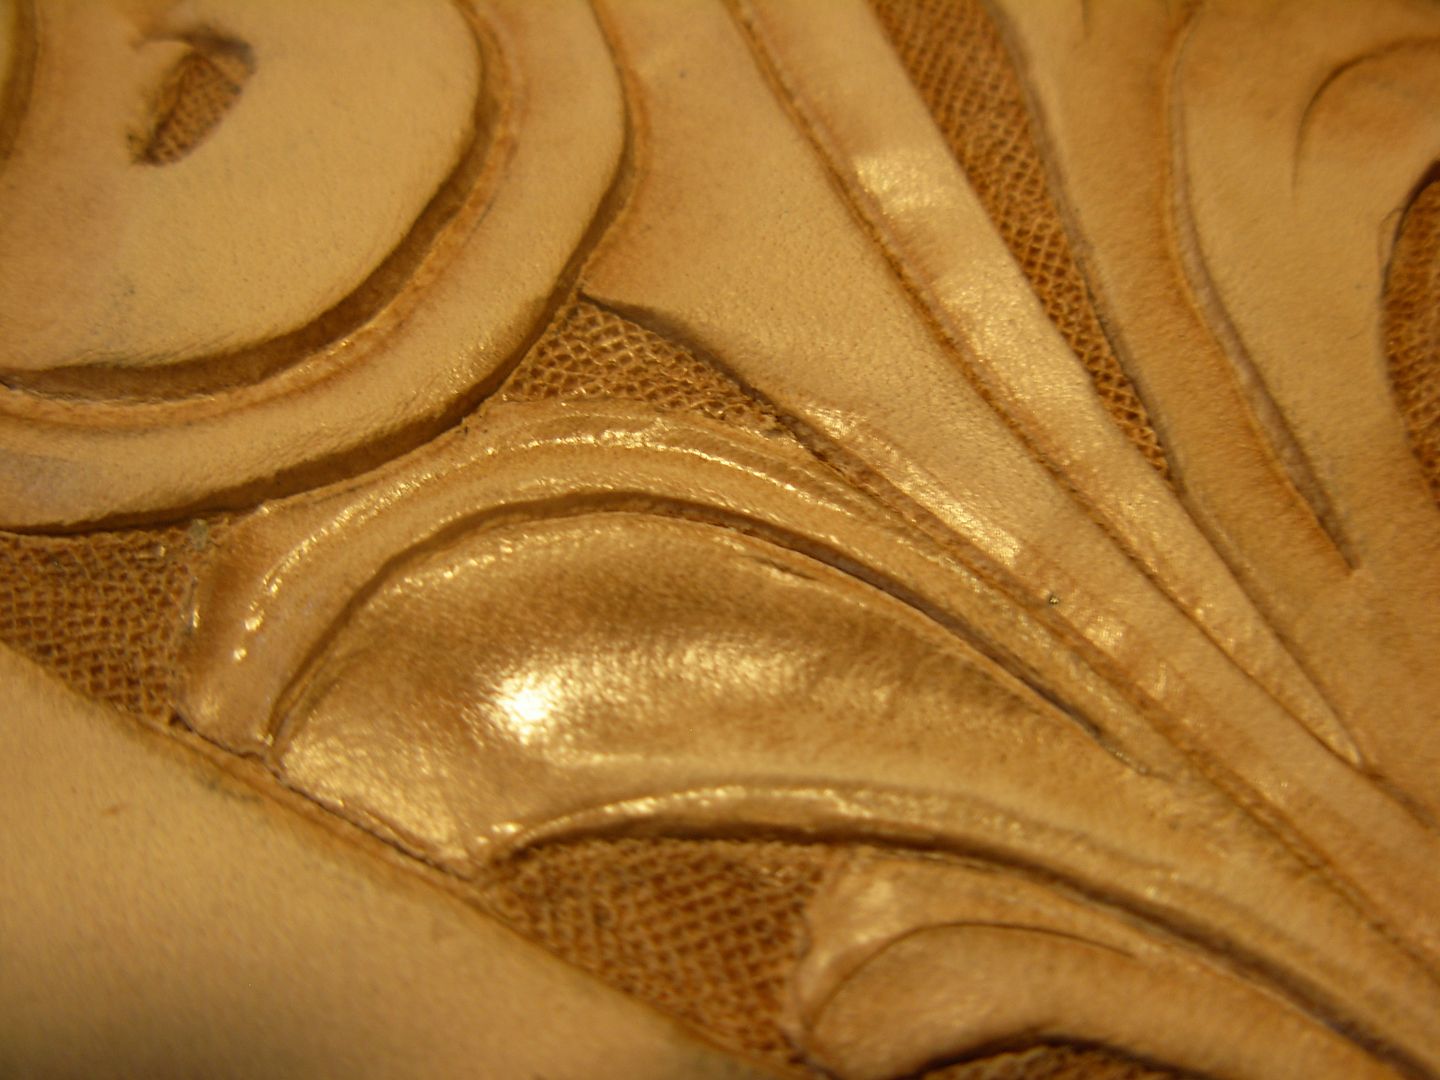
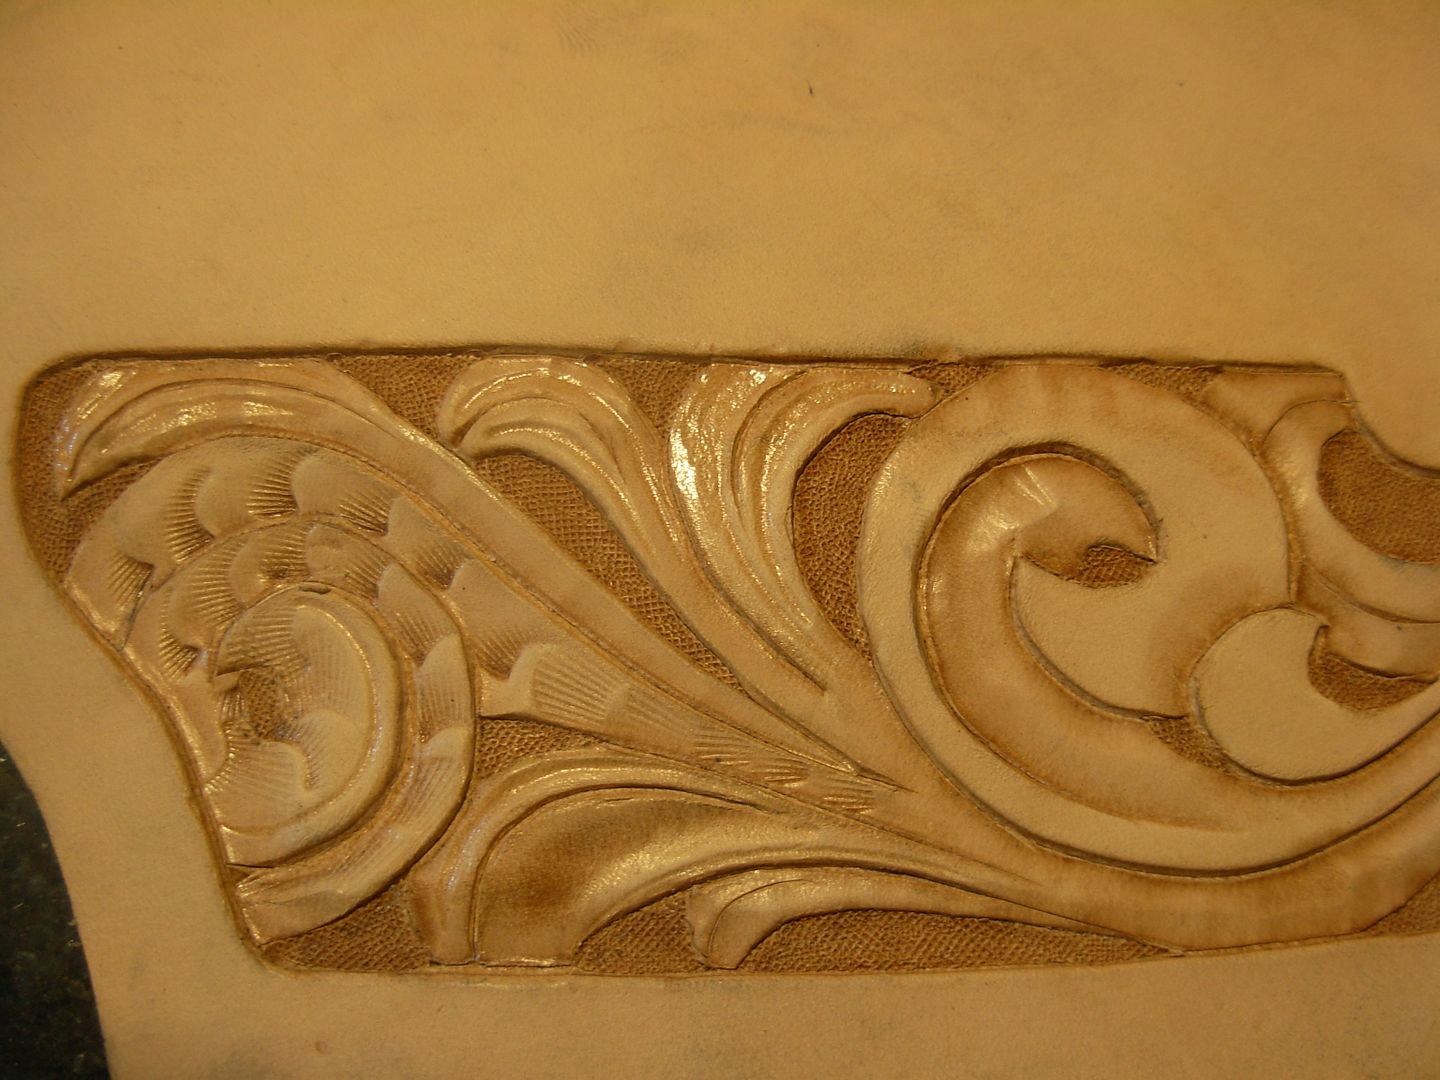
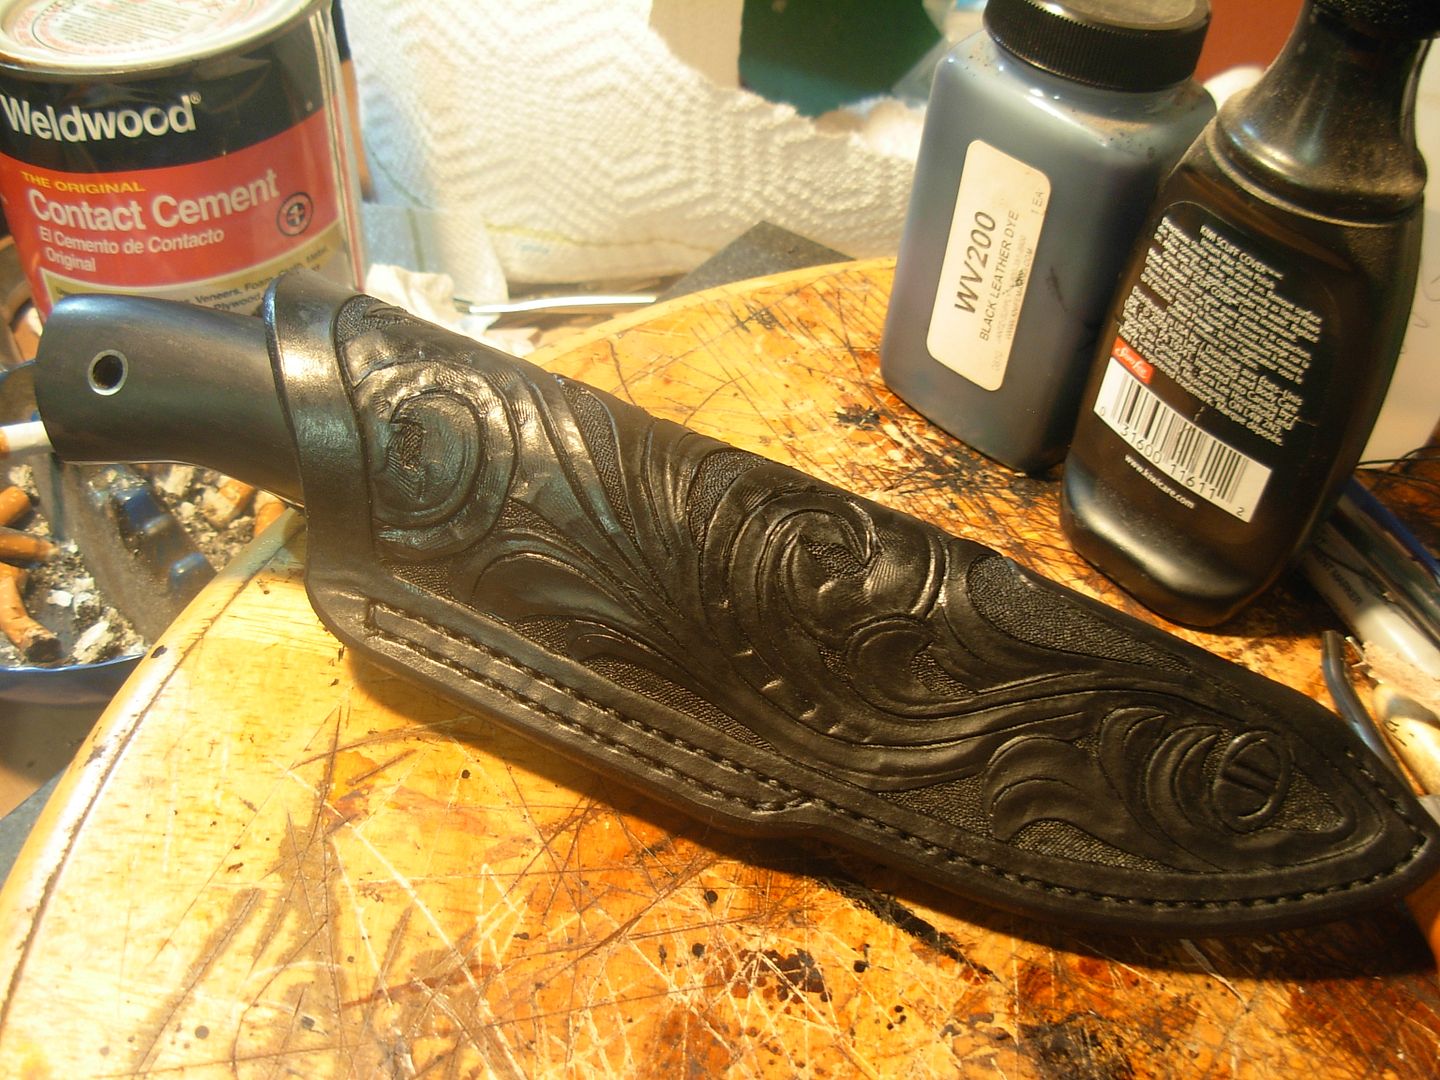
Here's a couple pics of where I currently stand with my carving

SheathCarving019.jpg

SheathCarving020.jpg


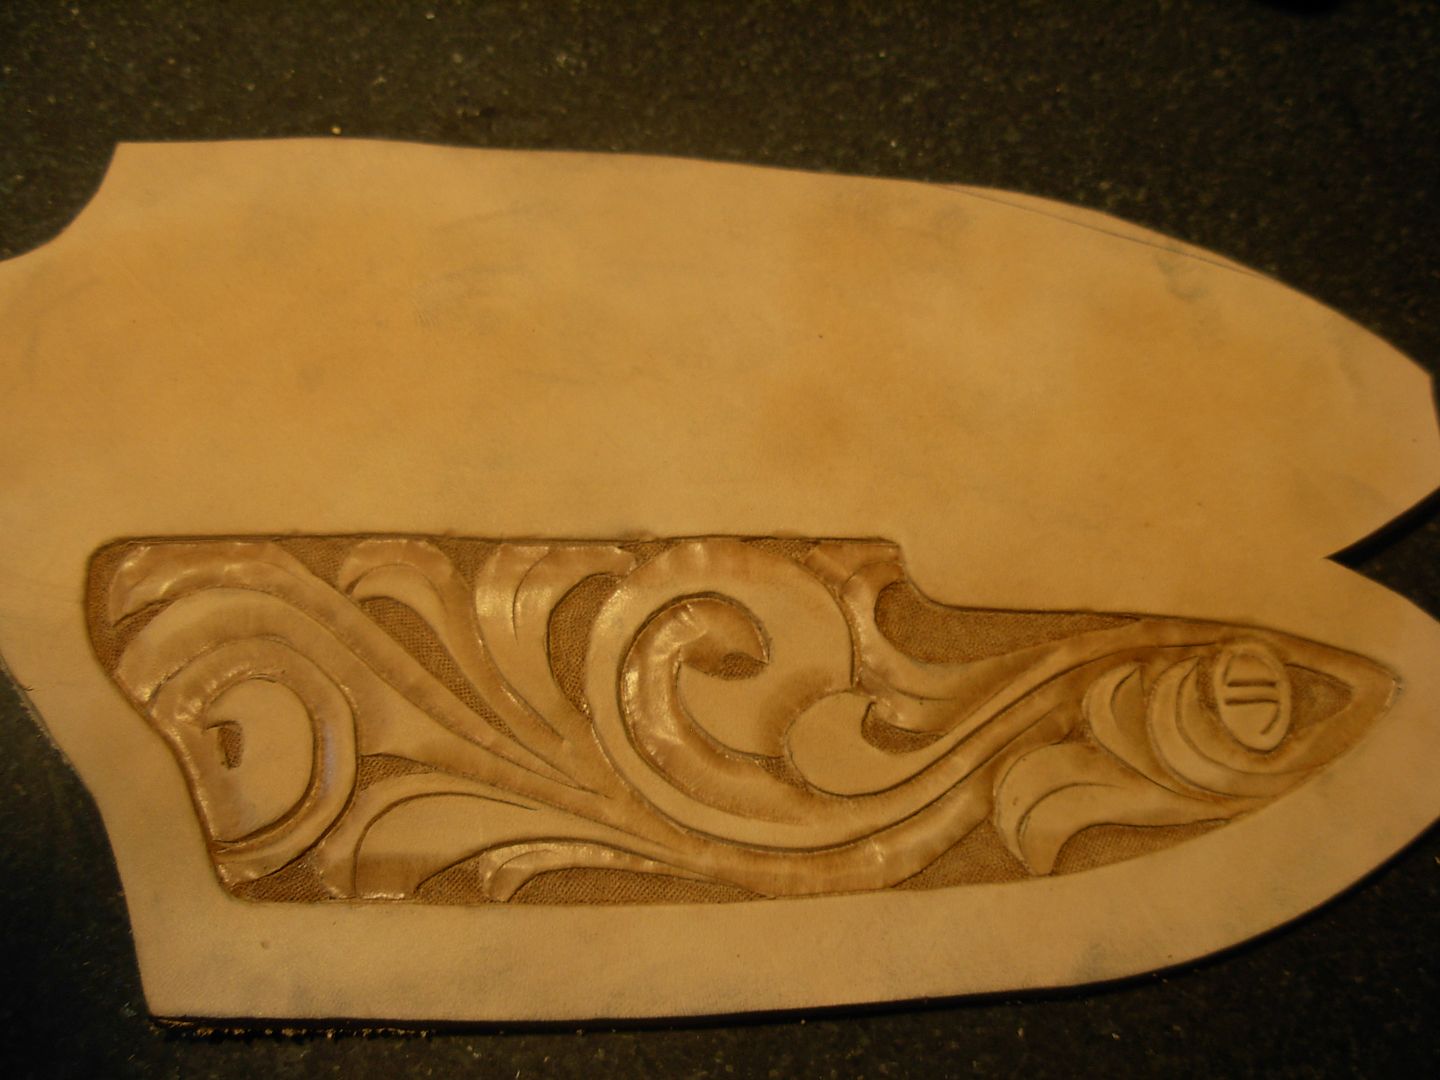
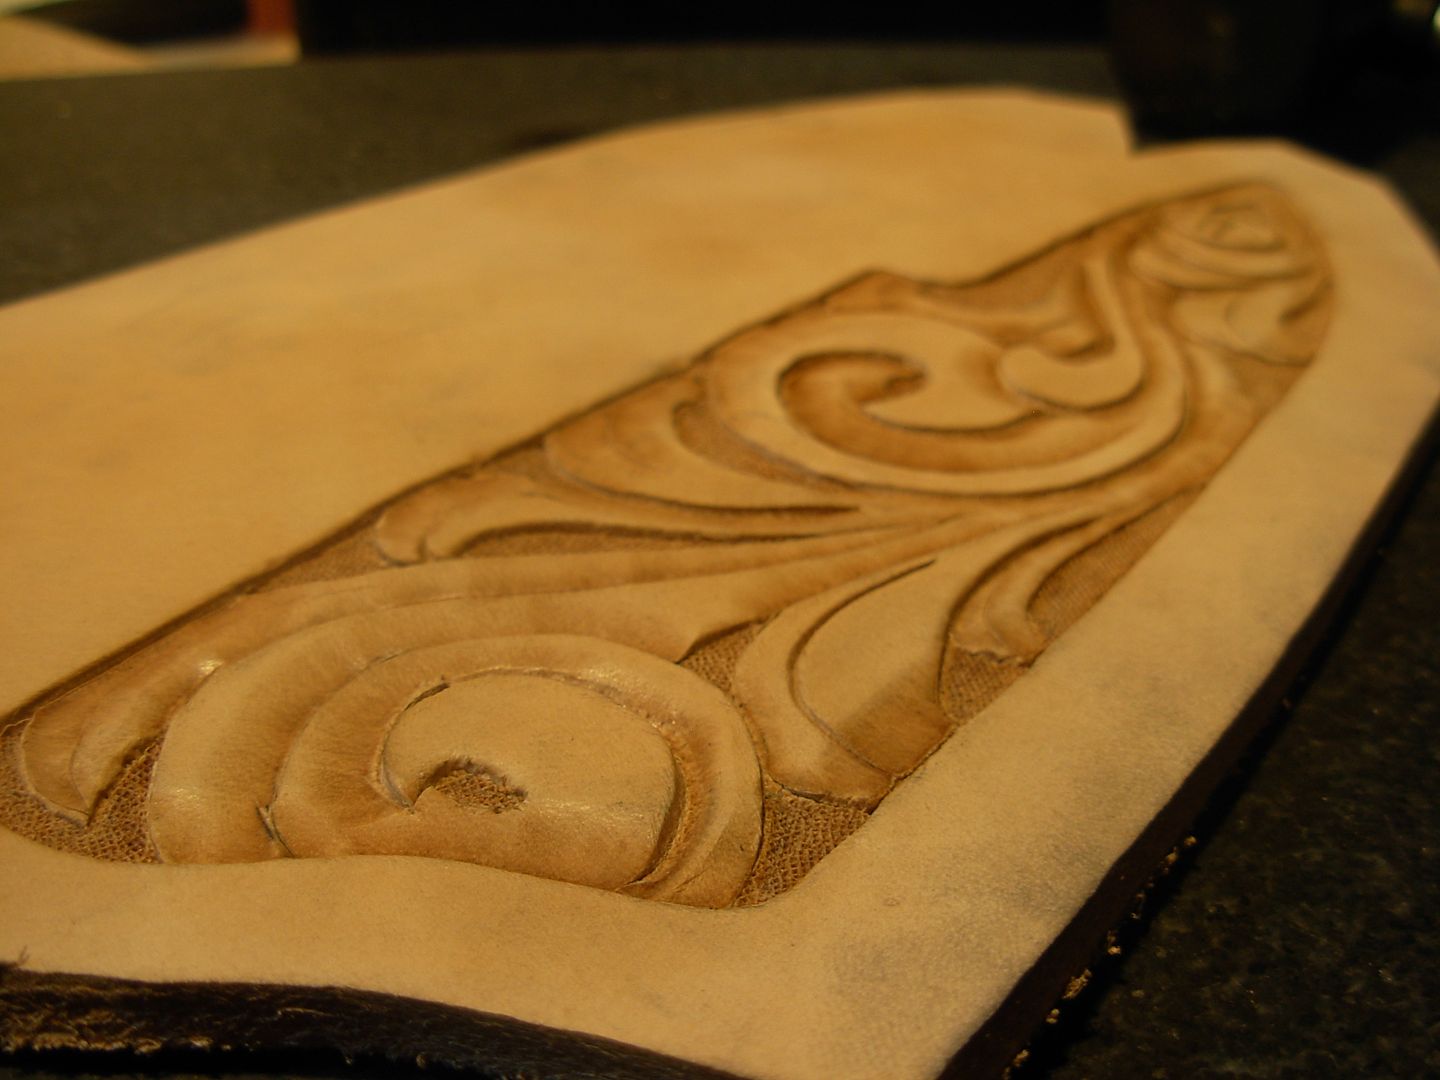
Should finish the carving up tonight

-Josh
 
Wow. that's really great work and a really great WIP to go along with it.

Thanks for the insight Josh!
 
Thanks for the post Josh - that brought back so many memories of too many years ago when I did some leather carving. Good job - maybe I'll get some tools again for a sheath<:)

Ken H>
 
Thanks for the comments fellas !

Big Chris, Many Many Many makers feel the same when it comes to leatherwork and consider it a necessary evil, LOL. It can surely prove tedius at times but I do enjoy the artistic nature that can be involved.

Mark, You'll be a natural I think. Your good eye for lines and flow really shows in your knives and would certainly show up as well in leather !

I'm sure there are better techniques for alot of this but this is what I've found works for me. I thought a carving WIP might just arm someone with enough encouragemant to give it a go.

KenH, snap ya up some tools and be sure to post us some picks ;) I decided to put this up in WIP forum but I'll probably throw some finished pics up in the sheath section where some real leather benders may offer up some critique :)

A quick word on tools.

I started out with this kit from Tandy from my first sheath-

http://www.tandyleatherfactory.com/en-usd/home/department/starter-sets/8170-00.aspx

These stamps can be a little on the large side for many knife sheaths although I used them a long time without anything else.

To that original kit I added this backround tool-

http://www.tandyleatherfactory.com/en-usd/home/department/leather-stamps/6104-00.aspx

I also like the camoflauge tool for stamped borders and the one with the starter kit isn't the best for all work so I'll eventually add one like this as well-

http://www.tandyleatherfactory.com/en-usd/home/department/leather-stamps/6770-00.aspx

Of course there are a gazillion stamps available but these are all I currently have. I did pick up some stainless bolts just for making custom stamps so I've got them any time I think I NEED something I dont have.

My leatherwork hammer and punch both came from Harbor Freight :eek:

Anyhow, not a huge investment for making leatherwork a bit more fun :)

-Josh
 
I got started tonight by casing out my leather. And here is the before shot of this nice flat area and the pear shader I'm going to use to accent the carving

001.jpg


Here's the after shot of the same area after shading

002.jpg


Now I've got the top half of the carving accented with the pear shader, ball point stylus, and camoflauge tool.

003.jpg


No real science here. Just do what you think works and learn from from your mistakes for the next time around. Here she is pretty much done but still in the raw

004.jpg


My goal from the beginning was for this sheath to be carved but also subtle and a fitting match for the knife which is cool but isn't super blingy so I chose to go with a completely black dye job. I like little foam paintbrushes for leather dye. I can get a nice heavy but even coat with them.

005.jpg


Of course don't forget to dye the opposite side of the sheath as well

008.jpg


This is also a good time to use the edge beveller, then touch-up these edges while the brush is still wet. After this I also burnished these edges which is pretty easy while things are still nice and flat

009.jpg


That's pretty much it for the carving. Stitched the belt loop on, made a welt and cemented it to the carved side of the sheath and then re-wet my sheath and cemented up the back side to the welt.
It's starting to resemble a sheath :)

010.jpg


ALWAYS test fit when the cement is freshly put together !

011.jpg


Thats all there is to it !

-Josh
 
Very nice, you make a more advanced project look very simple. This will encourage others to try it. I for one have been inspired to unpack my tools and play with a design or two. Thank you!!!
 
Here's a few snaps of the completed sheath and the cool Brute de forge knife made by my friend Lon Humphrey

carvedsheathfinished001.jpg


carvedsheathfinished002.jpg


carvedsheathfinished003.jpg


I did get the belt loop a little too close to spine and should've moved the loop closer to the welt stitching side when making my original pattern but this is the kinda things that happen when you get a bit rusty. Other than that I'm happy with it. The knife fits perfectly and my carving wraps around the sheath over to the center of the spine just like I wanted.

You fellas planning to dust off the ole leather tools or aquire some new ones please feel free to drop me a PM any time if ya want to chat about carving or bending leather. I'm certainly no master so if I can't help you out we'll get in touch with someone who can :)

Take care Dogs !

-Josh
 
Great sheath... I enjoy the leather work just as much as making knives. I guess I'm in the 1% on that. :)

How much do you stress over the fitting of the knife to the sheath? I know it has to fit right, but how precise do try and get it? Personally, I will pace and worry for hours over 1/16" of an inch this way or that way before I ever make a cut... Seems like the leather would stretch enough to make a perfect fit, even is the sheath is a bit on the tight-side at first.
 
Great that you enjoy leatherwork also Brad ! It makes thing's alot easier if you enjoy it.

Like pretty much all topics knifemaking the subject of sheath fit could take up a chapter in a book.

I used to stress about it just like you. With some experience it becomes less of a worry. Success in fitting will likely depend on the "pattern making" stage.

For a 3 piece sheath body (front back and welt) I simply trace the blade and cut on the outside of the line. This gives the width of the pencil mark plus a teeny bit for a great no slop fit.

For a pouch like this one I line the spine up on the centerline of my pattern material (manila file folder) then roll the knife to each side and trace it. Doing this compensates for the thickness of the handle material. This traced line is where my welt will be cut. Then I go 5/8" past the welt for my "stitching area" This is of course an excessive amount but it allows me to acheive a perfect welt everytime. That is without any glue or rough edges of my welt layers showing on the finished project. A sharp 80x belt makes short work of the excess and my welt will be nearly perfectly parallel with my stitching.

Skive the welt down until it's 3/4 the thickness of the blade spine. Roughly guestimating of course. This will allow a friction fit on blade itself and aid in good retension taking advantage of that stretch you mentioned.

I think this important so I'll mention it also. The leather will stretch. A VERY small amount of "elastic stretch" may occur but the stretch that really comes into play is the overall stretch that will happen with use as the sheath is "broken in" . Your thinking exactly what I think. A brand new sheath should be just a little on the tight side so it'll maintain it's retension properties once broken it. A gentle slip fit will result in a loose sheath with some use. If you can turn the sheath upside down and shake it pretty good without the knife comming out you've got it right. Of course if you sling the snot out of it pretty much any knife will come out with a retension strap or locking mechanism of some sort.

There are TONS of nuances that could be talked about more in depth on a individual basis taking into consideration the exact knife in question and the type of sheath selected for it.

Your most likely already doing great with your sheaths but the experience of making them will make it much less stressful.

Take care buddy !

-Josh
 
Excellent tutorial & beautiful work, Josh. I have knives that need sheaths and this is better than buying a "How-to-Book"!

Cathy
 
Cathy,

With your skills I really believe you could carve leather with your eyes shut ! Some very basic instruction can take someone a LONG way :)

-Josh
 
Nice work Josh.

Now then, the swivel knife - I have seen it on various threads before but I'm curious as to why it doesn't cut through. Is it just a careful use of force and if you're not careful if will slice through to the other side. How deep does it cut. I assume it's use over a regular knife is to allow easy cutting in of graceful curves.
 
Stew, The blade of the swivel knife is a very steep angle kind of like a cold chisel (maybe). There is no secondary bevel like on a typical knife blade. This being the case the thickness of the blade prevents it from wanting to slice right through without being really forced.

The way the swivlel knife is used it's actually pretty easy to control the depth of the cut.

The index finger goes on top and controls the downward pressure

The barrel is held between the thumb and middle finger to control the swivel action.

The knife is held at an angle so one corner of the blade does the cutting. The angle which the knife is held will affect how the cut comes out. The further away from 90 degrees the deeper and wider your cut will tend to be.

The sharpness is important to get a nice smooth cut with "clean" edges. Once it starts to dull the inside of curves will start looking a little wrinkled. When the knife is sharp it'll glide right through the leather for smooth curves.

The swivelling action allows the graceful curves and the design of the blade cuts the leather but also opens the cut up somewhat.

I'm off to a Christmas Party in a bit but I'll try to snap some pics of how the swivel knife is used tomorrow and post them here.

A little practice with the swivel and it's pretty easy to use :)

Take care,

-Josh
 
Josh, my friend, your tutorial is exceptionally well presented and the photograpy gives a very graphic display of your creation. I am flattered that you chose a design that you so graciously contributed to me. Thank you!! You know that you will always be welcome in my home and shop where we can compare notes. Merry Christmas to you and your family!----your ancient friend---Sandy
 
Thanks Sandy ! Boy it would great to make it back up for a visit again one day.

Here's a shot of the swivel knife's blade geometry. Even with very firm pressure it doesn't want to cut deeper than the hight of the edge bevels so cutting through isn't really a problem although I've only ever carved heavier weigth leather like 8 oz or more.

009-1.jpg


This is how the knife is held for cutting.

010-1.jpg


With just a little practice you'll have pretty good control over your cuts and can get pretty much what you want were you want it.

013.jpg


Take care,

Josh
 
Back
Top