
Fred Rowe
Well-Known Member
I've made one Scottish dirk for this gentleman; it was made from a 1880's McCormick's reaper, seat bracket. The other day my customer dropped this torch cut, someone made a start at a Bowie shape, chunk of steel at my shop, asking if I could make it into another dirk. He liked the first one. I said I'd see what I could do. I ground the torch cut profile off and got down to the steel. I did a spark test and it told me there was enough carbon to make a good blade. I was ready to forge. The pics show the progression during forging. The forged dirk is 1/4 at the shoulders by 2 inches wide and 16 inches long measured from the shoulders.
He told me he'd cut the steel off another piece of farm machinery that he'd found at his grandfather's old farm.
His great grandfather had come over from Scotland and had told his son stories about the country, that he in turn, had passed on to his son, my customer. This is why he wanted the dirks; something with a connection to Scotland that he could pass on to his children. A nice sentiment, I thought.
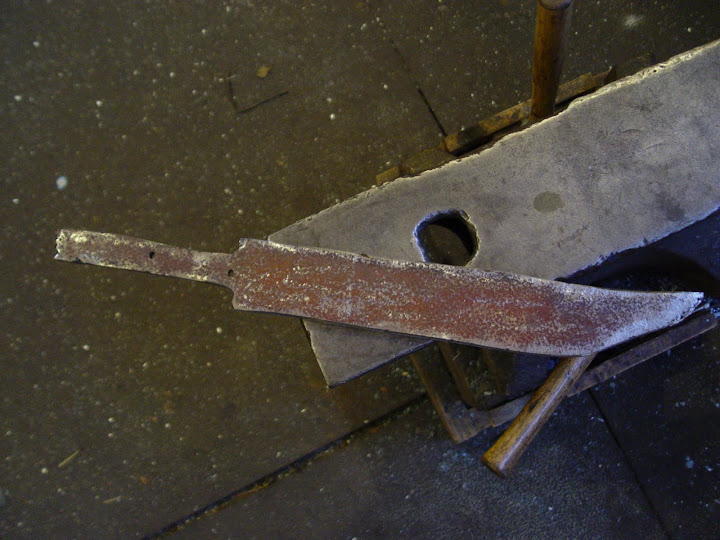

I have the blade surfaced on one side to make it easier to blue and mark.

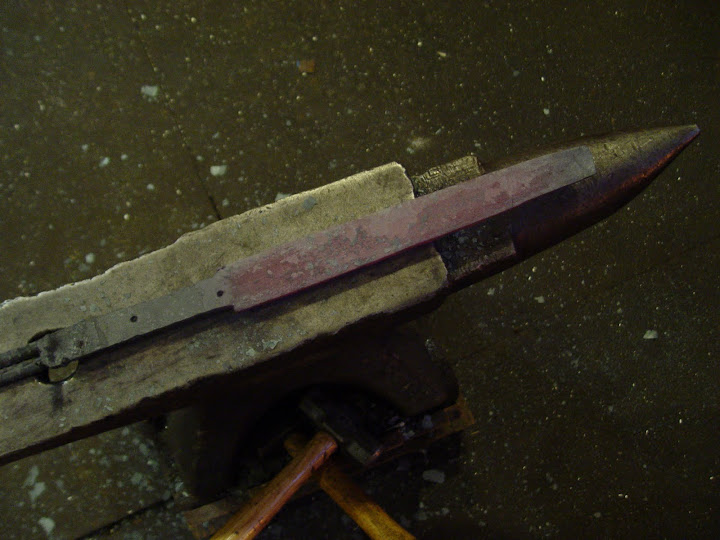
The profile is finished, with the tang centered. Time to surface the rough side; then get ready to torch heat the area to the rear of the plunge and peen it, for a forged finish. The spine will be done too.

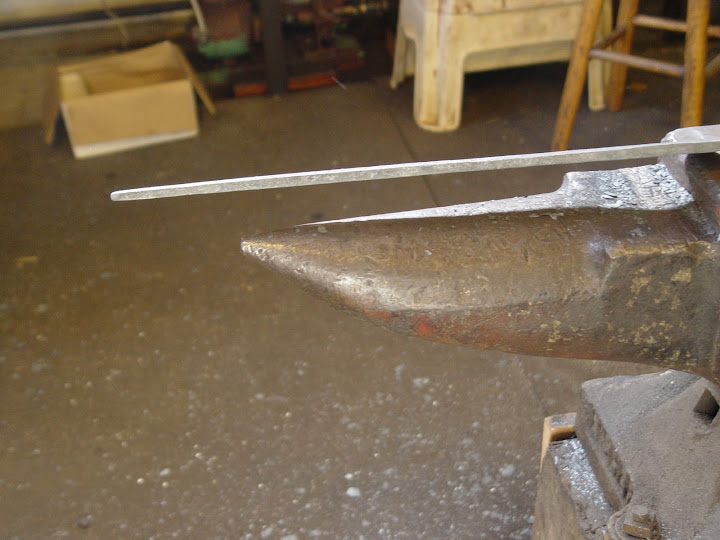
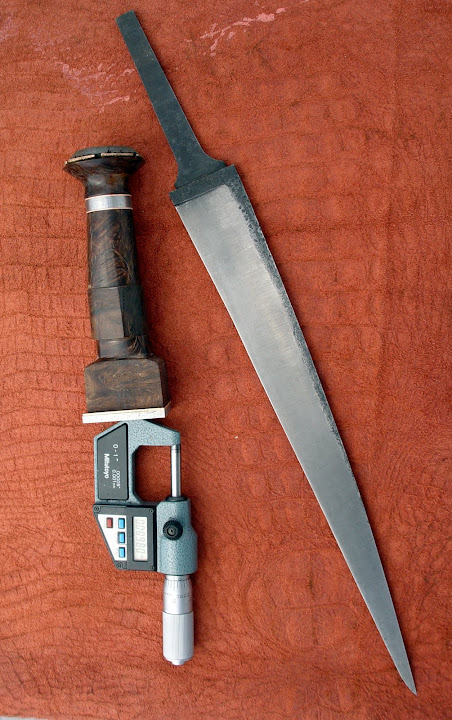
I have a five degree rough grind finished with the edge at .0045. The plunge lines are straight. I noticed there was a slight bend along the edge after I had the edge developed. I think I just missed it after the forging. I heated the section up with the bend in it and straightened it on the big Fisher's flat surface.

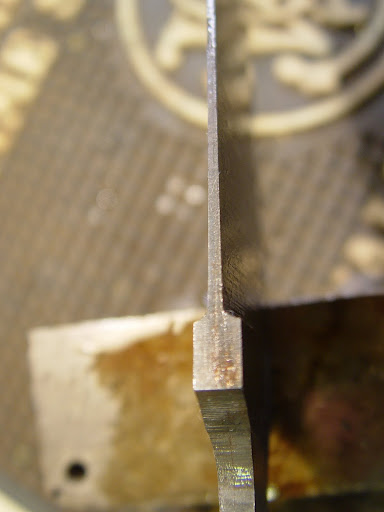
The shoulders have been filed and the bevel grinds have been finished up. The blade has been hardened and tempered.

The handle is ready to carve; I'm shooting for an early dirk look.
Just about finished except the sheaths. The handle is pined together, waiting for copper rod, from Tracy, so I can make the 3" pin that goes in through the top. Fun Project!
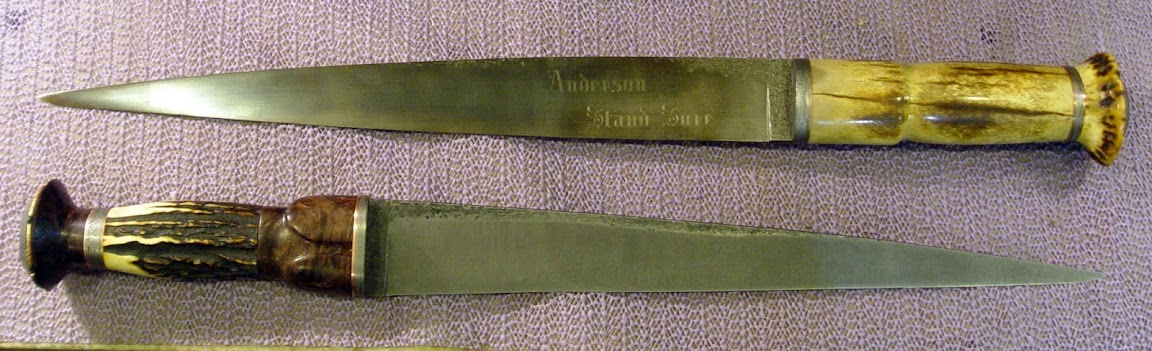
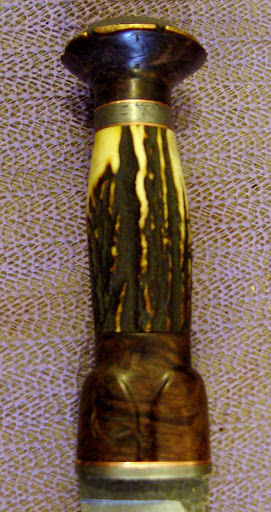
The original handle cracked while carving, I made the piece again and of course it did the same thing [picture of man ripping hair out !!!!] The back up plan called for stag.
The period is 1600's; dirks this early were quite thick and carried the edge on one side of the blade. The sharp point was meant to pierce chest armor. The Handle on this dirk maintains the bullock dagger handle design.
This is the first dirk made using the McCormick's reaper part.


He told me he'd cut the steel off another piece of farm machinery that he'd found at his grandfather's old farm.
His great grandfather had come over from Scotland and had told his son stories about the country, that he in turn, had passed on to his son, my customer. This is why he wanted the dirks; something with a connection to Scotland that he could pass on to his children. A nice sentiment, I thought.
I have the blade surfaced on one side to make it easier to blue and mark.
The profile is finished, with the tang centered. Time to surface the rough side; then get ready to torch heat the area to the rear of the plunge and peen it, for a forged finish. The spine will be done too.
I have a five degree rough grind finished with the edge at .0045. The plunge lines are straight. I noticed there was a slight bend along the edge after I had the edge developed. I think I just missed it after the forging. I heated the section up with the bend in it and straightened it on the big Fisher's flat surface.
The shoulders have been filed and the bevel grinds have been finished up. The blade has been hardened and tempered.
The handle is ready to carve; I'm shooting for an early dirk look.
Just about finished except the sheaths. The handle is pined together, waiting for copper rod, from Tracy, so I can make the 3" pin that goes in through the top. Fun Project!
The original handle cracked while carving, I made the piece again and of course it did the same thing [picture of man ripping hair out !!!!] The back up plan called for stag.
The period is 1600's; dirks this early were quite thick and carried the edge on one side of the blade. The sharp point was meant to pierce chest armor. The Handle on this dirk maintains the bullock dagger handle design.
This is the first dirk made using the McCormick's reaper part.
Last edited: