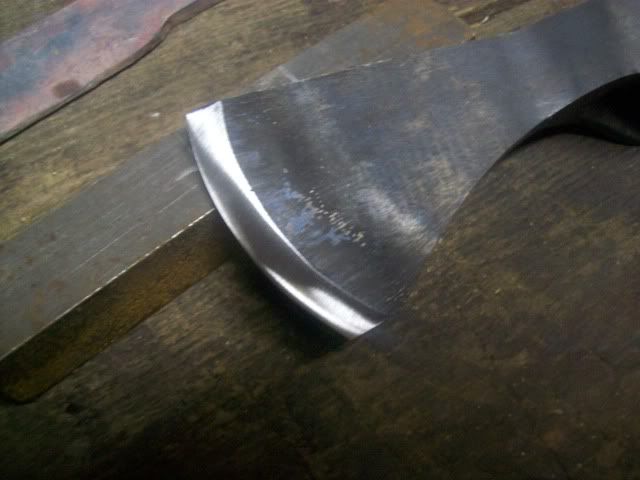
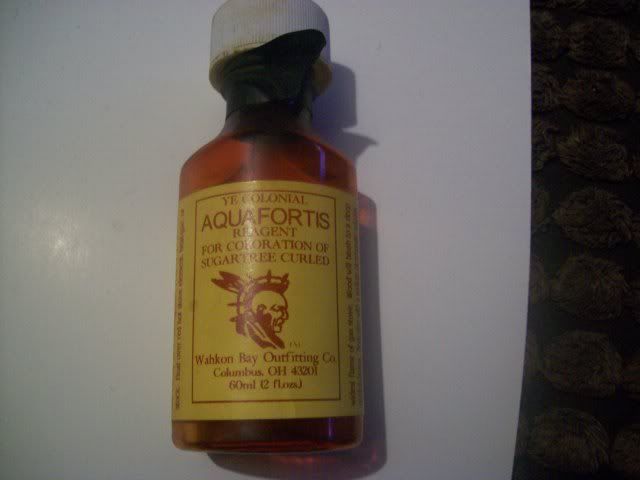
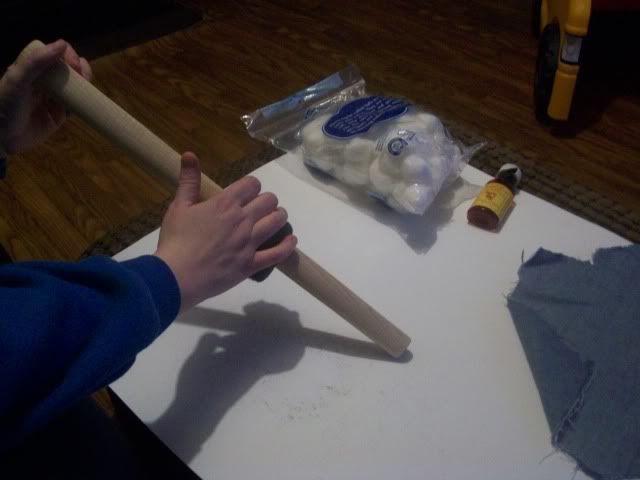
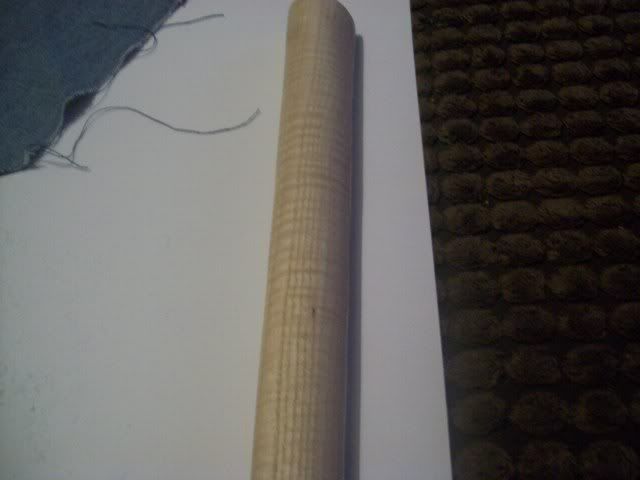
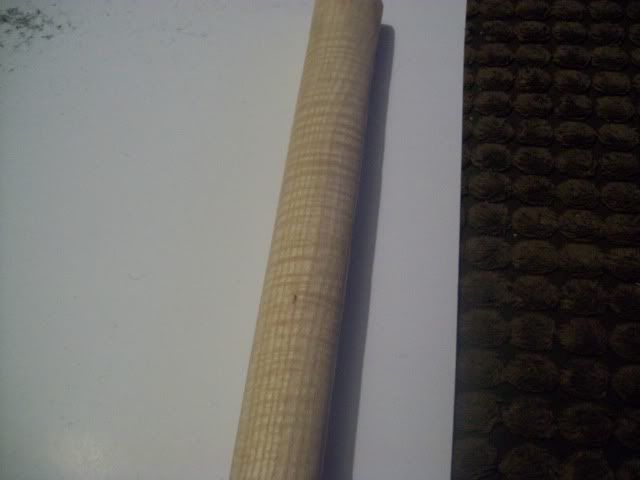
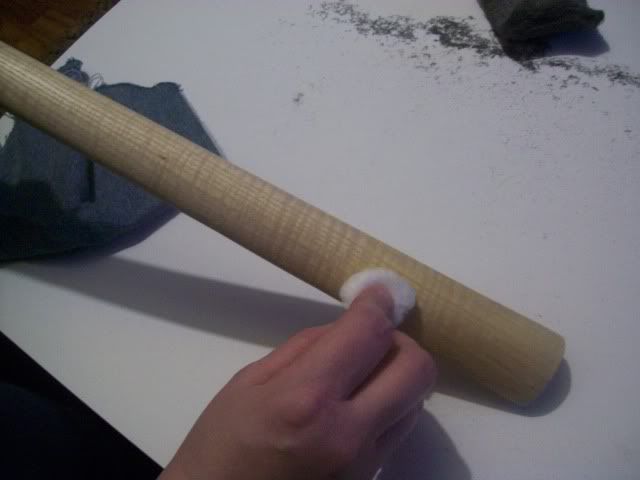
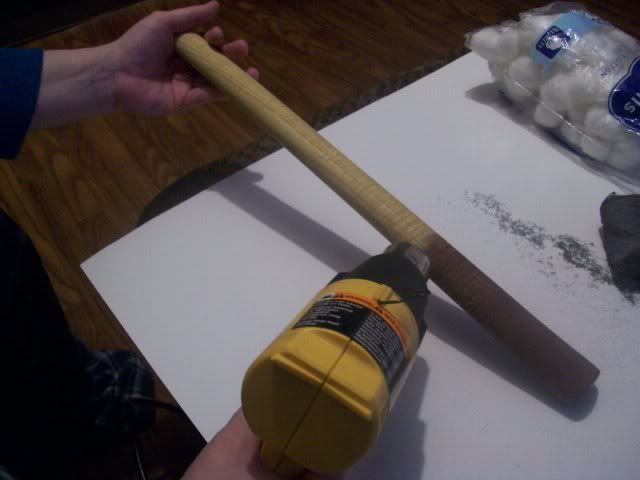
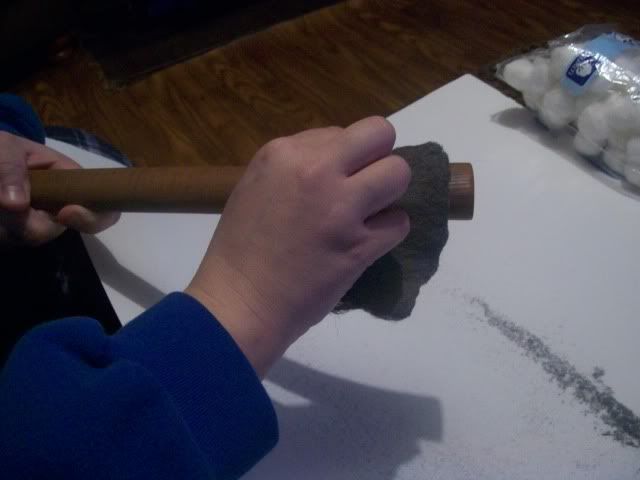
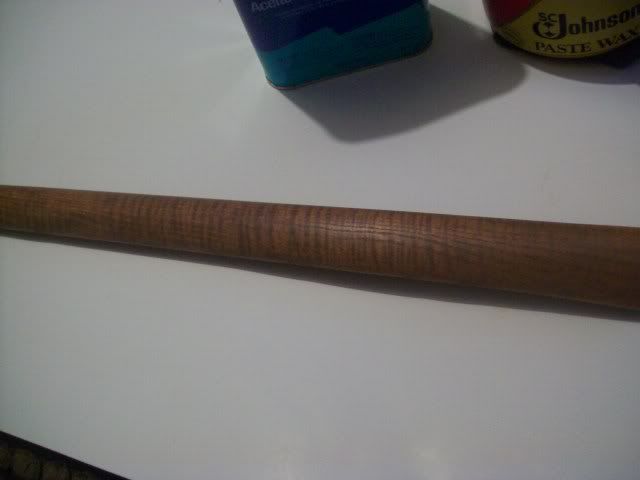
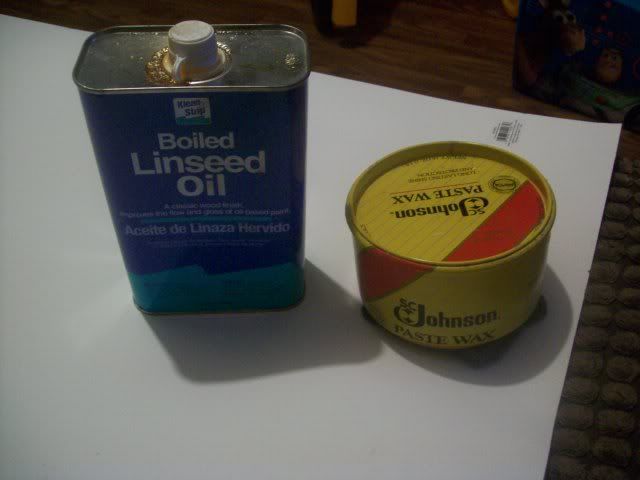
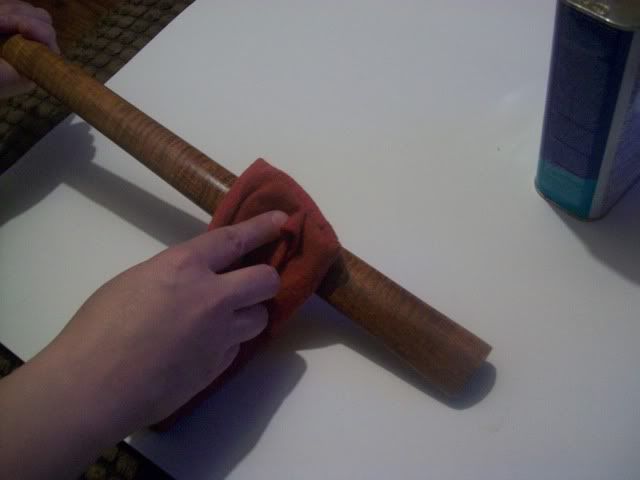
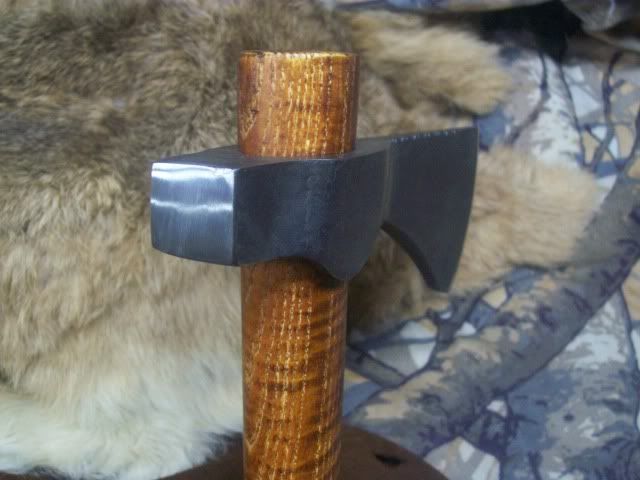
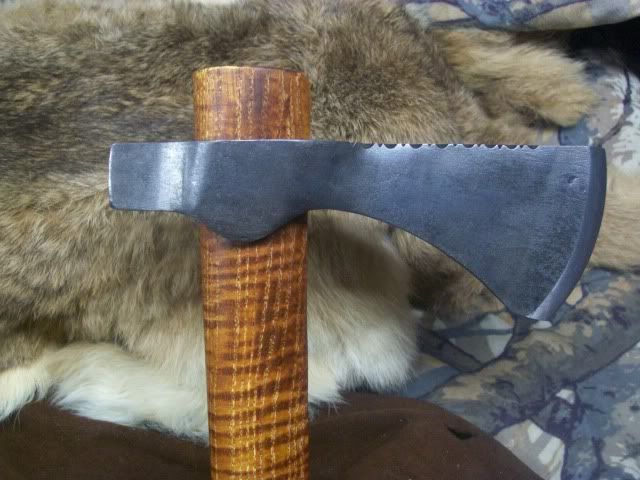
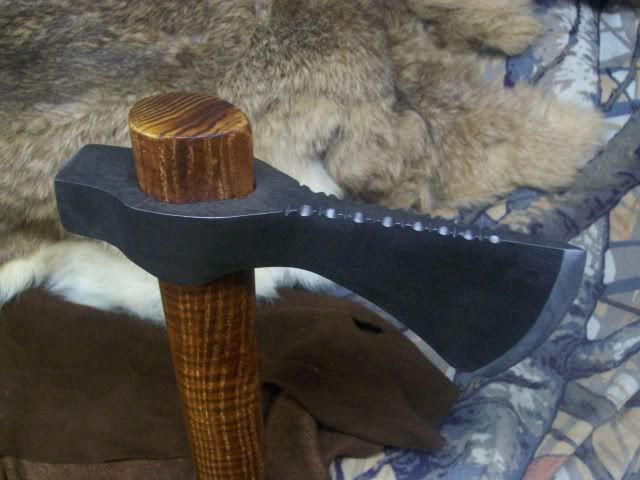
The body of this one will be 1045 but we will be adding a highr carbon steel cutting bit..The haft will probably be curly ash stained with Aqua Fortis..
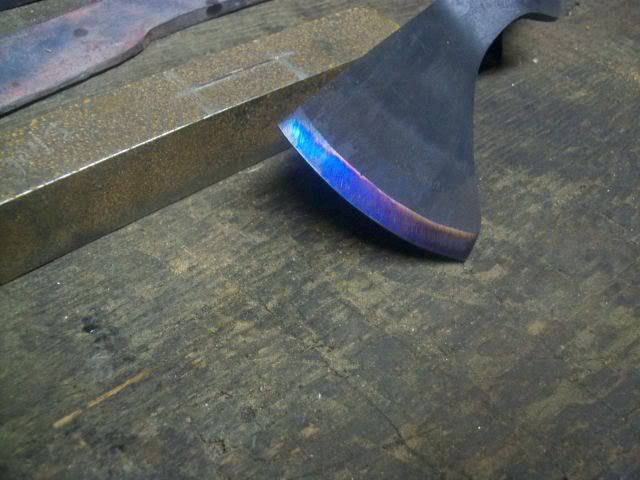
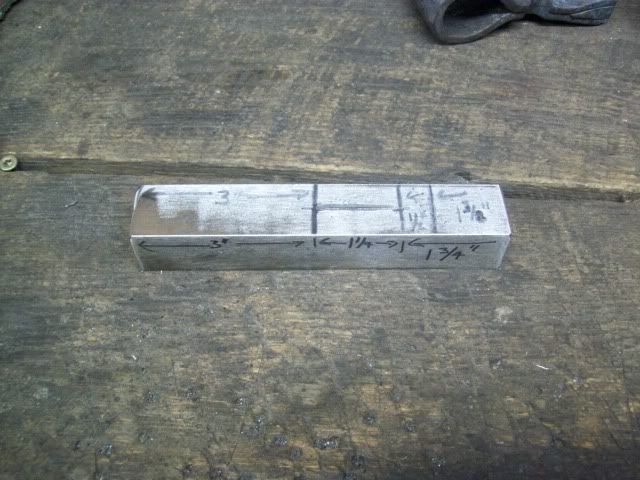
First we will start with a 1" square piece of 1045..You can heat treat the poll just like you would a regular hammer head..
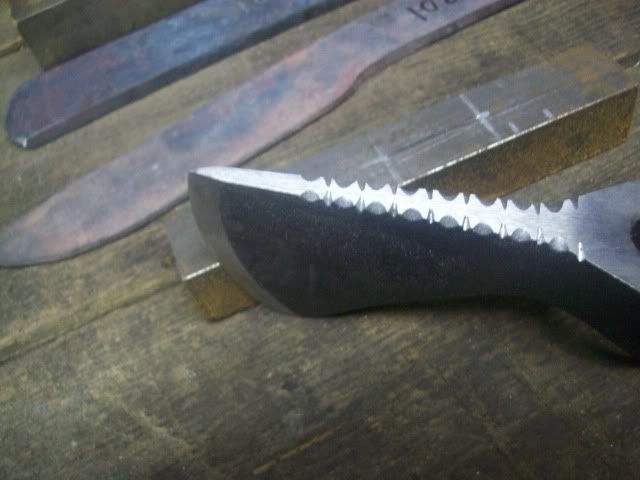
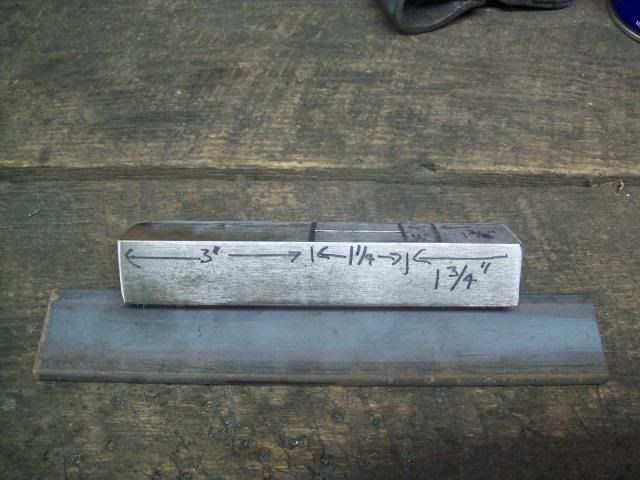
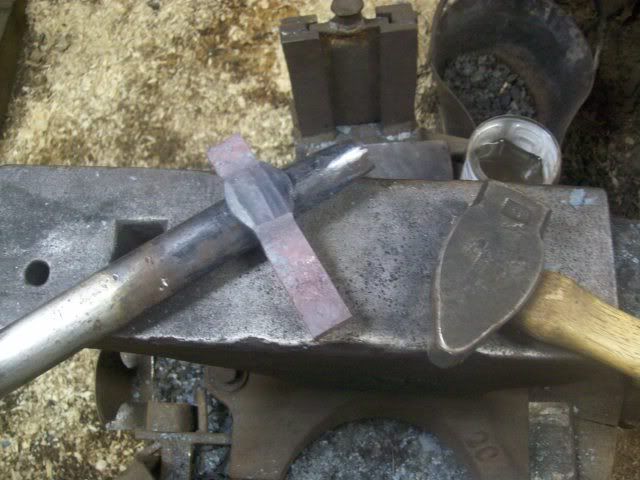
We mark the steel cold with a chisel first..Its very,very important that you get the marked line dead nuts straight and true..Any small error here will be magnified 10x when you start hot slitting..Mark both sides, thats also important..These two pics are actually from another piece used to make a hammer poll but the marks are made the same way..
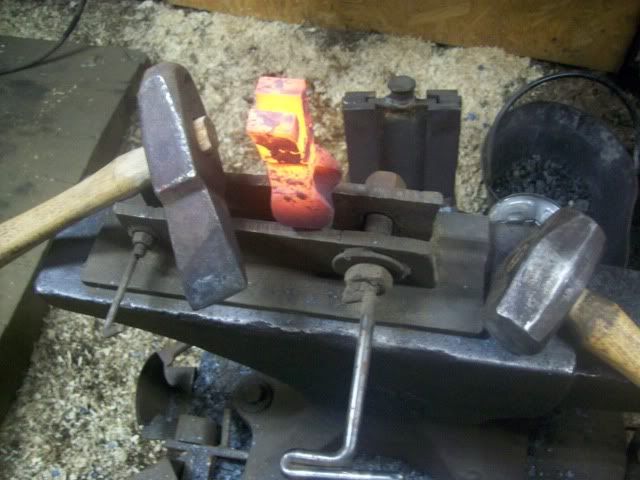
After its marked its off to a hot fire..

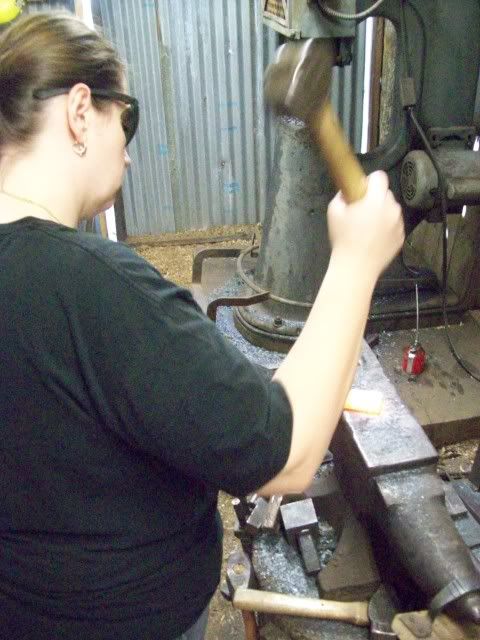
here we go starting the cuts.very carefully with a homemade 1 1/4" hot cut..
One side.....
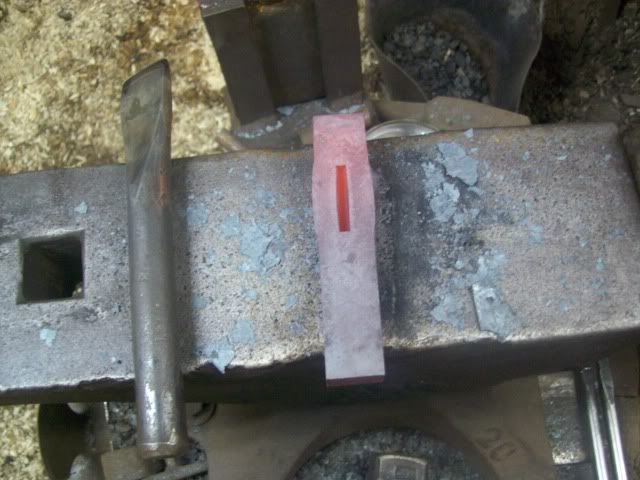
Then the other....
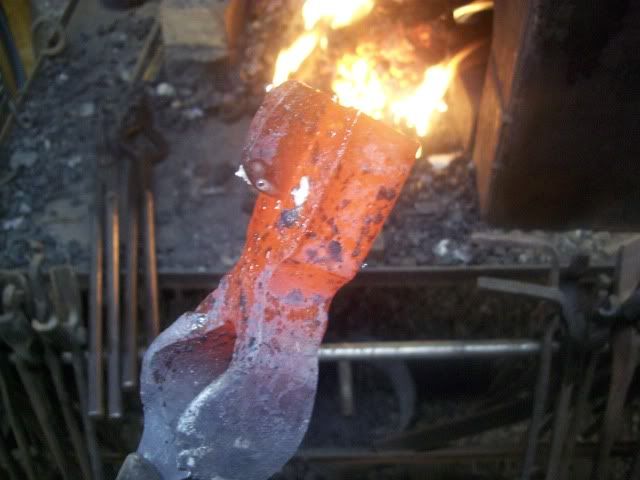
Here we are a little farther along...One heat later...Remember working from both sides at once..That way we can meet in the middle for a straight cut..
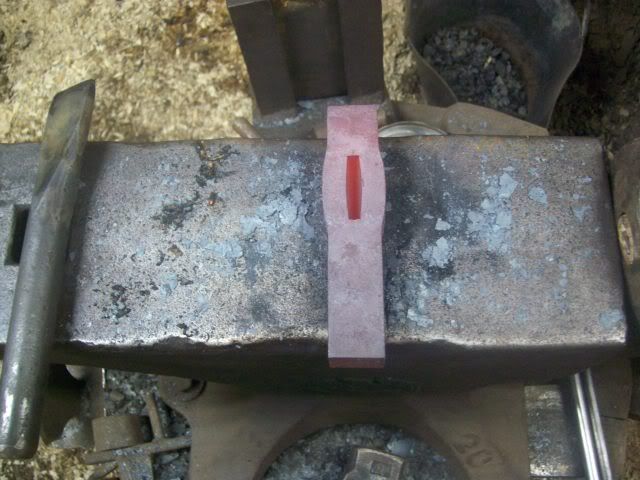
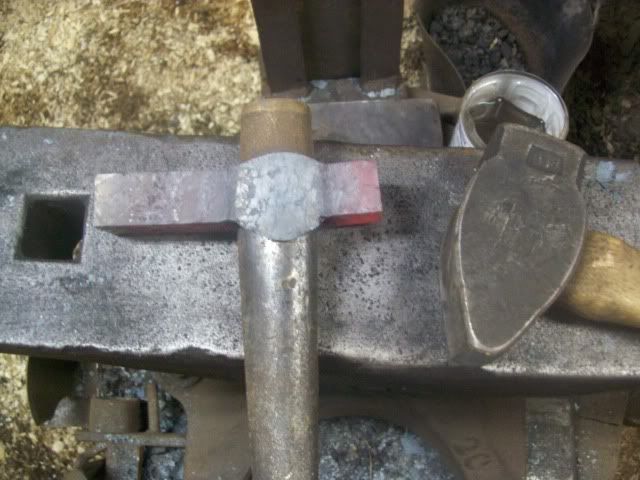
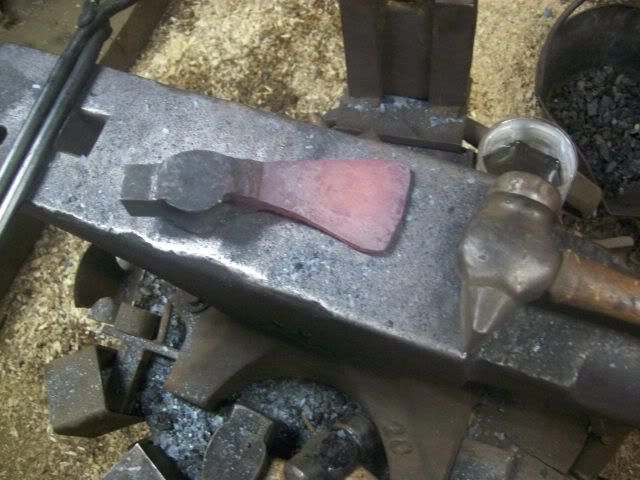
Here we are, right in the middle just like its suppose to be..When you get this close to punching thru make sure you have a cutting plate..Dont want to jack up the face of your anvil or the edge of your slitter..Notice that cup of water..its for cooling the slitter..Three licks then cool down..

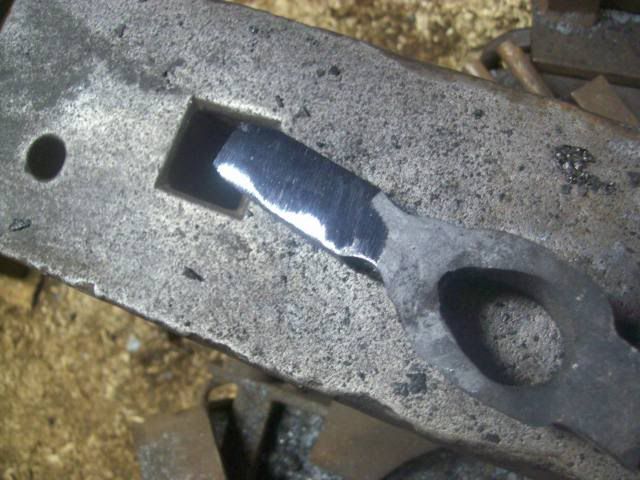
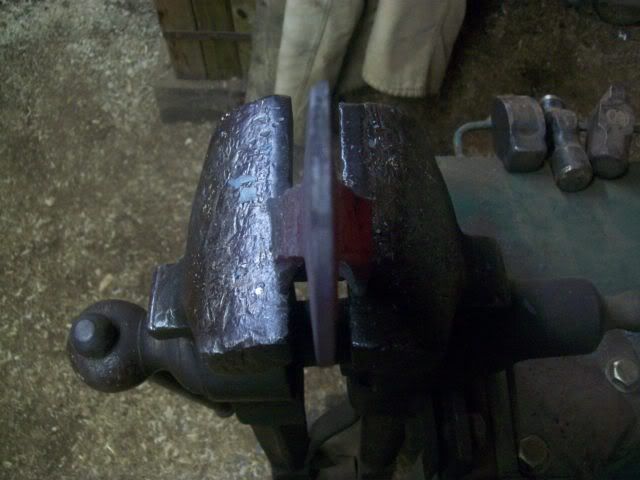
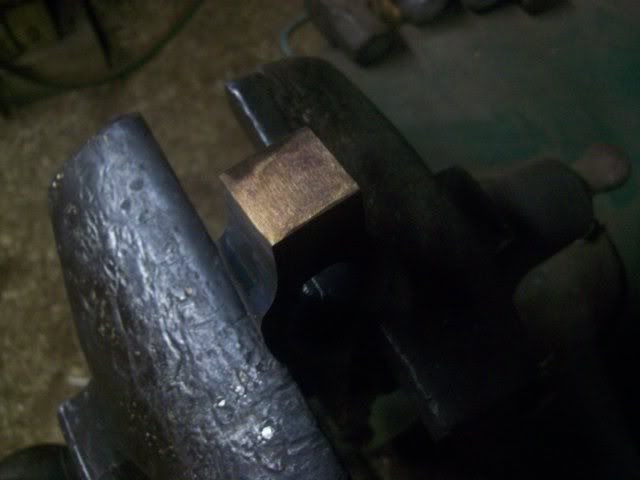
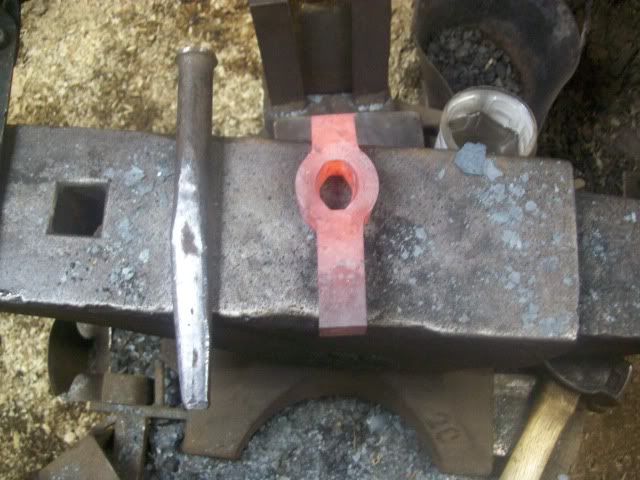
Then we go to a simple small drift just to open up the eye..You see here how everything is nice even and straight? You would know if your line wasnt started straight..That hole would be all discombobulated..
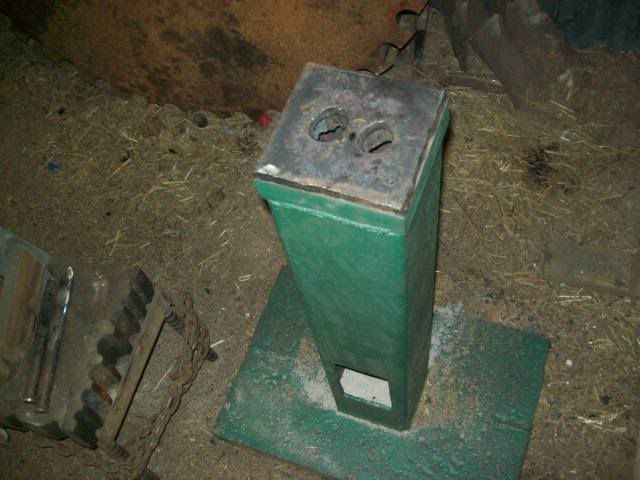
A note about drifting before we go any further..You need something sturdy to drift over if your gonna do much of this..A post vice will work but it really needs to be a good sized vise..Better yet some kind of contraption made just for the job..
Here is ours..Its made from heavy walled 8" square tubing with a large heavy base plate and a 2" thick face plate..The holes in the face plate are cut large, then we have several cover plates with different sized holes to accomadate different jobs..
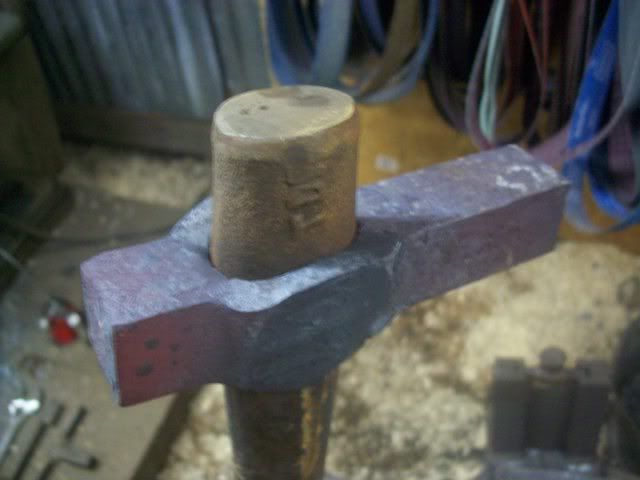
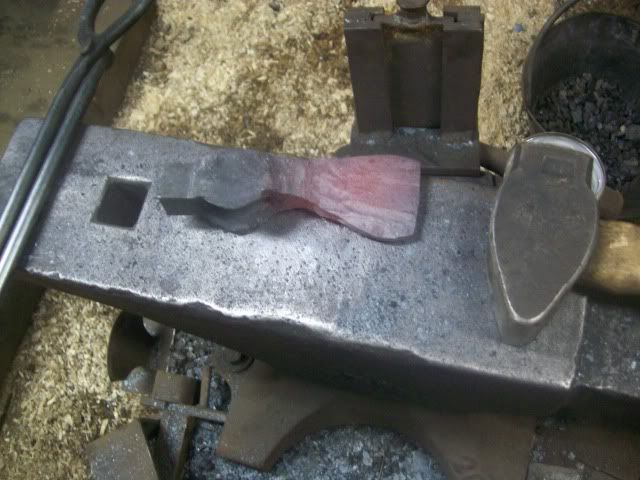
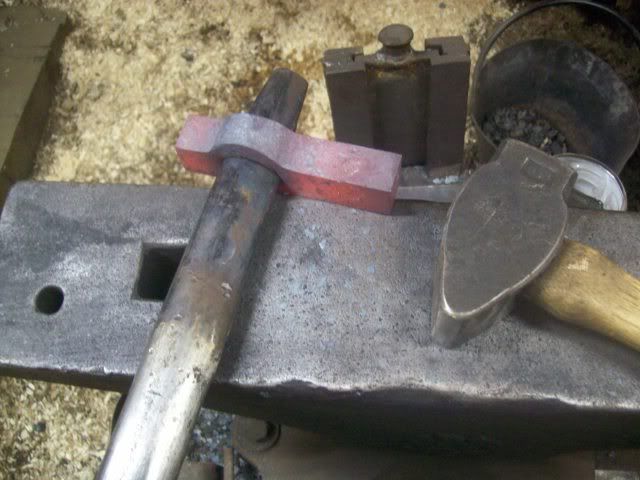
Well here we start with a larger homemade drift, shaped close to final eye size..We drive it thru to about the depth shown in the picture then we take it to the hammer..
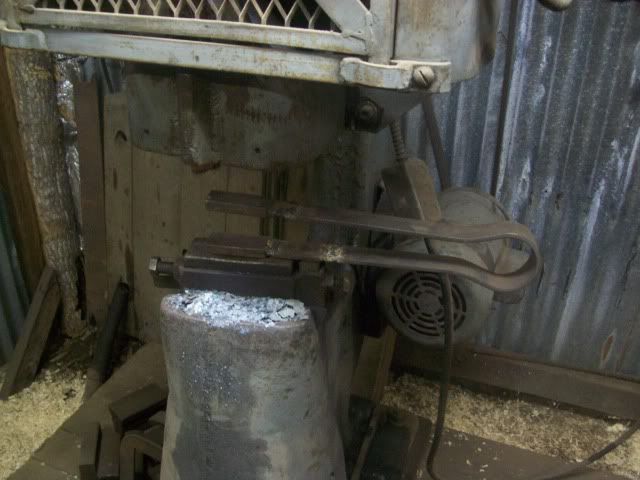
Heres the hammer swage used for drawing down the ears..I alwys did this by hand, Lisa started out doing it by hand too..Last year she had enough(which means she finally saw why we needed a hammer) and we bought this #50LG..I thought about getting a #25 but she was insistant on spending the extra $$$ and getting this nice #50..I love my wife by the way
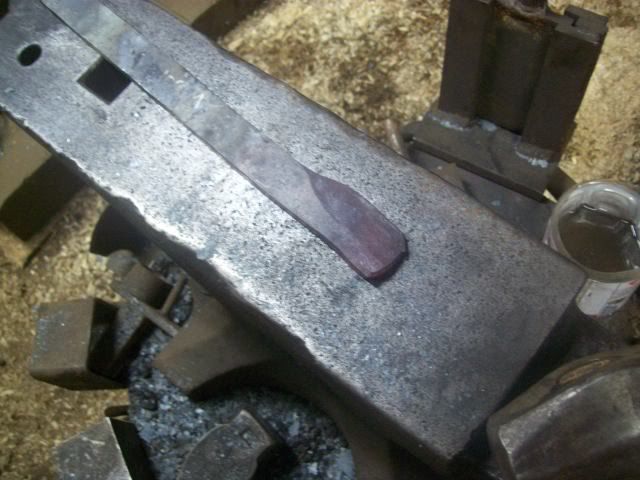
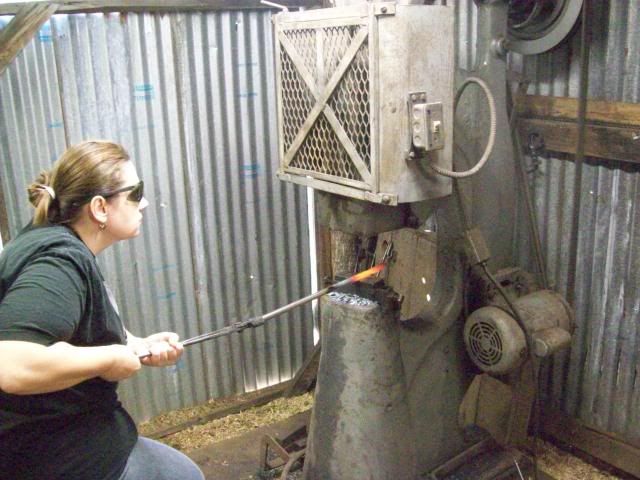
Lisa drawing out some W1 round for strikers..You can always work on something else while your waiting on a piece to cool down etc..Dont waste the fire..
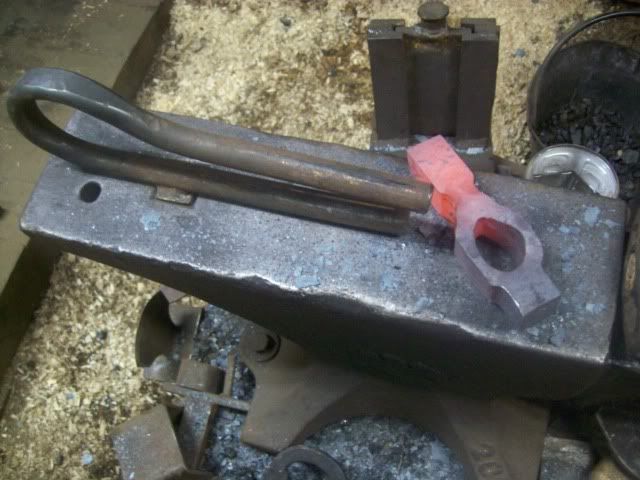
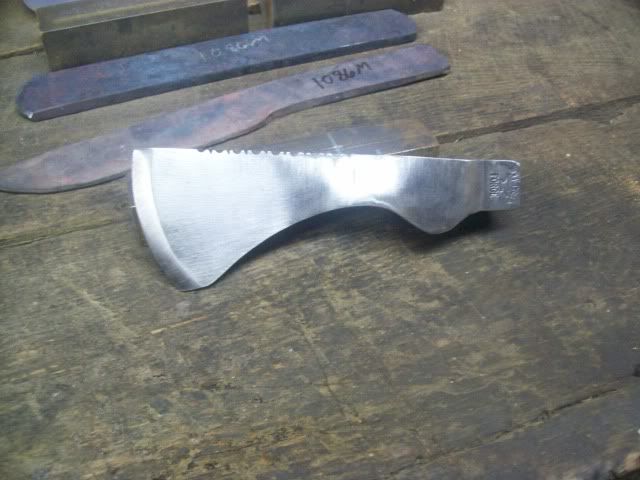
Here we have the ears started..I just think ears look so much better on an axe, instead of a straight body,,
First we will start with a 1" square piece of 1045..You can heat treat the poll just like you would a regular hammer head..
We mark the steel cold with a chisel first..Its very,very important that you get the marked line dead nuts straight and true..Any small error here will be magnified 10x when you start hot slitting..Mark both sides, thats also important..These two pics are actually from another piece used to make a hammer poll but the marks are made the same way..
After its marked its off to a hot fire..
here we go starting the cuts.very carefully with a homemade 1 1/4" hot cut..
One side.....
Then the other....
Here we are a little farther along...One heat later...Remember working from both sides at once..That way we can meet in the middle for a straight cut..
Here we are, right in the middle just like its suppose to be..When you get this close to punching thru make sure you have a cutting plate..Dont want to jack up the face of your anvil or the edge of your slitter..Notice that cup of water..its for cooling the slitter..Three licks then cool down..
Then we go to a simple small drift just to open up the eye..You see here how everything is nice even and straight? You would know if your line wasnt started straight..That hole would be all discombobulated..
A note about drifting before we go any further..You need something sturdy to drift over if your gonna do much of this..A post vice will work but it really needs to be a good sized vise..Better yet some kind of contraption made just for the job..
Here is ours..Its made from heavy walled 8" square tubing with a large heavy base plate and a 2" thick face plate..The holes in the face plate are cut large, then we have several cover plates with different sized holes to accomadate different jobs..
Well here we start with a larger homemade drift, shaped close to final eye size..We drive it thru to about the depth shown in the picture then we take it to the hammer..
Heres the hammer swage used for drawing down the ears..I alwys did this by hand, Lisa started out doing it by hand too..Last year she had enough(which means she finally saw why we needed a hammer) and we bought this #50LG..I thought about getting a #25 but she was insistant on spending the extra $$$ and getting this nice #50..I love my wife by the way
Lisa drawing out some W1 round for strikers..You can always work on something else while your waiting on a piece to cool down etc..Dont waste the fire..
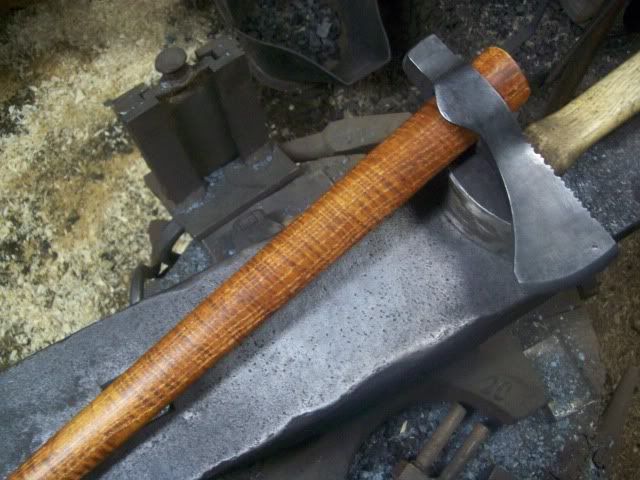
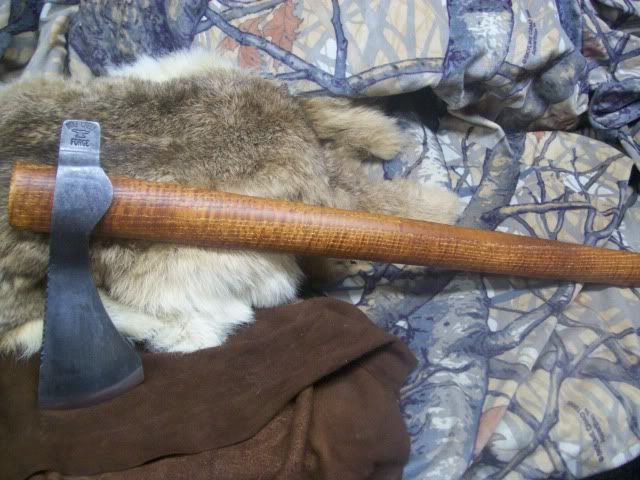
Here we have the ears started..I just think ears look so much better on an axe, instead of a straight body,,