Frame handle bowie WIP

Brad Lilly

Moderator and Awards Boss
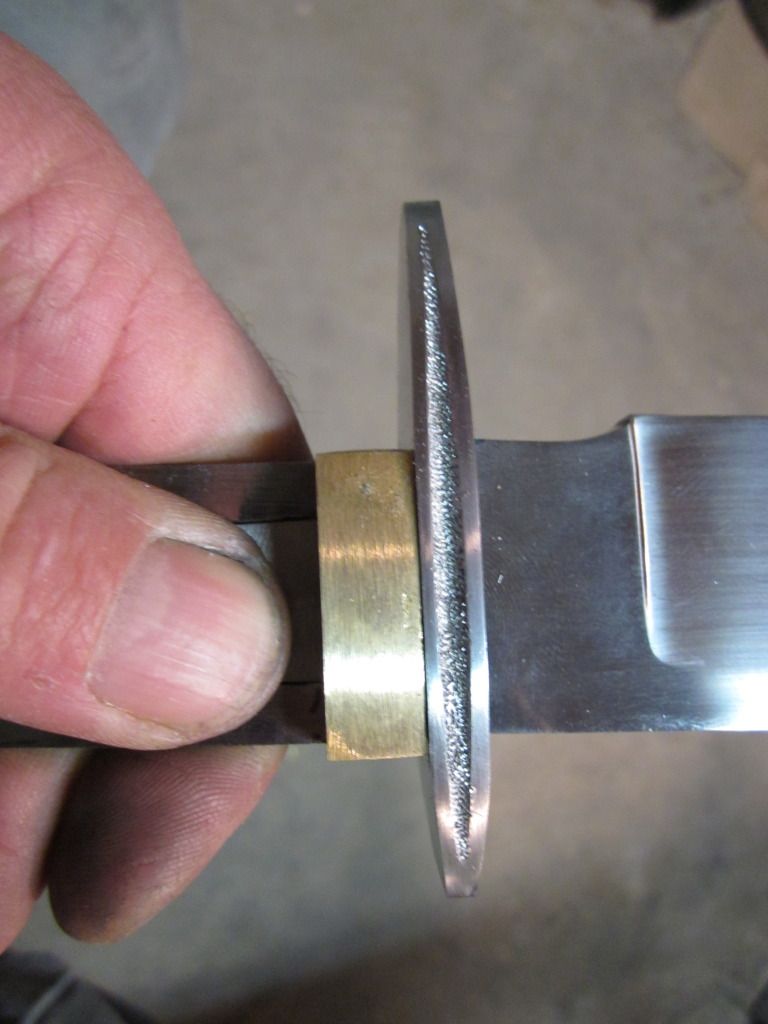
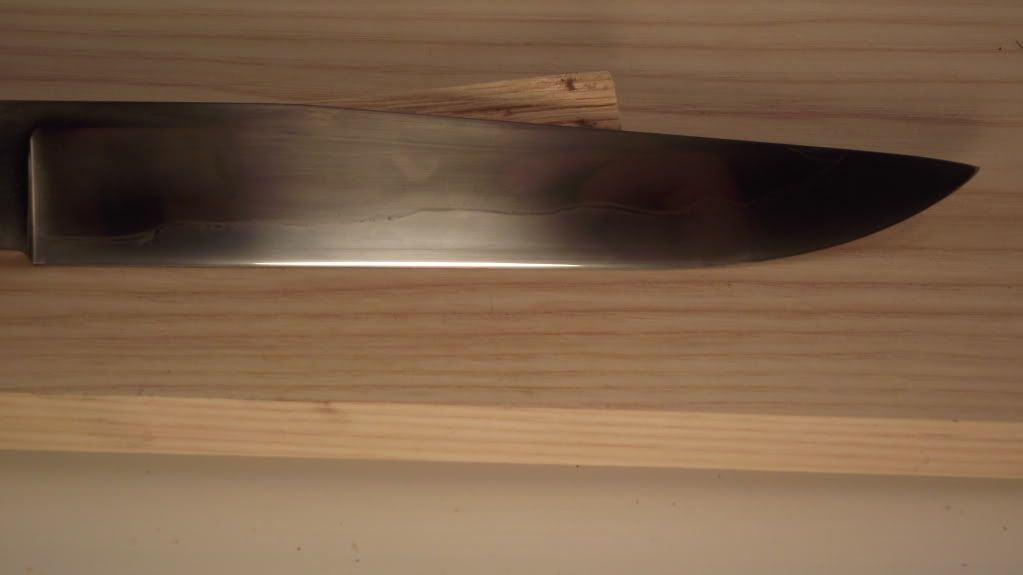
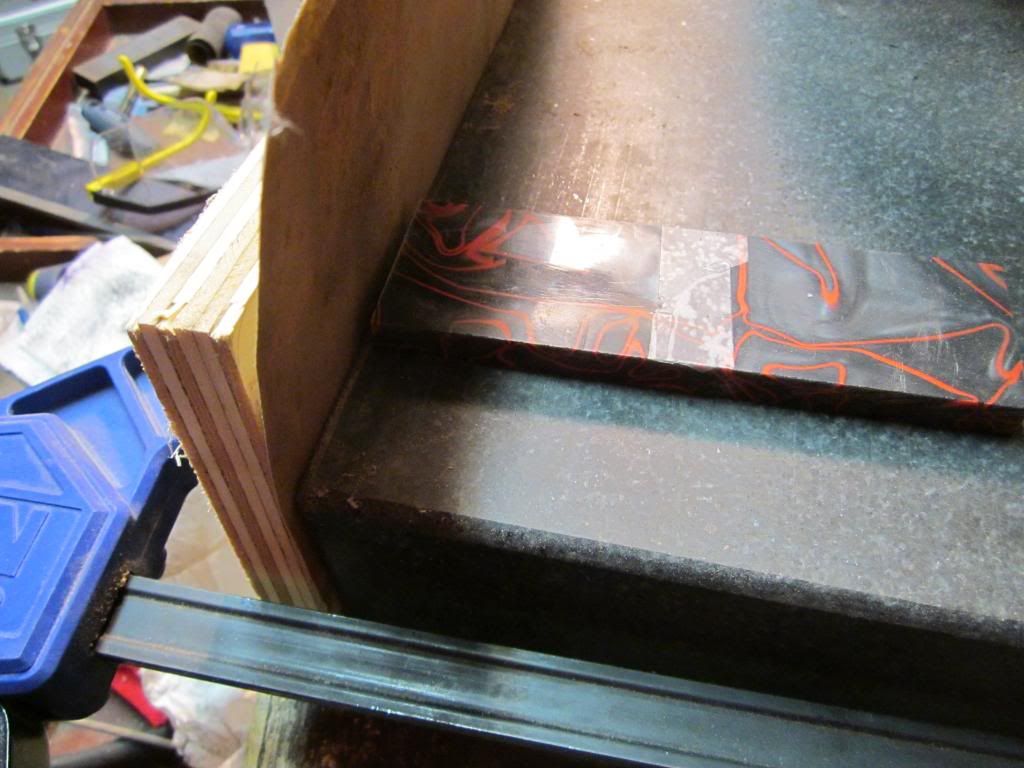
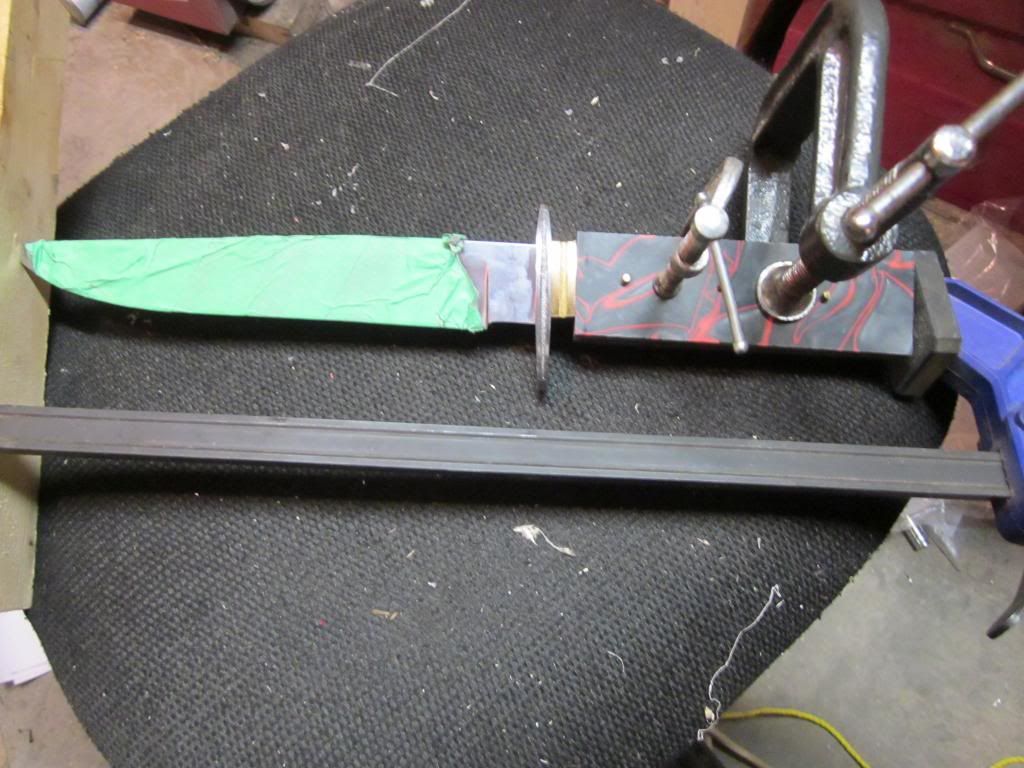
I’m going to do a WIP on a frame handle bowie. I plan on using mild steel for the frame and guard, a little brass and kirinite scales. My knife has distal taper in the blade and tang.
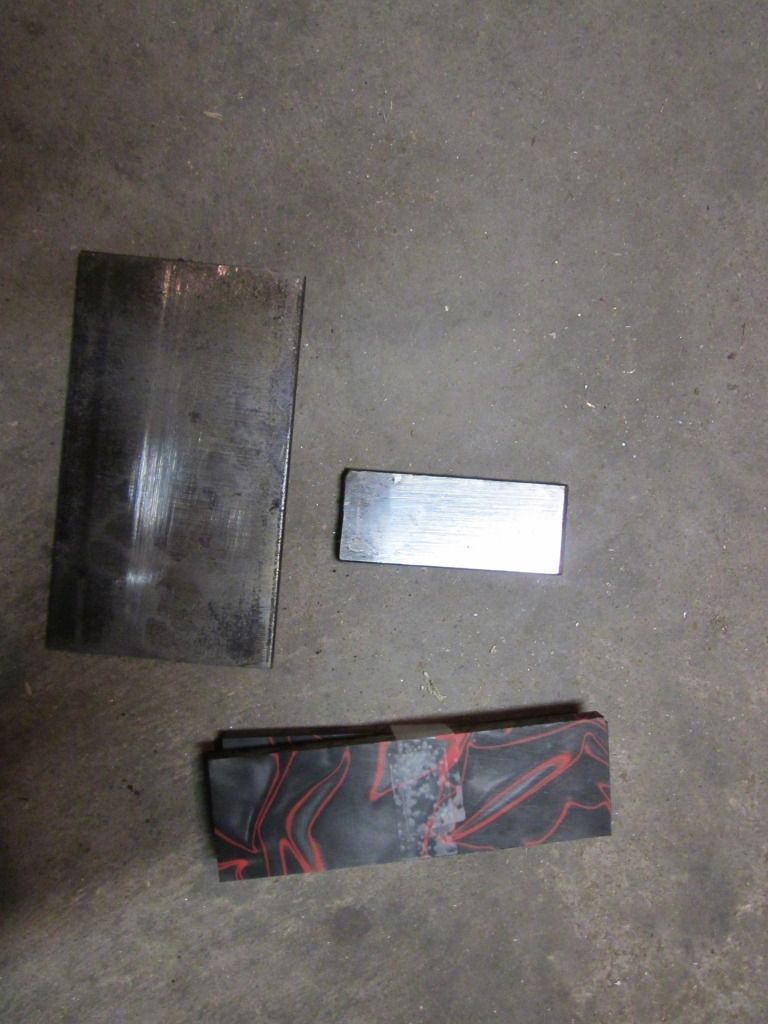
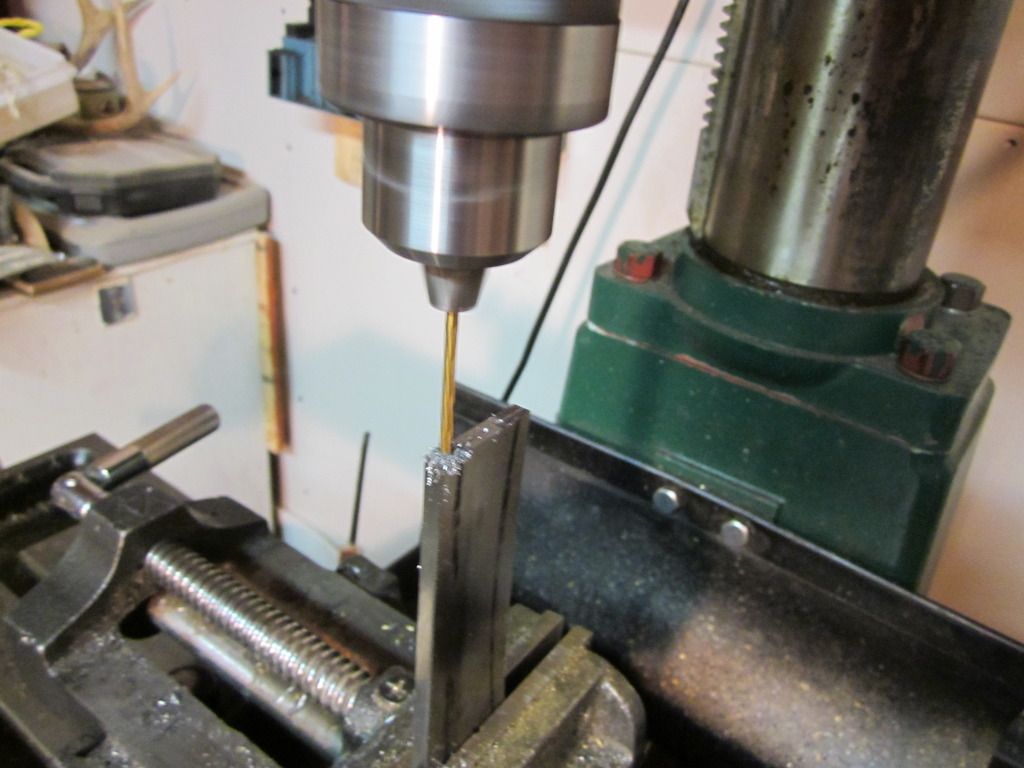
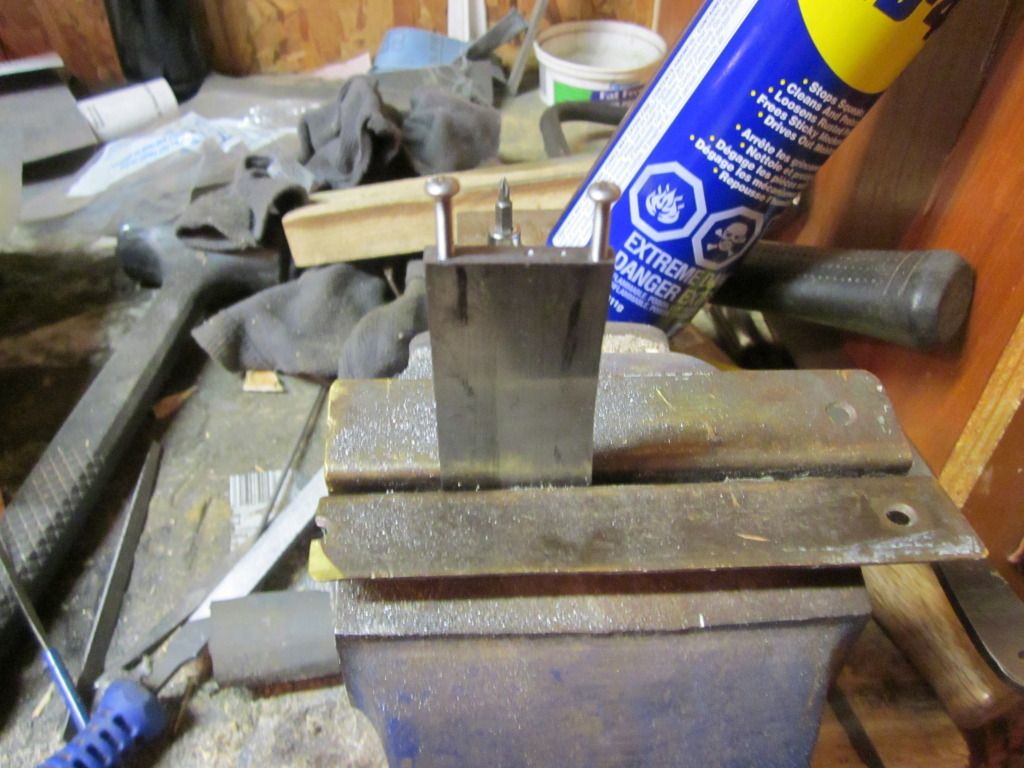
Here are the raw materials, I chose 3/16” mild steel for the guard and frame.
IMG_0655.jpg

I like to use over sized steel to allow me more freedom in squaring the guard up.
IMG_0659.jpg

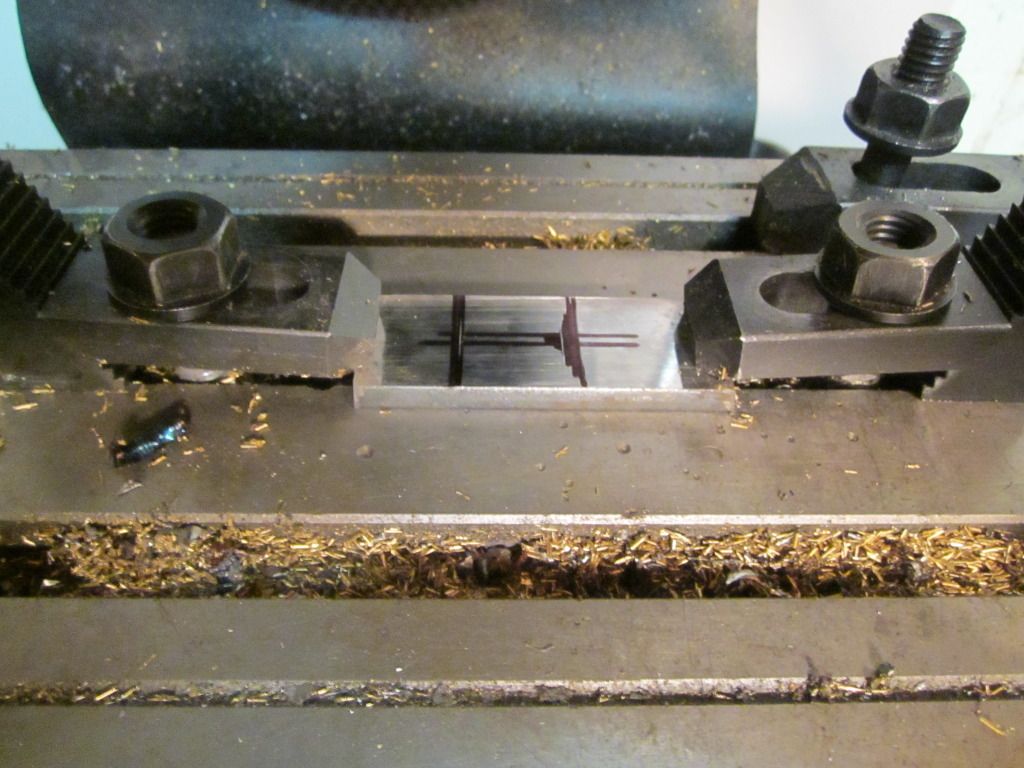
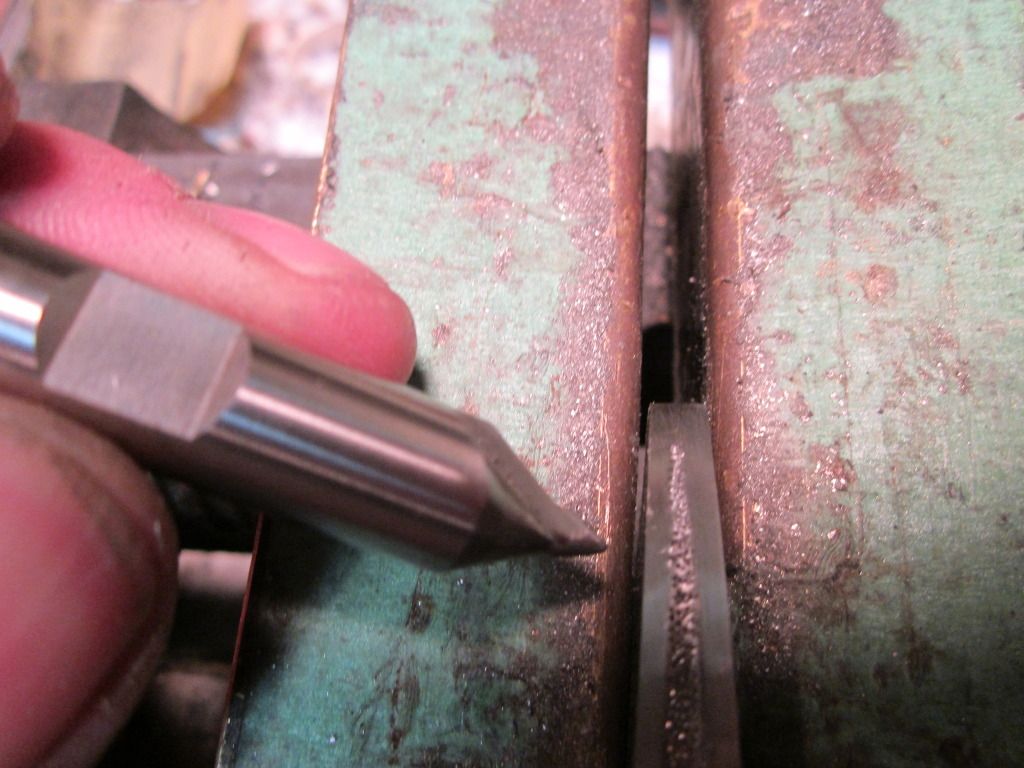
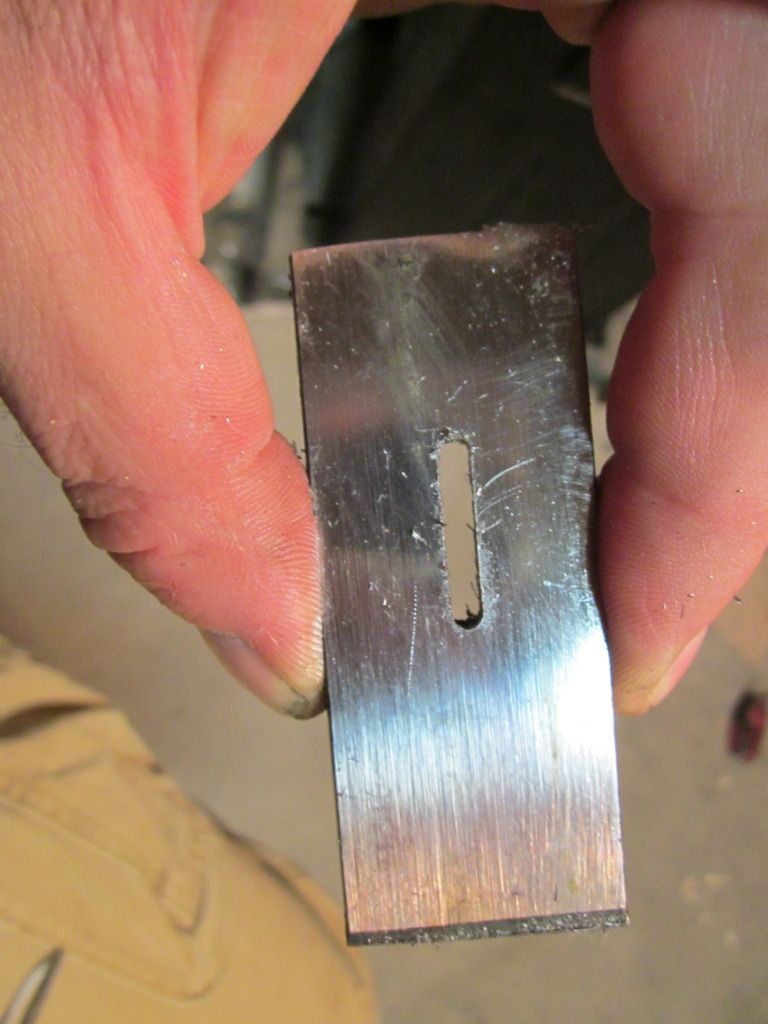
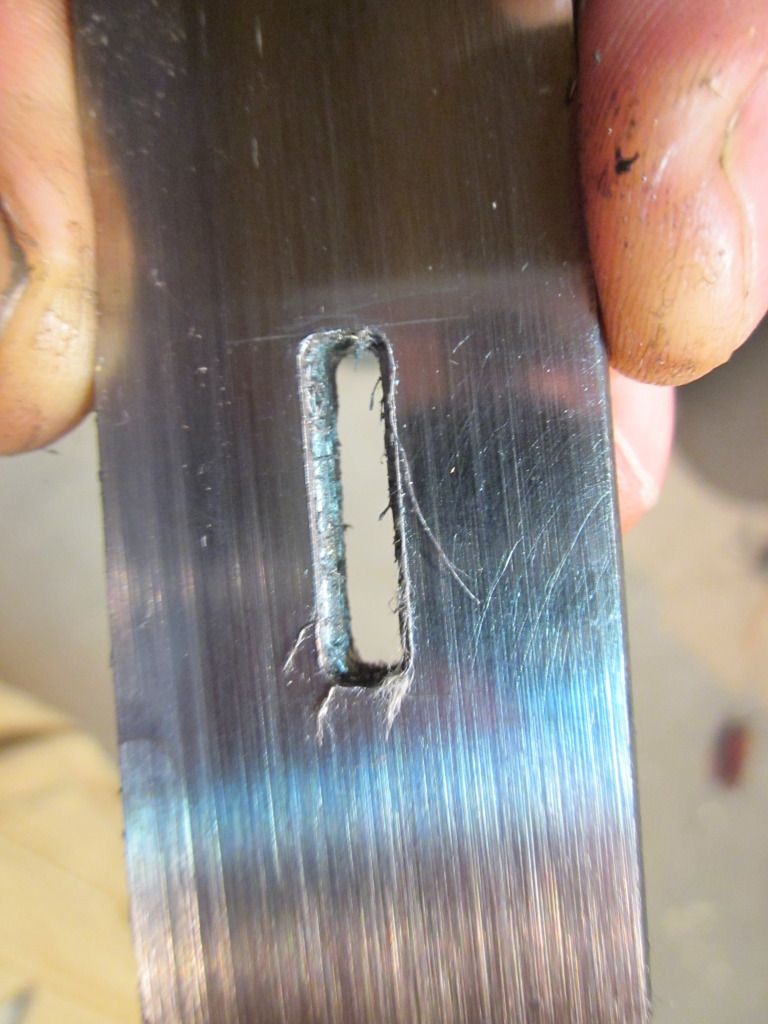
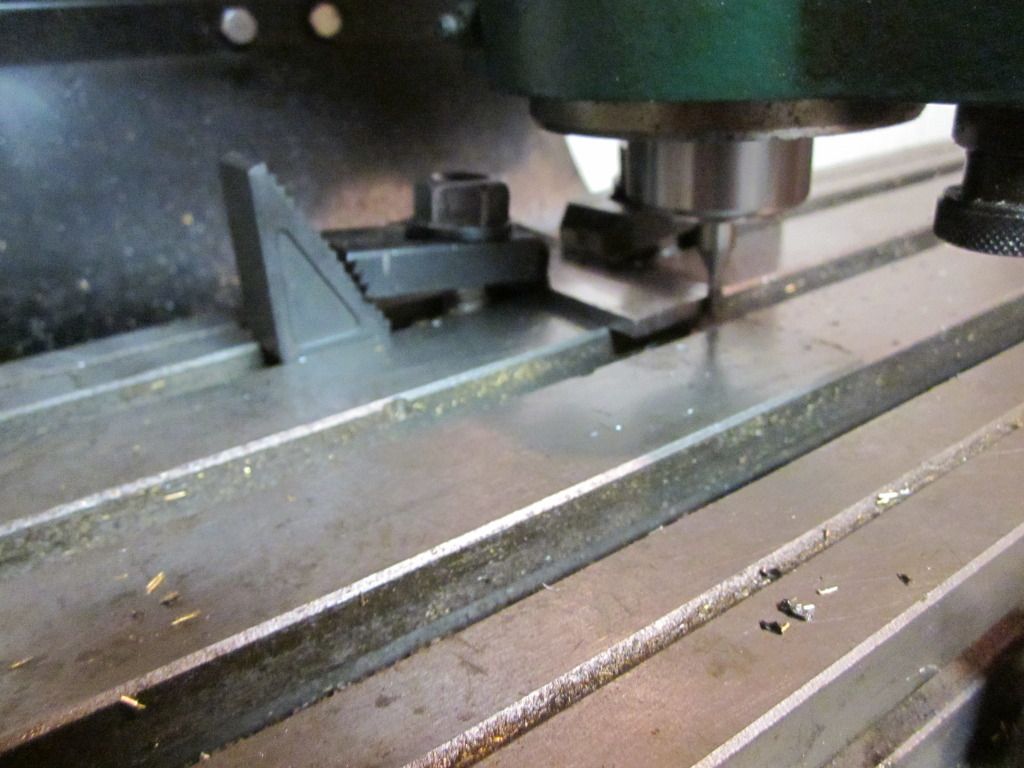
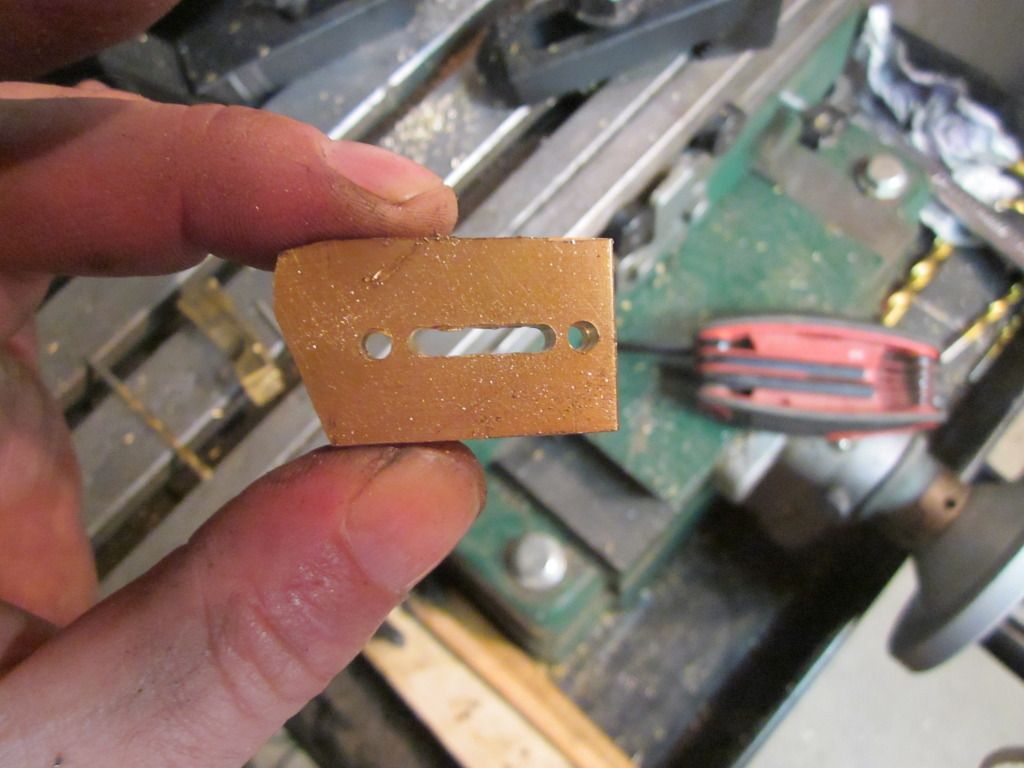
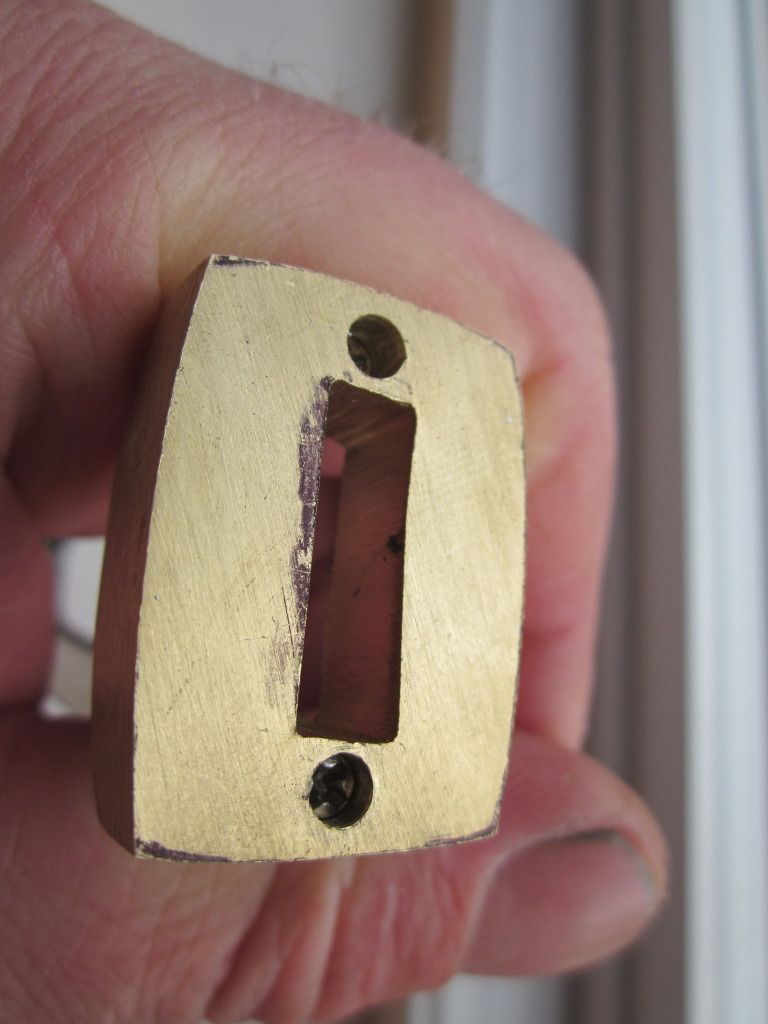
I mill the back of the guard, so the face of the guard is down on the table. The reason for this is I like to mill the slot wider on the handle side. When I’m filing the slot for the final fit I’m filing at and angle (Narrow at the front). This keeps me from filing away too much material where the guard and ricasso meet.
IMG_0661.jpg

IMG_0662.jpg
 
Subscribed
Is there a reason for clamping directly to the table instead of a vise? I'm new to the mill operation.

I'm excited about this frame handle build, I'll be watching it closely.
 
Is there a reason for clamping directly to the table instead of a vise?
It is easier to get the work piece out of level in the vice. When I clamp to the table I know it is flat.
 
Subscribed!

The frame handle knife of any kínd peaks my interest. I want to try doing it, but with a different array of materials. I remember one Randy Haas did and used Desert Iron Wood for the frame, that got me thinking......and that is always dangerous ! Rex
 
I stole some time for the shop today. The finished knife will have a steel guard and a brass spacer. I decided to try something different for attaching the frame to the spacer.

First I milled the top of my frame off just enough to make sure the top is square.
IMG_0664.jpg

Then I drilled and tapped the frame so I can attach the brass spacer.
IMG_0665.jpg

IMG_0666.jpg

I milled a skim off the spacer so it was nice and flat. Nothing will ruin your day like a taper where you don’t want it. Once everything is flat I drilled and milled a slot in the spacer
IMG_0668.jpg

Once I have the spacer attached I can grind the whole unit down together for a perfect fit.
IMG_0672.jpg

I want to use pins to line the guard and handle up with on the side of the spacer. It is hare to explain but hopefully I will have pictures up this week.
Hopefully I get some more time on it tomorrow.
 
I sat in on Daniel Warren's demos on frame handles at this past weekend's hammer in and am quite interested in making one. His was the first I have seen and yours makes number 2. Looking forward to seeing this WIP! Thanks Brad
 
I apologise for not getting more done, but this has been a busy week. Once I had the frame and spacer fitting I counter sunk the bolts so they will not interfere with the guard.

IMG_0695.jpg


Next I ground the tang down and cut the frame out so they match. Personally I like things to be a little loose otherwise there is a chance that the handle and guard will not sit square when the time comes to epoxy everything together.

DSCF5047.jpg


I thought I would try something different. I filed a groove in the guard and stippled it with my super tool. I’m always looking for something to do with the broken end mills.:)

IMG_0689.jpg


This is where my knife is at today.

IMG_0691-1.jpg
 
The guard stippling looks good , plenty of broken end mills around here, thanks for the tip.

Shaping up nicely.
 
The stippling is a very nice touch, I've filed a similar groove in a guard like that before, but it just didn't look that great, but it did not have that slick looking stippling. Mind telling me what a Super Tool is? Please, excuse my ignorance, I thought I was more up to date on my tool knowledge. thanks,Rex
 
My super tool is a broken end mill :) I just sharpened it with my grinder, just keep them cool. I have not been getting far on the handle lately because of the blade. This is my first try at a clay coated blade and I'm trying to get the hamon line to show. Etch in vinegar, polish with flitz and do it again. The blade looks better in person. I'm going to change my photo setup and get a few better pictures. Hopefully you can get the idea from this one (Use your imagination :))
DSCF5082.jpg
 
Looks good.
What type blade steel are you using and what grit did you go to before the vinegar-flitz? I've yet to try a hamon,yours is looking good.
 
2000 grit before the vinegar and flitz. I have been using Steven Fowler's WIP / tutorial on how he polishes a hamon line.
 
I have finished the polishing, so now I can finish the handle. I don’t have a disk sander so I use my surface plate a clamp and a piece of ¾” plywood to make a nice 90 degree angle to sand my scales against.
IMG_0714.jpg

I will try to explain how I put this together. The tang and blade have a distal taper so the guard is driven on. I use a little super glue around the back of the guard to make sure everything is water tight (Back when I was filing the slot I made it wider on the back side) The spacer and frame fit tightly but are not driven on so I used a little super glue to lock them together while I’m drilling and gluing the scales on.
IMG_0715.jpg

I like to do a dry fit up so I don't have any surprises when the epoxy is setting up.
IMG_0716.jpg

With any luck I will get this finished up this weekend
 
I really like the way you tapped the frame to attach the spacer. I'm not sure if it's innovative or if I've just not seen it before, but either way, it's DEFINITELY what I'll do when I make my first frame handle. Thanks for doing this. Oh, the stippling is great too, like everyone else said.
 
Brad, how do you secure the tang to the frame...did I miss something?
 
Last edited:
I used super glue to stick everything in place. Then I drilled three pin holes, two in the tang, one in the frame. The epoxy takes care of the rest.
 
Back
Top