Continental Seax from Bloom Steel WIP

ZebDeming

Well-Known Member
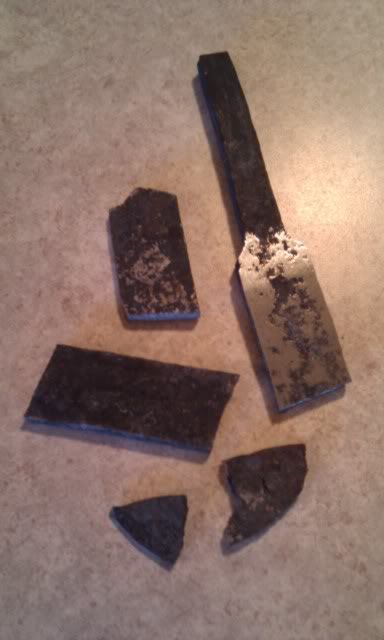
I started a few days ago to start processing up the bloom from my last smelt, and in doing so I started to make a bar that I wanted to turn into a contenental style seax (spear point) I had some iron from my last smelt from magnetite and some very high carbon steel and cast from running some of the bloom bits through a hearth carburizing process. The steel from my smelt last weekend once working it a bit sparked about mid carbon, .4-.5 or there abouts, so I had some iron, some mid carbon steel, some high carbon steel and some cast.
I worked every sorted carbon content steel with the same level of carbon steel until I had some bars to stack together (except the cast, that gets added a bit later) I set the first weld, then piled the small bits of cast on the top of the billet and set it in the forge to soak while watching for the cast to start to melt a bit. It was pressed into the surface and then folded, leaving the cast bits on the inside of the billet, next to the lower carbon iron. My hope is that the carbon from the cast will diffuse into the iron. The first couple folds after this were a little tricky as when up to a good welding heat, the cast was pretty soft if not liquid and wanted to squish out from the seams, but after a few folds the whole billet started working very well, leading me to believe that the cast gave up some carbon to the layer next to it :)
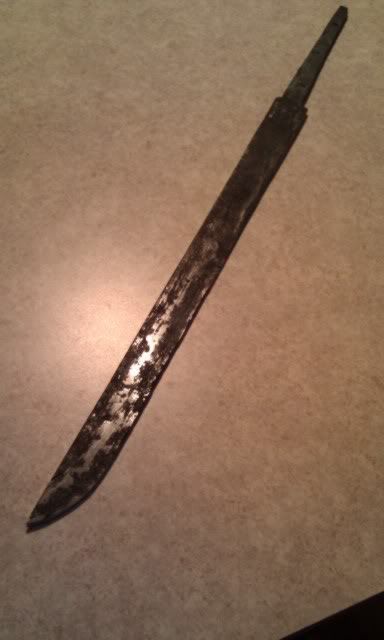
I worked the billet up to 64 layers and then turned it on it's side and flatened it so as to create a "piled" look, the japanese would call it a masame-hada, but it would have alot more layers. After getting a useable bar forged up, I drew out a tang and clipped the point to create a preform so the grain of the steel will follow the edge around to the point when I forge in the bevels.
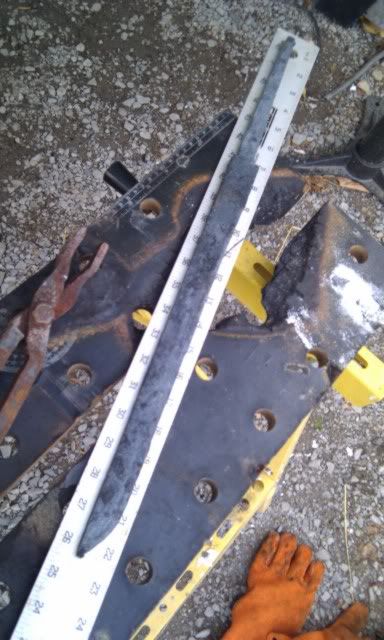
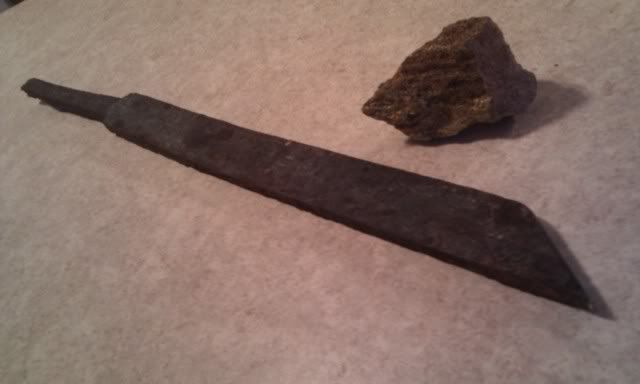
I ran out of propane and had to quit, but I hope to get back to it a bit more very soon. Here's a pic of how it sits now with a piece of Mark Green's magnetite next to it.

IMAG0378.jpg


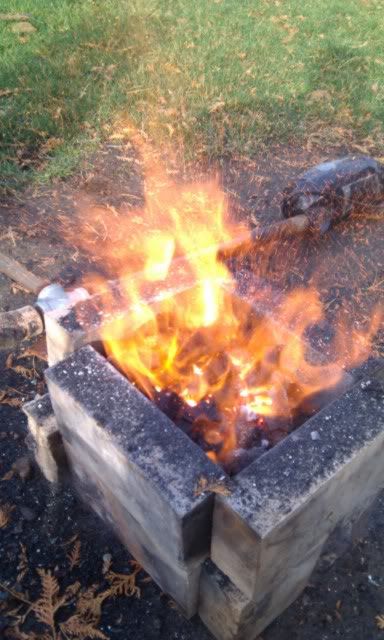
And here are some pics of the smelting process
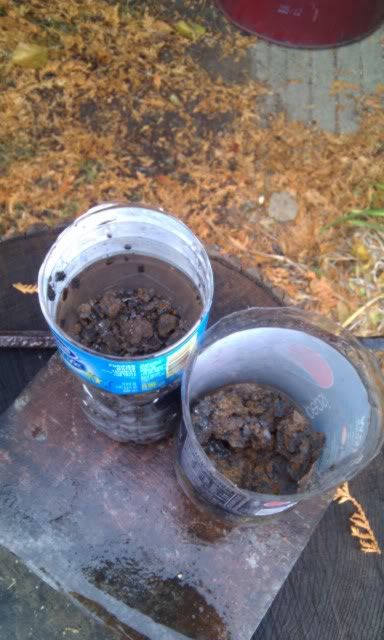
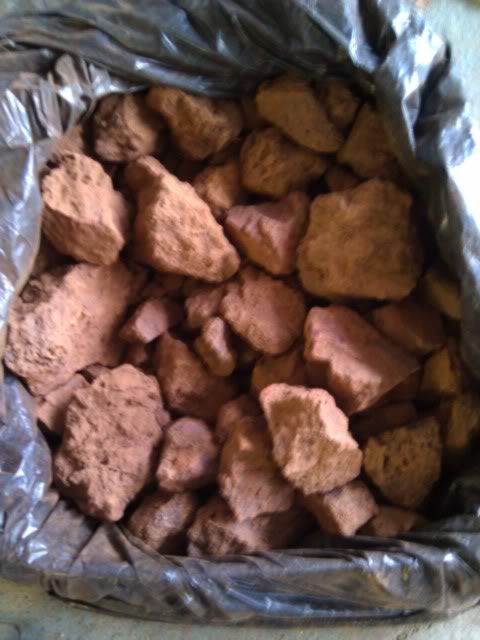
Some nice brown ore

IMAG0208.jpg


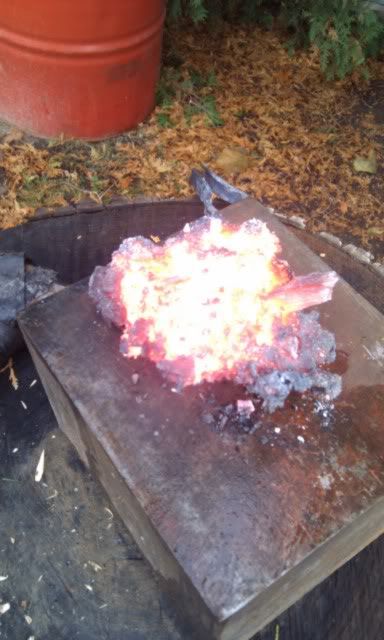
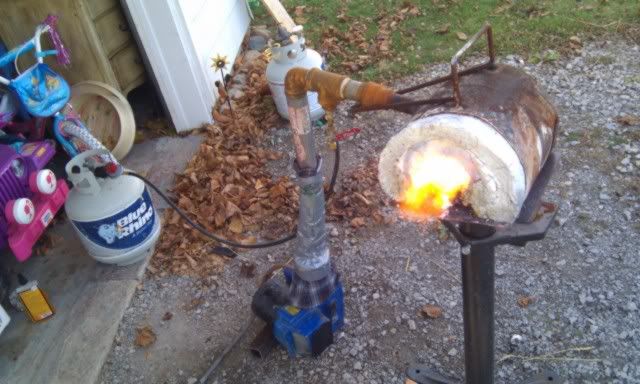
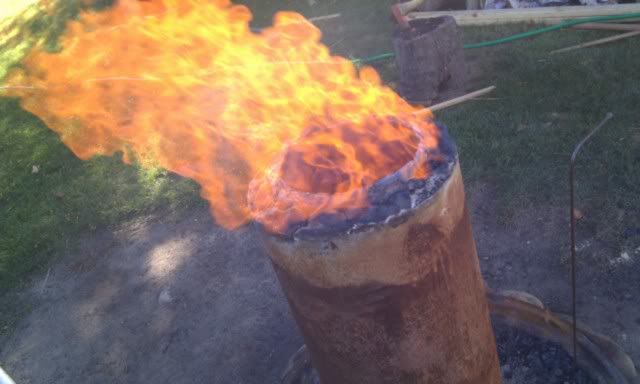
The stack running last weekend

IMAG0373.jpg


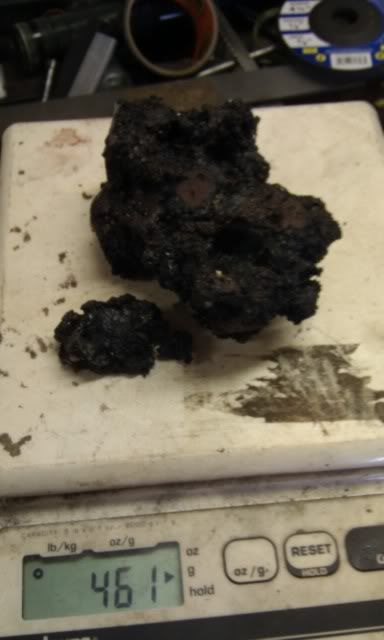
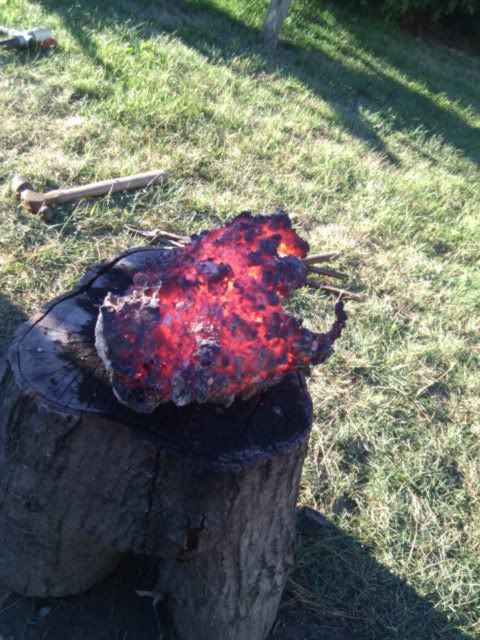
The bloom from last weekend

IMAG0374.jpg


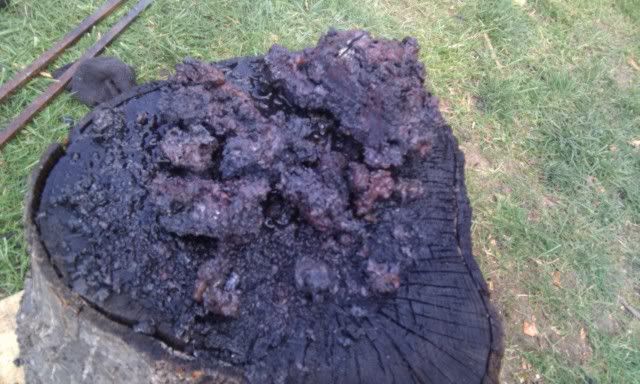
The bloom from the smelt before that one

IMAG0331.jpg


It's hard to believe that alot of that blade preform was just dirt and rocks a week ago :) over all it's about 18" long with a 12" blade, and I expect it to grow a bit as I forge it to shape, it's also quite thick, about 5/16", but that will get worked down as well.
Thanks for watching, I hope to keep up on this, but I do tend to get distracted easily and putting a handle on something is usually where I stall out, so here's to hoping I can keep at this till the end.

Zeb
 
Well I spent most of the afternoon forging out the blade. I had to deal with a couple little delam's, but I got it stuck back together. The problems started when I started to forge in the bevels, I noticed a couple little cracks on the spine when straightening it, I kept on going though as I figured I could grind them out. After I was done forging here's what I had

IMAG0383.jpg


A little cleanup on the grinder and I found more cracks, some on the edge and quite deep :( A little voice in the back of my head told me to fold a couple more times, but I guess, live and learn. Here it is with still a bit of scale on it.

IMAG0384.jpg


I'm kinda bummed, but I learned something. I'm wondering if the cast I added had something to do with it as well? I think the best plan of action as it sits, is to cut it up and restack. If I loose too much I've got alot of bloom left, and I definatly could use an iron core, kinda like a japanese kobuse construction. I'll see how to procede when I get this cut and welded back up.

Thanks for watching and sorry for the disapointment, I'm still learning this stuff and gaining a very good understanding of what the smiths of old had to do, not alot of it could be learned in a textbook, and that's what really attracts me to the older material so much. I'll work through this, and have fun doing it :)

Zeb
 
I can feel your pain. I just lost a knife that I just about had ready to put a handle on. It deflating to spend that much time on something just to have it end up on the trash pile.

Doug
 
Very cool information, and I really hope you can reuse the steel and try the full blade again.
 
I wish I would've taken more pics along the way of the consolidation of the bloom, but it's hard to hold the camera while I work :) I've got the blade cut up into pieces now and ready to be welded back up again. I'll set the weld, draw it out, and fold it 4-5 more times to see if the bar works out or not, it may just work out that it's not good steel, such is the case with bloomery steel, something a more expirenced person that's worked with this material could probably tell early on, but that's what I'm doing, paying for my education :) I'll probably loose quite a bit to scale losses, but I've got lots more bloom material to work with, keeping the carbon content where I want it, is the tricky part, we'll see how this works out, just part of the process. This material is very beautiful when kept at a lower layer count, so hopefully I can get it worked out without going into "japanese" layer counts, but I'll take what I can get :)

Thanks for the comments fella's, it keeps me motivated

Zeb
 
Well I haven't been having very good luck lately, I cut the blade up into 7 pieces, stacked them up, drew it out and folded it 4 more times. I had what looked like a good solid billet, no cracking on the corners and behaving very nice under the press. I started to forge the bevels in, and in no time the tip broke off while it was hot. So I worked a new tip into it and then that parted company with the blade as well. In the stacking and folding I lost quite a bit of the steel, from what I understand, it can be quite normal to loose quite a bit of bloom steel while working it, and after the tip broke off twice, I called it quits. I heated up the blade and water quenched it, just to play around a bit. It definatly got nice and hard, and a few hammer whacks had it in pieces.

IMAG0397.jpg


Now what to do???

What else but to stash those pieces away for further tinkering with and start over, I'm going to have a bit of it chemically analysed and see just what's in there.
Today I rounded up all my bits of bloom from my last smelt. They're all the pieces that are too small to try and forge up, so I decided to run them through an Evenstad style hearth ( http://www.staff.hum.ku.dk/dbwagner/REHD/REHD.html Some folks would also call this orishigane) to make a solid puck of metal from what would otherwise be thrown away.
Here's the bricks stacked up and some pine wood in for getting a fire started

IMAG0387.jpg


The tuyere was set about 2.5" above a packed clay floor and just very slightly angled downward. I got the fire started and filled it with charcoal and let it burn for a little bit to get a good hot fire going.

IMAG0389.jpg


Once it was burning good, I started to add what I had, which was 817 grams of small bloom bits.

IMAG0388.jpg


After about 40 minutes of adding charcoal and bloom material, I pulled this out of the bottom.

IMAG0394.jpg


Not to bad for mostly just dust and small pieces. This process also cleans the bloom material of slag, I even had a small little slag tap near the end. At first I was a little dismayed, as I thought I had run it too hard and got cast iron, but it was just some of the slag that was in the bloom :)

Here's what I pulled out, 461 grams of very nice steel.

IMAG0396.jpg


It sparks as a high carbon steel, and depending on how it works, I'll probably use it for the edge steel, or fold it in with the mid carbon steel from what I have left of the bloom. Time to buy some more propane for the forge and get to work.
Thanks for watching

Zeb
 
Yesterday turned out quite a bit better, I started by reworking my blown propane burner on my forge, I didn't have a restriction between the regulator and the burner pipe and tuning it was difficult, so it got a ball valve that I scrounged up, nothing too fancy, but it made a world of difference. No laughing at the duct taped up shirt sleeve for the go between from the blower and burner :)

IMAG0398.jpg


I started by heating up the high carbon "evenstad" steel and pressing it up, a few pieces broke apart while pressing, so I just squished every little piece flat, and stacked them up to reweld, I also added in some squished down bloom pieces in for hopefully a bit of contrast. I'm only one fold into it and it's seeming to work pretty well, I'll keep folding till I feel comfortable with it.

I also inserted a little bit bigger than fist sized chunk of bloom into the forge after working the high carbon material. This piece was from my last smelt and it works better than any of my previous bloomery material, either that or I'm getting better at working this stuff. I worked the whole chunk in the press and drew it out into one flat bar without any pieces falling off or falling apart. This will be the back of the blade as it's a lower carbon content, I don't plan on doing any fancy twist bars or anything, just work the low carbon a few folds in, till it behaves and weld on the high carbon edge, well that's the plan anyway, hopefully I can keep the Iron gods happy, I did manage to sacrifice some of my hair to the forge when I dropped the tongs and bent over to pick them up, not thinking how close my head got to the forge opening,,,, duhhhh

Here's the two pieces, the shorter one is the high carbon and is one fold in, and the other is the low carbon piece just squished from a chunk of bloom

IMAG0399.jpg


Thanks for watching.

Zeb
 
Still been tinkering with this, I forged up another blade, but lost too much in forging and it was a bit small for what I was planing, so I decided to start with another chunk of bloom steel from my fourth smelt. Here is a video of me pressing a 9 pound bloom half flat. My forge is a vertical with a removable top, so I can open it up, set a big piece of bloom inside and close it back up for heating, it works pretty well. You can kinda see my new press in action, but 9 pounds of steel at welding heat is kinda bright, and super hot :)

http://www.youtube.com/watch?v=rPbTMUMw3sk

I started with 4160 grams of bloom, after pressing I had 3783 grams pressed flat. This morning I broke it up and stacked up 1506 grams of steel up, welded it, and folded it to 320 layers. I then forged it into a blade, 455 grams worth of bloom steel.

71876_4141601307172_1167290198_n.jpg

Now it's on to grinding :(

Zeb
 
I missed this one a few months back but wow! Thanks for sharing the process and congrats on getting a blade forged out !
 
That is sweet Zeb! I am enjoying this post very much. Really looking forward to how it all comes out and preforms!
 
Back
Top