Help a brother out ???? Tools to build ????

Kelly,

I already burned through the tax bucks plus quite a bit of additional $$$$ I'll be FLAT broke by the end of the month once again but the new tools in the shop will last ALOT longer than the tears :biggrin:

I do have a full set of the u264 belts from 100x to 5x that are still basically new. I'm curious where you got the new u936 version though as I looked around and didn't see them listed on anyone's website ?

My problem with grinding to a high grit finish is getting an even belt finish where the convexed edge meets the flat ground bevel. I'm hoping to get some better results with the Rotary Platen but I'm honestly not getting my hopes too high :9: Beginning handsanding at 320x is about the best I've been able to achieve with the geomerty I want on my blade.

I have had good success at grinding blades ultra thin with a full flatgrind though and can get a great looking belt finish off a 600x cork belt.

Thanks for the tip on the u936's buddy ! I'm always game to try a new belt

-Josh
 
Some how managed to squeeze about an hour in the shop today.

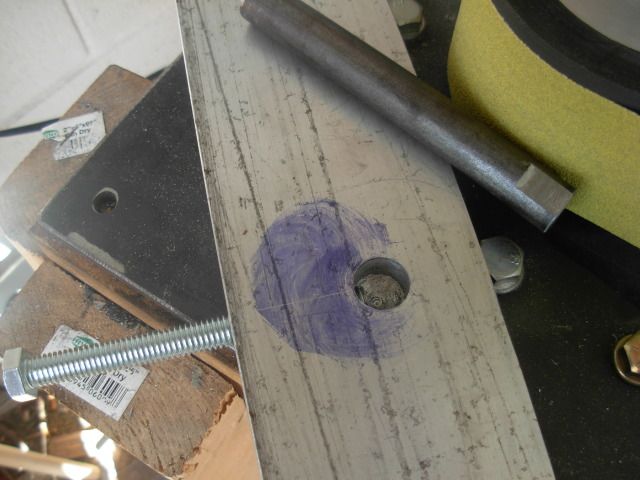
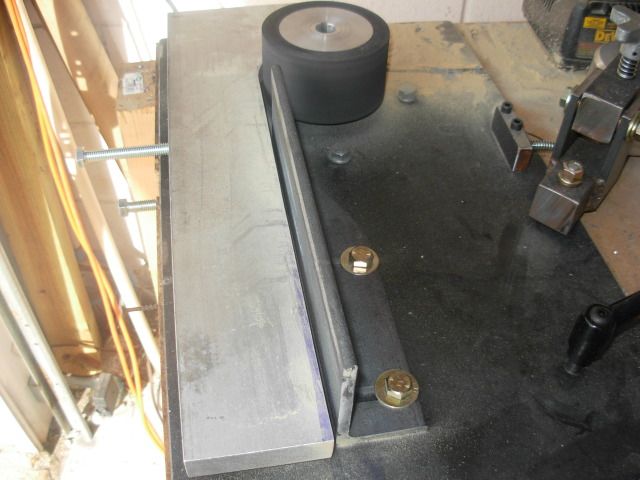
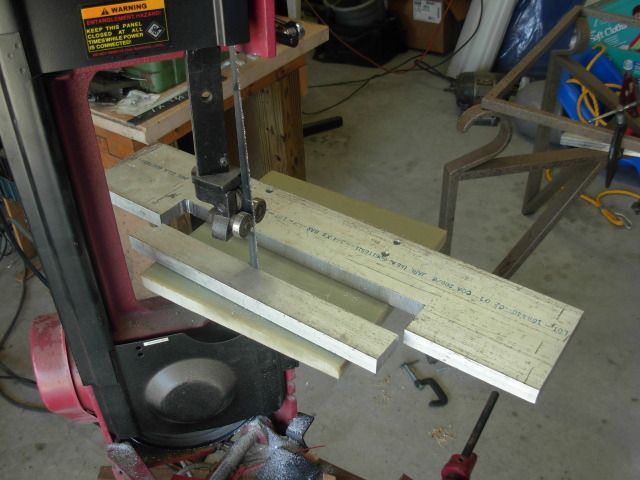
Due to my bansaw being a HF pile I milled a long slot through the aluminum to keep my "cut" nice and straight and used the newbie profiling method to make quick work of cutting the radius

006-3.jpg


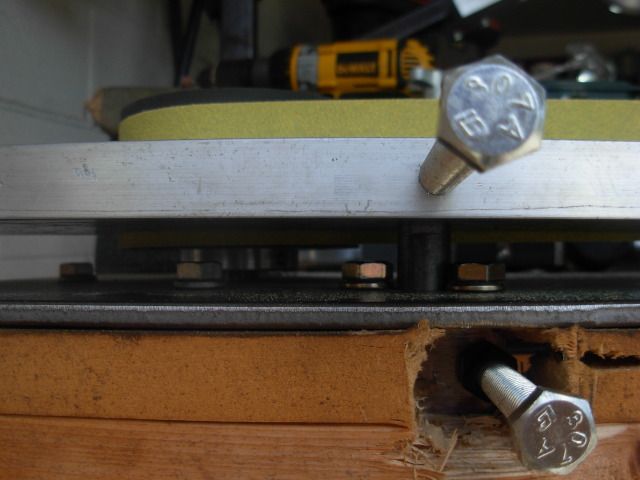
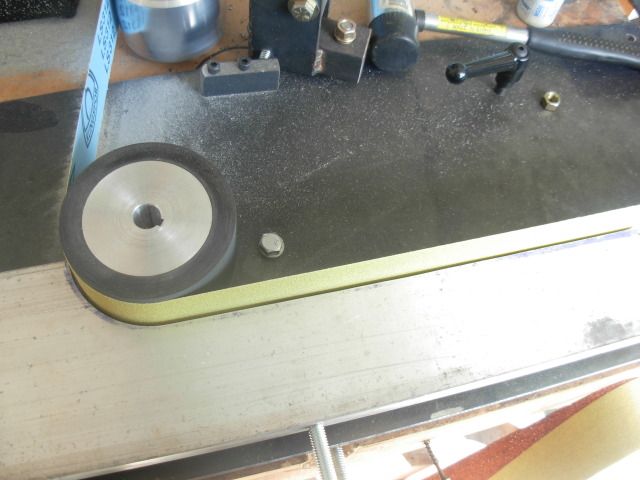
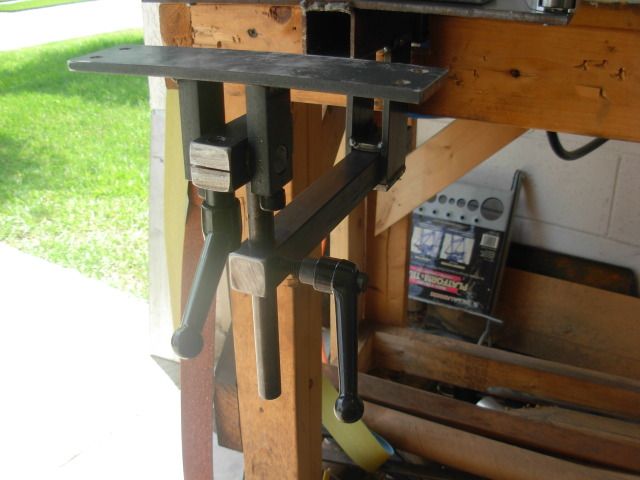
Using the grinder to clean up my radius cut. Once mounted on the 5/8" round it'll be positioned like this and adjust up and down with a twist of the bolt sticking out of the side of the bench. Gonna weld a handle on the bolt so I won't need a wrench to adjust the table.

007-3.jpg


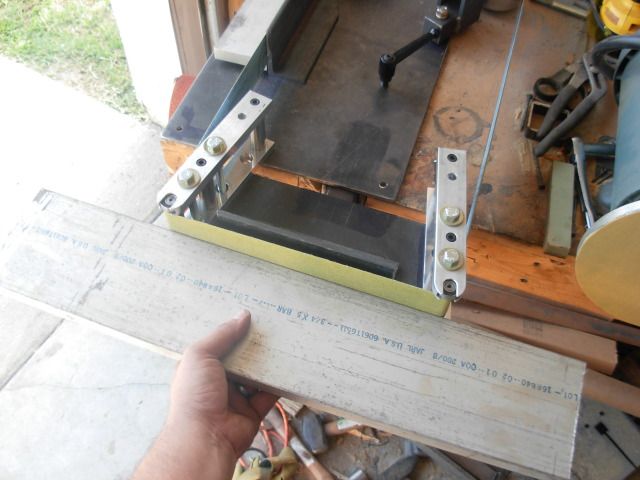
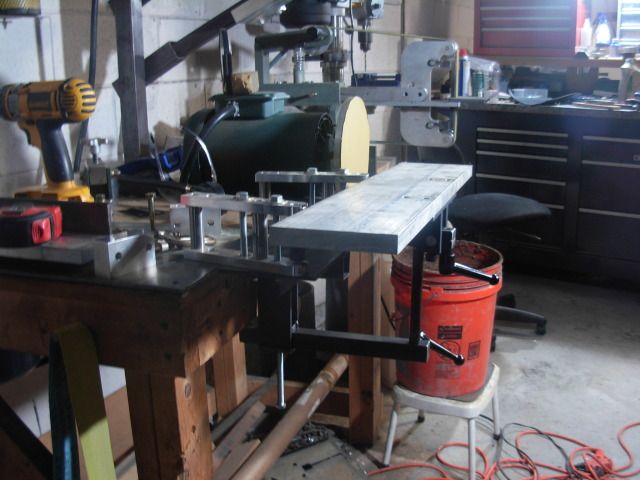
I got this 24" x 5" piece for the front work rest so I'll have 6" of work rest past the wheels on each side.

008-3.jpg


-Josh
 
Kelly,

I already burned through the tax bucks plus quite a bit of additional $$$$ I'll be FLAT broke by the end of the month once again but the new tools in the shop will last ALOT longer than the tears :biggrin:

I do have a full set of the u264 belts from 100x to 5x that are still basically new. I'm curious where you got the new u936 version though as I looked around and didn't see them listed on anyone's website ?

My problem with grinding to a high grit finish is getting an even belt finish where the convexed edge meets the flat ground bevel. I'm hoping to get some better results with the Rotary Platen but I'm honestly not getting my hopes too high :9: Beginning handsanding at 320x is about the best I've been able to achieve with the geomerty I want on my blade.

I have had good success at grinding blades ultra thin with a full flatgrind though and can get a great looking belt finish off a 600x cork belt.

Thanks for the tip on the u936's buddy ! I'm always game to try a new belt

-Josh

Josh, Contact Scott or his son Ryan at www.trugrit.com/ in Ontario Ca. Call em.
The belts haven't been posted yet but I am 90% plus sure the have them in stock.
They have most all of the Norton and 3M Ceramics and Structured ceramic belts like the U936's

Have fun!

Laurence

www.rhinoknives.com/

Keep
 
Josh I am just ordering my new belts , I was atually talking about the older style belts. Ive been using the u264 for 3 years and they are awesome. Now I did ask a couple guys and they have used them and they are really impressed . If ed caffrey and rob riddley says they are good im sold . Rob told me his order is coming in anytime now. Sorry I reread my text and it sounded like I had them already. Ill let you know when ive tried them in a P/m
 
Appreciate the tips on the belts fellas ! I'll be giving them a try when my currents set wears out.

Squeezing in shop for an hour or two if I can this week. Vacationing at home this week and hitting the Zoo today, Pool tomorrow, plus Legoland and Seaworld later in the week.

Bottom of the work rest, 5/8" shaft, and locking bolt

001-5.jpg


Assembled side view

002-7.jpg


Lots of room to work on the flat platen or the contact wheel

003-5.jpg


Also located, drilled, and tapped the holes in the frame for the flat platen. That's about it for now but better than nothing ;)

Josh
 
Got the slots milled in the angle for mounting the platen

015-4.jpg


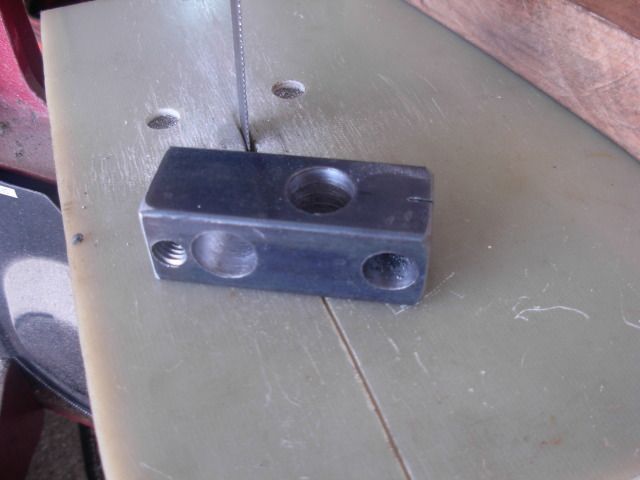
Here's the new gooseneck for the small wheel attachment's work rest. Lotsa holes in this 1" square. Some of them drilled through, one drilled partially through some tapped etc. Got started cutting the "pinch cut" on the bandsaw when I got called in this morning. As this comes together it'll be apperent how it all works.

016-4.jpg


Probably won't be any updates tomorrow. We're off bright and early for a day at Legoland Florida :)

-Josh
 
Last edited:
Sandy,

Heya buddy ! Thanks for taking the time to check it out.

We're having a blast vacationing at home this year but of course that means we won't be comming up to Ga for vacation :( I'm looking forward to seeing ya at Bladeshow though !!!!! You ARE comming down to the show this year .... RIGHT ;)

I know myself and alot of other folks would sorely miss our yearly oppertunity to hang out with "The Godfather of Moo" if you don't come to the show.

I seriously doubt we'll have this much fun but we'll sure give it a shot !!

047.jpg


Take care my friend... hope to see you soon !

Josh
 
Managed to get out in the shop today and get a good bit accomplished.

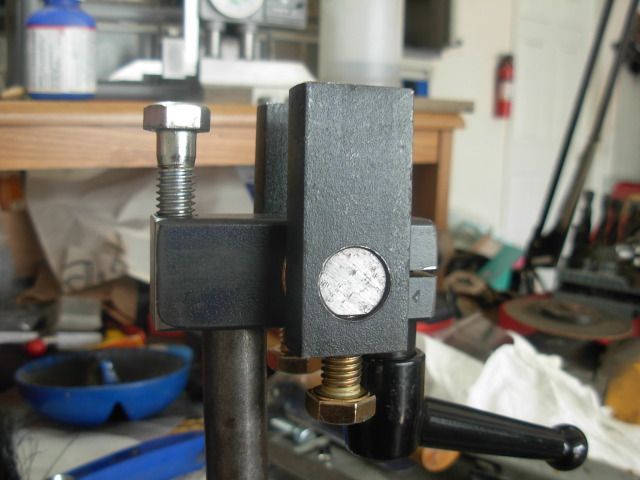
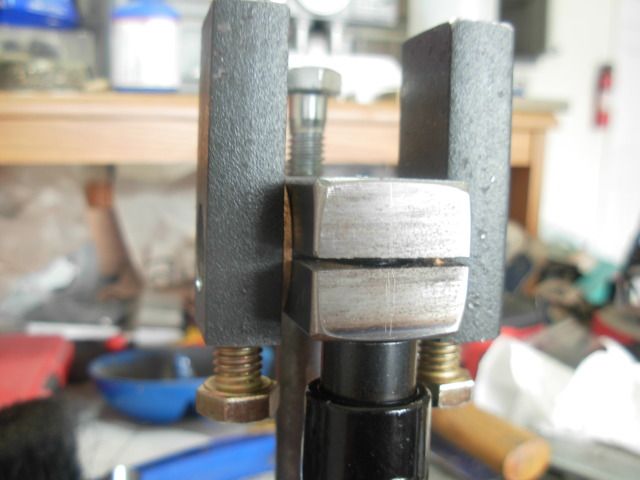
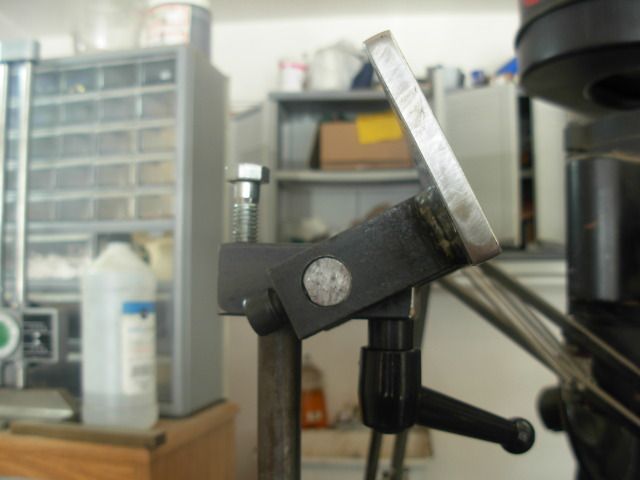
Here's the gooseneck with the axle, bronze thrust bearings and ears for the table mount in place. The silver bolt is the adjustable stop to return to zero after tilting the work rest.

008-4.jpg

009-3.jpg


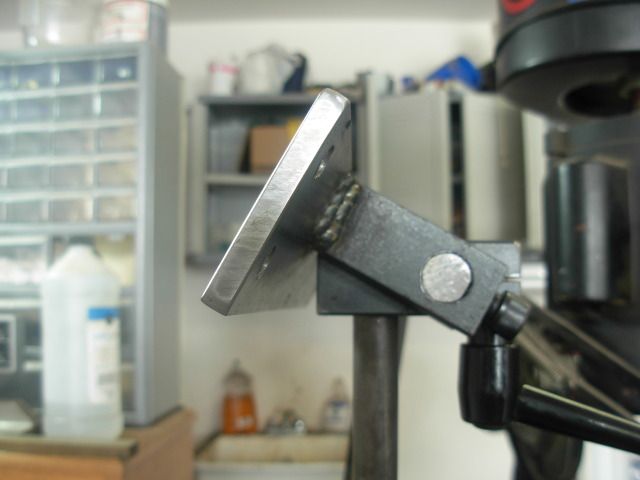
Got those ears welded to the work rest mounting plate

010-3.jpg


Work rest tilting action

011-4.jpg


Not sure that I'll use the work rest like this much but it also has the ability to go to a negative tilt with the stop bolt removed.

012-4.jpg


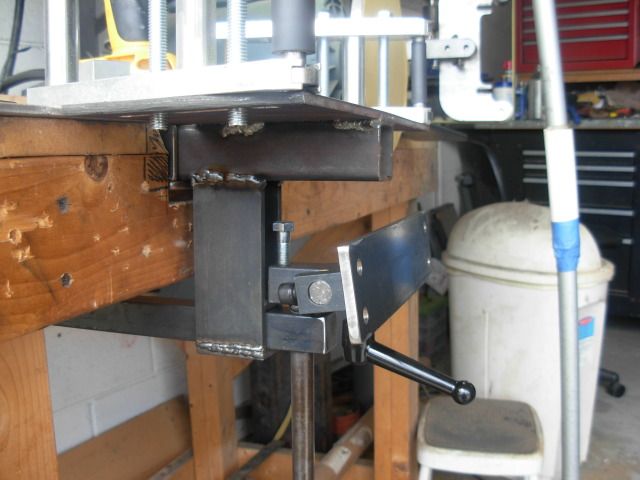
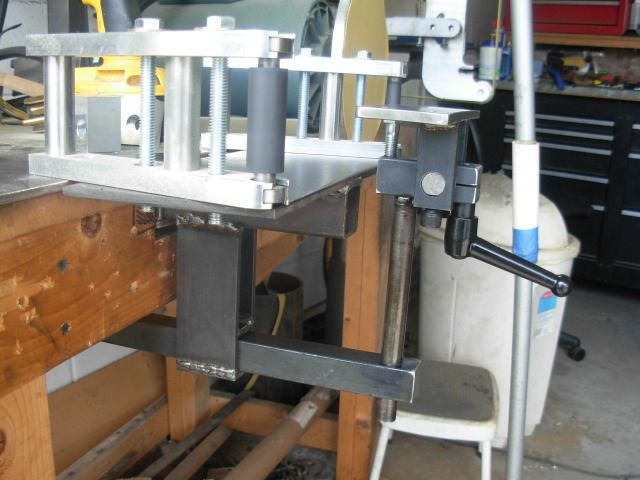
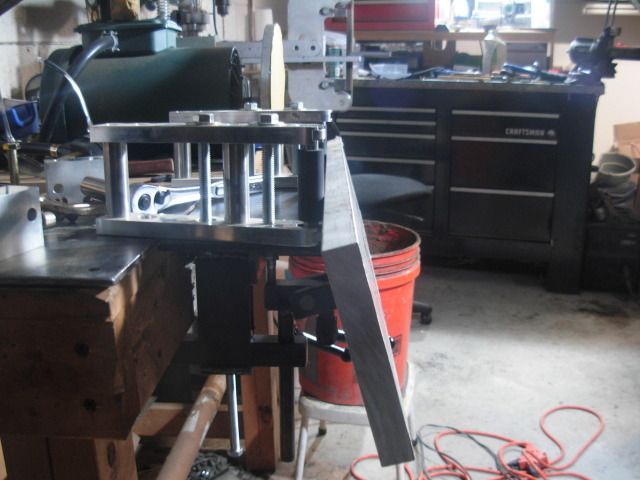
This tool rest is for use with the dual small wheel attachment only so I fabbed up this drop mount that's welded directly to the bottom of the tool arm. The dropped mounting allows a wide range of motion to get the toolrest to pretty much any angle and height desired. I went this way so I could put this whole attachment off and on without messing with the tool rest. If I find in the future that I use other attachments alot and want a work rest for them I have plenty of room on the frame to add another reciever for a MAPP type setup. This position is what I'm thinking will be clip grinding mode

013-5.jpg


The length of the gooseneck's stem allows the work rest to cover the entire width of the belt all the way to the top of the small wheels without adjusting tracking at all.

014-5.jpg


These are the handles from the KMG and the horizontal's tool arms but these two plus the work rest tool arm will be getting these adjustable position handles as will the elevator lock for the rear work rest. This way all the adjustments can be changed without the need for a wrench.

015-5.jpg


I'm still debating about using the aluminum for the front work rest -vs- building a frame and covering it with thinner sheet like 1/8" . There are some benefits to going with the frame over the thick aluminum plus I can cut the aluminum in half and have some nice quech plates for SS. I'm leaning towards going this direction but haven't made up my mind 100% yet.

Vacation is over but of course the wife will be travelling tues to fri this week so progress is sure to remain slow at best... such is life, LOL

Take care everyone ! Josh
 
Josh when you get fully done I want to see some pics of this thing in use. Awesome build bud, I can appreciate all the hard work you are putting into this one!
 
Will do Cliff.

Building this is sort of a crap shoot. It'll have many possible uses but I won't really know how well I'll like it for purposes other than profile grinding until having some time playing with it. Could be god's gift to horizontal grinders or an overly complicated machine with too many useless bells and whistles, LOL.

I do think the tilting work rest is going to be a major plus over other horizontals though.

-Josh

I do agree that a tilting work rest is the way! Others currently have it.

Keep up the great work and pics. Other Knifedogs are being inspired and getting a amusing education!:biggrin:
Just kidding my friend!

Laurence

www.rhinoknives.com/
 
Laurence,

Appreciate the comments buddy !

My intension wasn't to start a "build a grinder WIP " thread even though it's kinda goin in that direction a bit. I'm certainly not qualified to school anyone on welding or metal fabrication although I got started being pretty confident I could fumble my way through it :3: I could always make a phone call and have my welding done at my house by a pro welder but figure that wouldn't help me learn to weld better.

I think of this thread more of a "grab a coffee in the morning or a beer in the evening and get some laughs watching some Yay-hoo with a dream cobble together a modern art masterpiece that just may end up grinding something (fingers crossed) thread"

I personally draw lots of inspiration from others work and appreciate others WIP's, Shop tours, Tutorials, and sharing of ideas in general so I don't mind at all contributing to the forum.

This being my very first grinder build I figured I'd better start with something simple like this 4 wheel horizontal with a tool arm, 2 work stations, and articulating work rest just so I don't end up looking like a fool :s12137:

Don't worry fellas, now that I got this ball rolling we'll follow it till it stops and see where we end up. I have a funny suspicion this thing will immediately be a staple in my process and y'all will get to see it alot in the future.

Take care friends ! Josh :p
 
Something simple?
Yeah Right! You are doing a excellent job, Much better than I could do if my life depended on it!
I use to work with silver and a torch many years ago and other than HTing a few knives made of files,
I am clueless about welding steel..

Laurence

www.rhinoknives.com
 
Had a great weekend but all I did in the shop was clean and entertain. Had a great shop visit Sat. with my friends and fellow bladesmiths Rob Gardner and our own Wade Hougham. Meant to get a couple pics but didn't. Had a grand ole time hanging out telling tall tales and surely can't wait to do it again soon.

Managed to get some shop time tonight though-

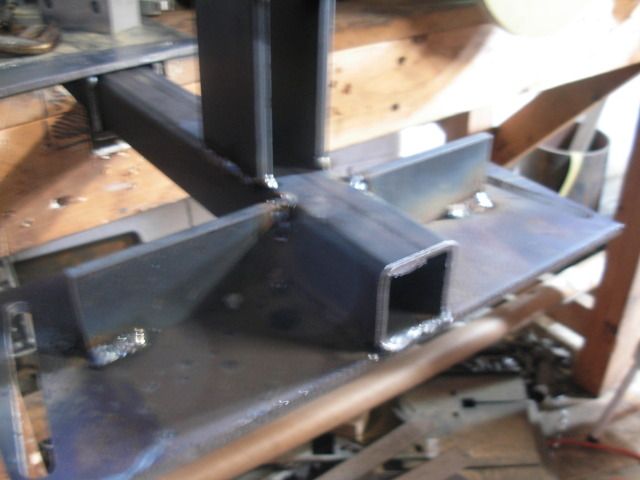
With my lack of metal fab experience one problem I had that needed fixing was that I warped the plate the SWA's are mounted to when I welded it to the tool arm. To correct the problem I clamped it down flat and welded a gusset on each side then annealed all the welds with the torch and let it cool back to room temp while clamped flat. Problem solved, she's straight as an arrow now

001-6.jpg


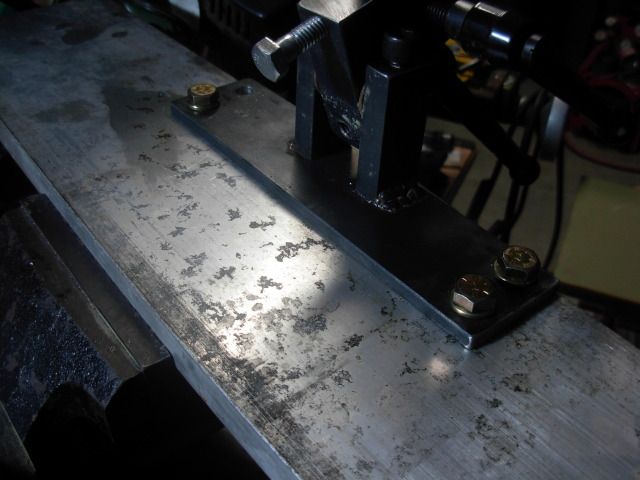
I decided to go ahead and use the aluminum for the work rest. Drilled and tapped the aluminum then punched the mount holes out to 3/8. Gotta run to the hardware tomorrow and grab a few more short bolts

002-8.jpg


While the tool arm was cooling from welding the gussets I drilled and tapped the hole for the locking bolt that locks the in/out movement of the work rest's tool arm. Here it is as high as it goes.

003-6.jpg


Here she is tilted. Once I cut the notch in the front of the work rest it will clear the SWA's so it'll get right up to the wheels and tilt all the way to parallel with the wheels. As it stands now the thickness of the work rest prevents it from getting in close to the belt where it needs to be but I've got a plan to address this issue.

004-6.jpg


Feels good to make a little progress after a week of off time.

Take care all- Josh
 
At least I'm leaning on a broom while I watch you work. You should start serving coffee with your WIP's Josh....this build is cool to follow. Thanks man.
 
Picked up a new bandsaw blade this morning so I gave the old Harbor Freight 4x6 a go at cutting the notch on the work rest. Certainly not a perfect cut but not too bad either. I've been known to cuss that saw from time to time but it's still cutting ;)

001-7.jpg


Work rest remounted

003-7.jpg


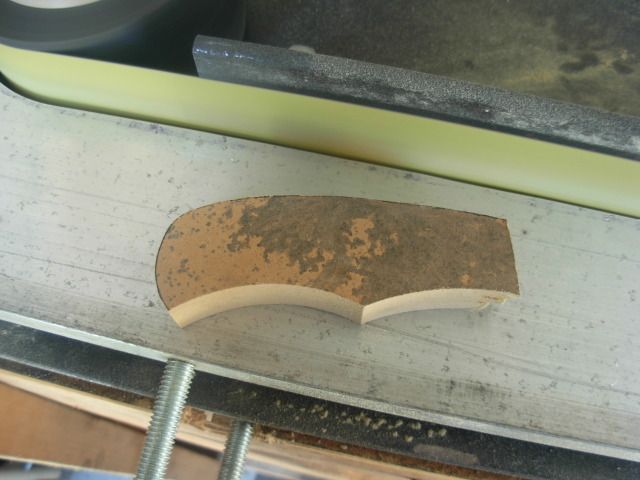
Had to spend a few minutes fooling around on it profiling this press board scrap

002-9.jpg


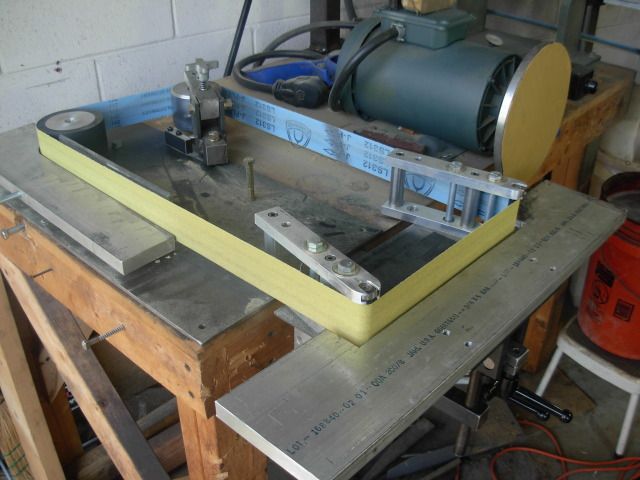
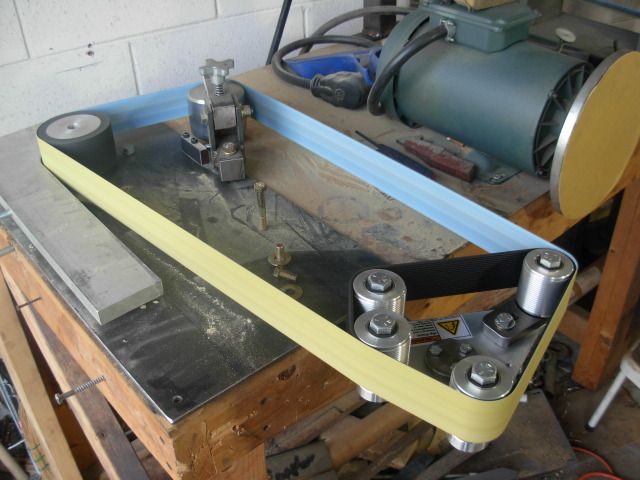
Finally got around to snugging up the belt on the rotary platen and throwing it on a machine. I just wanted to see if it was going to work on the horizontal and sure enough It does. Not really sure this will be hugely beneficial but wanted to see if it fit

004-7.jpg


For the time being this is pretty much a functioning grinder ready for some use. I still need to fabricate some steel skin to go on top of the aluminum. I also need to order some reamers, drill bits, and magnets for the installation of the quick change skins and to make the platens quick change and some more handles. I'll probably start using the grinder as-is for the time being so I can book my room for Bladeshow which is right around the corner. That and all this grinder building has me ready to make a knife or two ;)

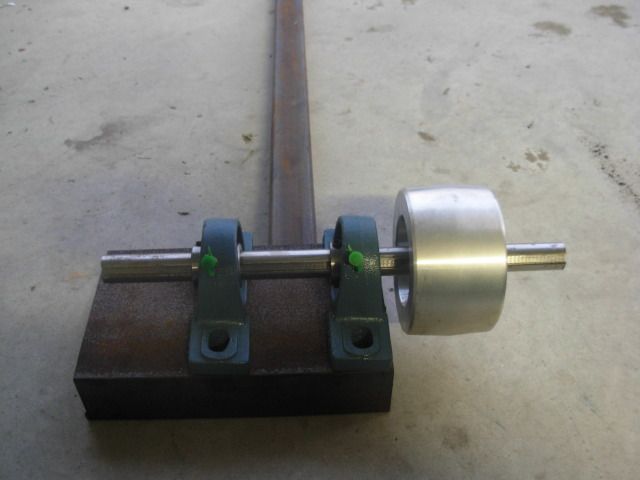
I do plan on getting my buffing tool arm together though. It's going to be configured something like this with a tapered spindle (which I need to order too)

007-5.jpg


Thats all I got for tonight fellas - Josh
 
Back
Top