
Nikov knives
Well-Known Member
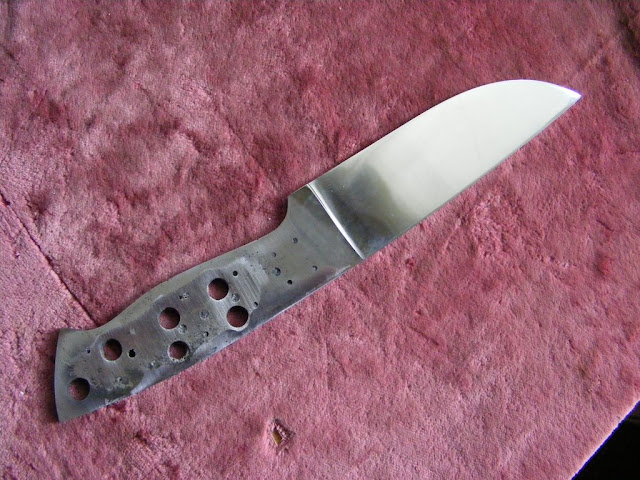
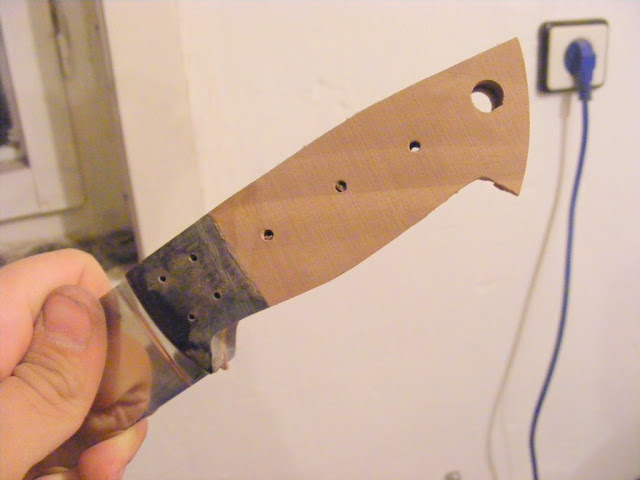
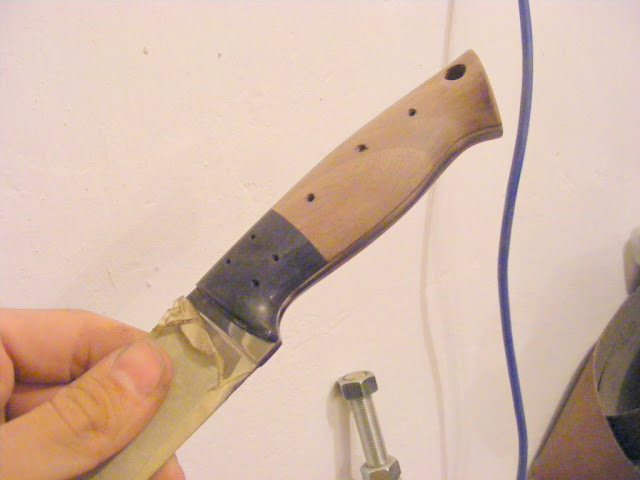
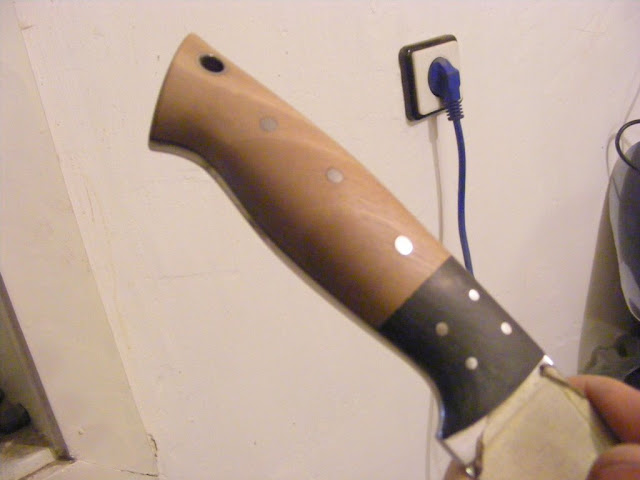
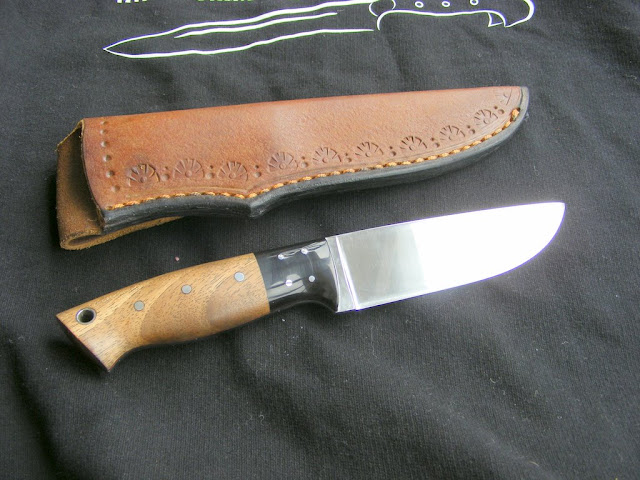
It is how I made a handle on full tang blade. RWL34 - arround 59HRC

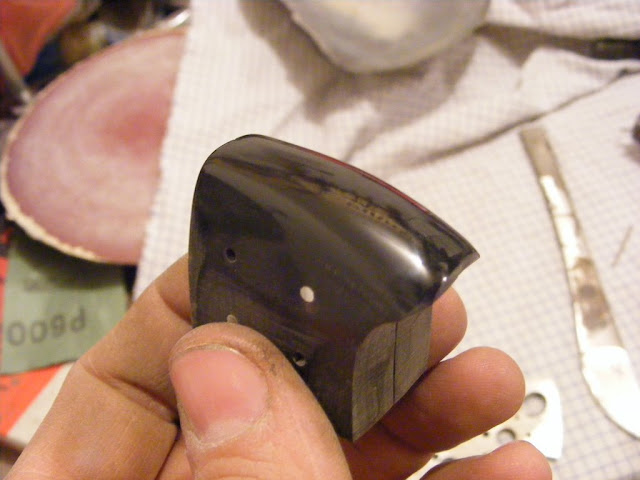
I start with bolster material - India water buffalo horn. They will be monted with 4 pins.
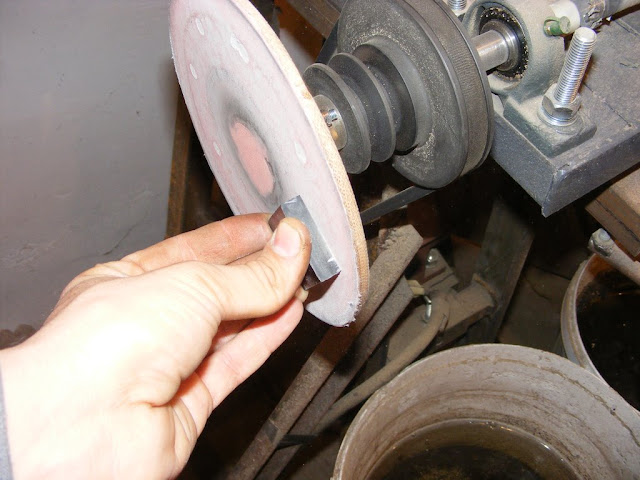
I flaten the sides that will match the tang on a 220grit on a disc grinder.
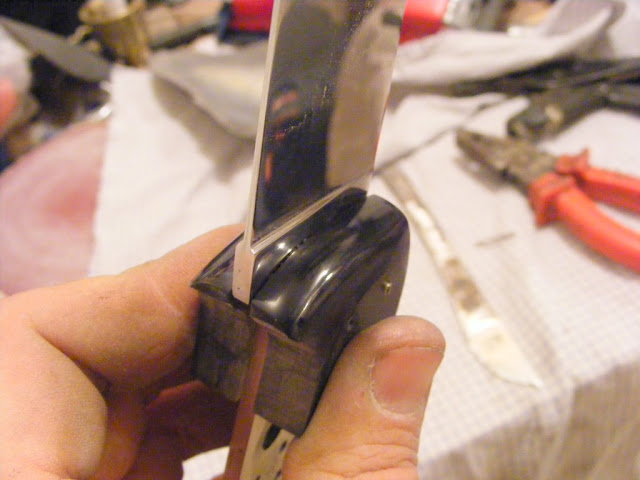
I lay the blade on and drill a pin hole.
I enter the pin and I drill second hole.
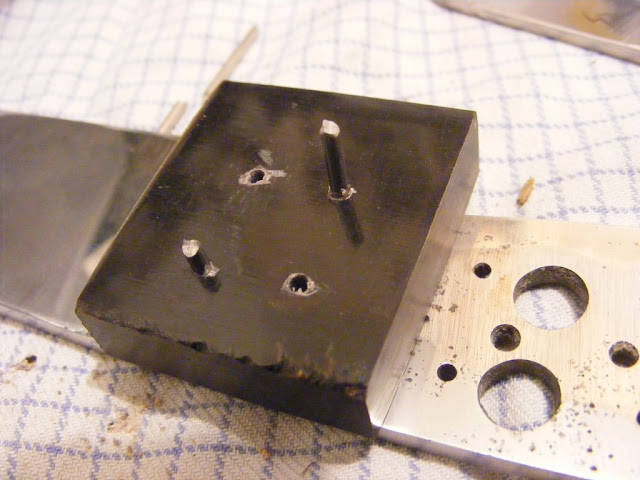
I put second pin and drill other two holes.
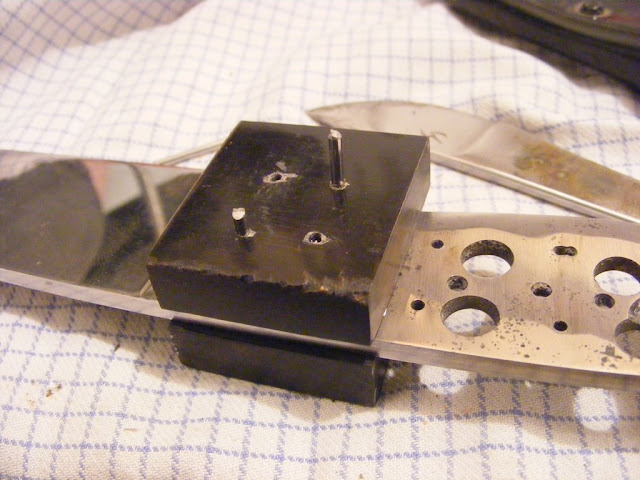
I lay the second piece of horn and I drill trough it in the same manner with pin fixation trough both pieces.
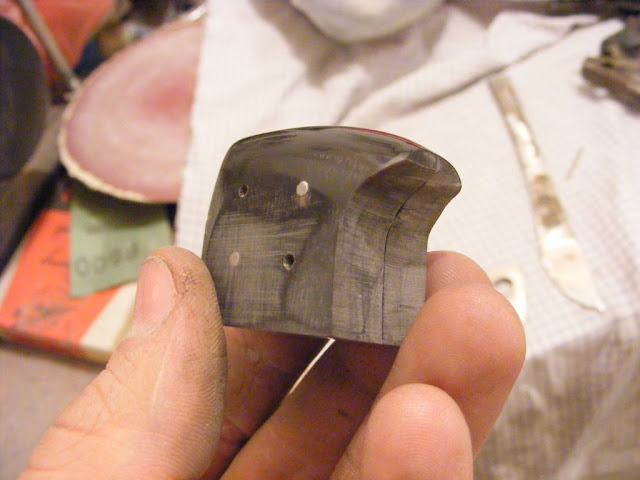
I take the bolsters and i put two pins to keep the holes match.
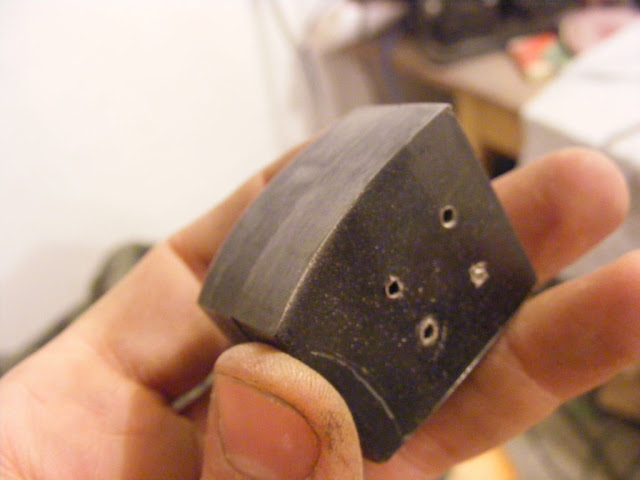
I start to form bolsters front side.
I round and polish. If you dont do that now it will be a pain after gluing and riveting. Back end of bolsters is flaten too to be even.
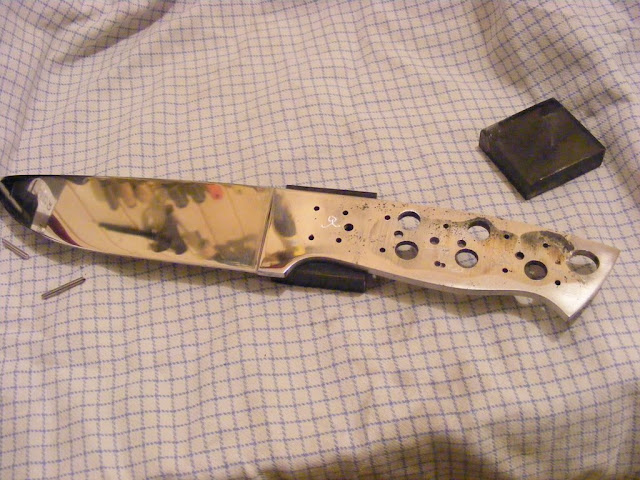
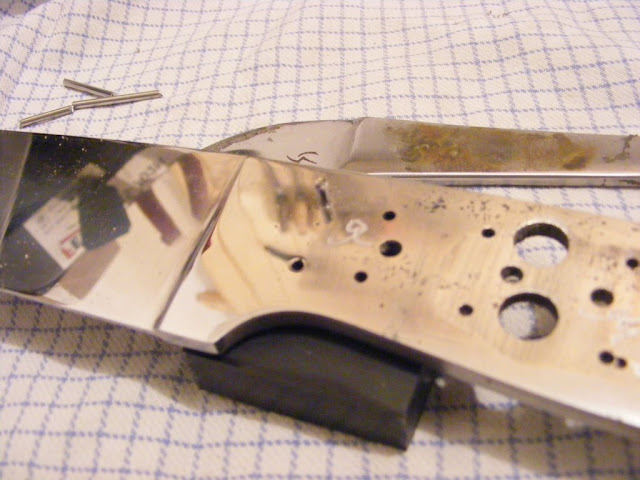
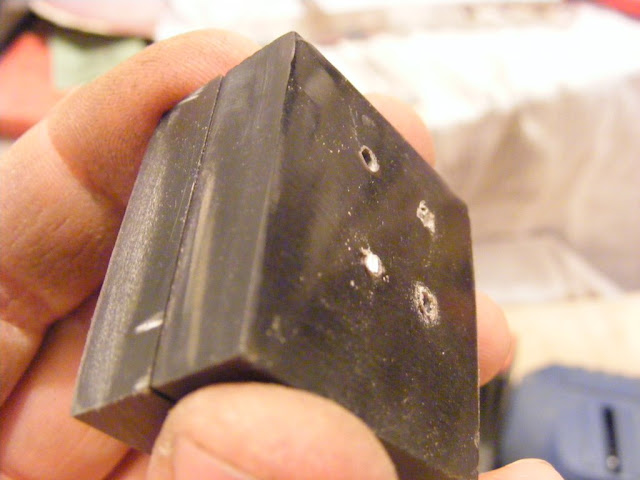
Check holes before the mount.
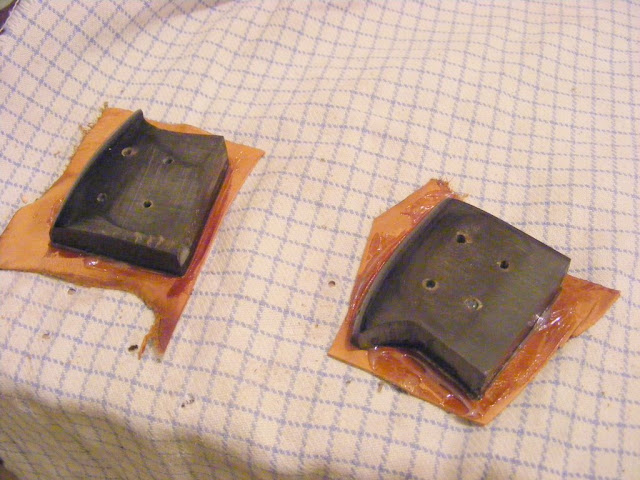
I glue thin layer of leather to the bolsters to fulfill inaccuracy and movement of a natural material.
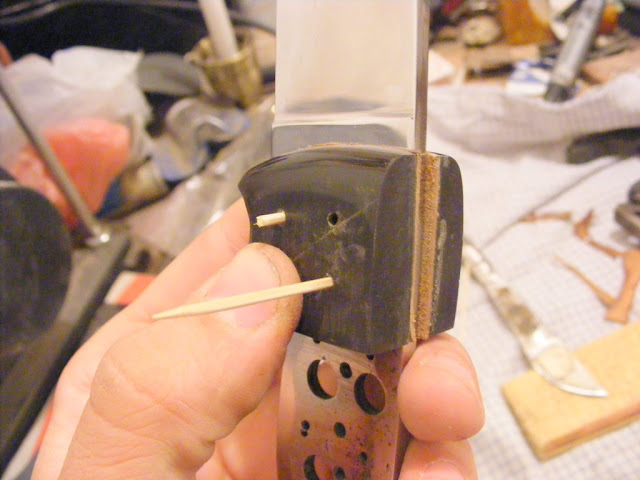
I trim the leather arround the bolsters. I glue them with epoxy and I set tooth picks in the pin holes. After the glue is dry I drill the holes again trough the picks. I am lucky that pin material is the same size with the toothpicks.
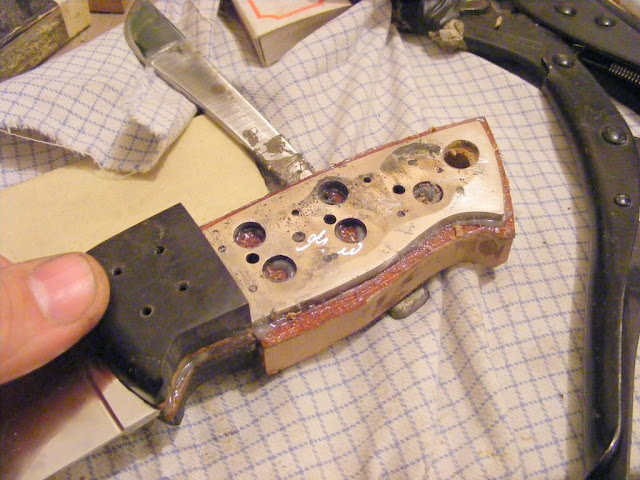
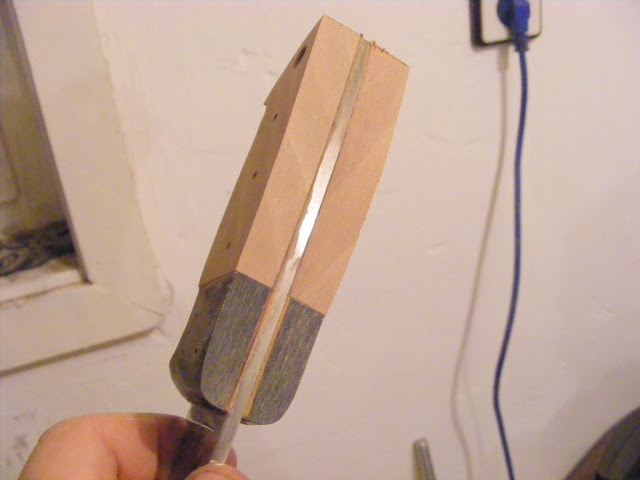
I miss a few shots here (sorry) I flaten the wallnut tree slabs and prepare them for mounting. I glued leather on them too. It is very importatn here to make a flat joint between two materials - horn and wood in that case. I use my disc sander. Nice flat file or sandpaper on a flat surface works well too.
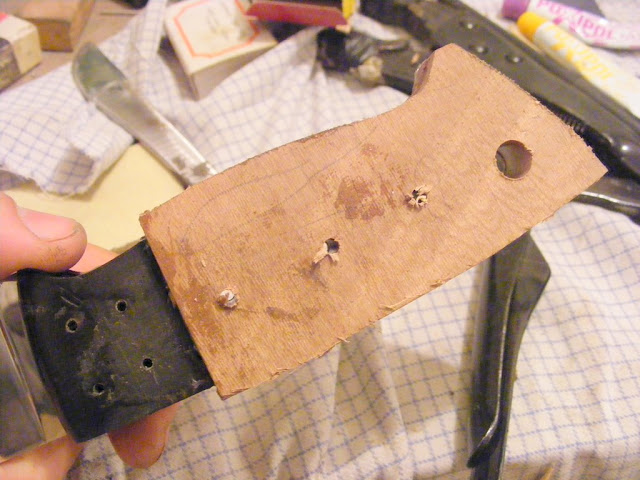
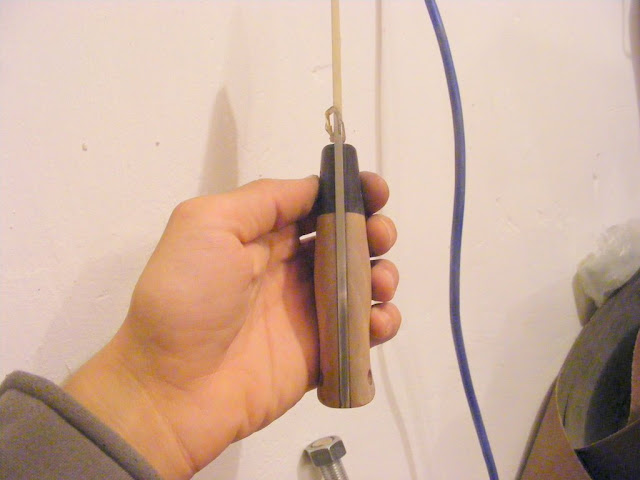
I drill the holes for the pins and lanyard tube.
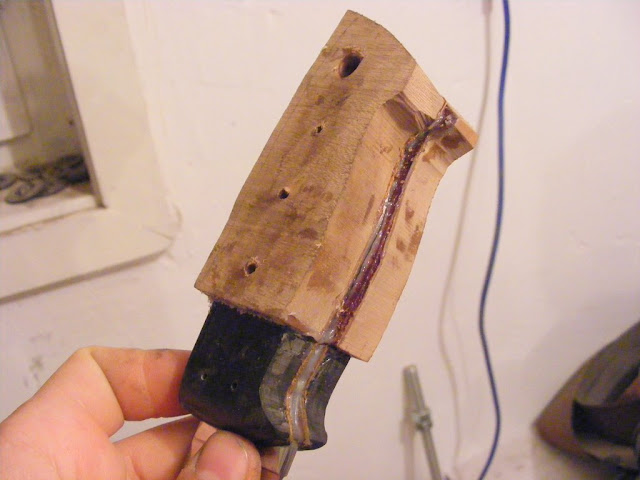
I glue the second scale and drill trough the holes from the other side.
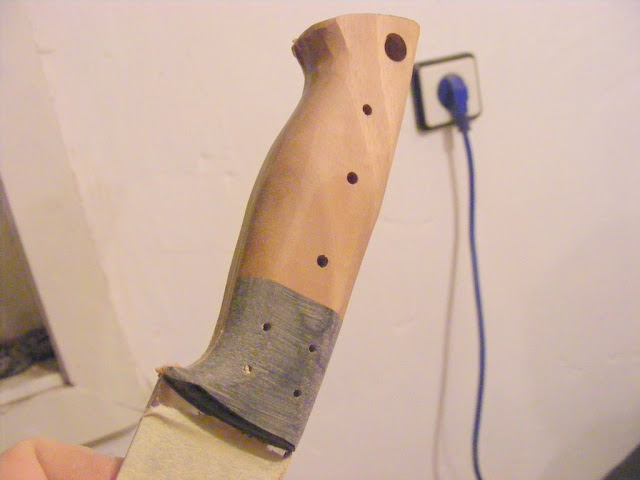
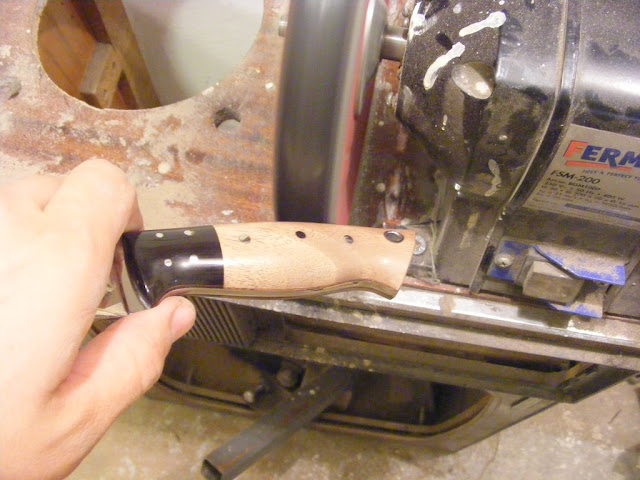
After that I start working on a belt grinder with AO 40 and AO 80 J-flex
After that I work with 240 J-flex. It is fine belt for polishing wood. Of course nothing can't replace hands. I also work with a lot of sanding blocks and paper. Only hand can give a good finish on wooden handle. The idea is to form about 99% of the handle shape.
Eyeballing....
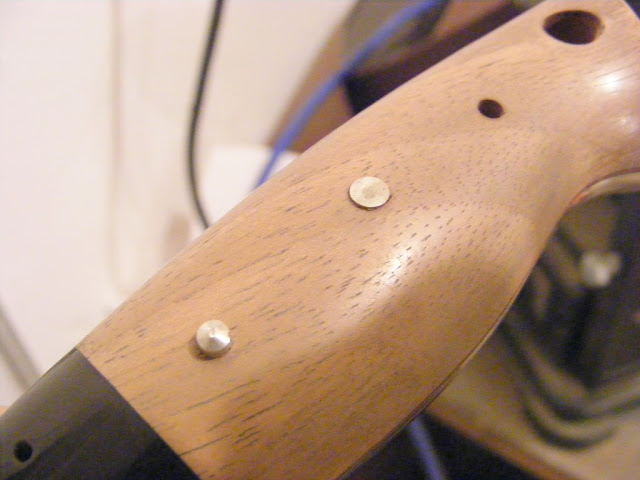
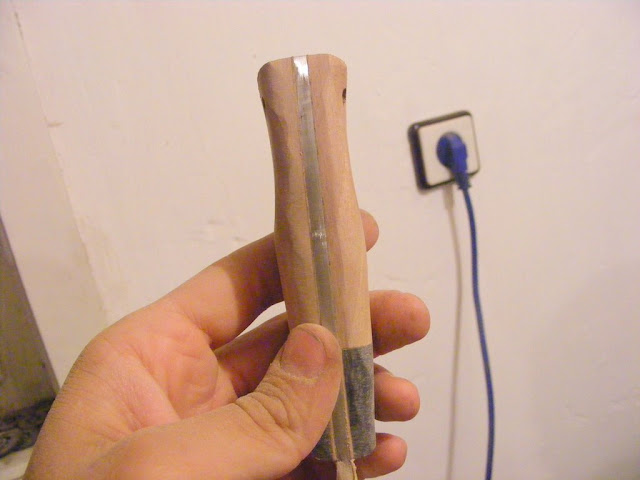
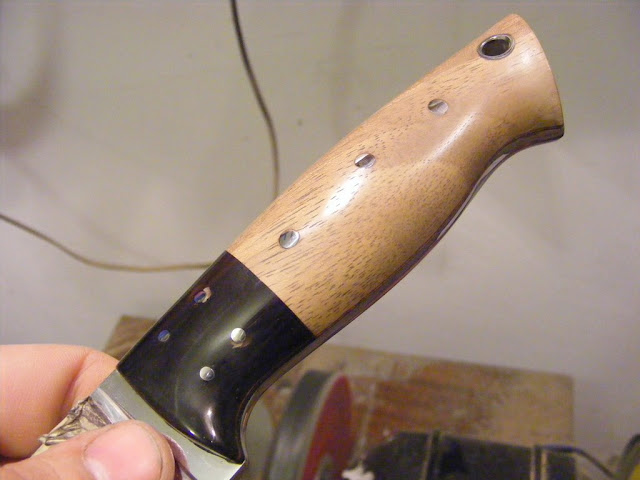
Glue the pins. They are just about a milimeter above the handle surface. I make a conic end, so the "mushroom" apears easily after first few strokes with the hummer.
Before and after.
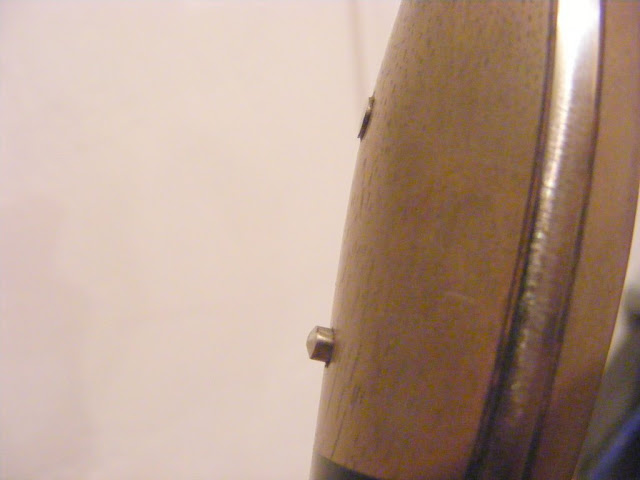
I ground off the rest of the pins and the tube and continue the finish.
I buff lightly with white rough so the fine scratches fill with wax and can be seen and removed. I finish with 500, 800, 1500 grid sandpaper and I buff before changing the grit. Before 500 I wet the wood so more higroscopic fibers can inflate with water and be sanded out.
After last buff.
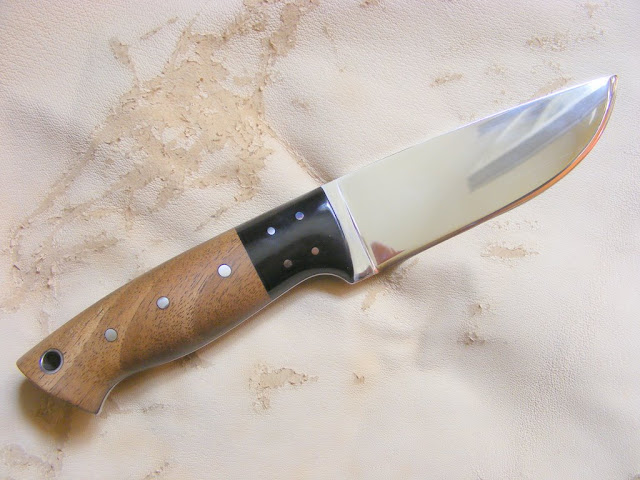
After that I boil the handle in linenseed oil and wax and final finish with carnauba wax.
I hope you like the tutorial. I am truly sorry about spelling and grammar.

Last edited: