Big Smitty
Well-Known Member
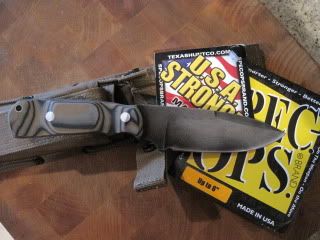
OK, I am going to do a kind of WIP with pictures for my knife build. This is unedited and no names have been changed to protect the innocent, namley me. Here goes:
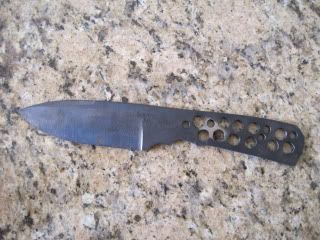
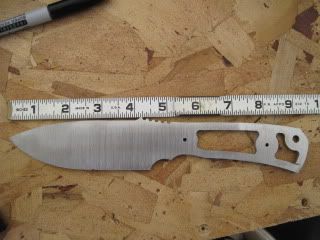
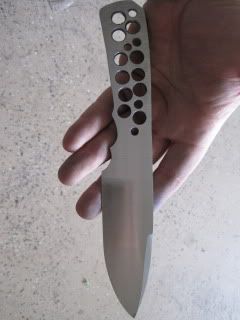
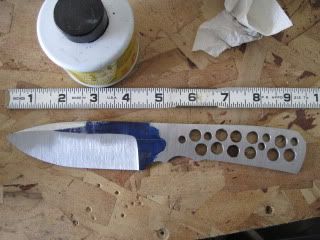
Here is the blank as recieved. I decided to drop the tip a bit and take some of the belly out of the edge side.


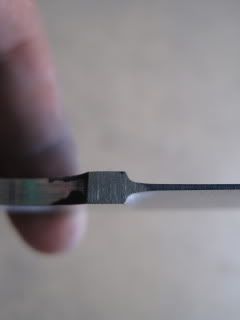
Here is the blank after removing the material at the tip and clean up
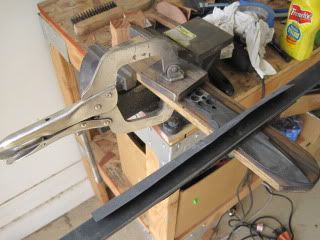
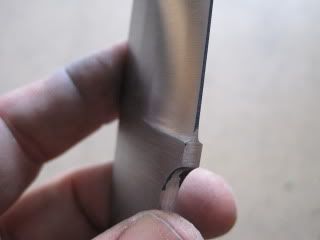
After clean up a double line is scribed at the top and bottom edge for grinding the edge and swedge. Tracy's marking rig is an awesome tool to use for this, I just got mine and love it.
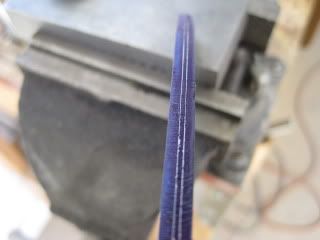
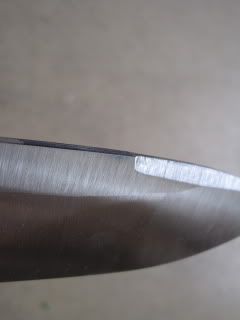
Next the grind lines are added to the blade. The Starret marking fuild is awesome. There are 2 lines because I decided to raise where I wanted my grind line.

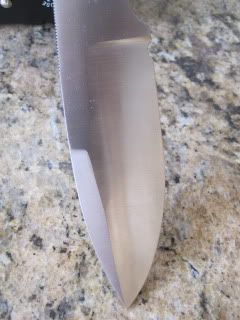
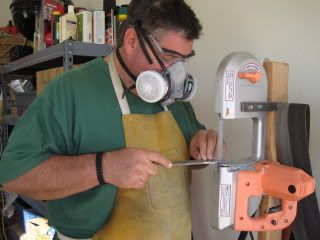
Here is the completed blade after rough grinding. This one was hollow ground with an 8" wheel. Swedge was added free hand on the flat platen. Swedges are a real challenge free hand.
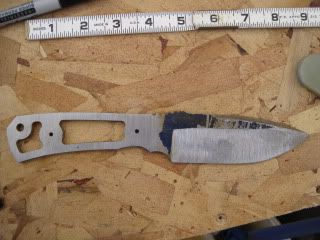
Here is where things get interesting. After the rough grind with a 60 grit belt I go to 120 and then to a 100X Norax. I work to thin the edge down from about the 1/16th" that I had with my scribed lines. Well I am not a super experienced hollow grinder and I made the mistake of getting to thin on my hollow grind. I ended up ruining the blade to the point that I could move the metal at the edge and about a 1/4" back with my thumb. It looked OK, but it was a dead blank. Lord I appologize and I hope ya'll won't kick me out of the club! So say good bye to the provided blank....
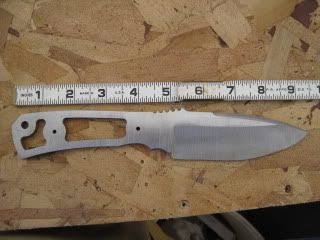
Now what to do... I wrote Murph a IM telling him about my crime and I then decided to make a new blank out of some 1 1/2" O1 I had. His design didn't exactly make the fit onto the O1 so I had to leave off the jimping he had and the thumb ramp. I replaced it with jimping from a checkering file, but other than that we are real close to origional design. Here it is after grinding:
Here are some other pictures of the final grind and it is ready for heat treat

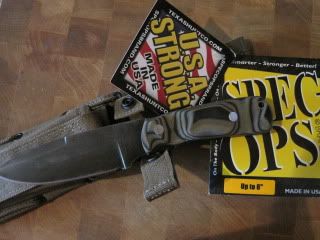
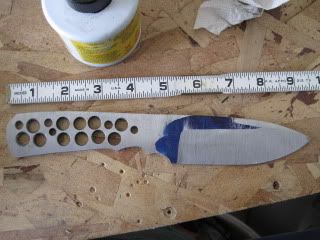
So now I am pretty much back to where I began with a almost the same blade in O1 and yes this one is flat ground:biggrin:. I humbly hope that this blade is OK for the build and the powers to be will except my Service Member Knife Build Redux. I have to work out heat treat since it is a different metal, but that is something I can handle through a friend if it can't be done by Brad at Peter's.
More pics to come after heat treat.
Here is the blank as recieved. I decided to drop the tip a bit and take some of the belly out of the edge side.
Here is the blank after removing the material at the tip and clean up
After clean up a double line is scribed at the top and bottom edge for grinding the edge and swedge. Tracy's marking rig is an awesome tool to use for this, I just got mine and love it.
Next the grind lines are added to the blade. The Starret marking fuild is awesome. There are 2 lines because I decided to raise where I wanted my grind line.
Here is the completed blade after rough grinding. This one was hollow ground with an 8" wheel. Swedge was added free hand on the flat platen. Swedges are a real challenge free hand.
Here is where things get interesting. After the rough grind with a 60 grit belt I go to 120 and then to a 100X Norax. I work to thin the edge down from about the 1/16th" that I had with my scribed lines. Well I am not a super experienced hollow grinder and I made the mistake of getting to thin on my hollow grind. I ended up ruining the blade to the point that I could move the metal at the edge and about a 1/4" back with my thumb. It looked OK, but it was a dead blank. Lord I appologize and I hope ya'll won't kick me out of the club! So say good bye to the provided blank....
Now what to do... I wrote Murph a IM telling him about my crime and I then decided to make a new blank out of some 1 1/2" O1 I had. His design didn't exactly make the fit onto the O1 so I had to leave off the jimping he had and the thumb ramp. I replaced it with jimping from a checkering file, but other than that we are real close to origional design. Here it is after grinding:
Here are some other pictures of the final grind and it is ready for heat treat
So now I am pretty much back to where I began with a almost the same blade in O1 and yes this one is flat ground:biggrin:. I humbly hope that this blade is OK for the build and the powers to be will except my Service Member Knife Build Redux. I have to work out heat treat since it is a different metal, but that is something I can handle through a friend if it can't be done by Brad at Peter's.
More pics to come after heat treat.