kevin - the professor
Well-Known Member
Hello Everyone.
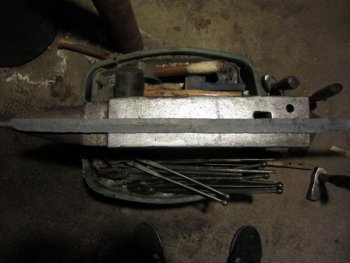
I made a dao and then contacted a noted historical sword expert for advice. Unfortunately, he told me, the continuation of the fuller back into the actual tang was not done with traditional dao.
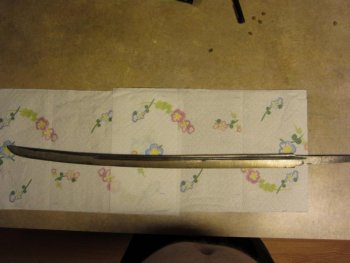
So, it was back to the drawing board and anvil/forge. The hope is to get a billet together, get the layer count up, and then make another sword with the general shape of the one above but with proper fullering.
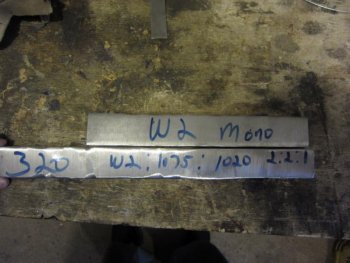
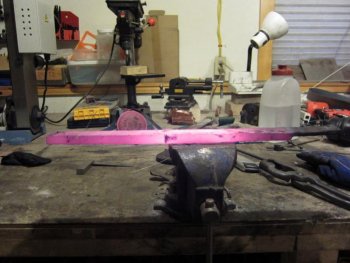
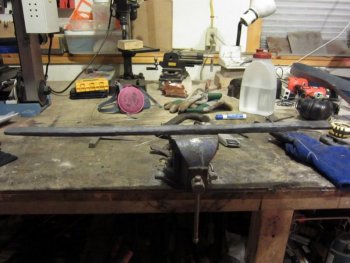
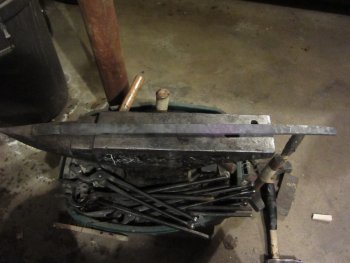
Here is the bar with 320 layers next to the w2 bar that will be the middle plate of the san mai. The outter plates will be formed from the pweld bar. It is composed of low manganese 1075, w2, and 1020. The ratios are 21. This give me essentially low manganese 1070 with a nice, subtle pattern to use. The bar is cut in half and the final billet was assembled for welding. The first round of welds are set using the dies long-ways. The second round, little bites are taken using them in the shorter direction. The first welds are set without much distortion to the billet. The second round, little bites are taken and allowed to squeeze in maybe 1/2" each bite. The third round is gentle squeezing from the sides, under the long axis of the dies. This keeps any layers from overlapping and cold-shutting along the sides. Then, all of the remaining passes are done at welding heat and serious bites are taken basically as deep as they can be under the dies in the 4" direction, then back to sideways under the long axis to keep the billet straight and true.
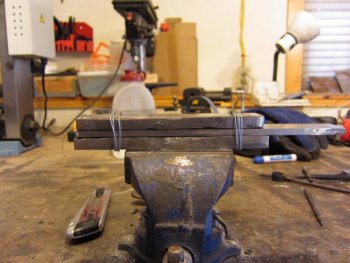
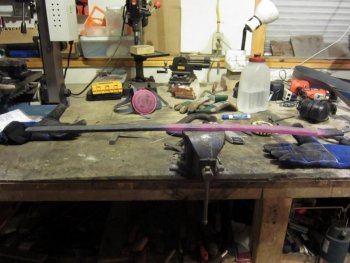
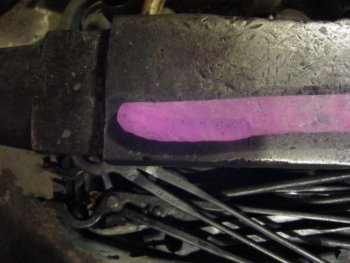
the pweld bars cut and stacked outside the w2. Essentially all traditional Chinese swords were of either san mai (3 plate) or quiangiang (I know I spelled that wrong, but the term means, "inserted edge." You all know it as the way an axe is made, with a bit of high carbon steel for the edge inserted into low carbon steel or iron for the body). I like san mai best right now. So, I have the side plates of medium carbon steel, and the central plate of high carbon plus vanadium. Also, traditional Chinese swords almost all displayed a deliberate pattern from the welding together of steel to get enough to make a sword. These patterns were deliberate and manipulated just like on Celtic blades. Finally, almost all historic Chinese swords show the results of clay heat treatment (the Japanese learned this from the Chinese). So, I am mimicking tradition with the same goals - a visually attractive sword with obvious pattern welding and visible heat treatment pattern (shuangxue, the Chinese word for hamon), and a sword with shock resistant body and sharp cutting edge.
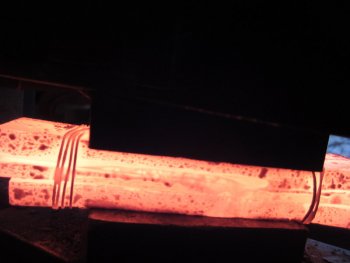
the first big squeeze
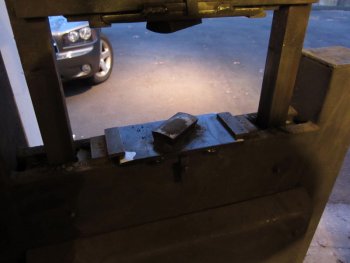
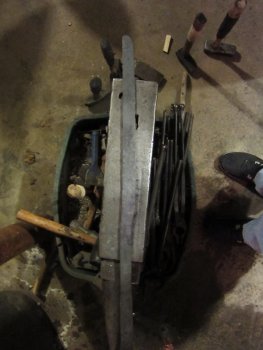
I deliberately cut everything to 7" because my press dies are 4" x 6". This gives the ability to squeeze the middle first and squish anything unwanted in there out toward the ends, then squeeze the ends and seal the weld. Now that I have a forge that gets truly hot (Chile) and a press, welding is almost unfair.
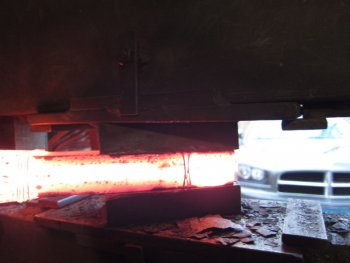
one end
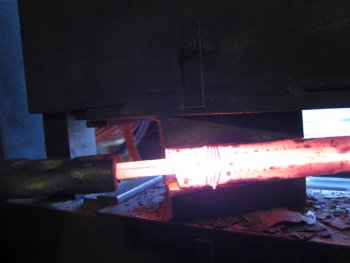
then the other.
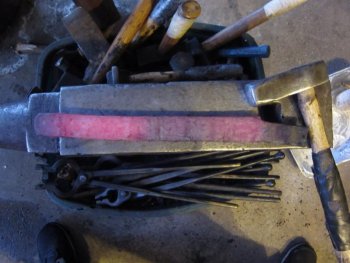
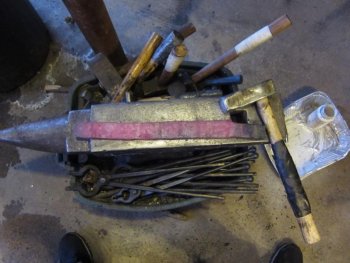
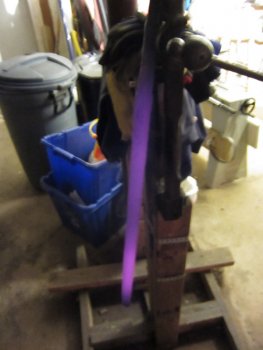
Here is the san mai billet, all welded. I am stopping here because I am tired. You can see my 4lb hammer from Danci' Frog for perspective. This is plenty of steel to make a 25-28" sword. I spent a lot of time over the last day and a half welding, drawing, cutting, grinding, stacking, welding... so I am tired. I like to start the actual forging of a sword when I am fully-rested. Also, when I weld, I put a liner of kiln shelving on the bottom of my forge, and it is a semi-molten mass of dissolved ceramic and flux/oxides. I take this out for actual forging so that I can keep the blade cleaner.
More to follow. Wish me luck.
Kevin
I made a dao and then contacted a noted historical sword expert for advice. Unfortunately, he told me, the continuation of the fuller back into the actual tang was not done with traditional dao.

So, it was back to the drawing board and anvil/forge. The hope is to get a billet together, get the layer count up, and then make another sword with the general shape of the one above but with proper fullering.

Here is the bar with 320 layers next to the w2 bar that will be the middle plate of the san mai. The outter plates will be formed from the pweld bar. It is composed of low manganese 1075, w2, and 1020. The ratios are 21. This give me essentially low manganese 1070 with a nice, subtle pattern to use. The bar is cut in half and the final billet was assembled for welding. The first round of welds are set using the dies long-ways. The second round, little bites are taken using them in the shorter direction. The first welds are set without much distortion to the billet. The second round, little bites are taken and allowed to squeeze in maybe 1/2" each bite. The third round is gentle squeezing from the sides, under the long axis of the dies. This keeps any layers from overlapping and cold-shutting along the sides. Then, all of the remaining passes are done at welding heat and serious bites are taken basically as deep as they can be under the dies in the 4" direction, then back to sideways under the long axis to keep the billet straight and true.

the pweld bars cut and stacked outside the w2. Essentially all traditional Chinese swords were of either san mai (3 plate) or quiangiang (I know I spelled that wrong, but the term means, "inserted edge." You all know it as the way an axe is made, with a bit of high carbon steel for the edge inserted into low carbon steel or iron for the body). I like san mai best right now. So, I have the side plates of medium carbon steel, and the central plate of high carbon plus vanadium. Also, traditional Chinese swords almost all displayed a deliberate pattern from the welding together of steel to get enough to make a sword. These patterns were deliberate and manipulated just like on Celtic blades. Finally, almost all historic Chinese swords show the results of clay heat treatment (the Japanese learned this from the Chinese). So, I am mimicking tradition with the same goals - a visually attractive sword with obvious pattern welding and visible heat treatment pattern (shuangxue, the Chinese word for hamon), and a sword with shock resistant body and sharp cutting edge.

the first big squeeze
I deliberately cut everything to 7" because my press dies are 4" x 6". This gives the ability to squeeze the middle first and squish anything unwanted in there out toward the ends, then squeeze the ends and seal the weld. Now that I have a forge that gets truly hot (Chile) and a press, welding is almost unfair.

one end

then the other.


Here is the san mai billet, all welded. I am stopping here because I am tired. You can see my 4lb hammer from Danci' Frog for perspective. This is plenty of steel to make a 25-28" sword. I spent a lot of time over the last day and a half welding, drawing, cutting, grinding, stacking, welding... so I am tired. I like to start the actual forging of a sword when I am fully-rested. Also, when I weld, I put a liner of kiln shelving on the bottom of my forge, and it is a semi-molten mass of dissolved ceramic and flux/oxides. I take this out for actual forging so that I can keep the blade cleaner.
More to follow. Wish me luck.
Kevin
Last edited:


