With our bevels completely filed I'm ready to move on to the "flats" . Let's define what exactly the flats are
Flats- The perimeter of the handle and the ricasso. (ricasso is the exposed area of blade between the handle scales and plunge cuts)
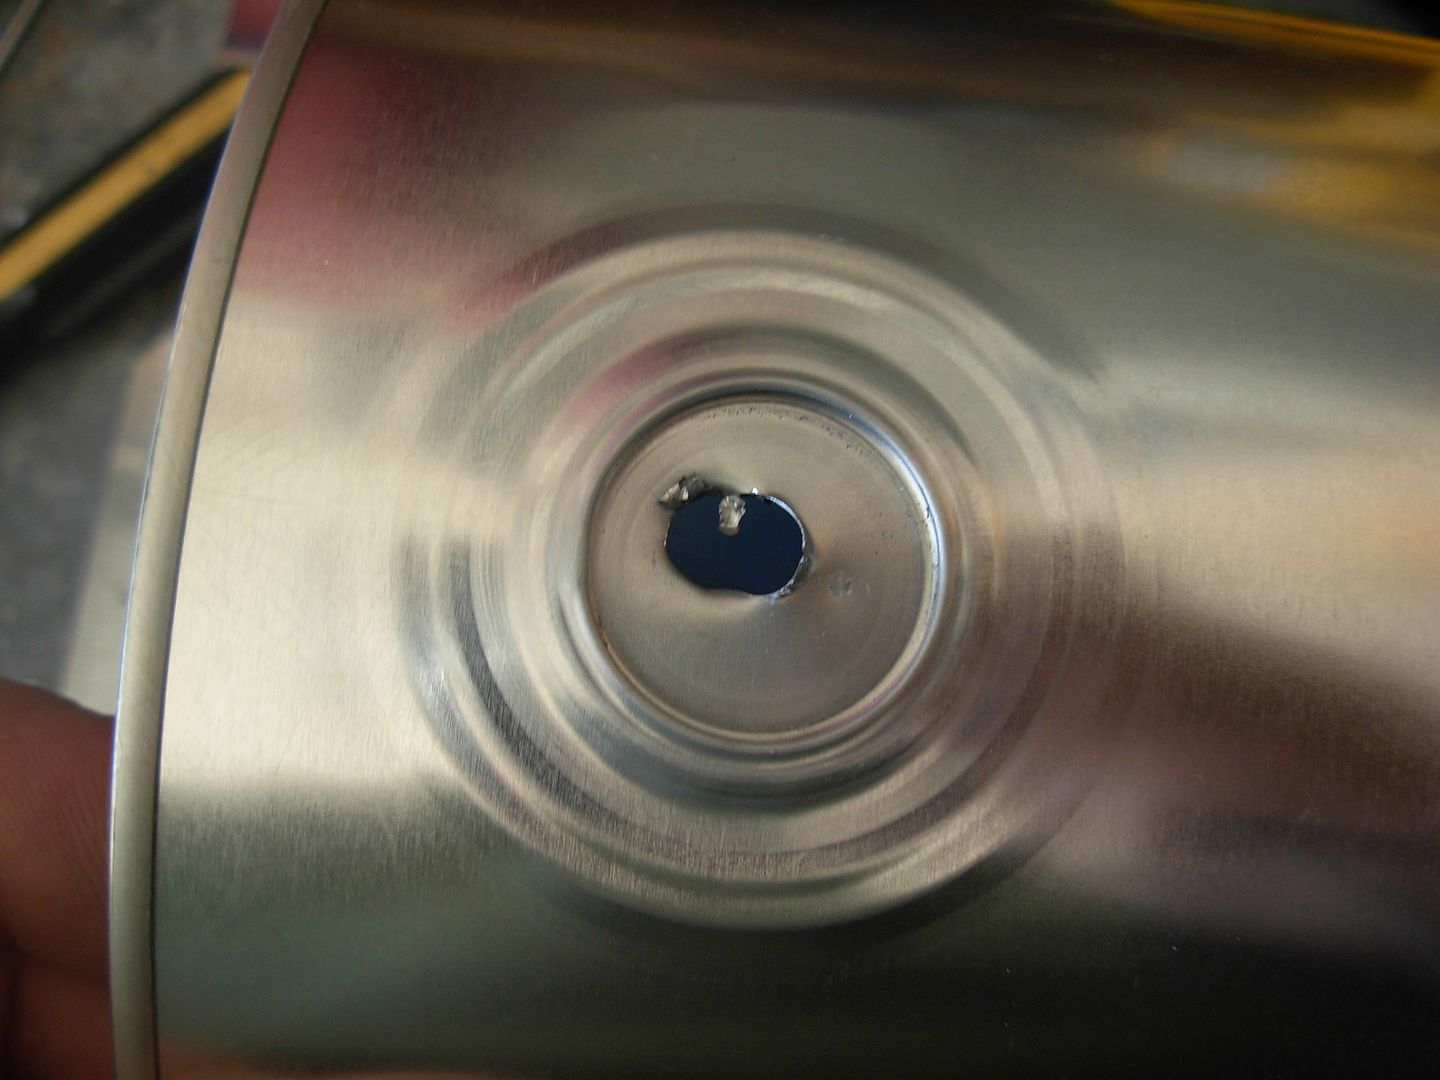
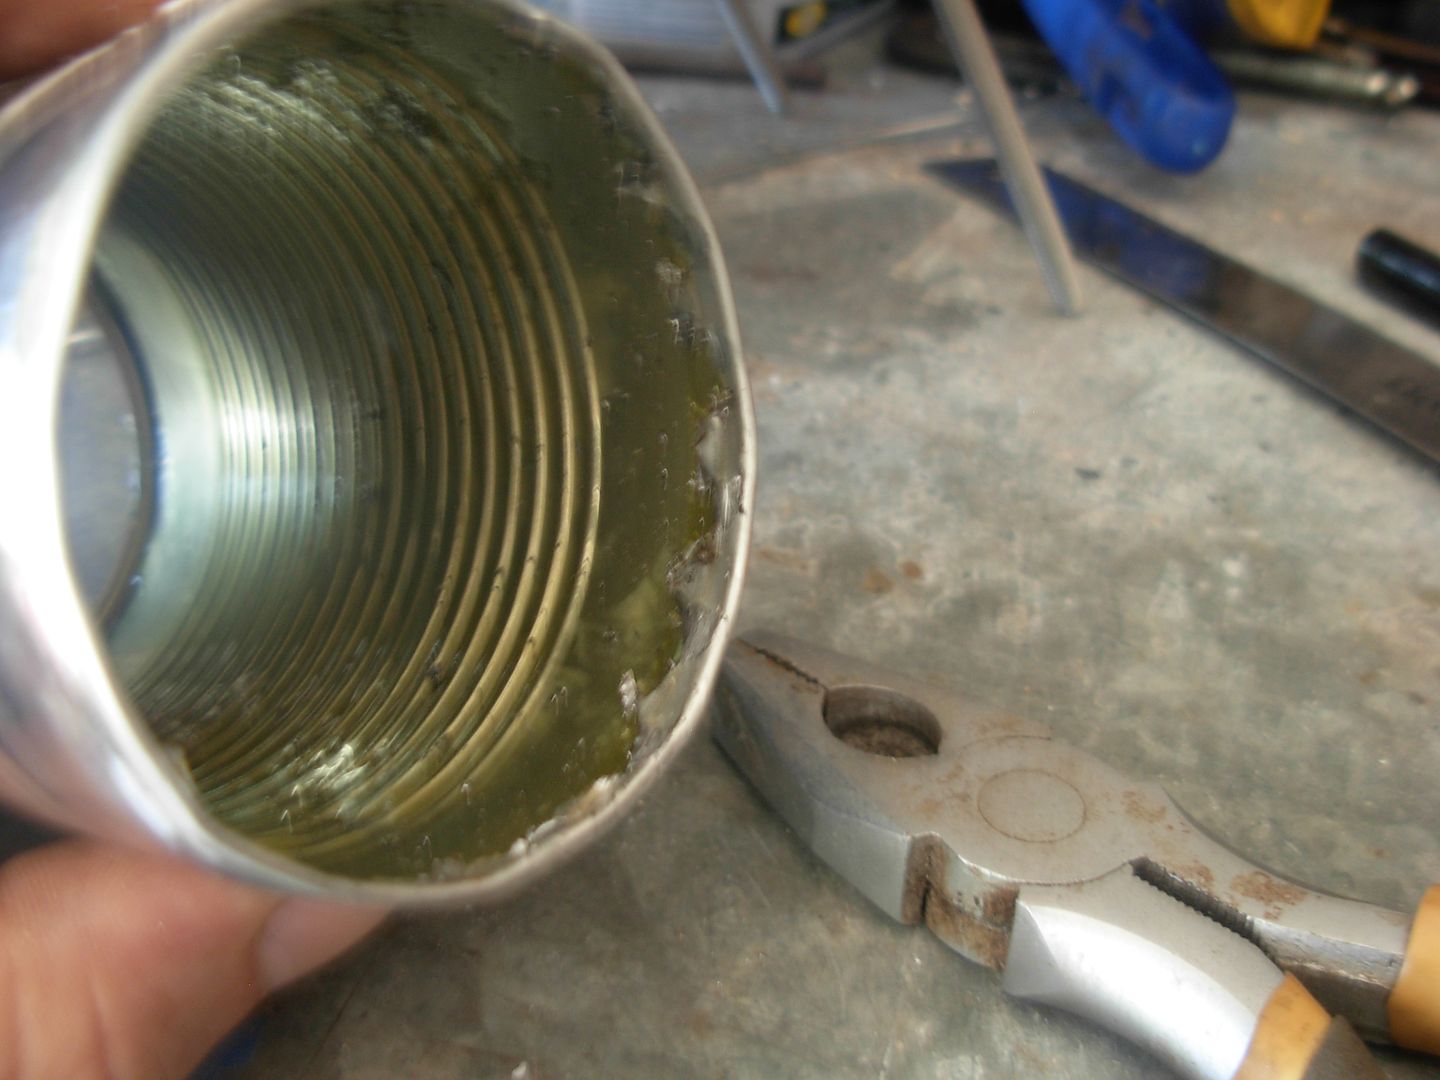
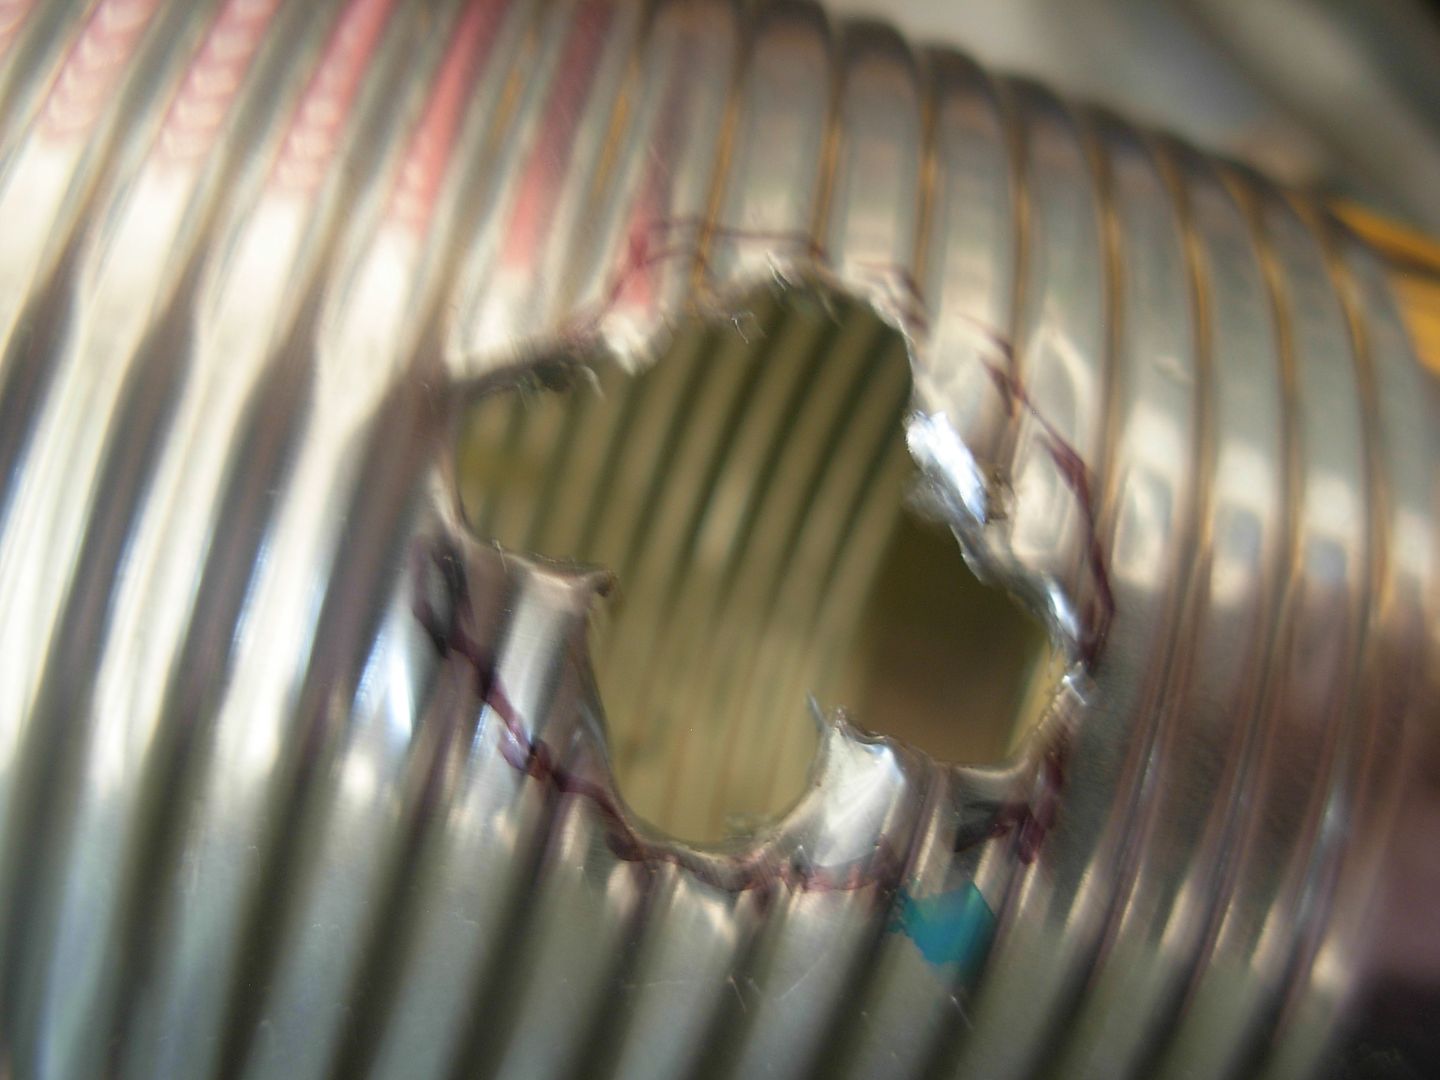
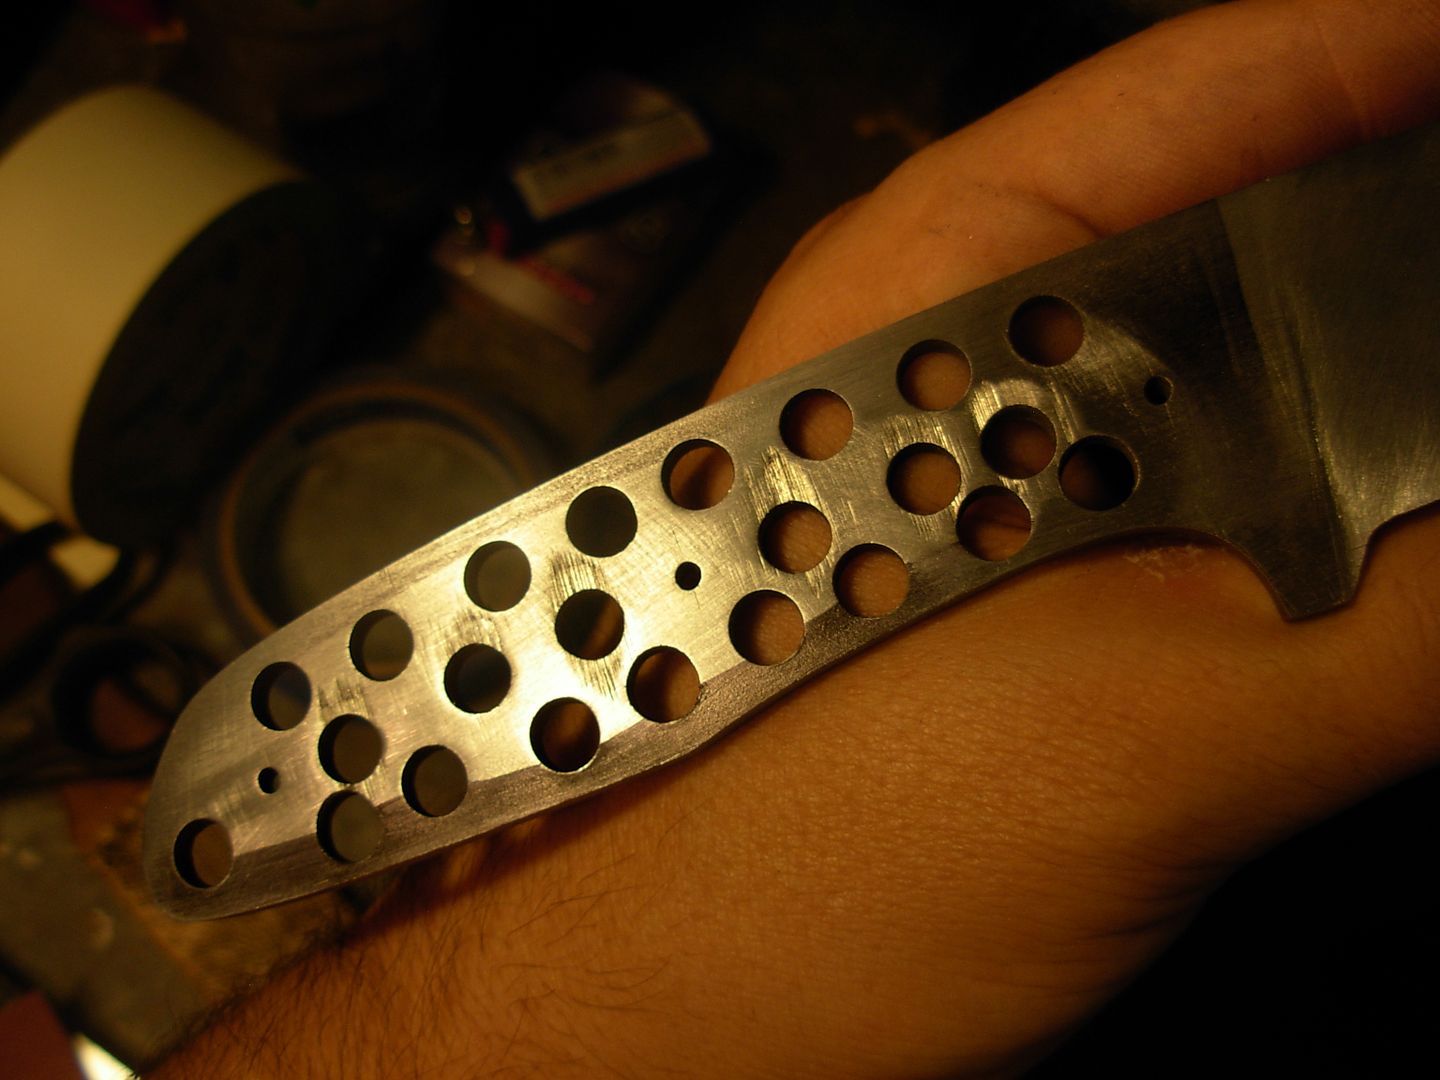
The first order of business is to complete the job of removing the burrs around the drilled holes.
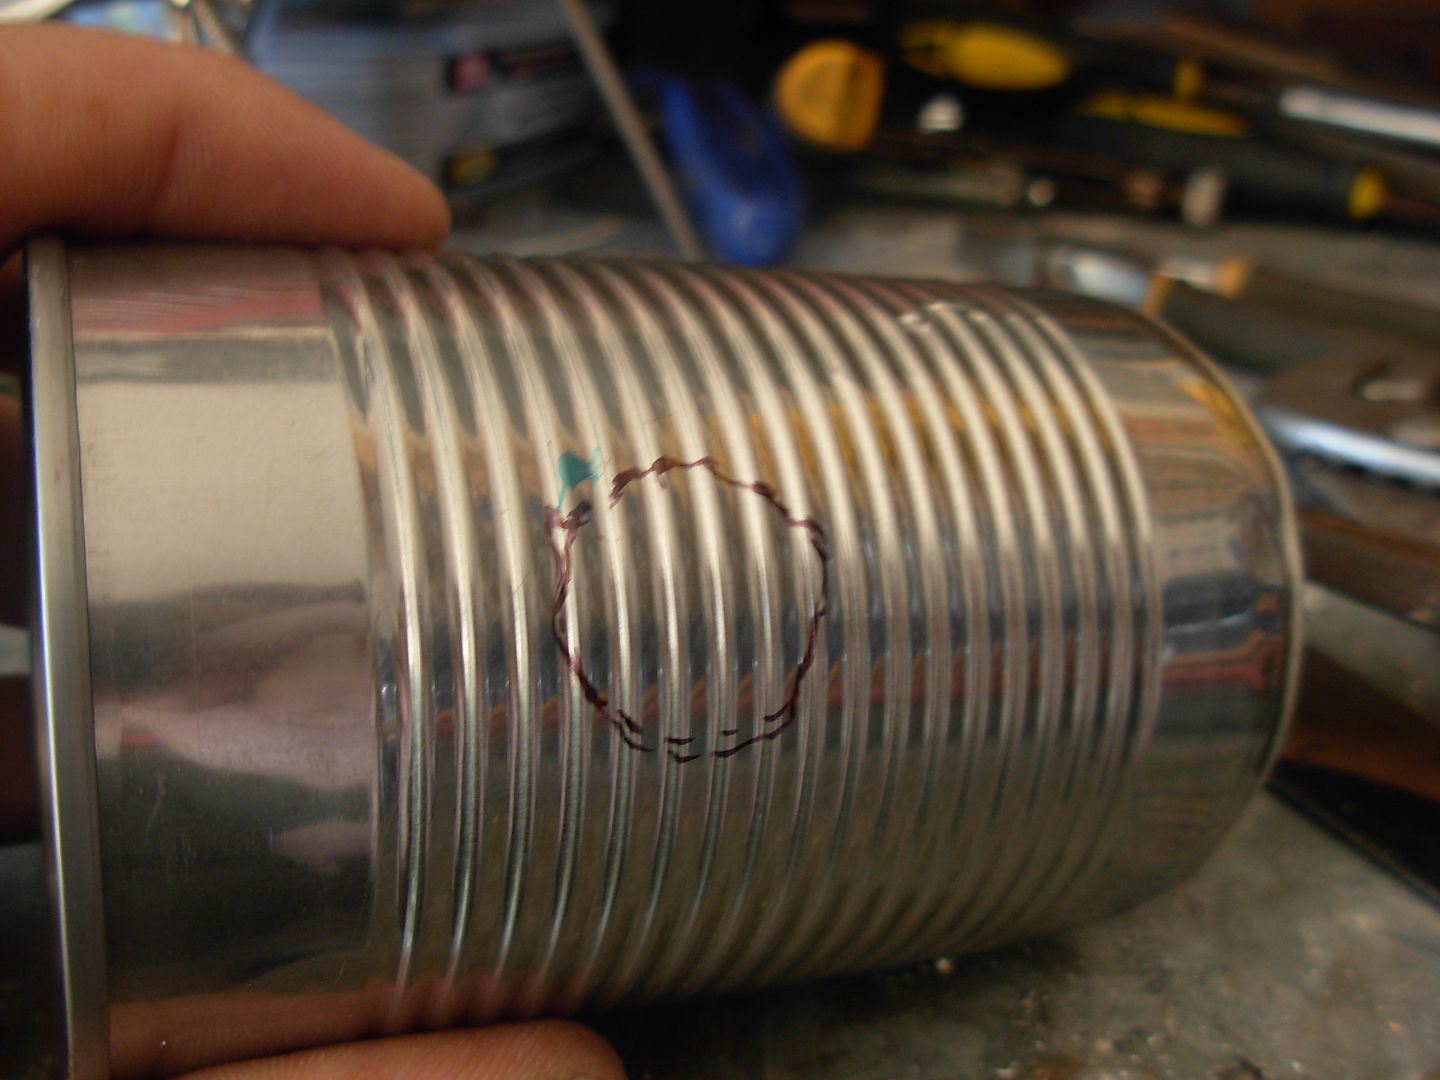
Color the area with your sharpie
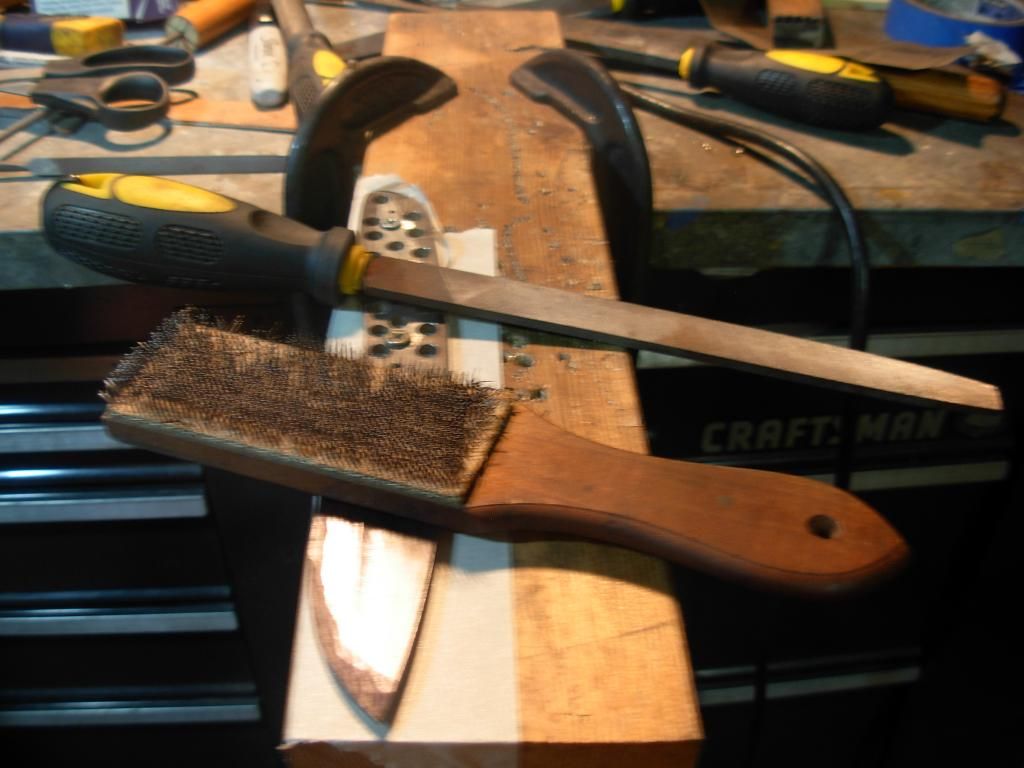
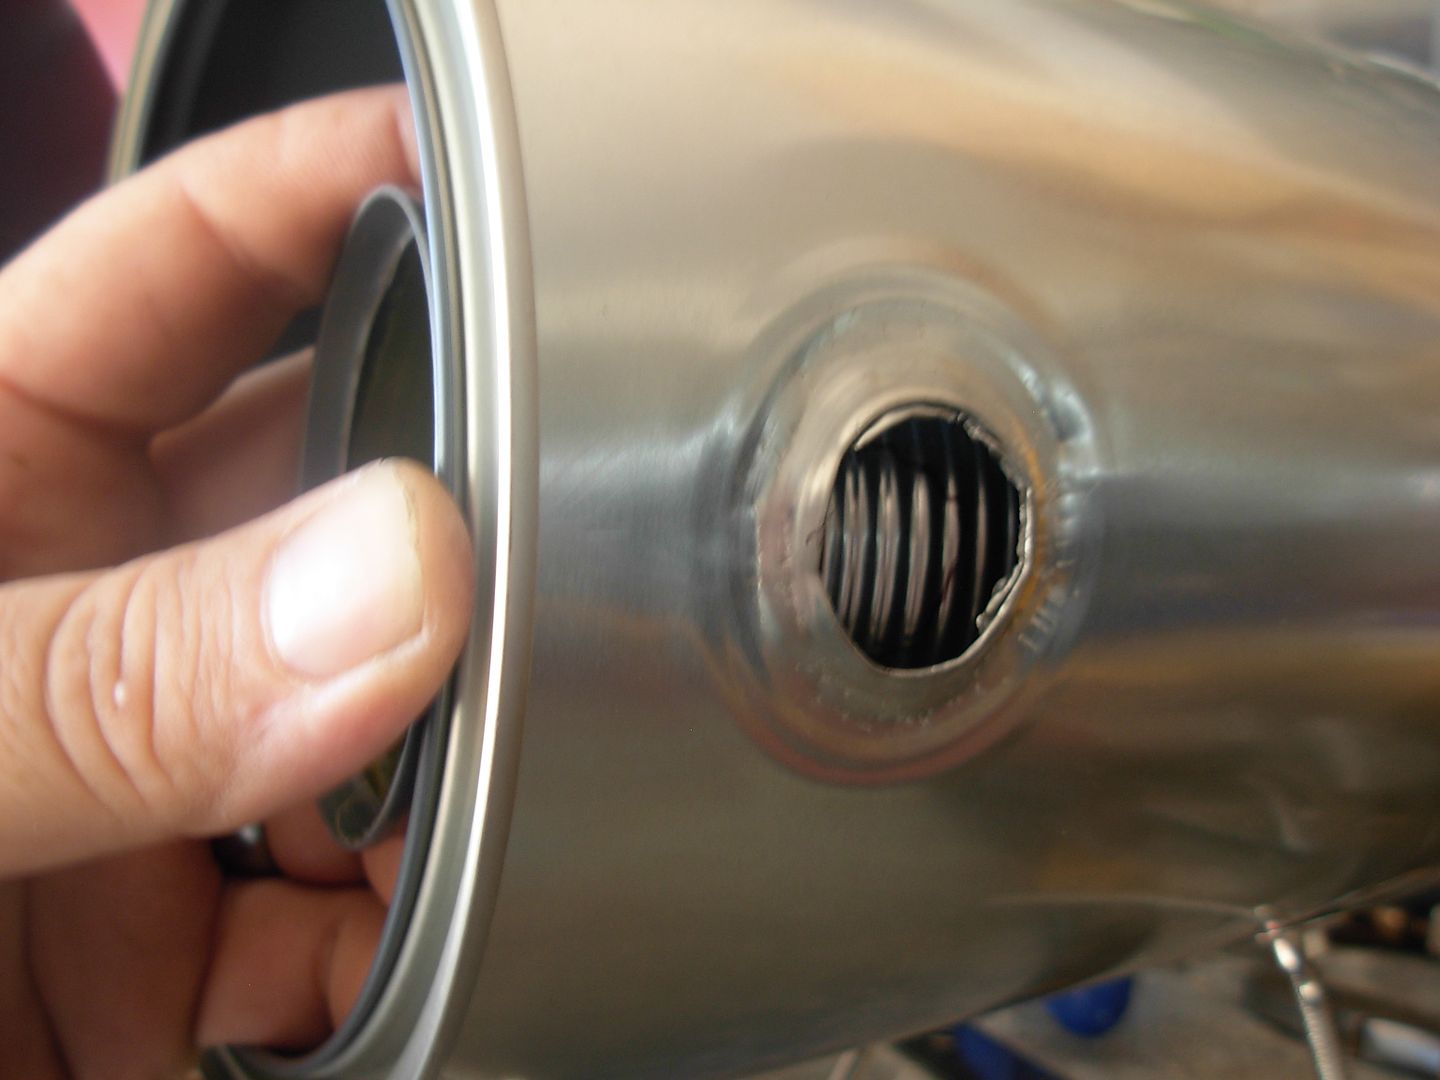
If you've got any especially nasty burrs left you can file those right off. Insert your chainsaw file though the hole and file the edge of the hole until the burr falls off.
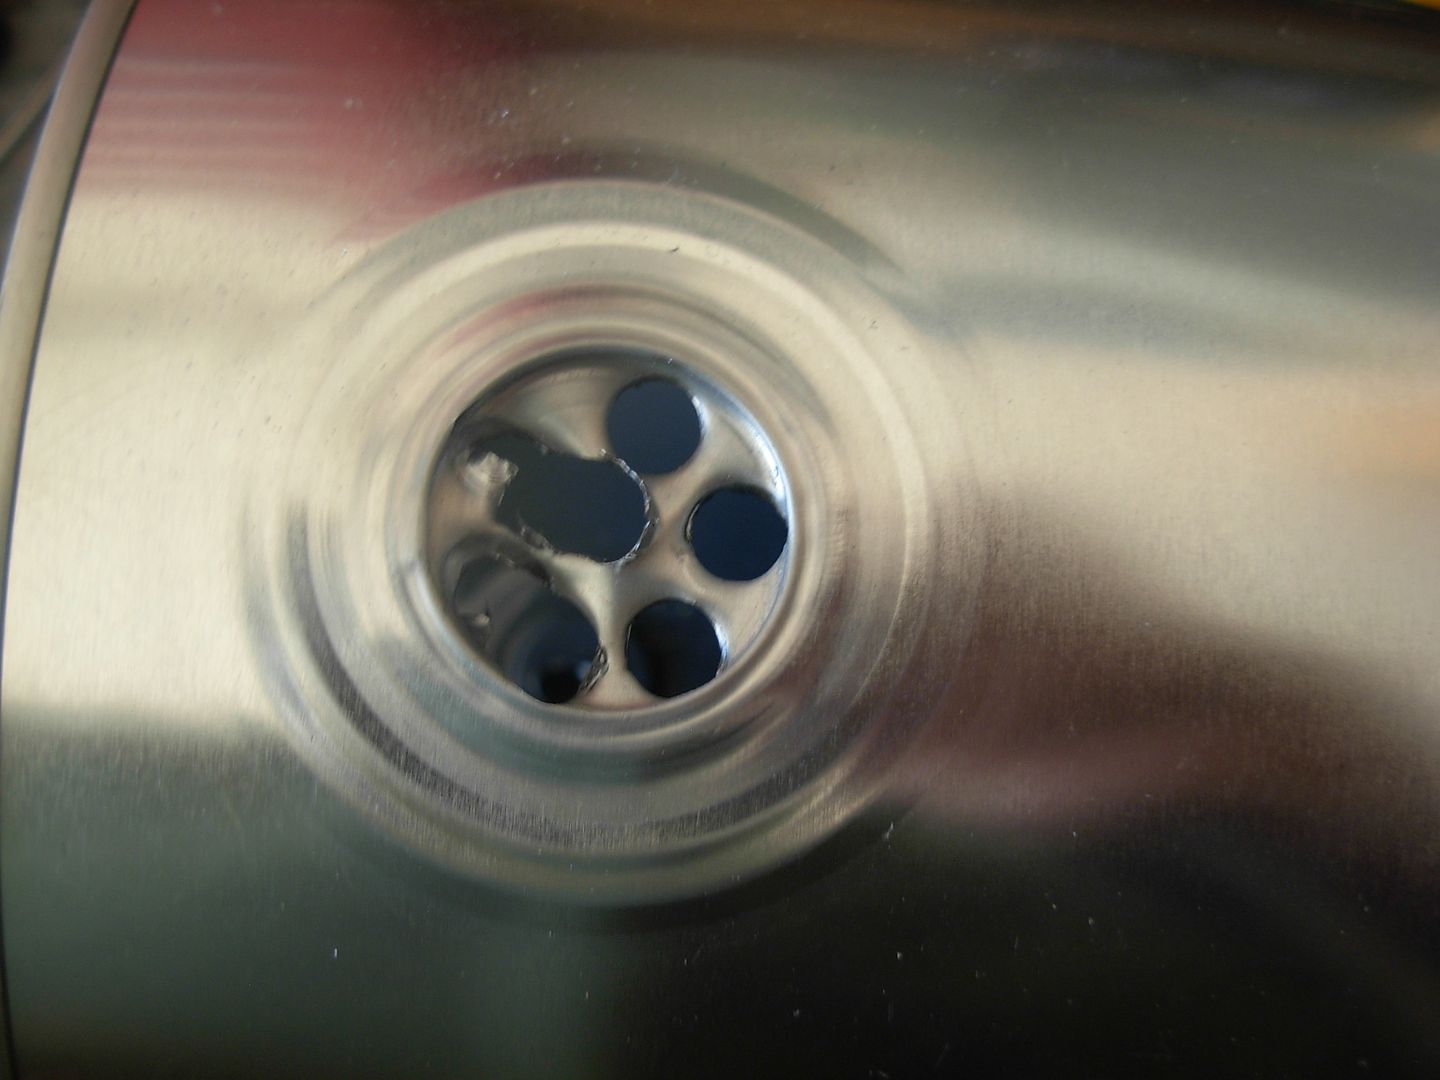
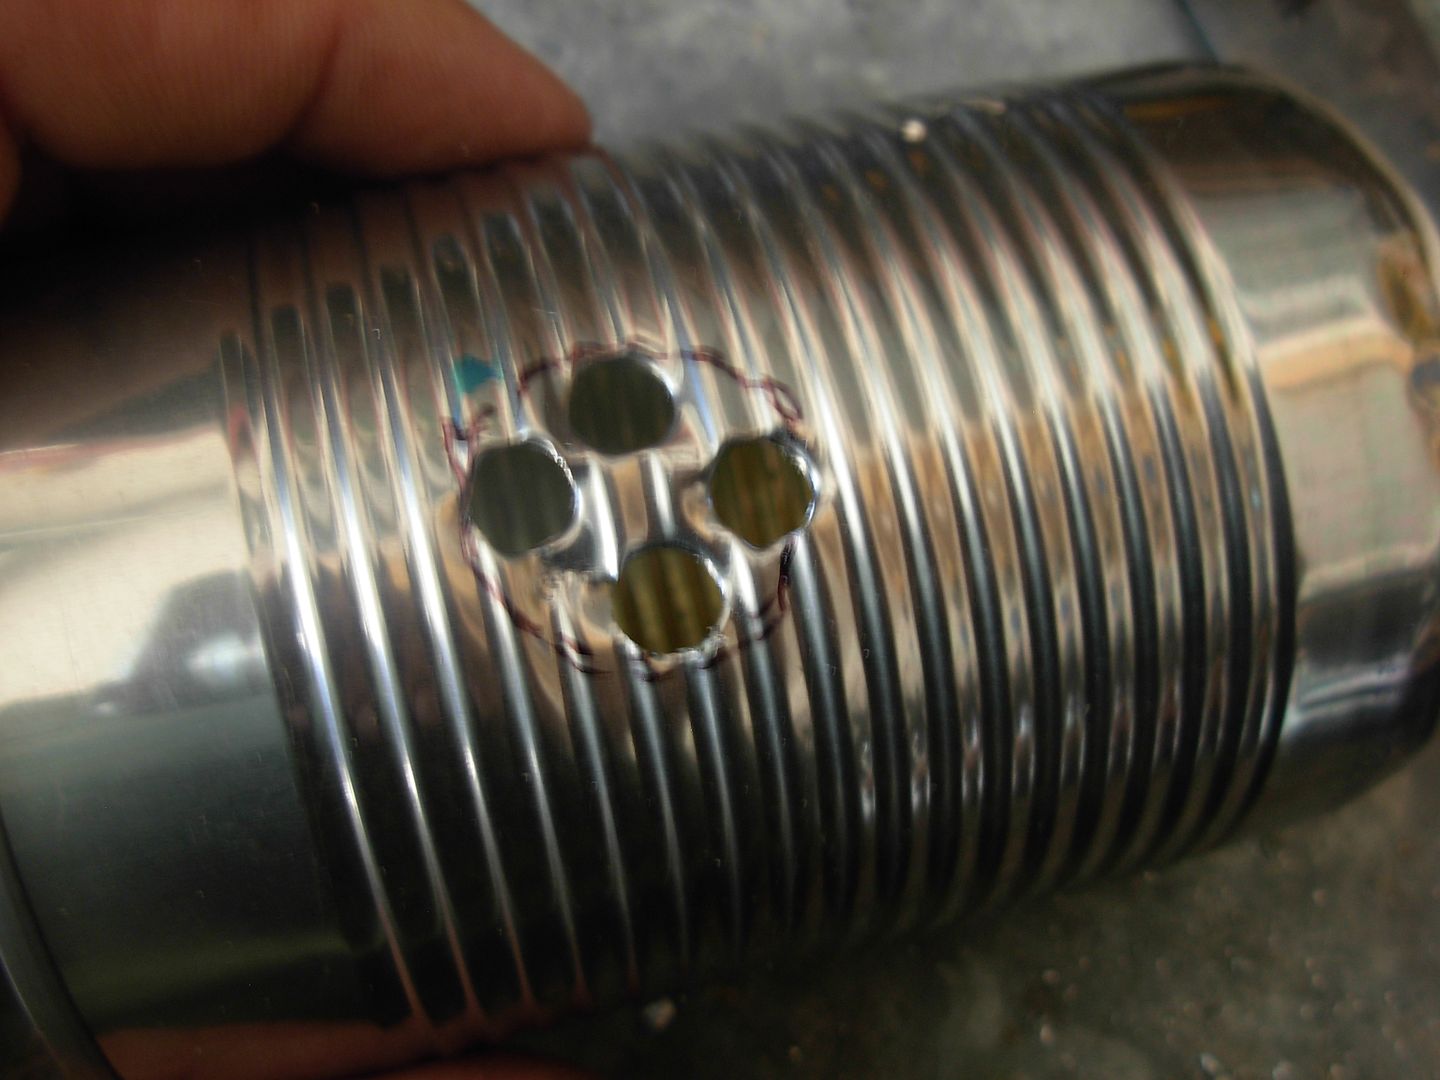
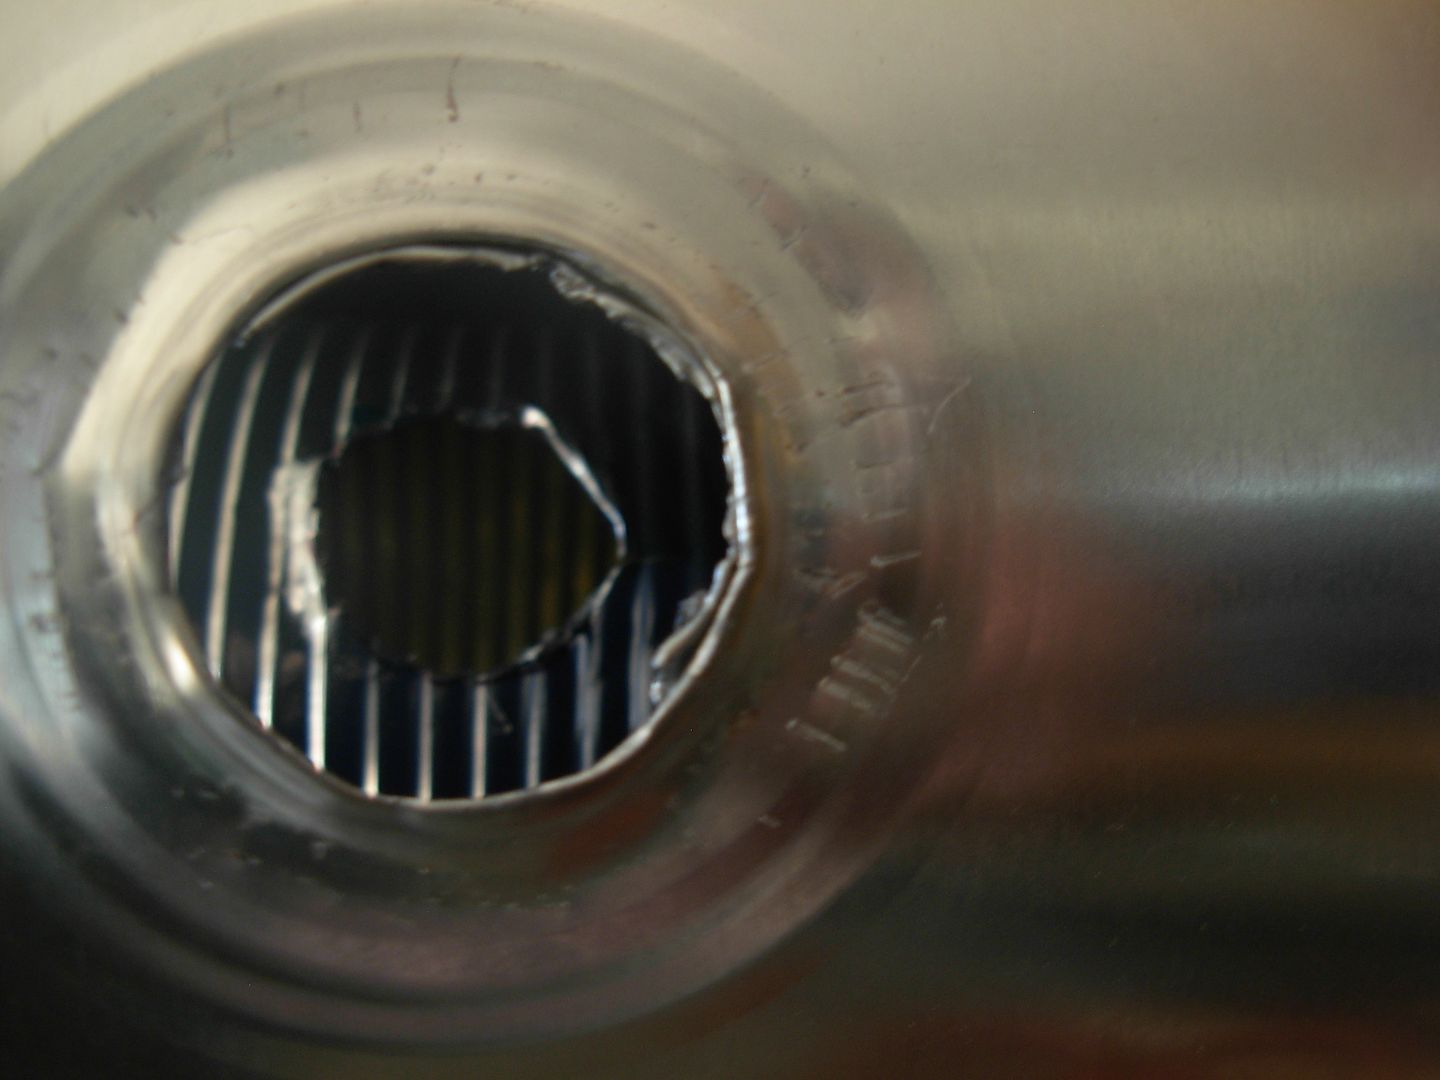
I was pretty good here so I went right to sanding with 120 grit paper. I want to sand the hole only and stay away from my "flats" as much as possible.
Keep at it until you're smooth and burr free.
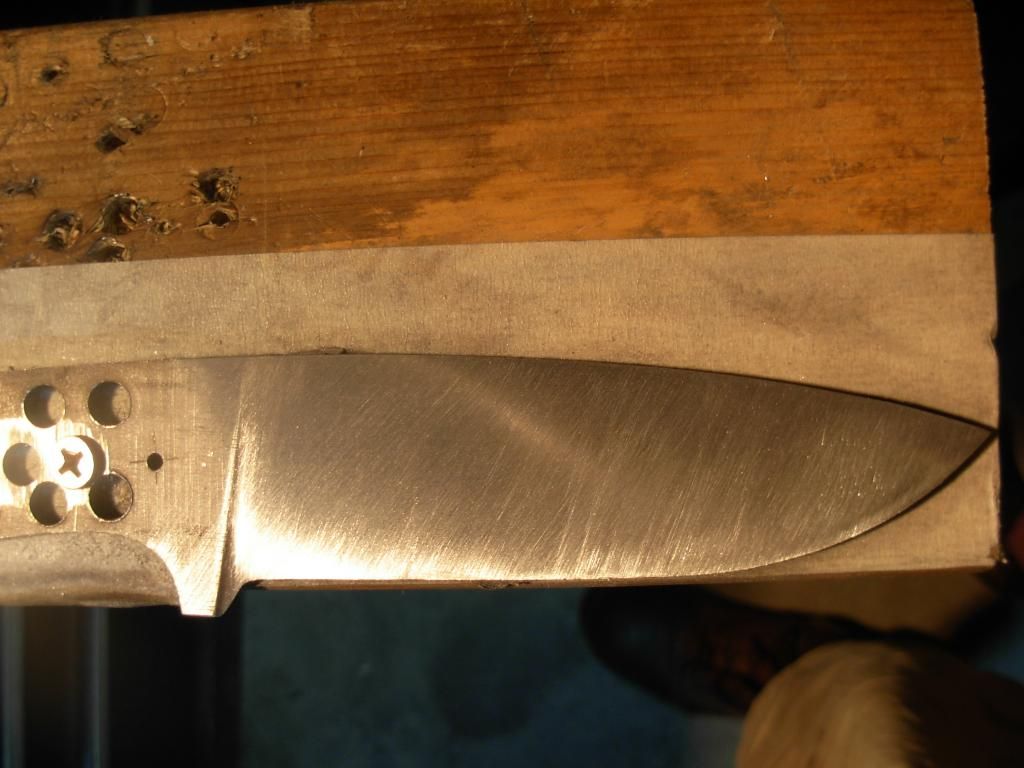
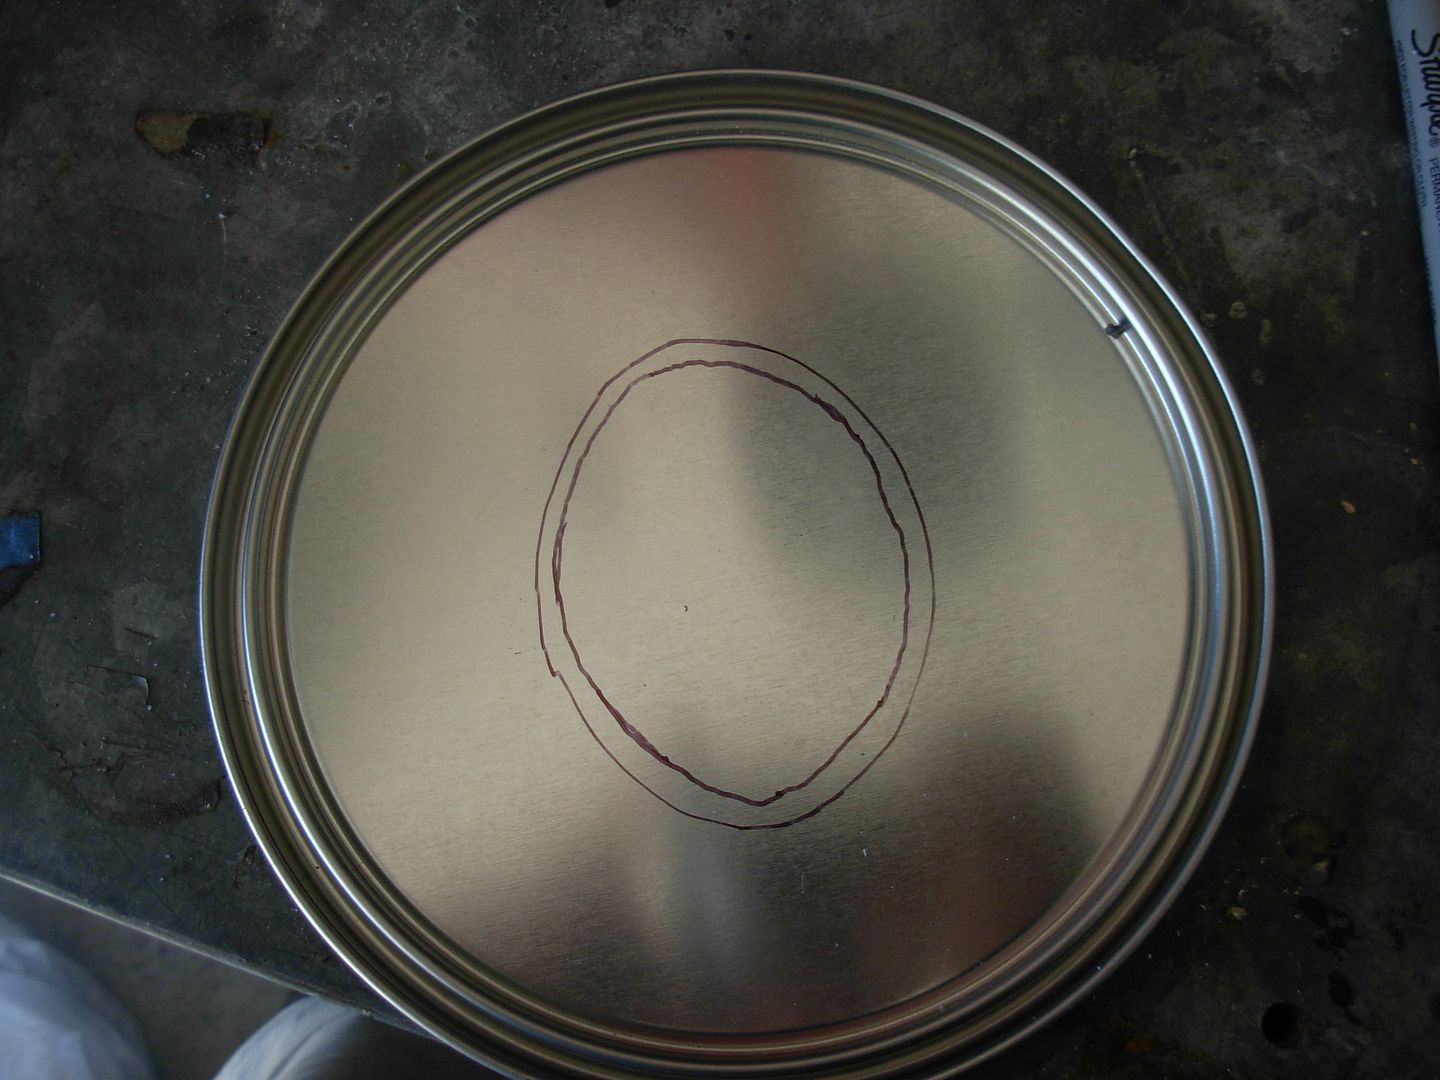
Now we're ready to get our flats truely FLAT. Again with the sharpie... notice a re-occuring theme here with the sharpie ?
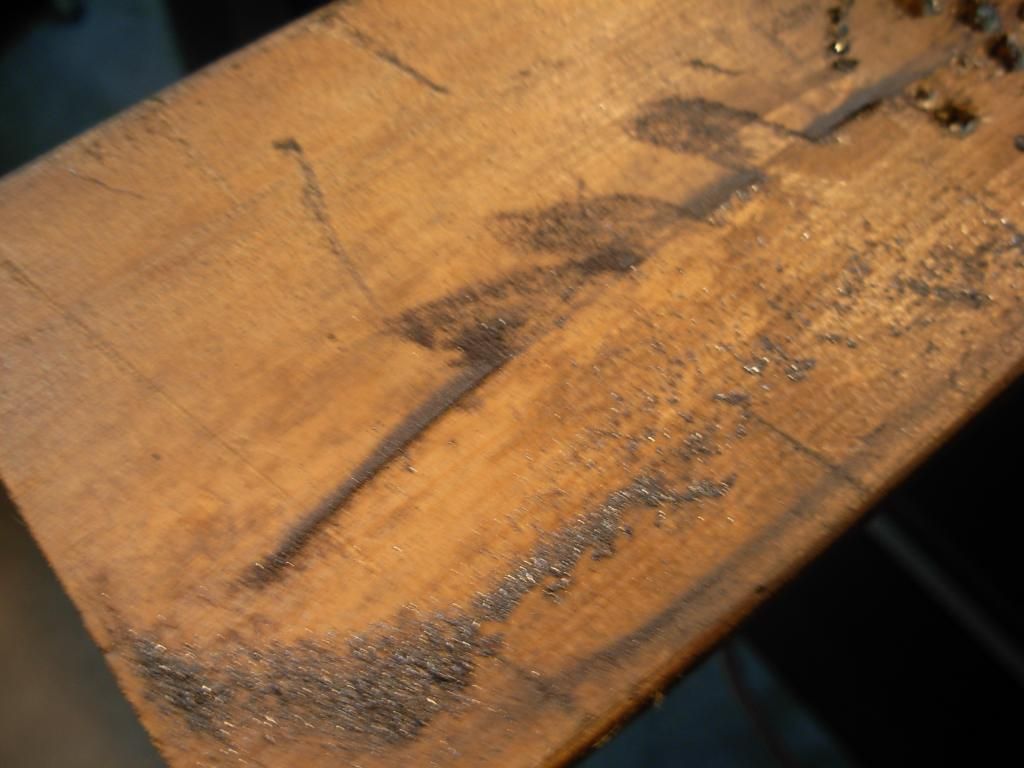
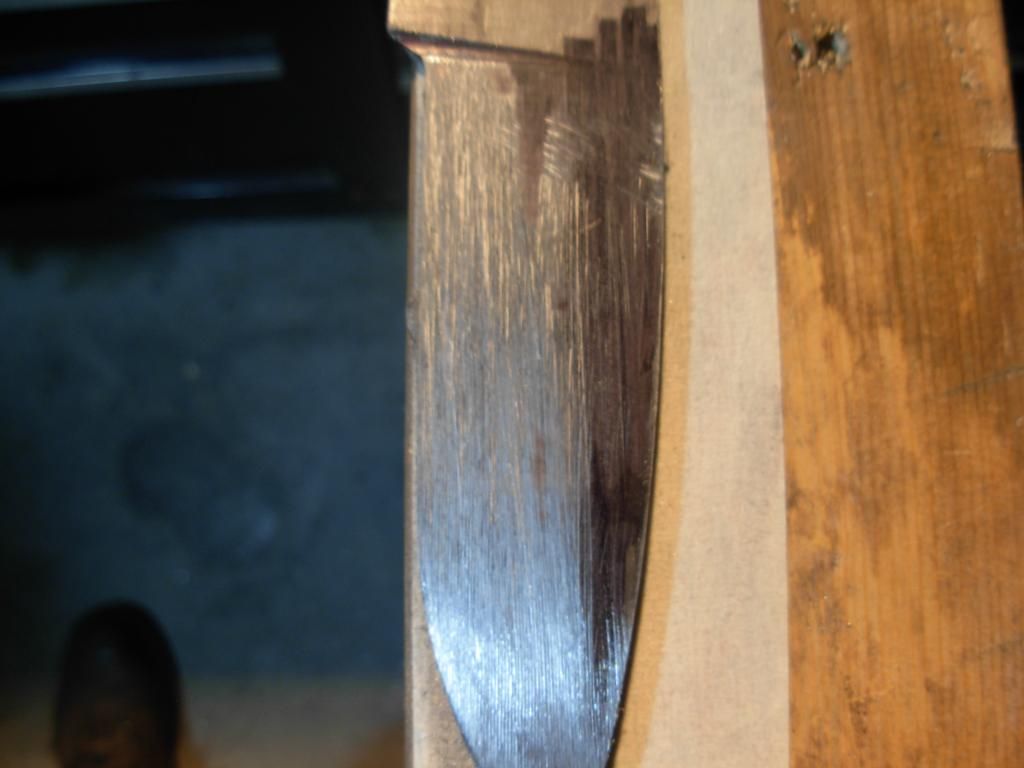
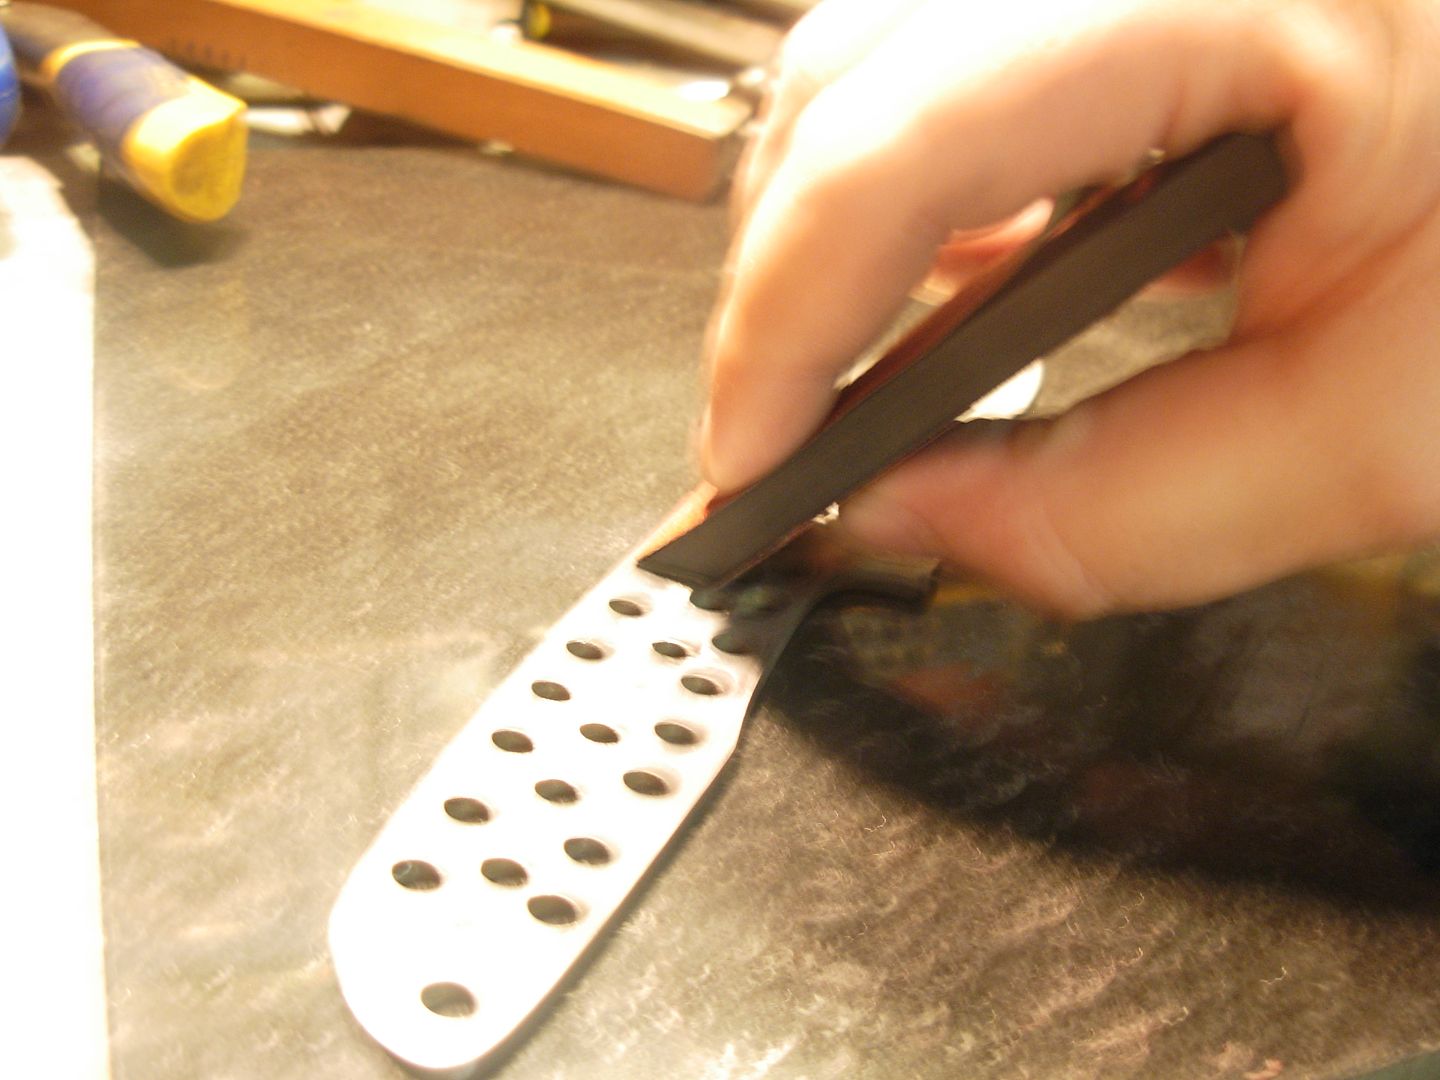
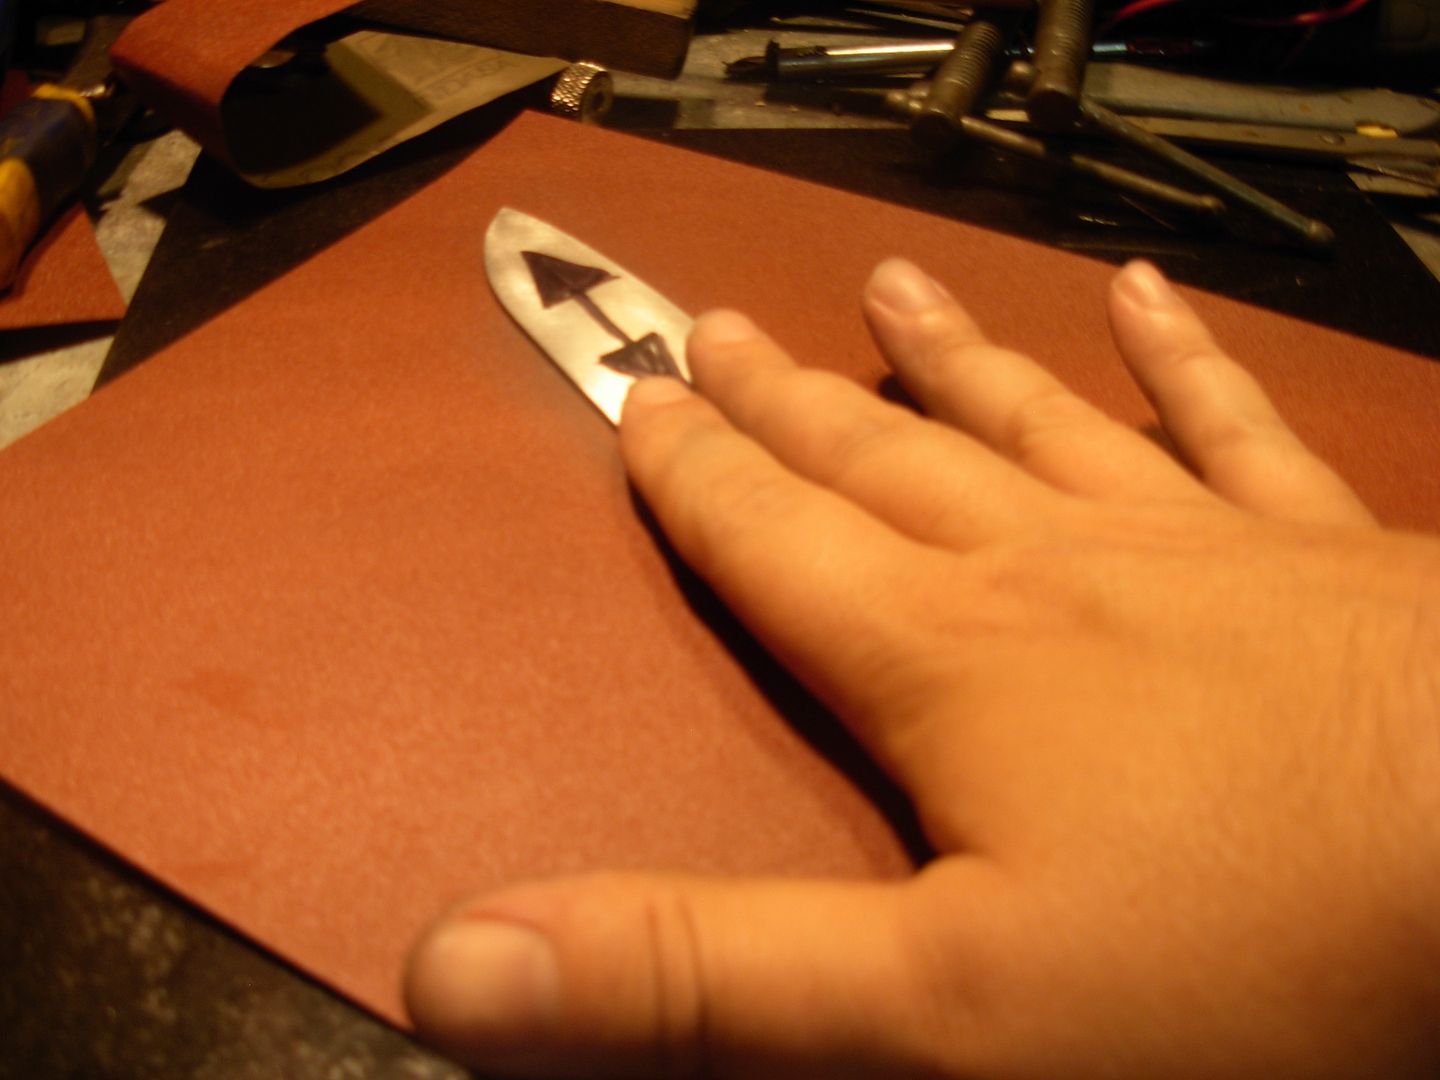
Here I've got a piece of 220 grit paper on my granite tile and I'm sanding the flats in the direction of the arrows.
Sand just a little then inspect the flat. The sharpie is necessary to reaveal irregularities that are so slight you'll never even notice them with the naked eye. Read the scratch pattern to determine any issues and their severity. Any area with sharpie still on it is a LOW spot that's not making contact with the paper. Here I've got sharpie left on opposite corners, the bottom edge of the handle at the rear and the top of the ricasso in the front. So what exactly is this telling me ? I've done a nice job straightening and I'm nearly flat in the long plane but what I do have is a TWIST in my handle. I've hardly even sanded this at this point, just enough to clean off the sharpie, so I'll go back to sanding a bit more to see if this is sandable or I need to use force to un-twist my handle.
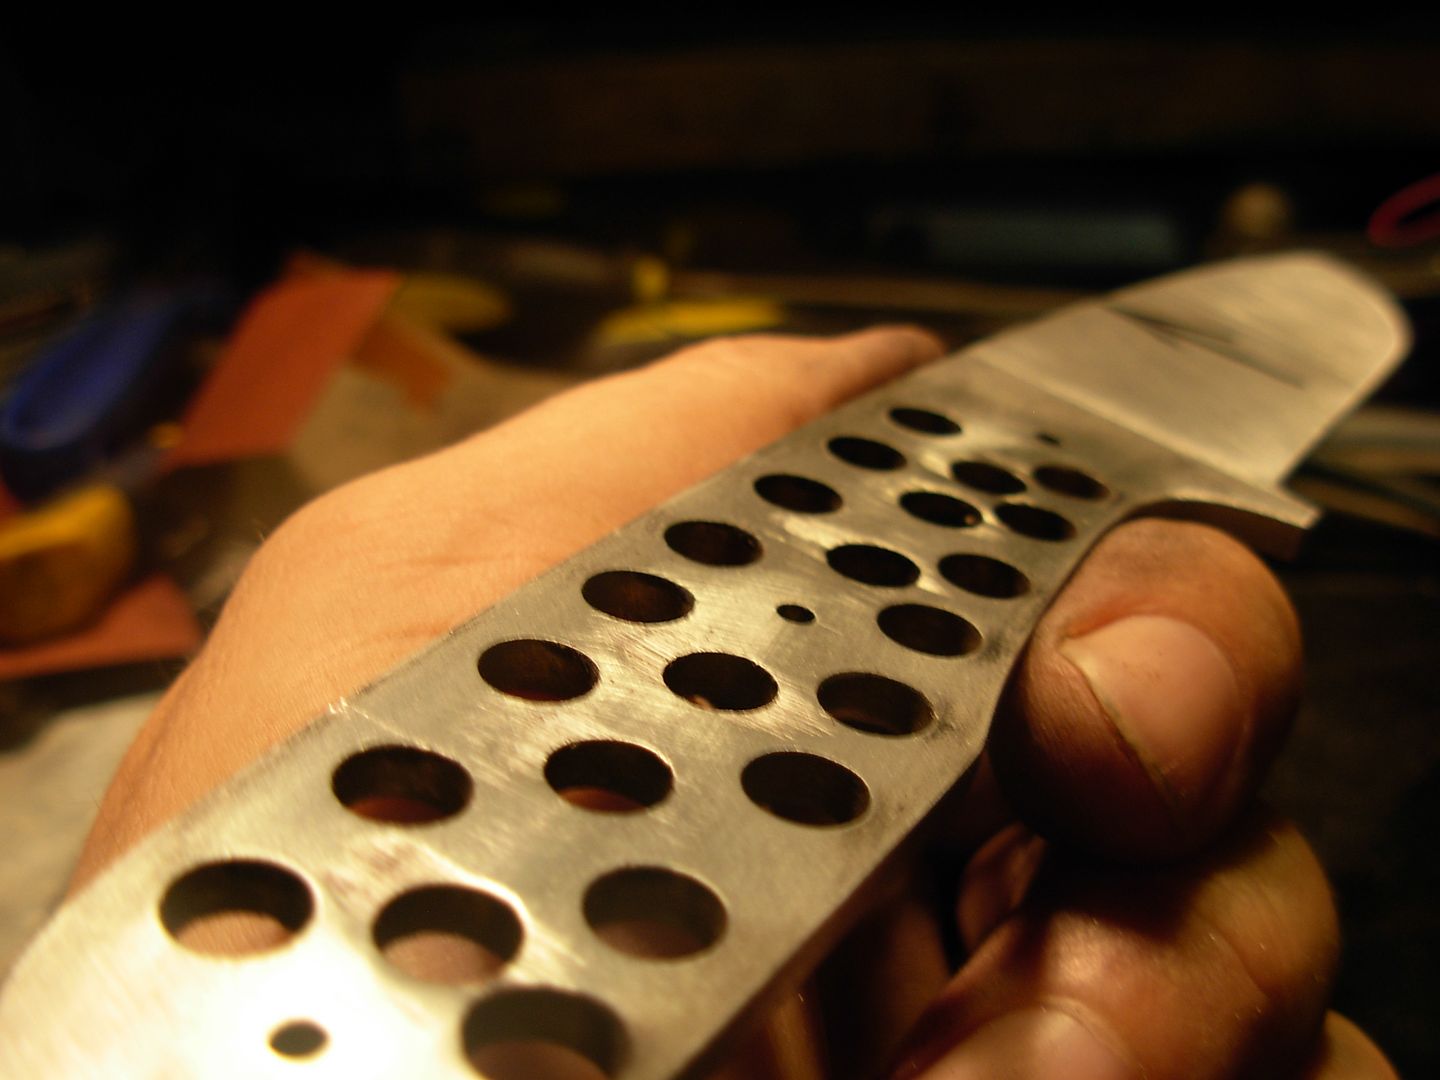
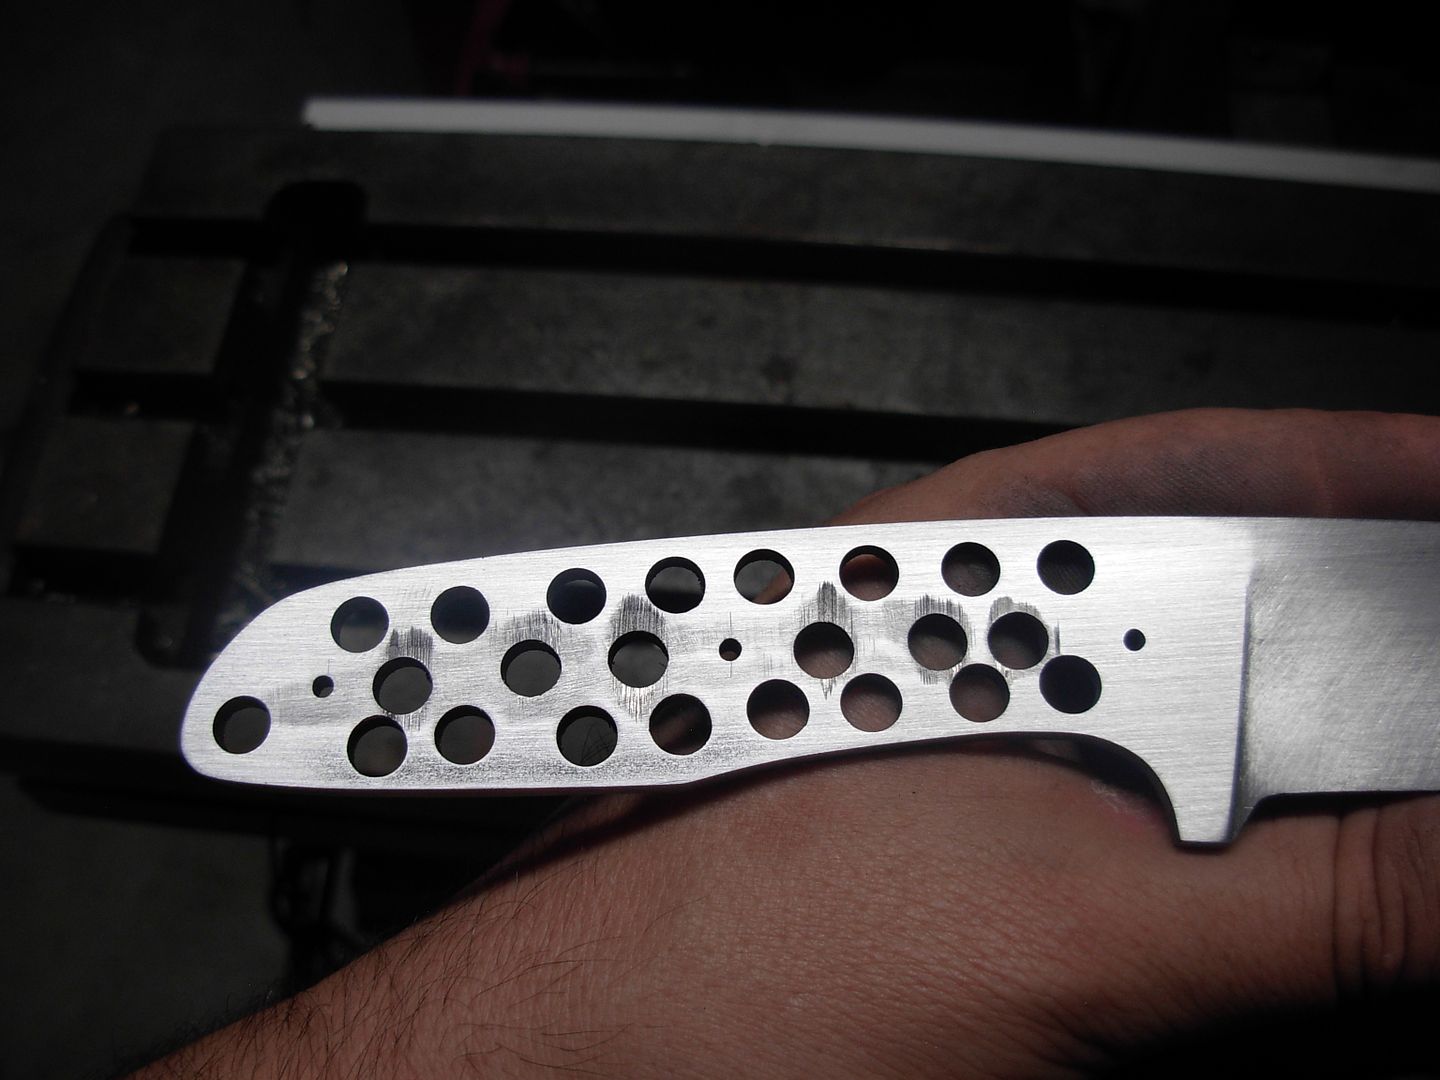
This is how I'm holding the blade for sanding the flats. Even contact with my hand over the area I'm flattening, LIGHT downward pressure, and slide back and forth. LIGHT pressure because I do not want to flex the blade while flattening.
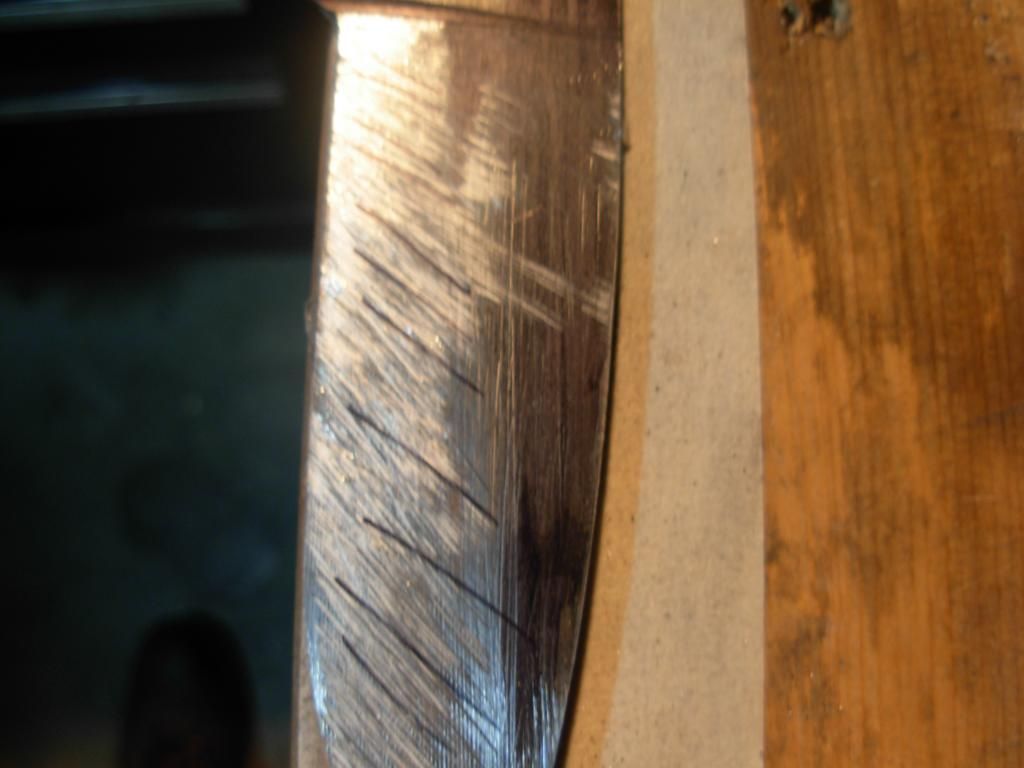
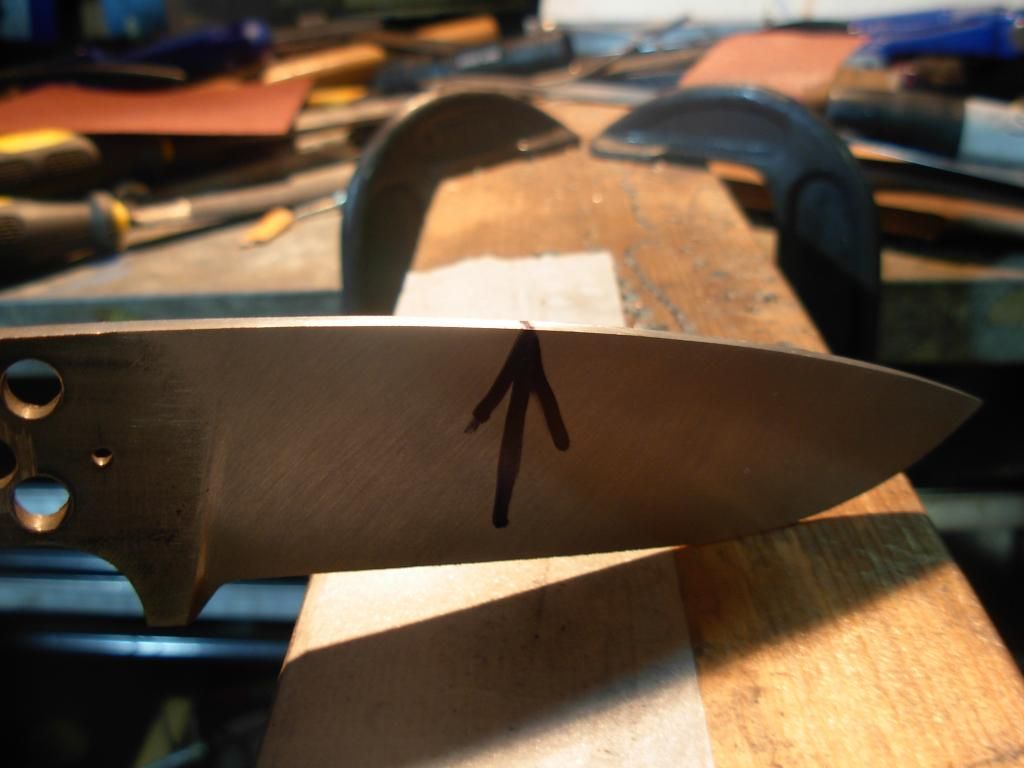
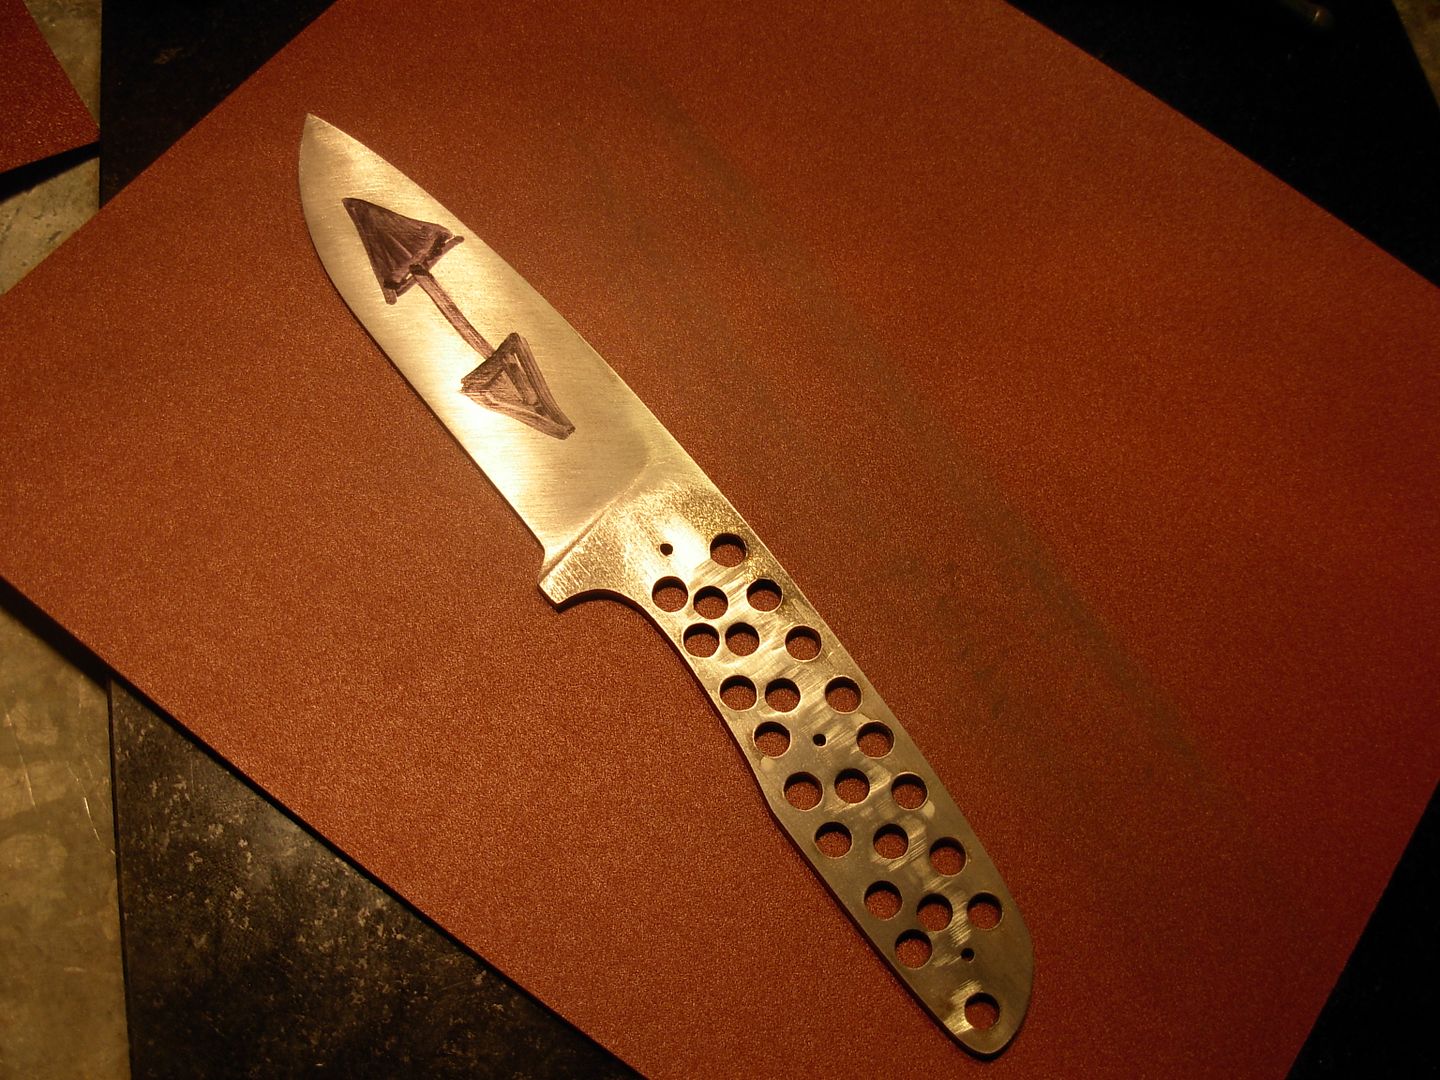
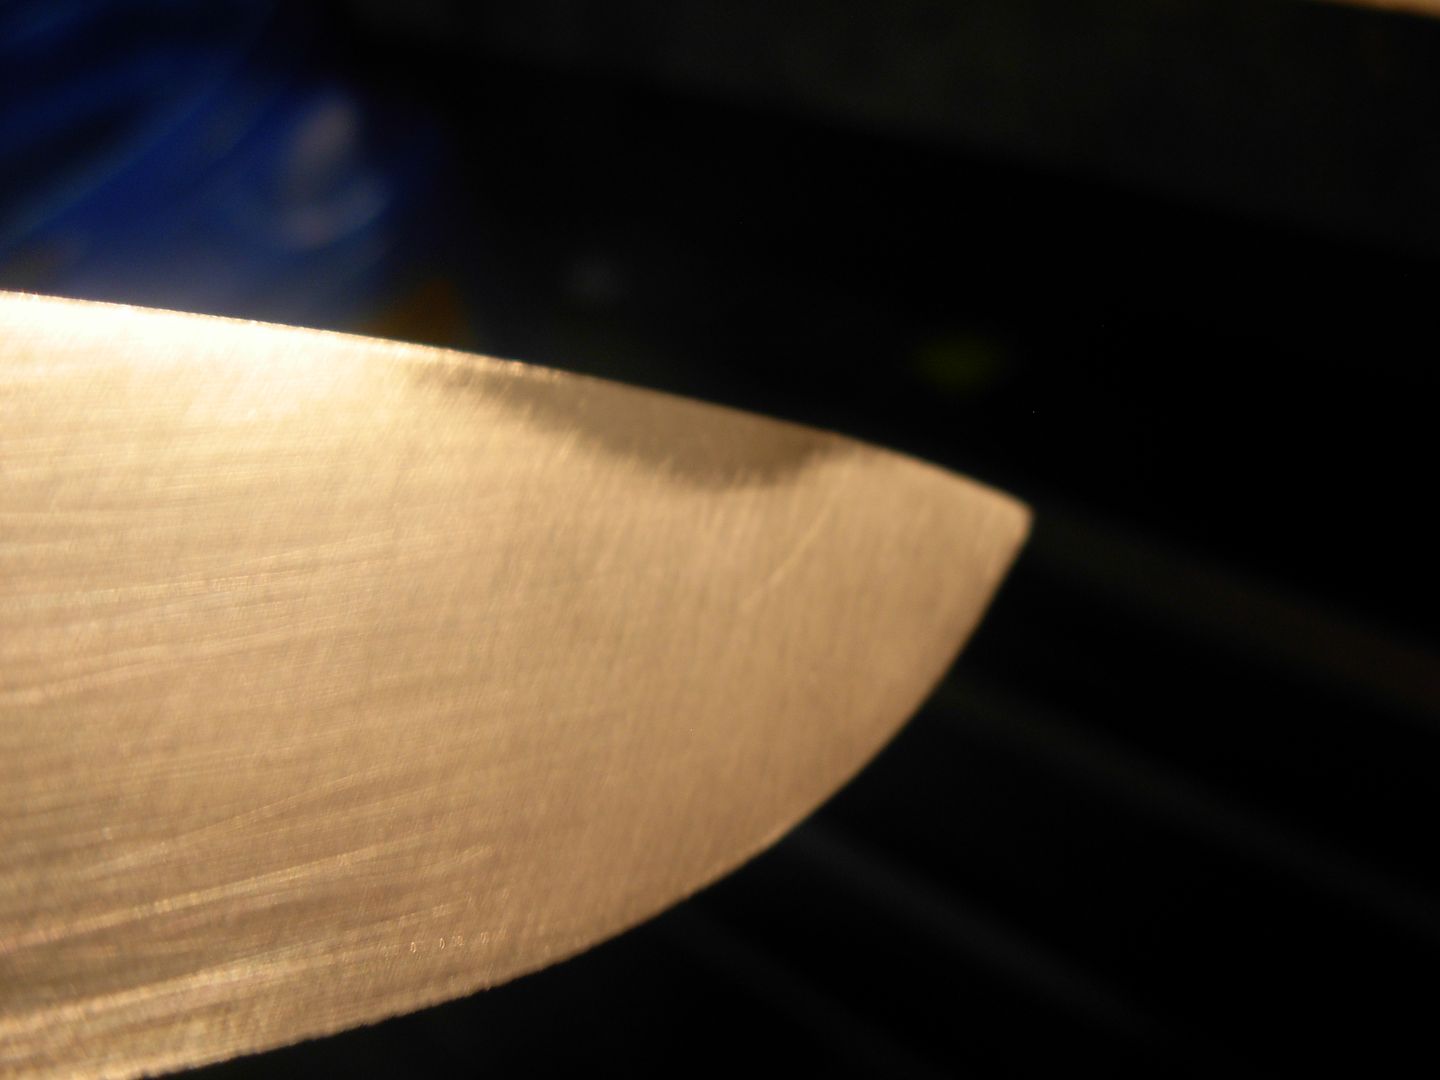
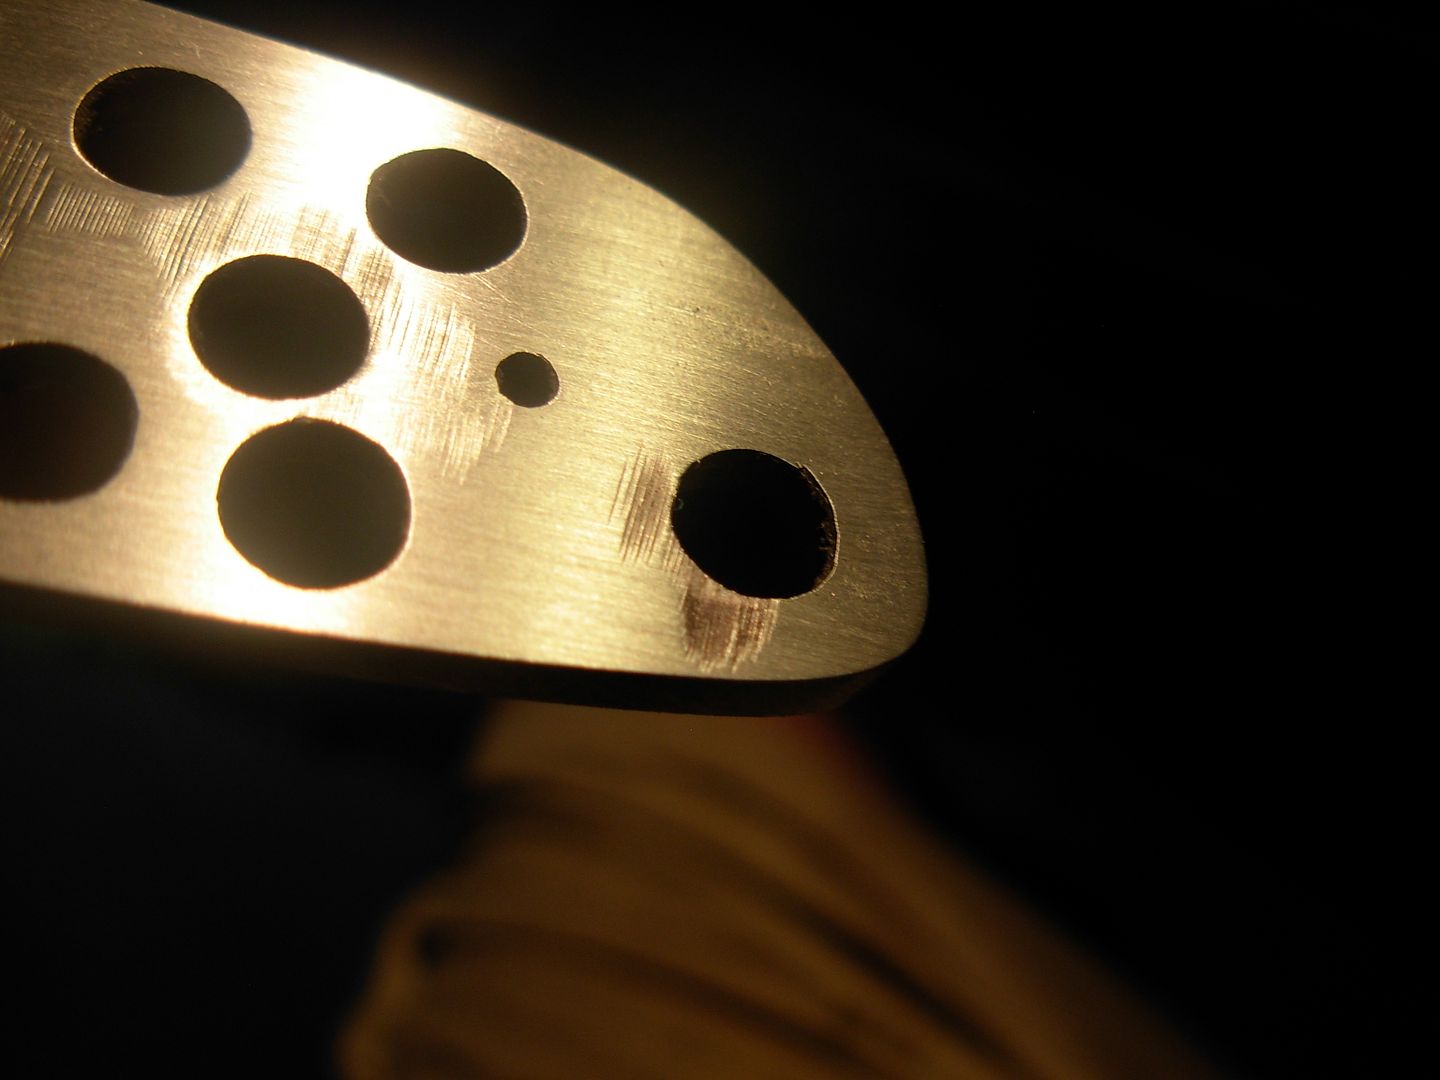
This shiny area out at the tip of the blade is letting me know that I've still got a slight bend on the blade side of my blade. The bend is slight so I'll fix this while sanding out the blade but if it was severe I'd need to stop working the flats and fix the issue to proceed.
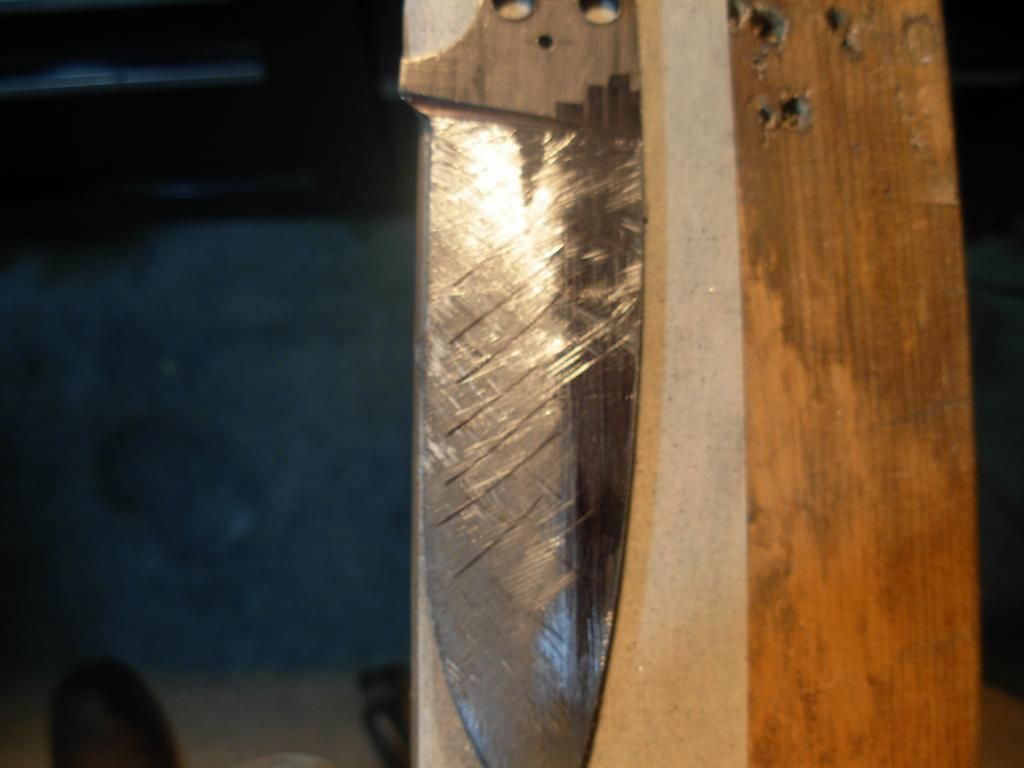
Now our flat is TRUELY FLAT. do the same for the opposite side of your blade also
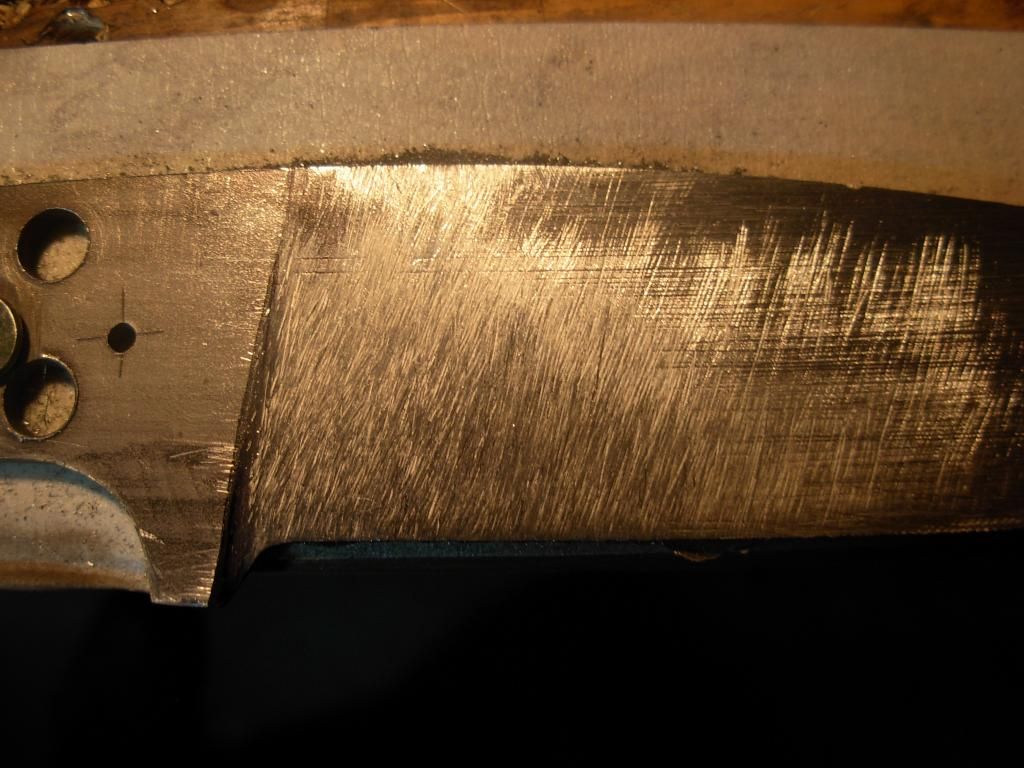
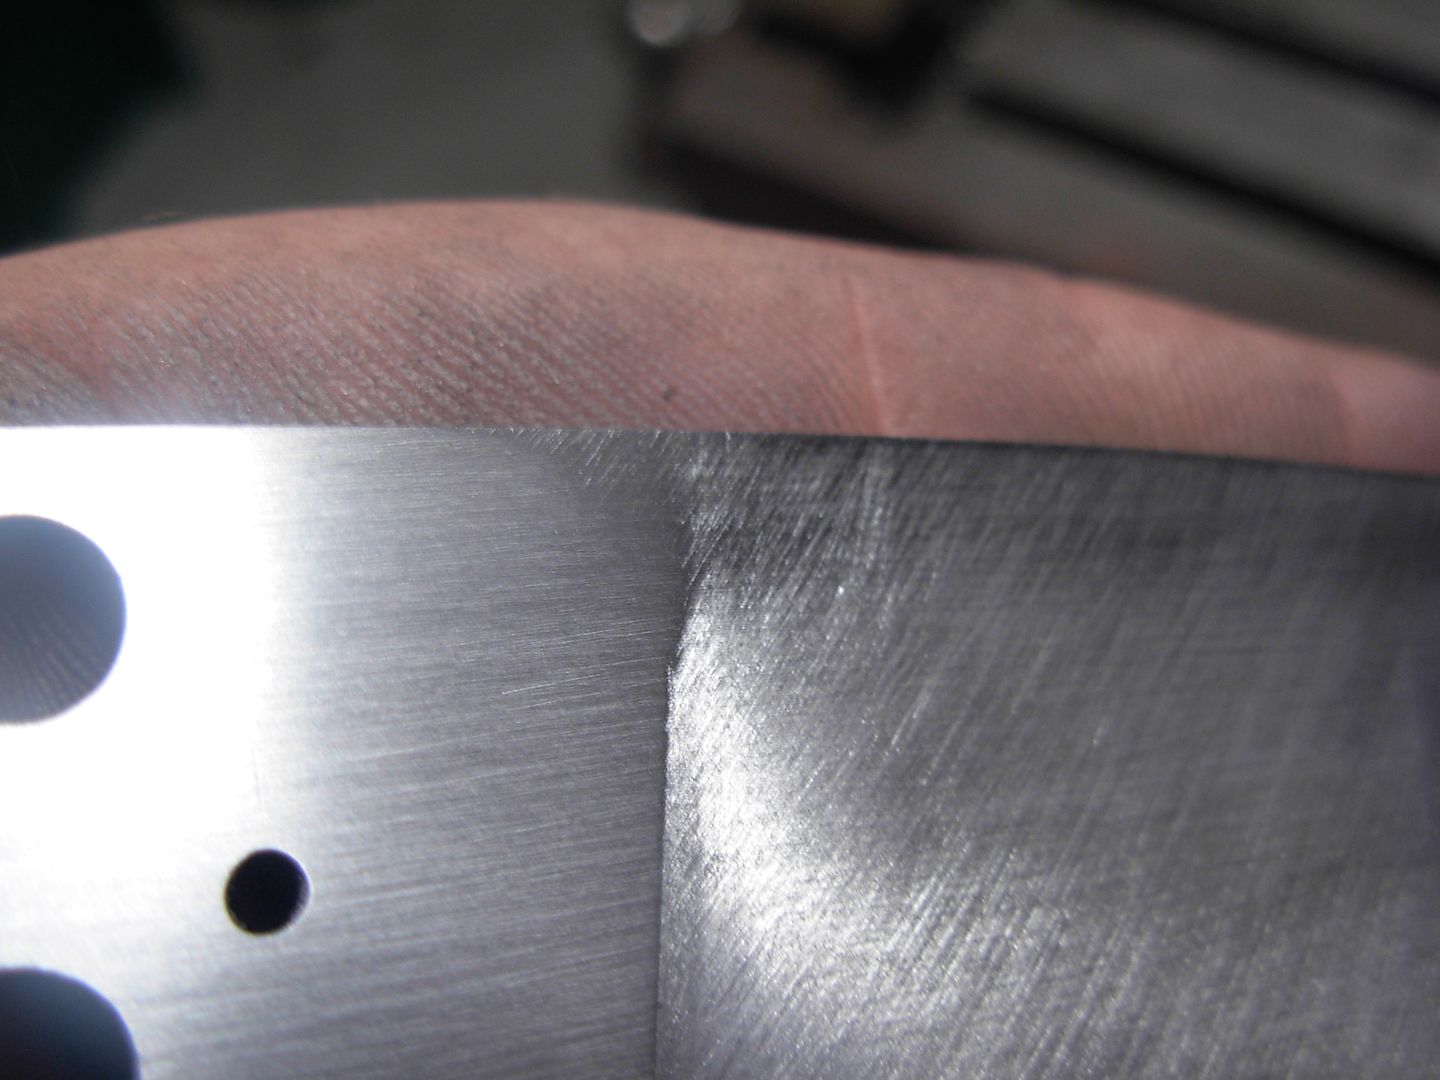
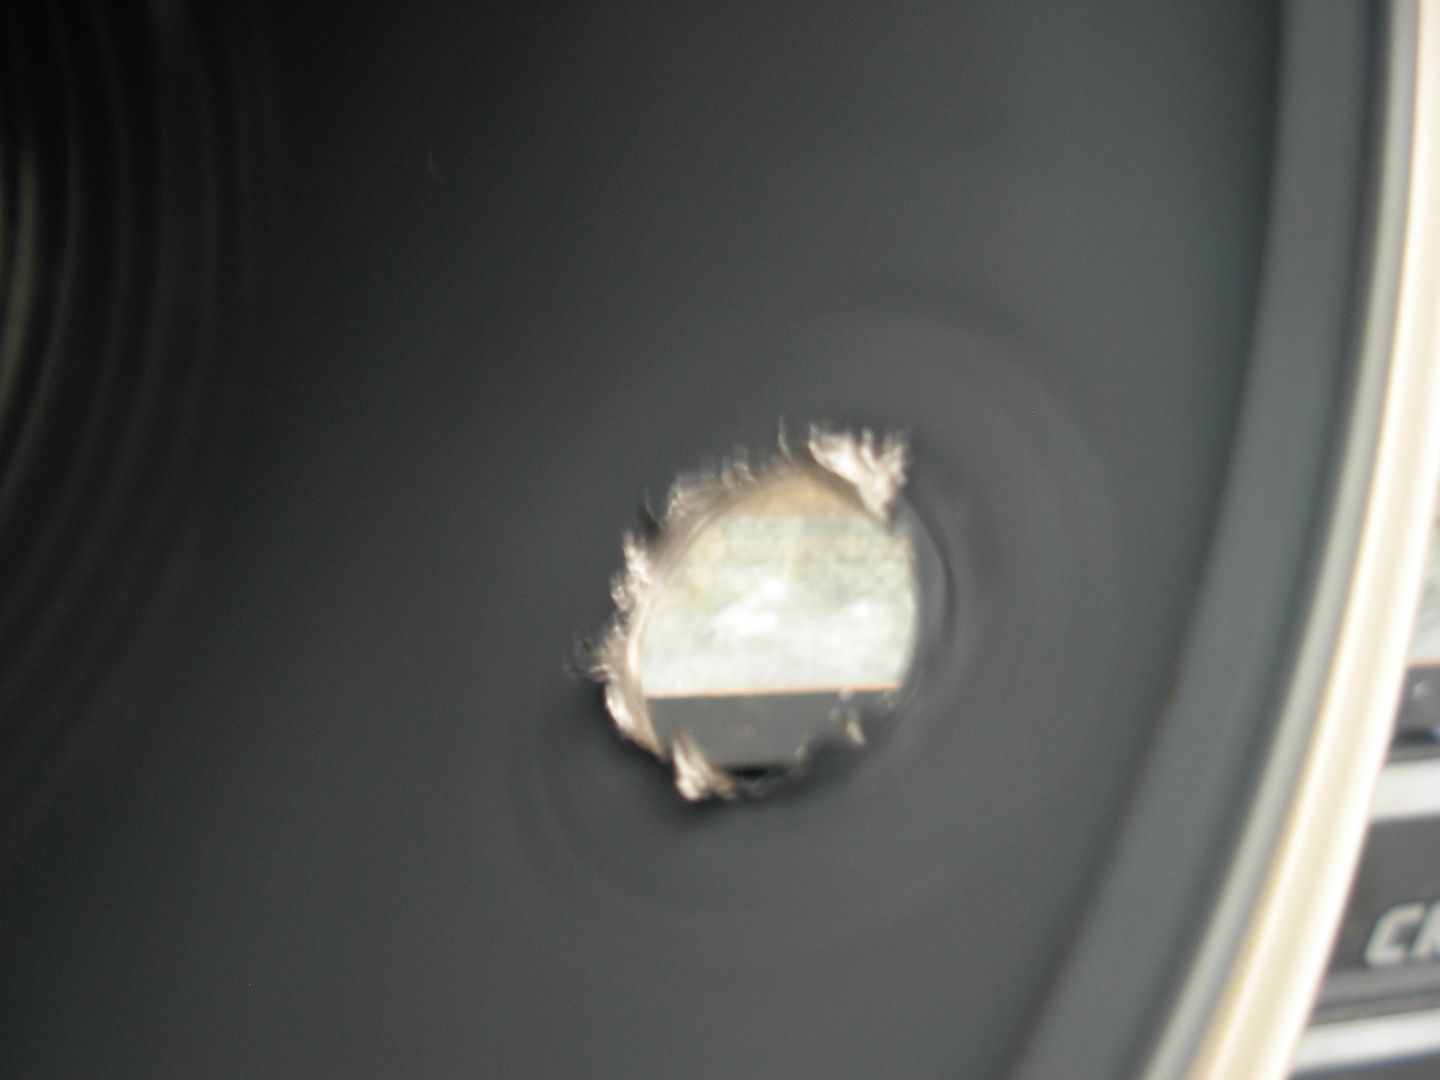
This is a close-up to show that sanding my flats is not extending past the top of the plunge. This isn't a problem but I'll need to pay special attension to this area when sanding the bevele to blend the flat into the bevel.
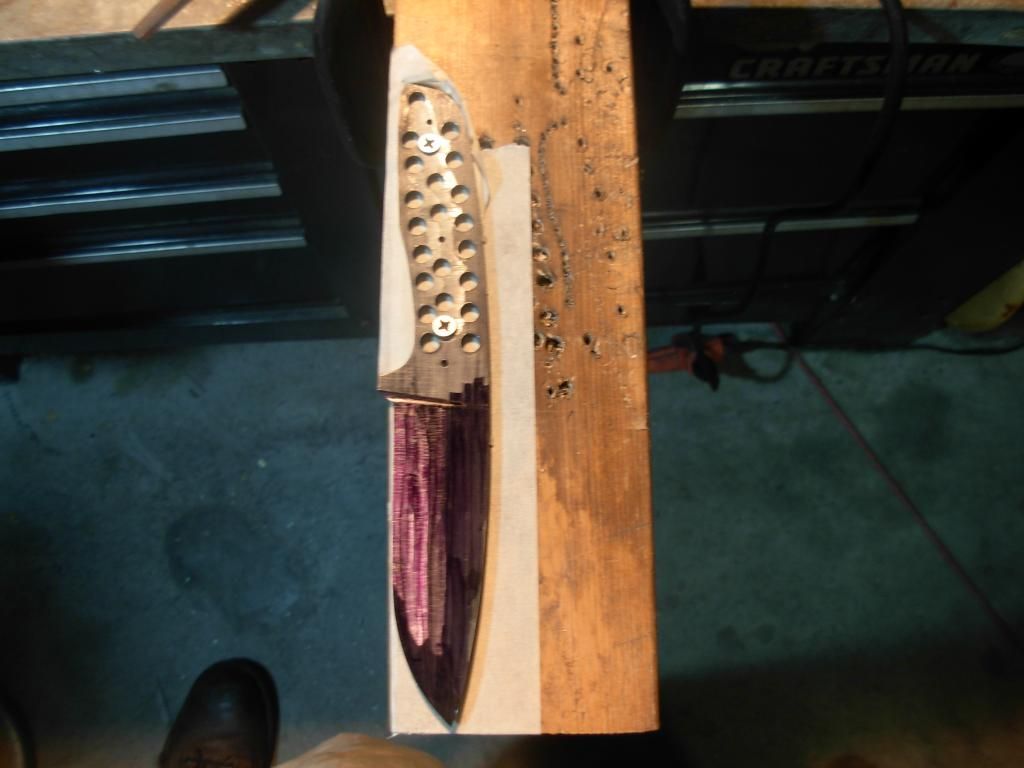
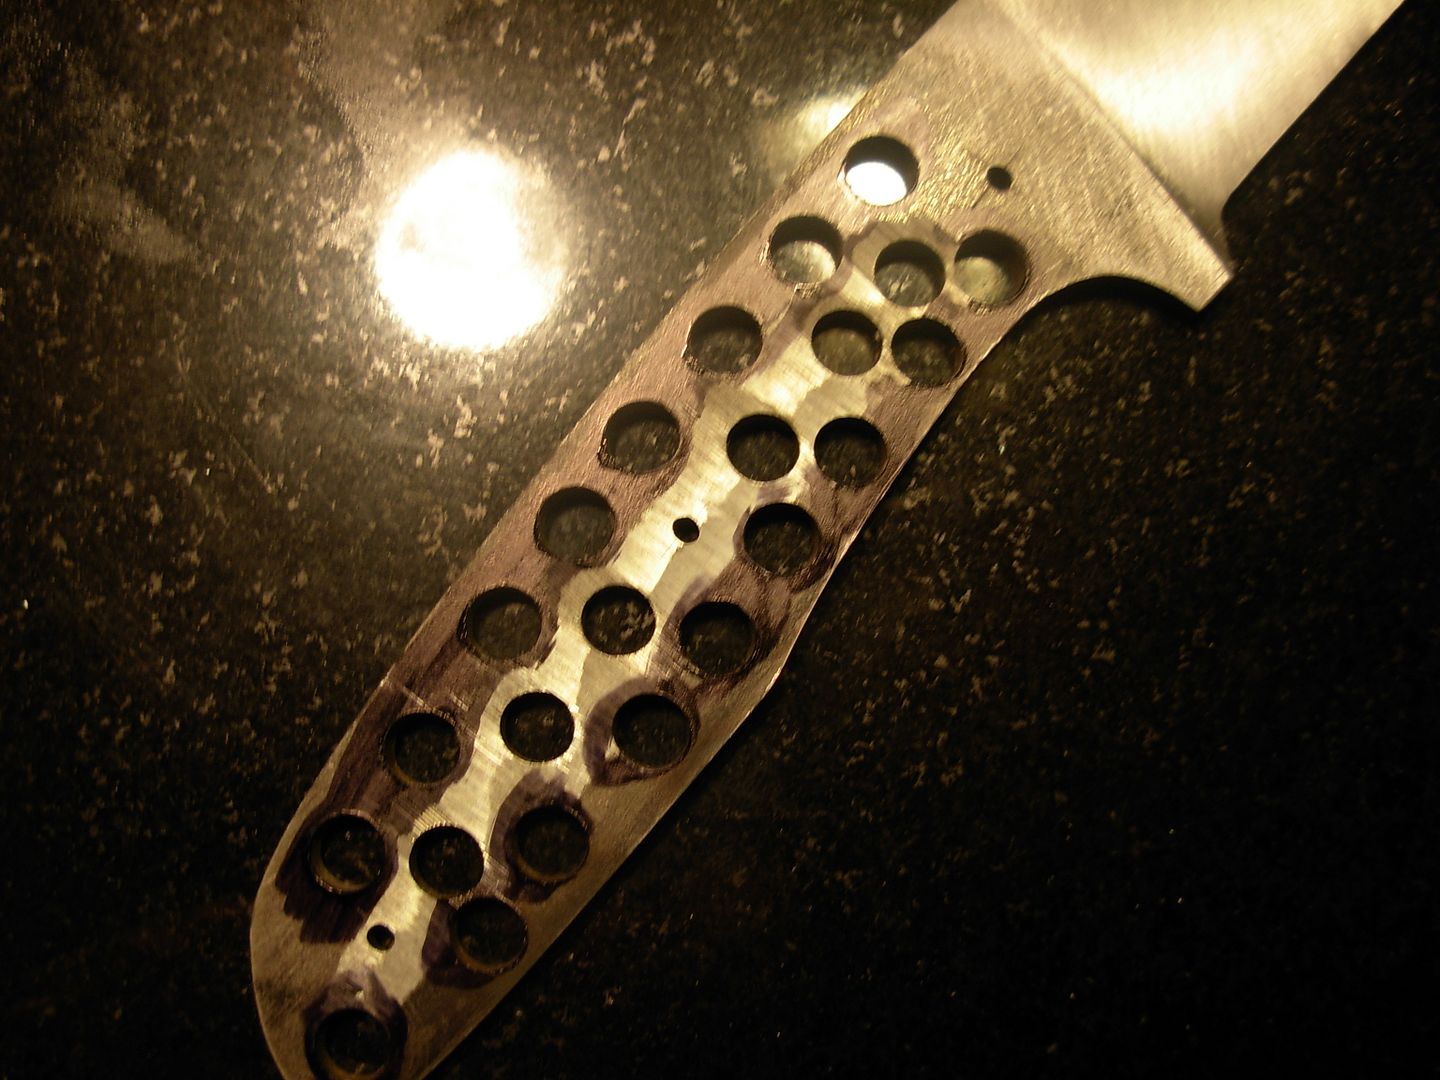
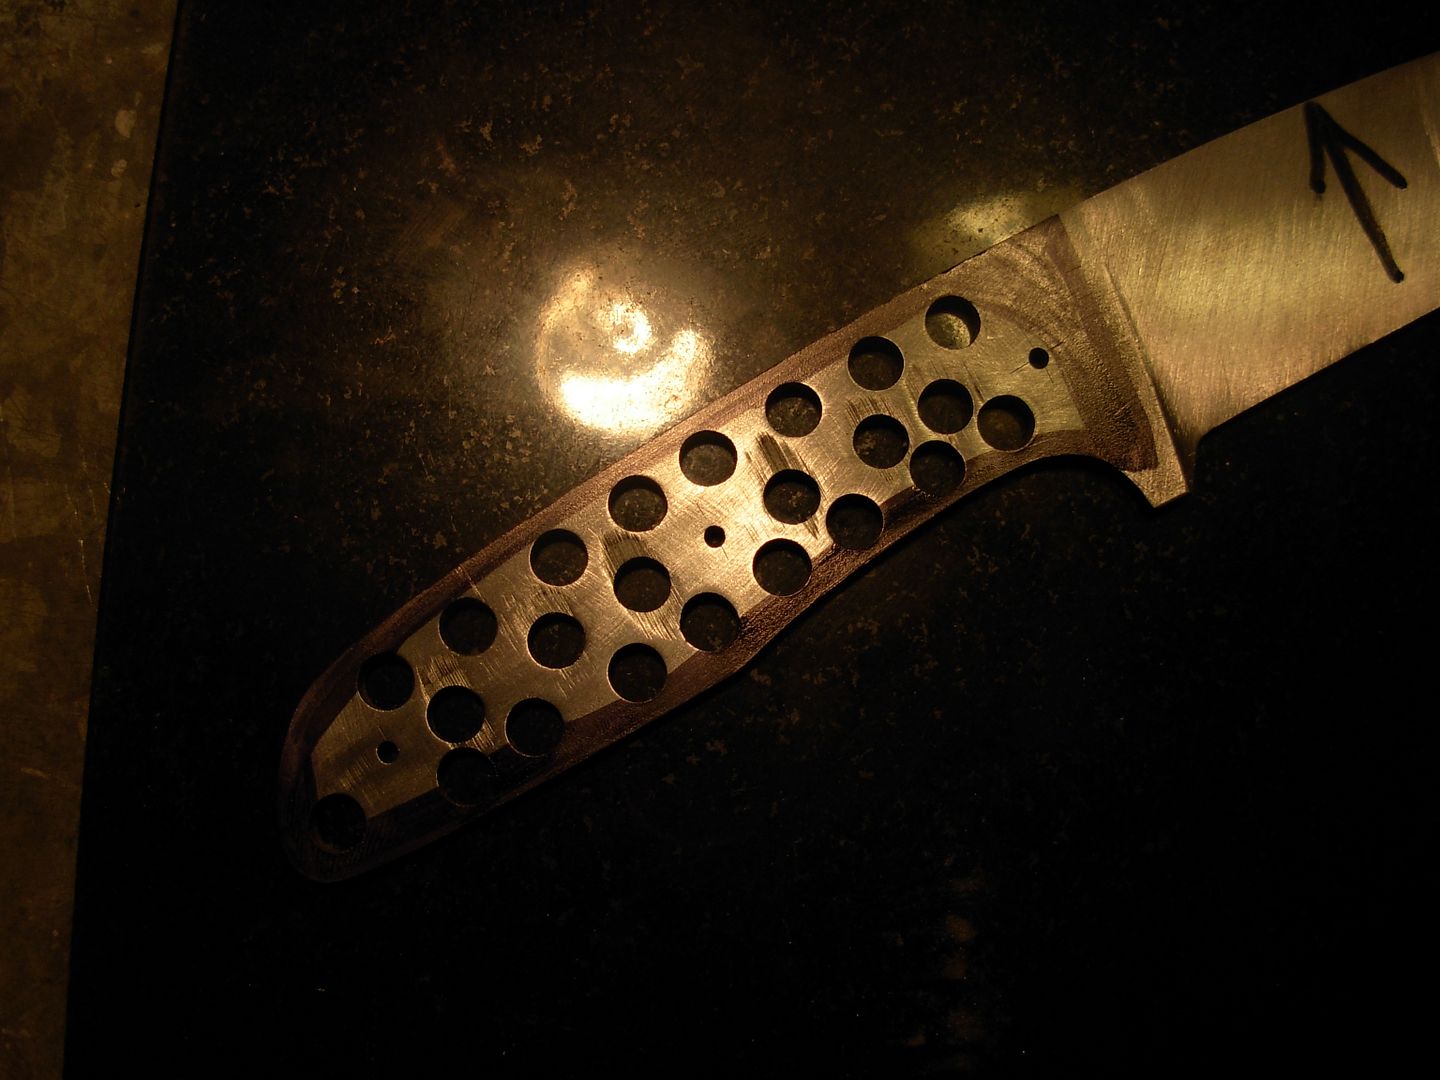
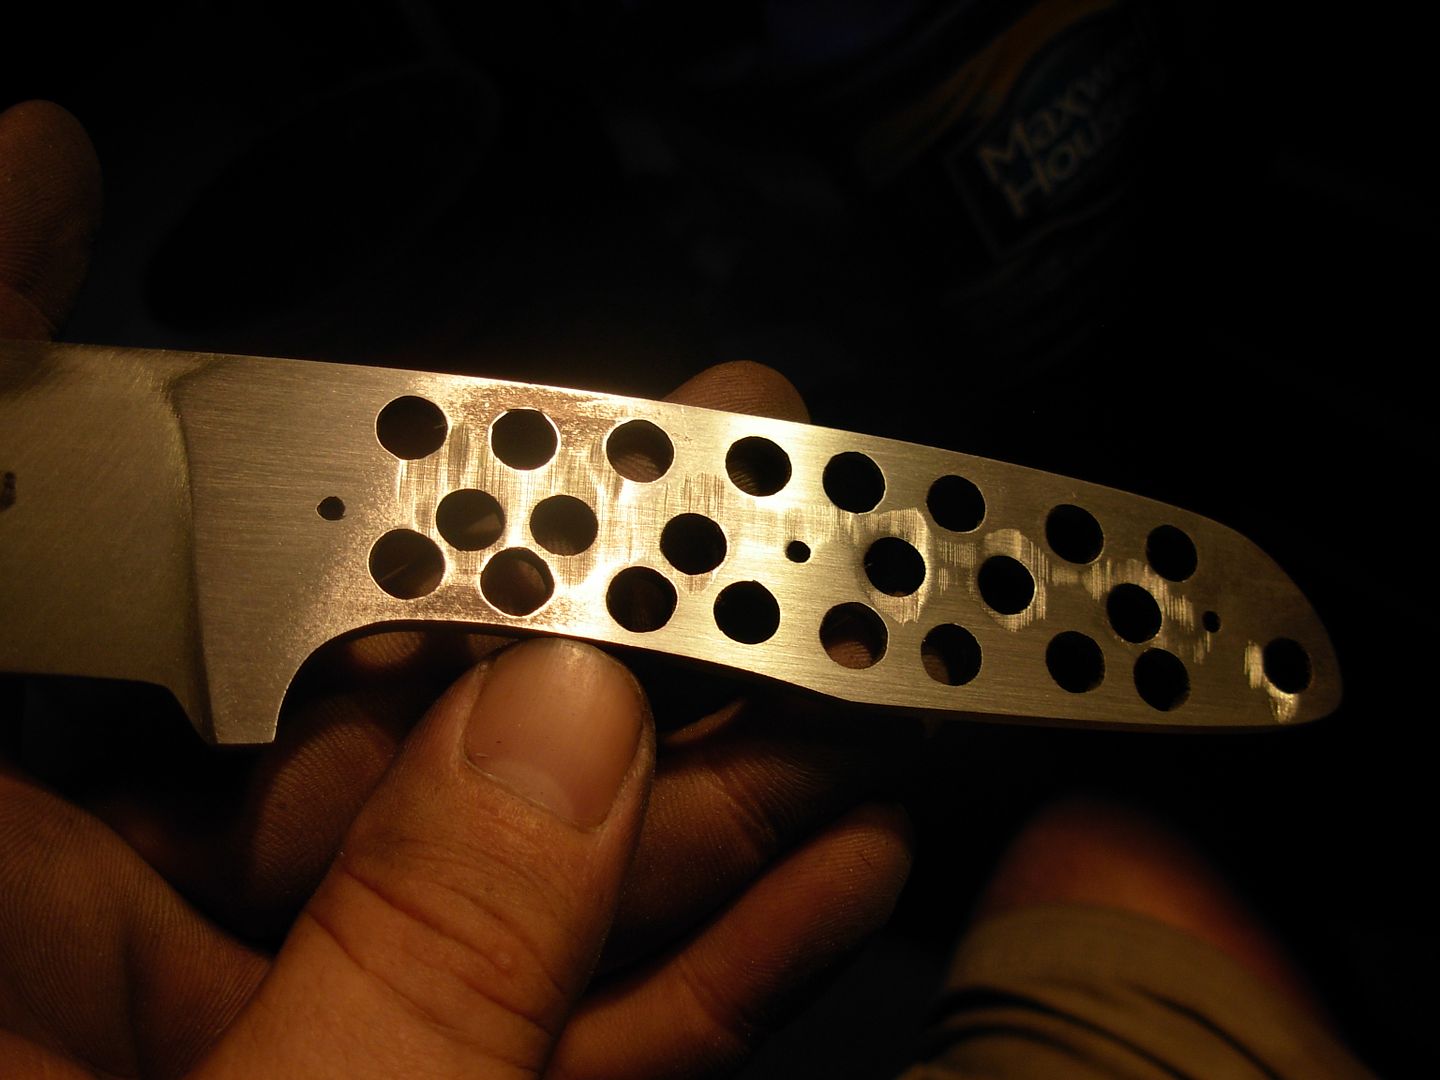
Here's the other side. You'll notice a fairly large area towards the front of the handle where you can still see a hint of the sharpie. This will finish out fine as-is. Also notice the thin shiny line around the perimeter edge. This is my goal for a gap free fit to my handle scales so I don't need to go any further with it.
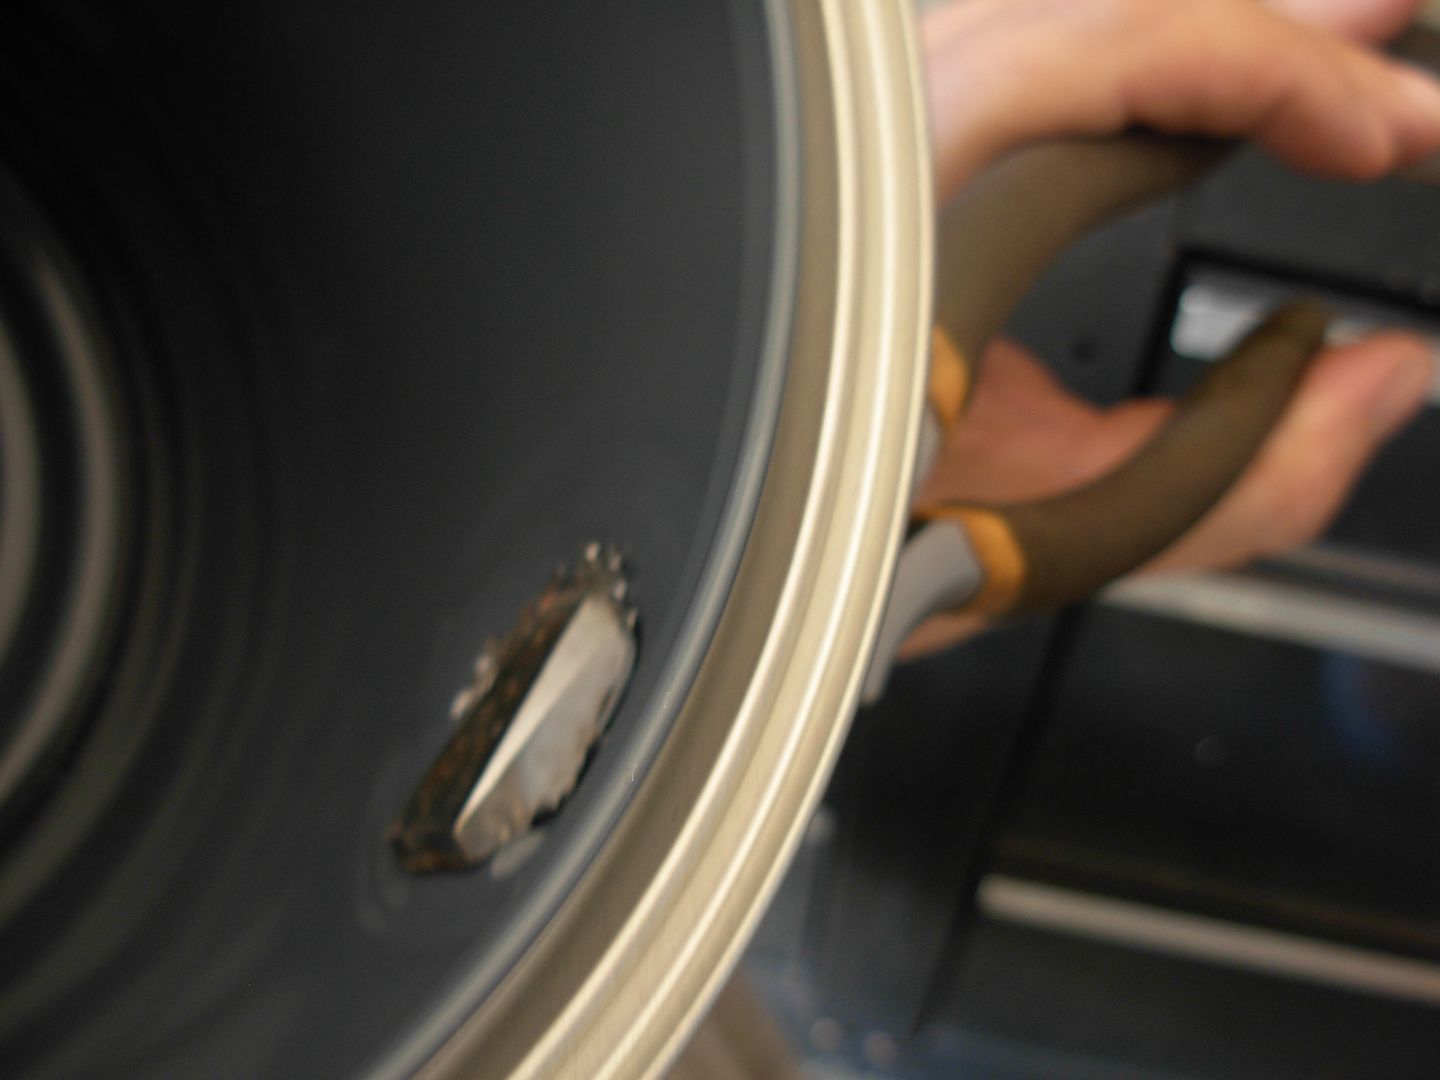
On the rearmost hole you'll see that I cam EXTREMELY close to grinding into my perimeter flat. I got very lucky with this and it's going to work out fine but and grinding into the area of my FLATS would be exteremly difficult to correct.
I don't know how to stress this point enough....
YOU MUST FLATTEN YOUR HANDLE MATERIAL. Handle material is NEVER perfectly flat when you get it.
There are 2 things we want to avoid with our handle material in the construction of our knife.
1. Gaps between the steel and the handle material
2. Handle materail that is bowed or warped in any way. Can we clamp bowed material tight to our blade ? Sure we can so no problem right ? WRONG !!!!! This is a sneeky little problem but this is what will happen eventually. This handle will finish out nicely and you'll pat yourself on the back. Then at some point in the future the handle material will pull away from the blade as it goes back to it's natural warped state.
Now we are working with synthetic handle material so I dont have to worry about tempature chages or humidity changes affect my handle right ? WRONG again. The affects of these things are greatly reduced in comparison to natural materials but they are not elliminated completely.
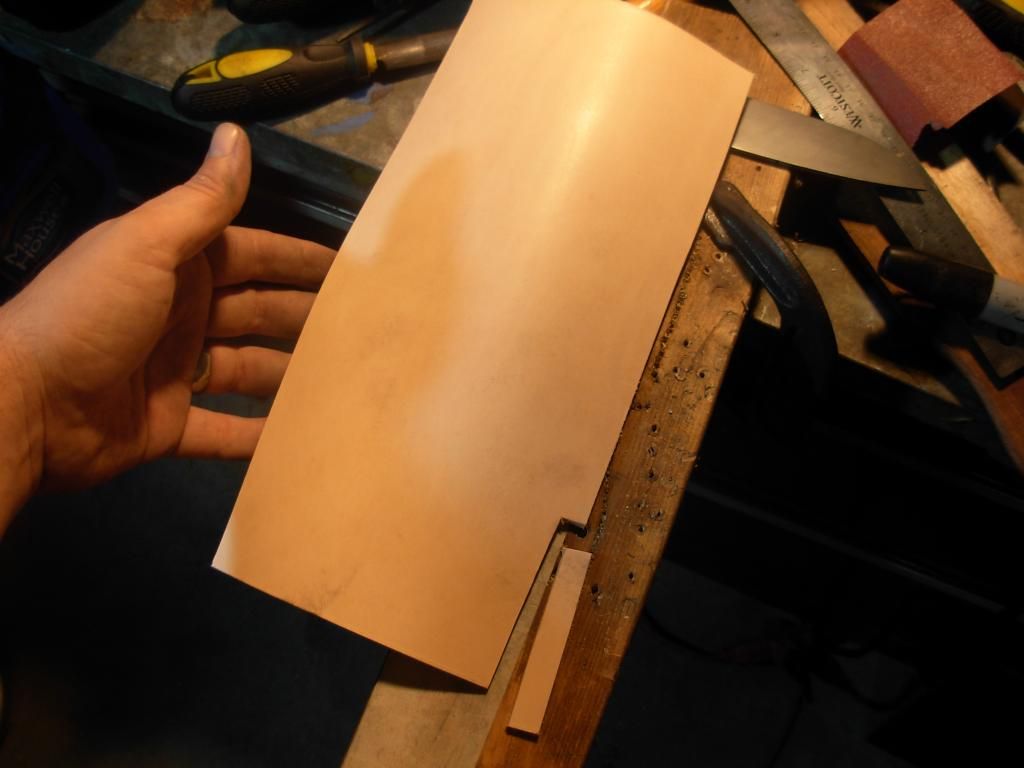
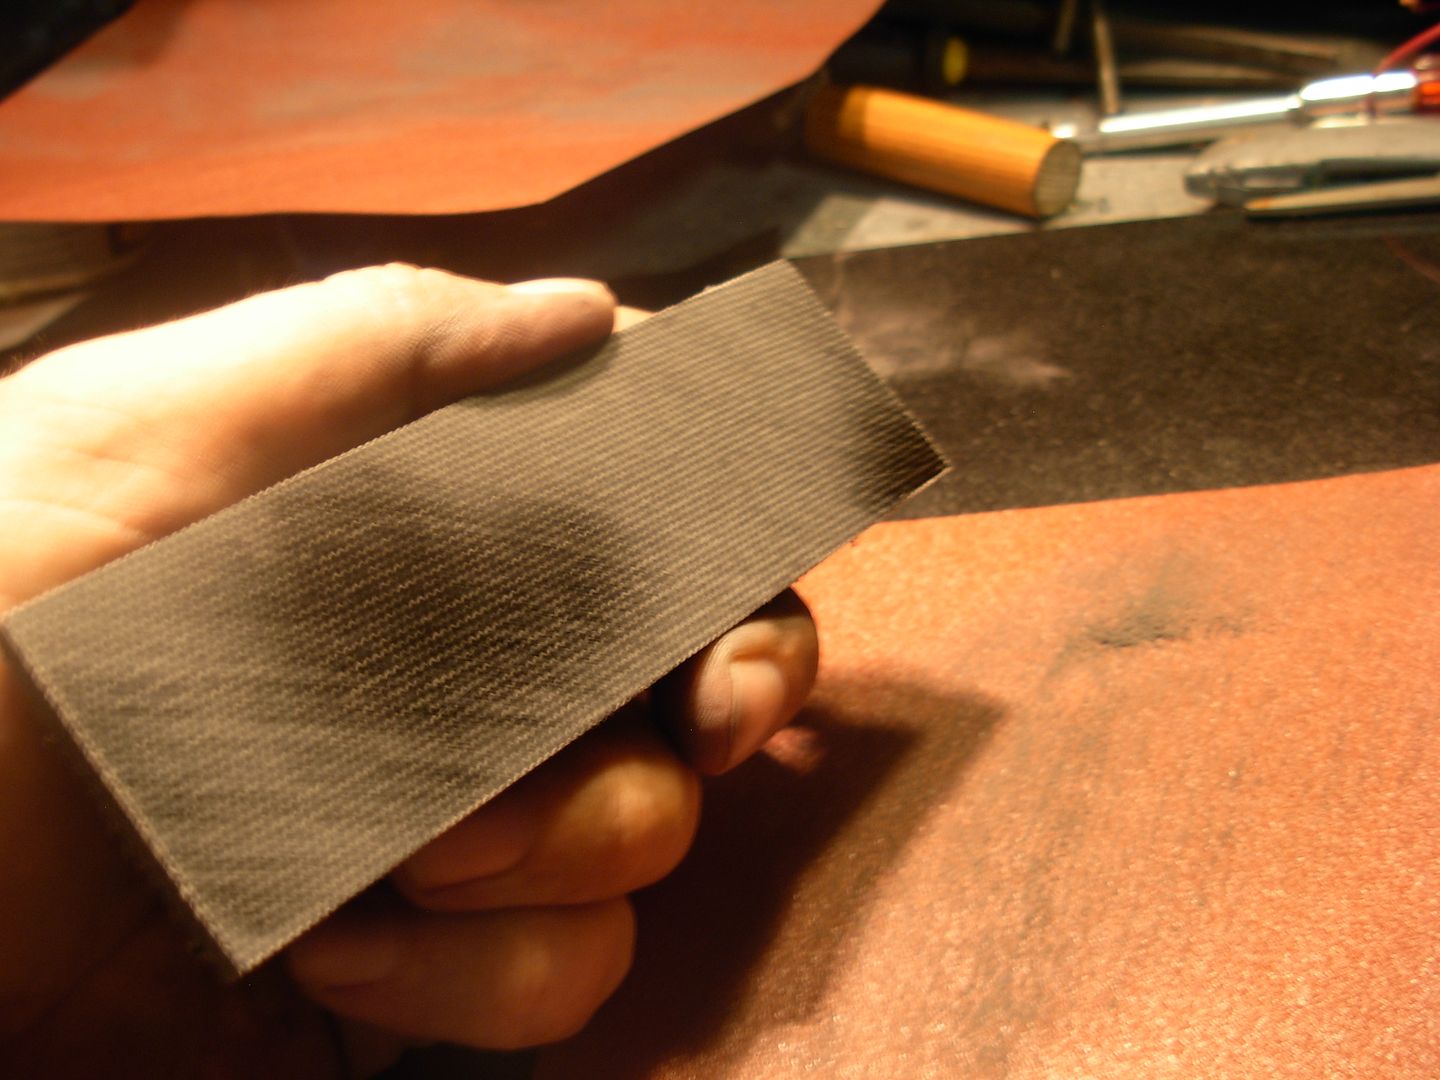
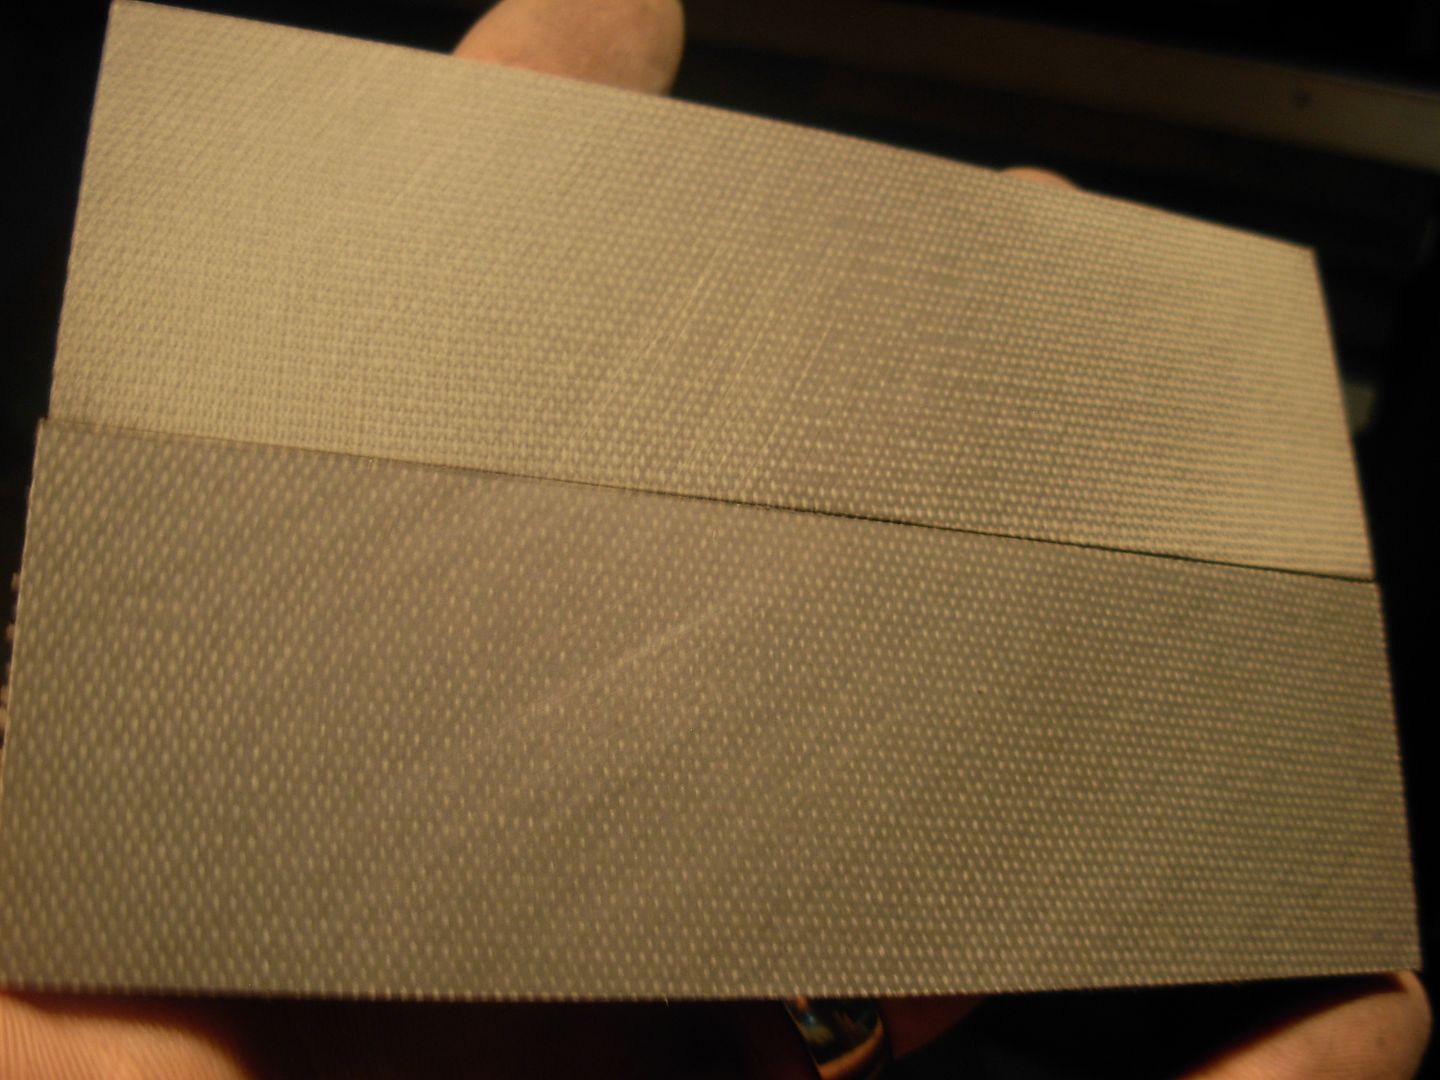
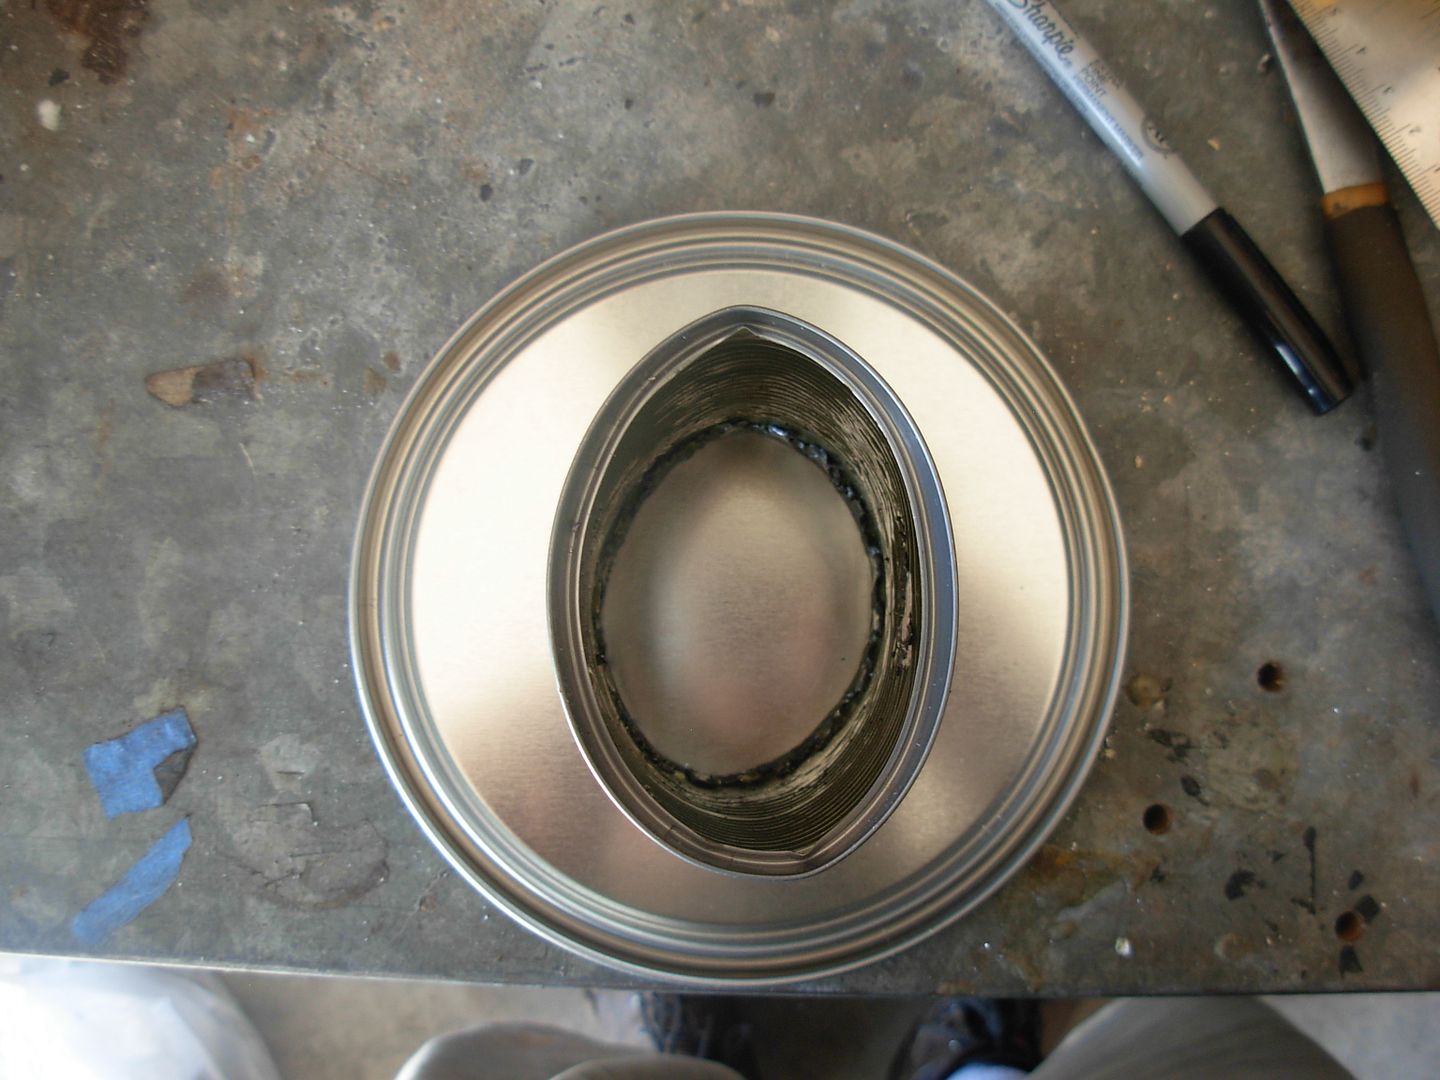
That all said I'm set-up right now for flatenning so I'll flatten my handle material also on some fresh 120 grit paper. Notice the shiny spots after sanding a bit. Nope it sure wasn't FLAT
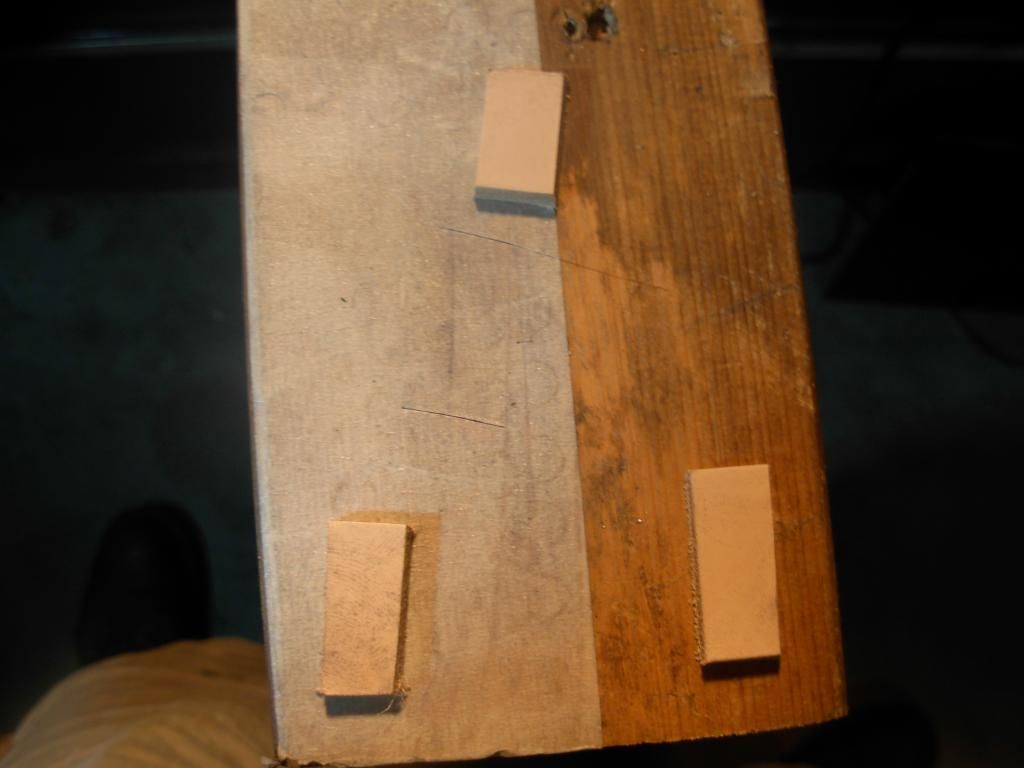
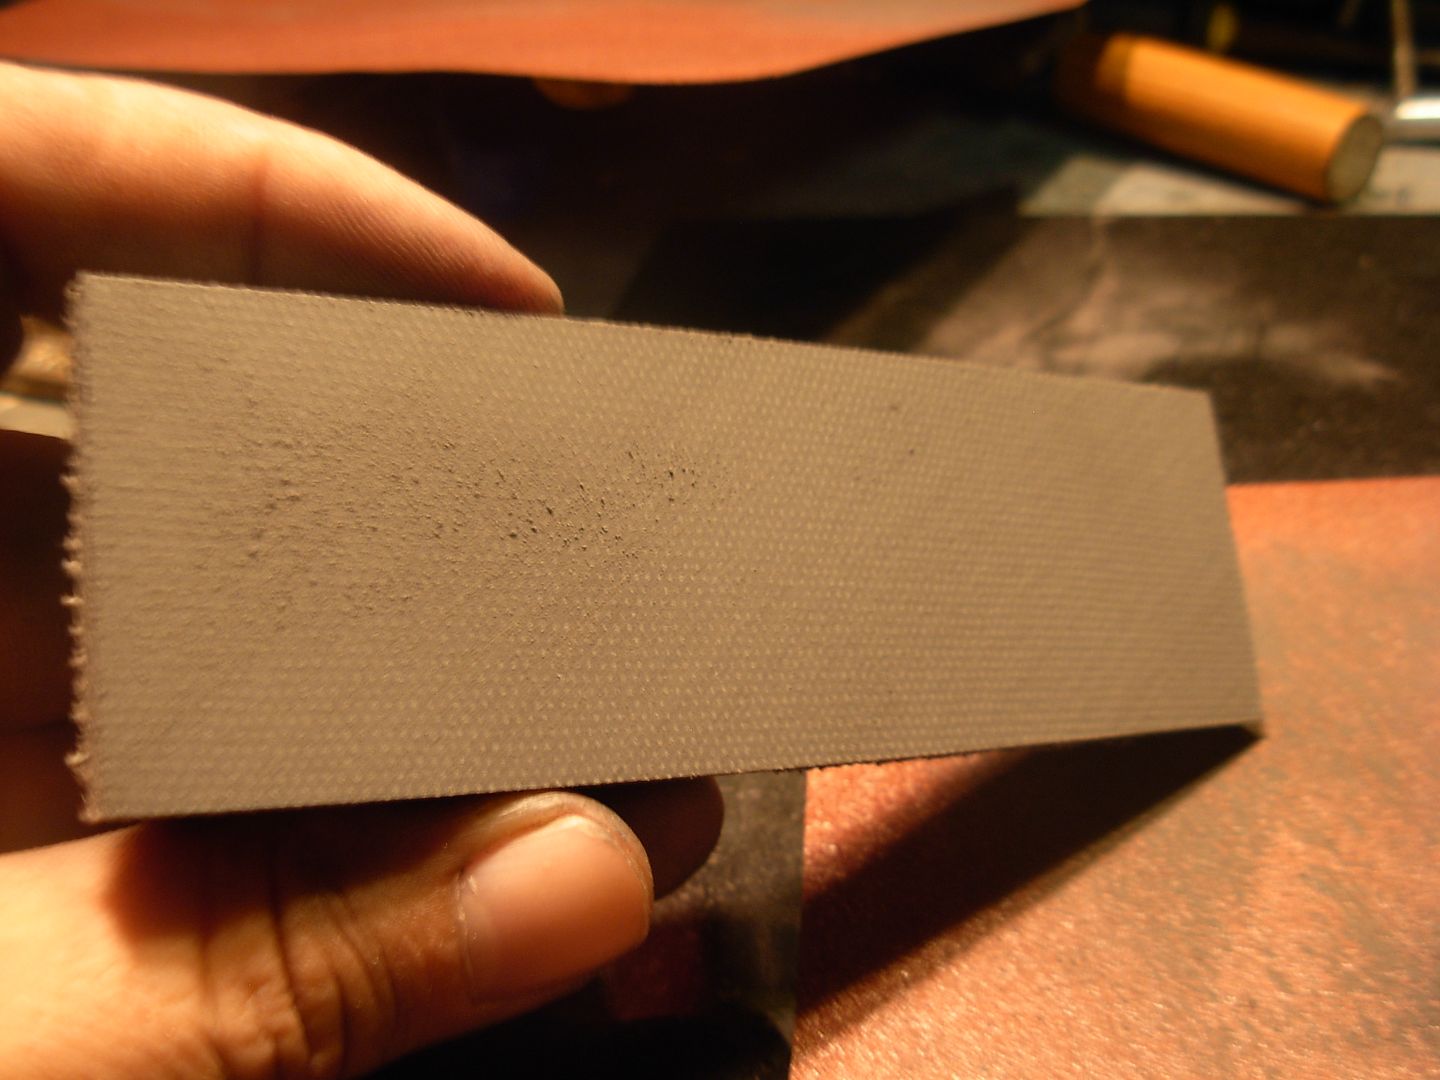
A couple minutes sanding and we've got what we're after
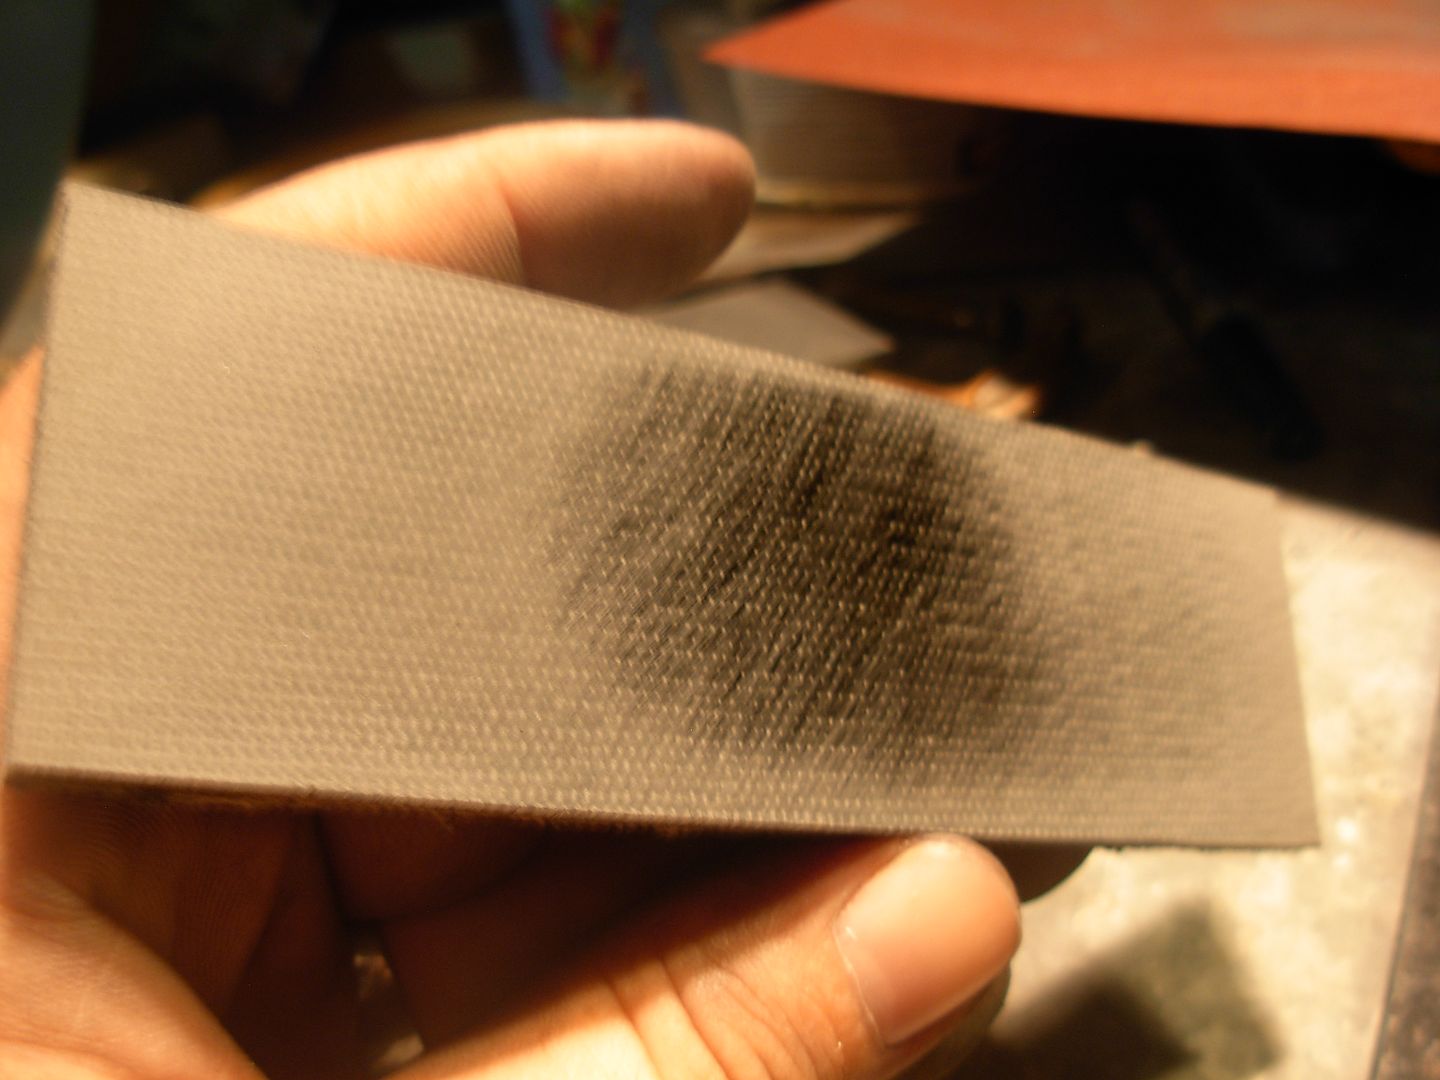
Maybe just maybe the other scale will be flat..... NOPE
NOW these scales are prepared for use on a knife handle
")
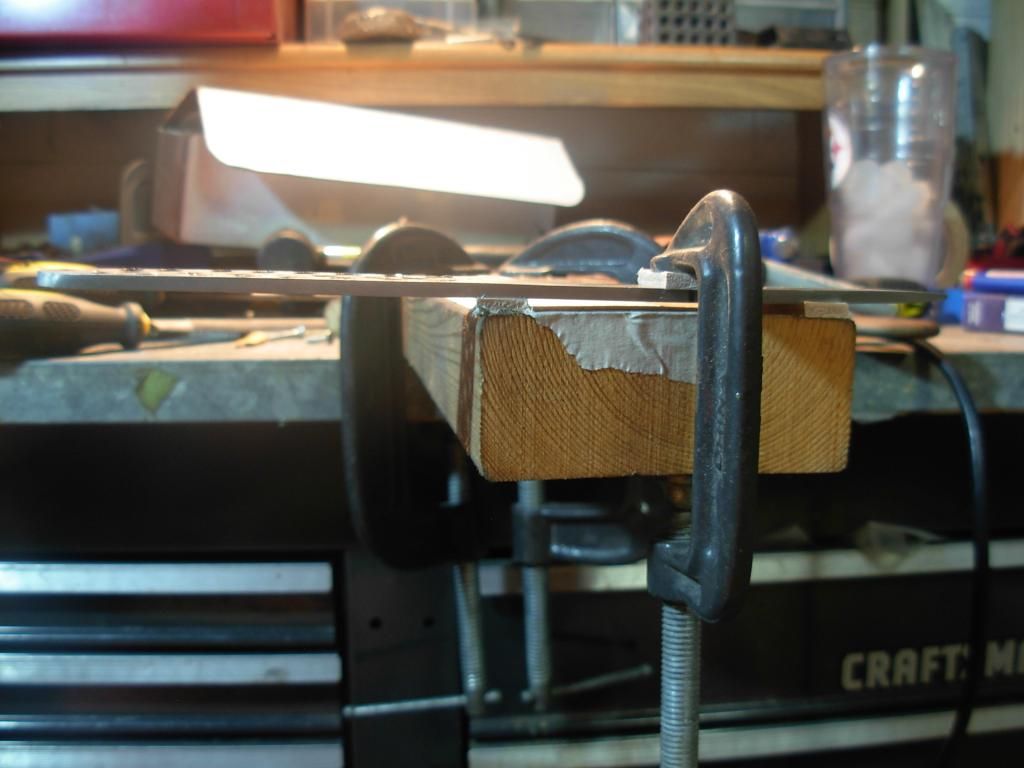
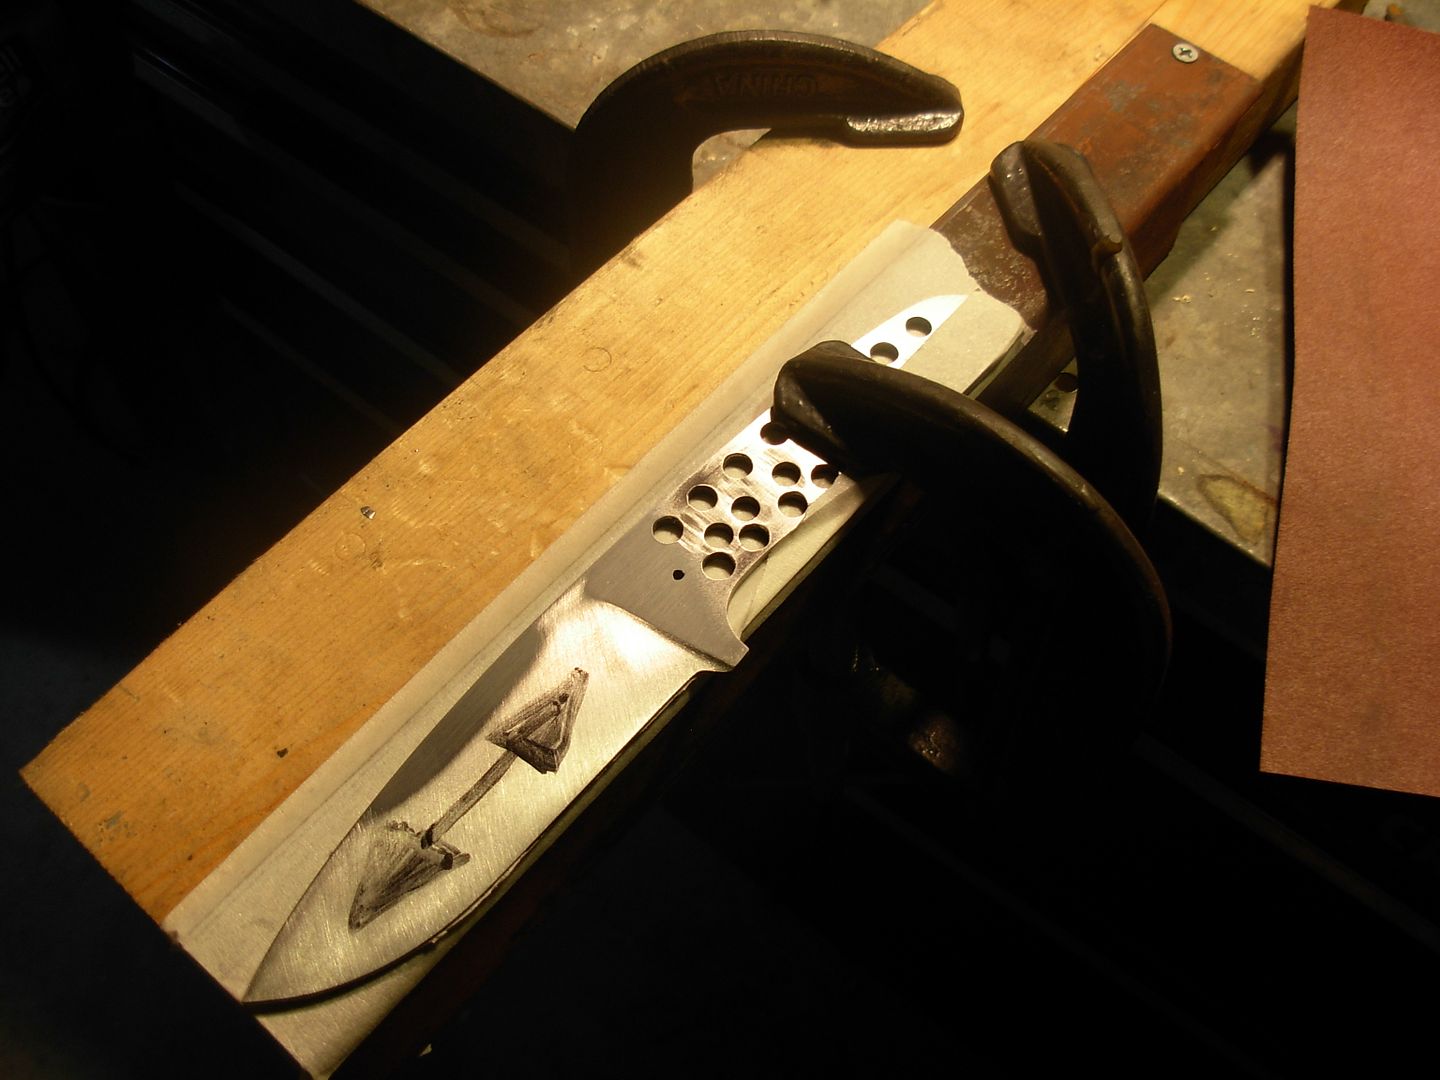
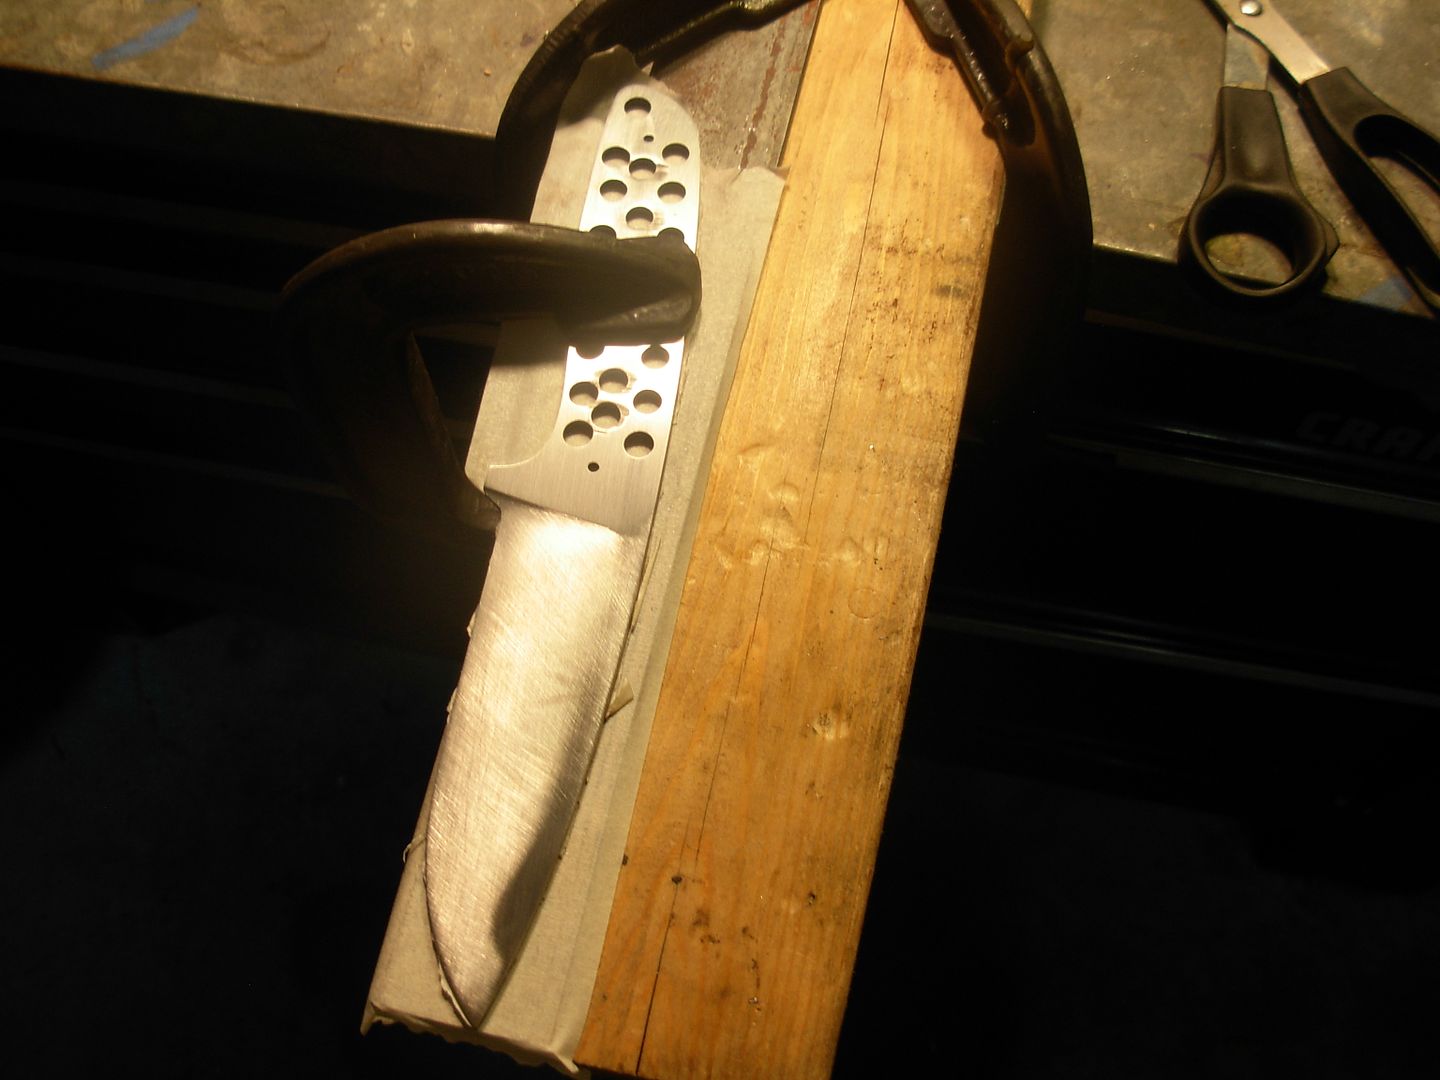
Now that we have everything straight and flat we want to keep it that way and we know that screwing down to the 2x4 is going to twist and bend our blade so we need something sturdier anf flatter for use in sanding our bevels. This angle iron should do the trick. It's just a section of an old bed frame that was going in the trash.
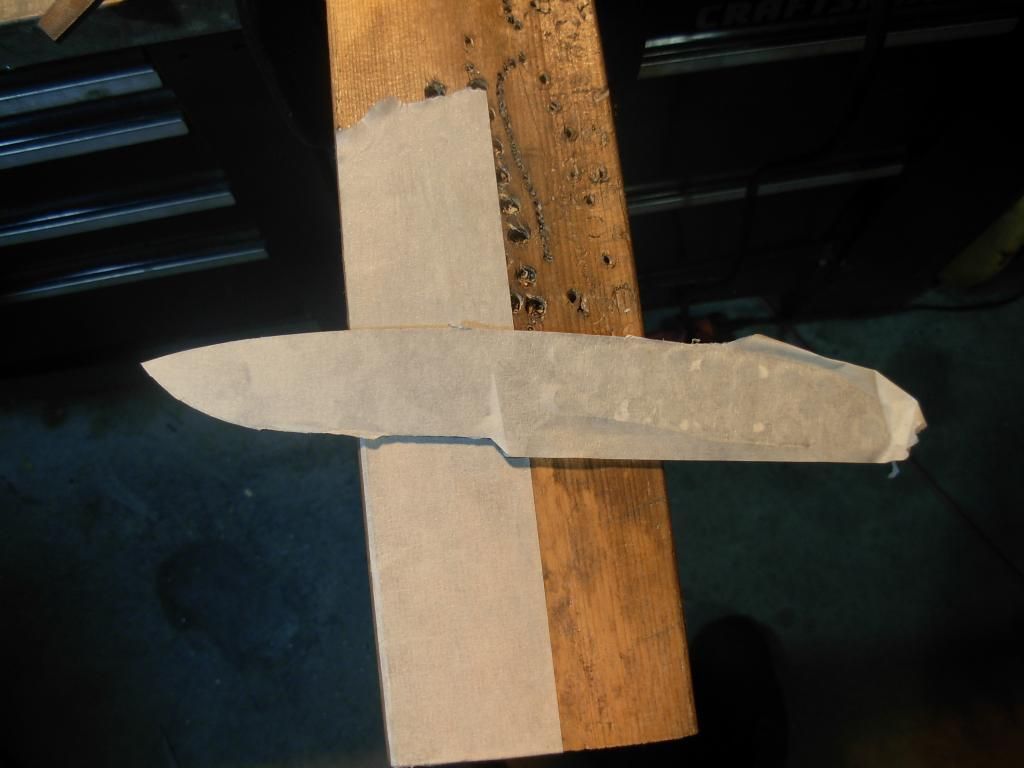
Tape on the blade. Tape on the angle iron. Blade clamped in place safely and ready to sand this bevel in preperation for heat treating.
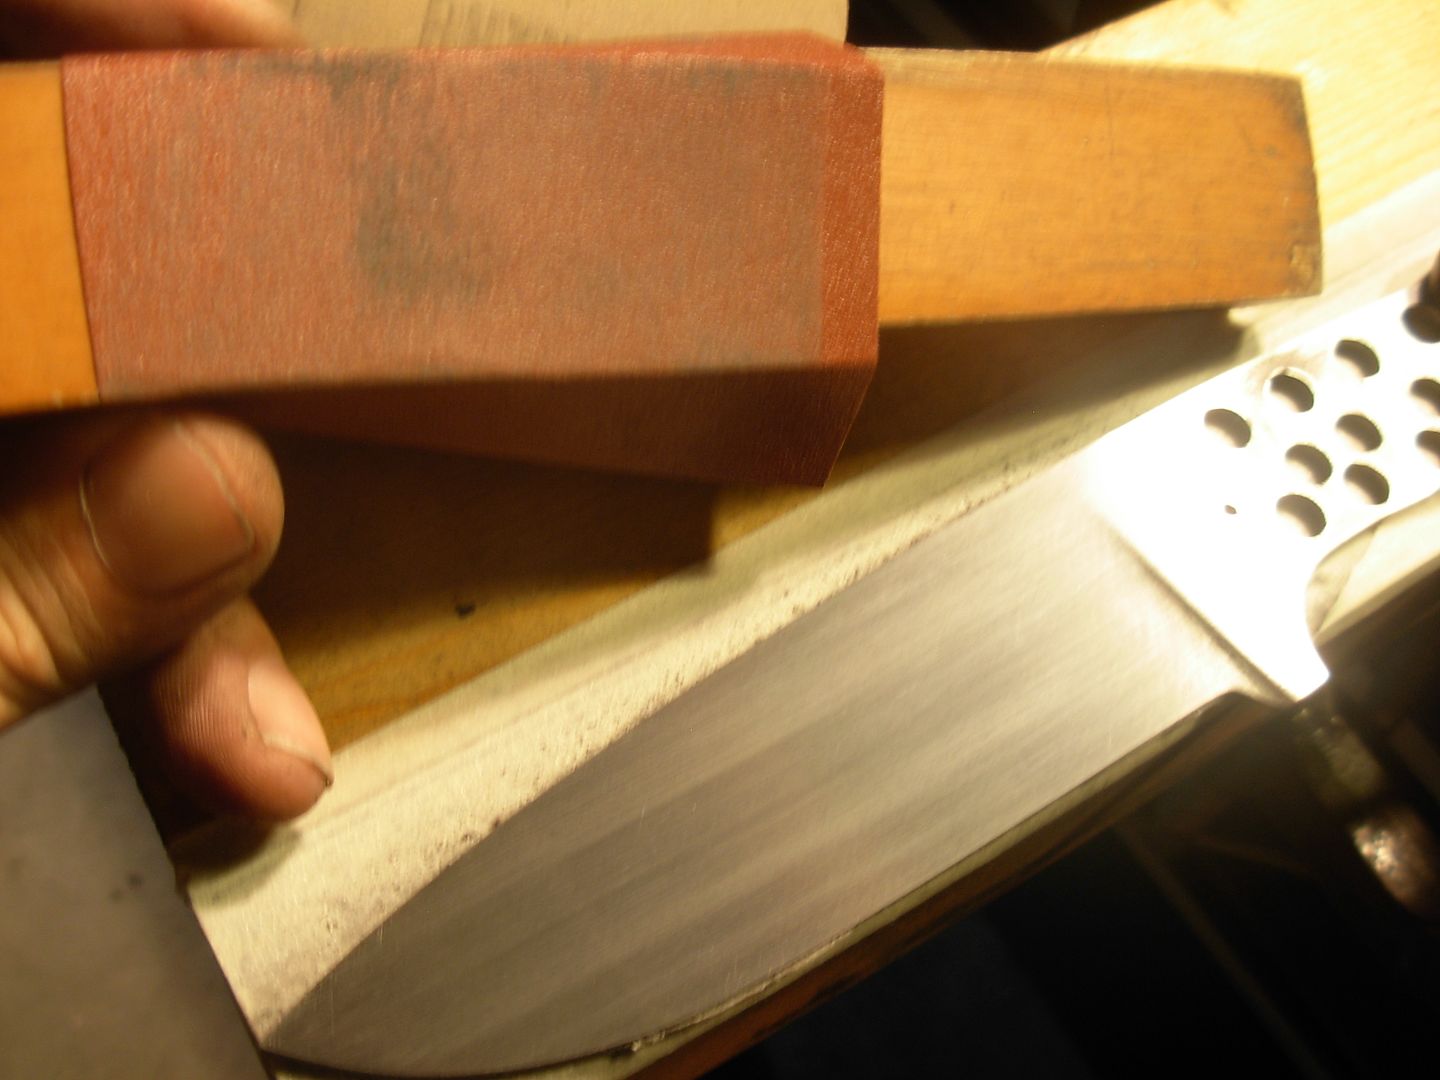
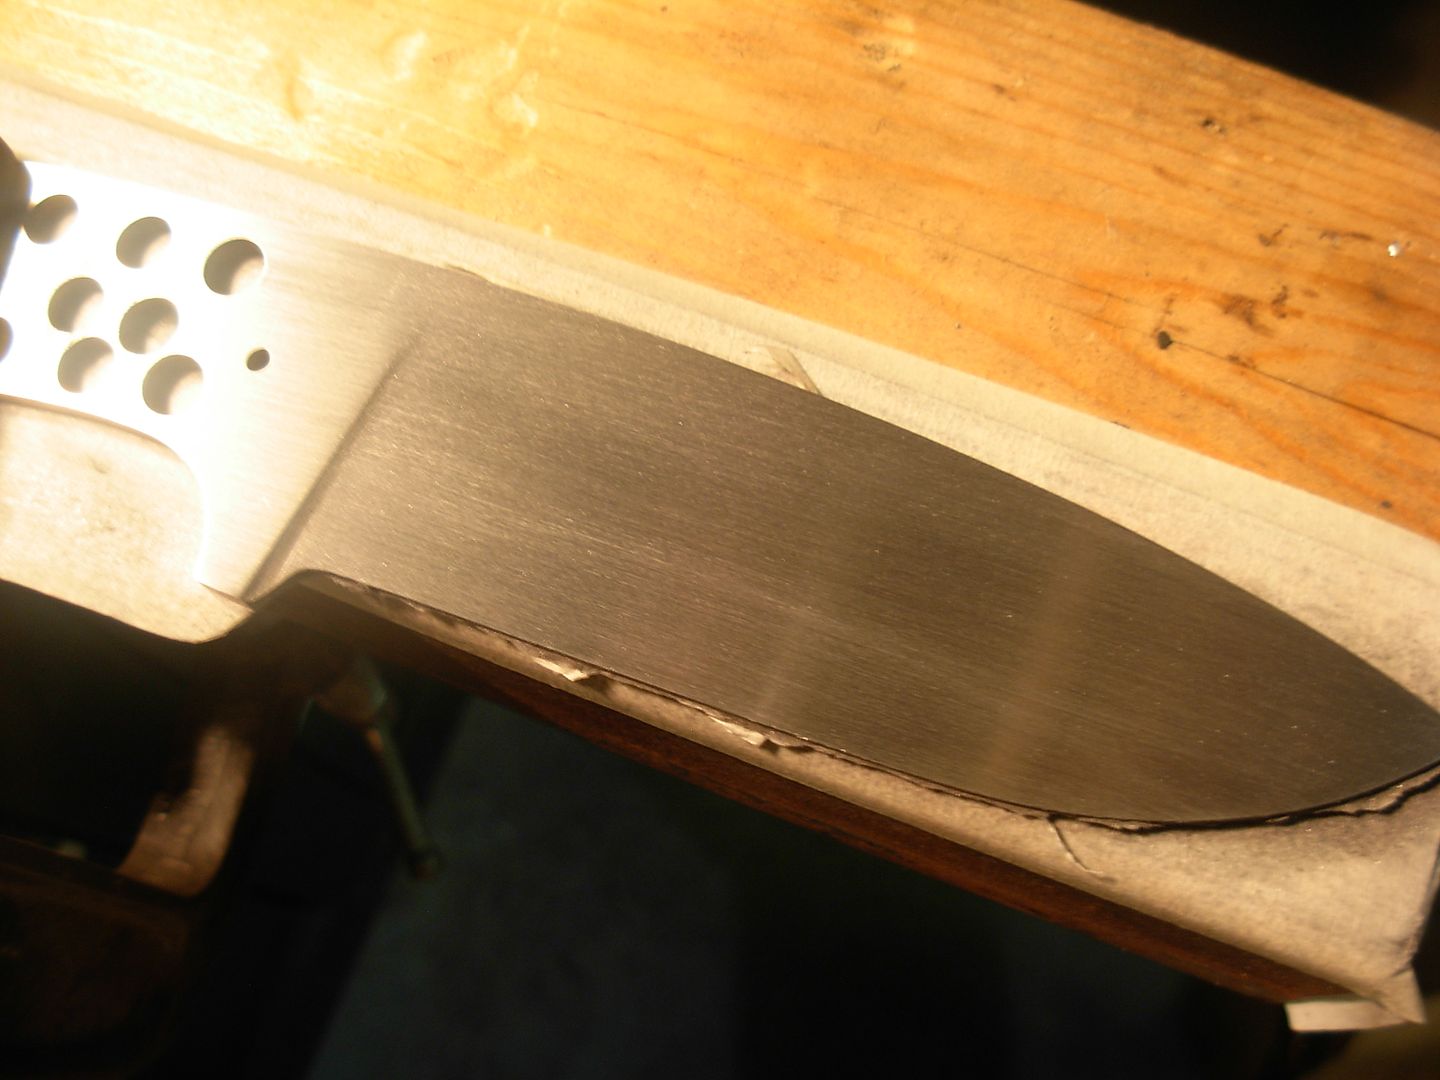
Compared to what we've already done this'll be a cinch. I'm nearly there with just this one little spot of 220 grit paper.
In this Pre Heat Treat stage we don't need to worry about how pretty our finish is. What we do want is to remove all traces of filing and 120 grit scratches and get our scratch pattern running in line with the length of the blade. In short... Scrub it out to 220 and get it done.
Done with this side. Getting into the plunge can be a little challenging. Don't be intimidated though just use the corner of your block to scrub right up into the plunge itself.
Un-tape everything then re-tape everything and move your set-up to the other side
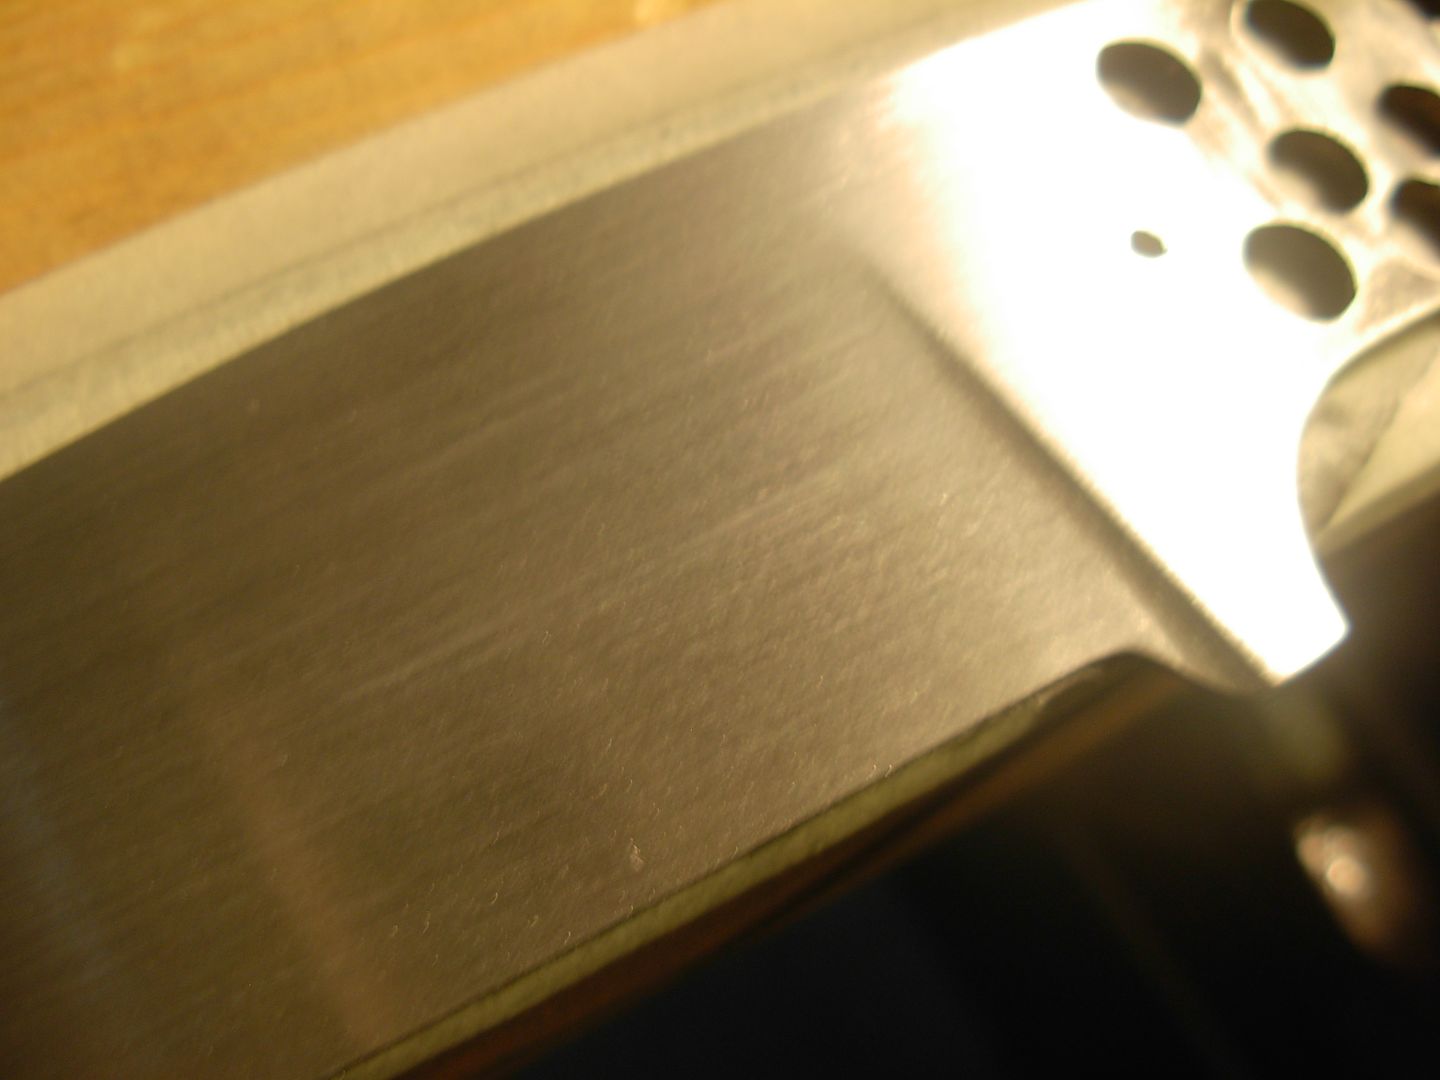
Scrub it out just like the first side
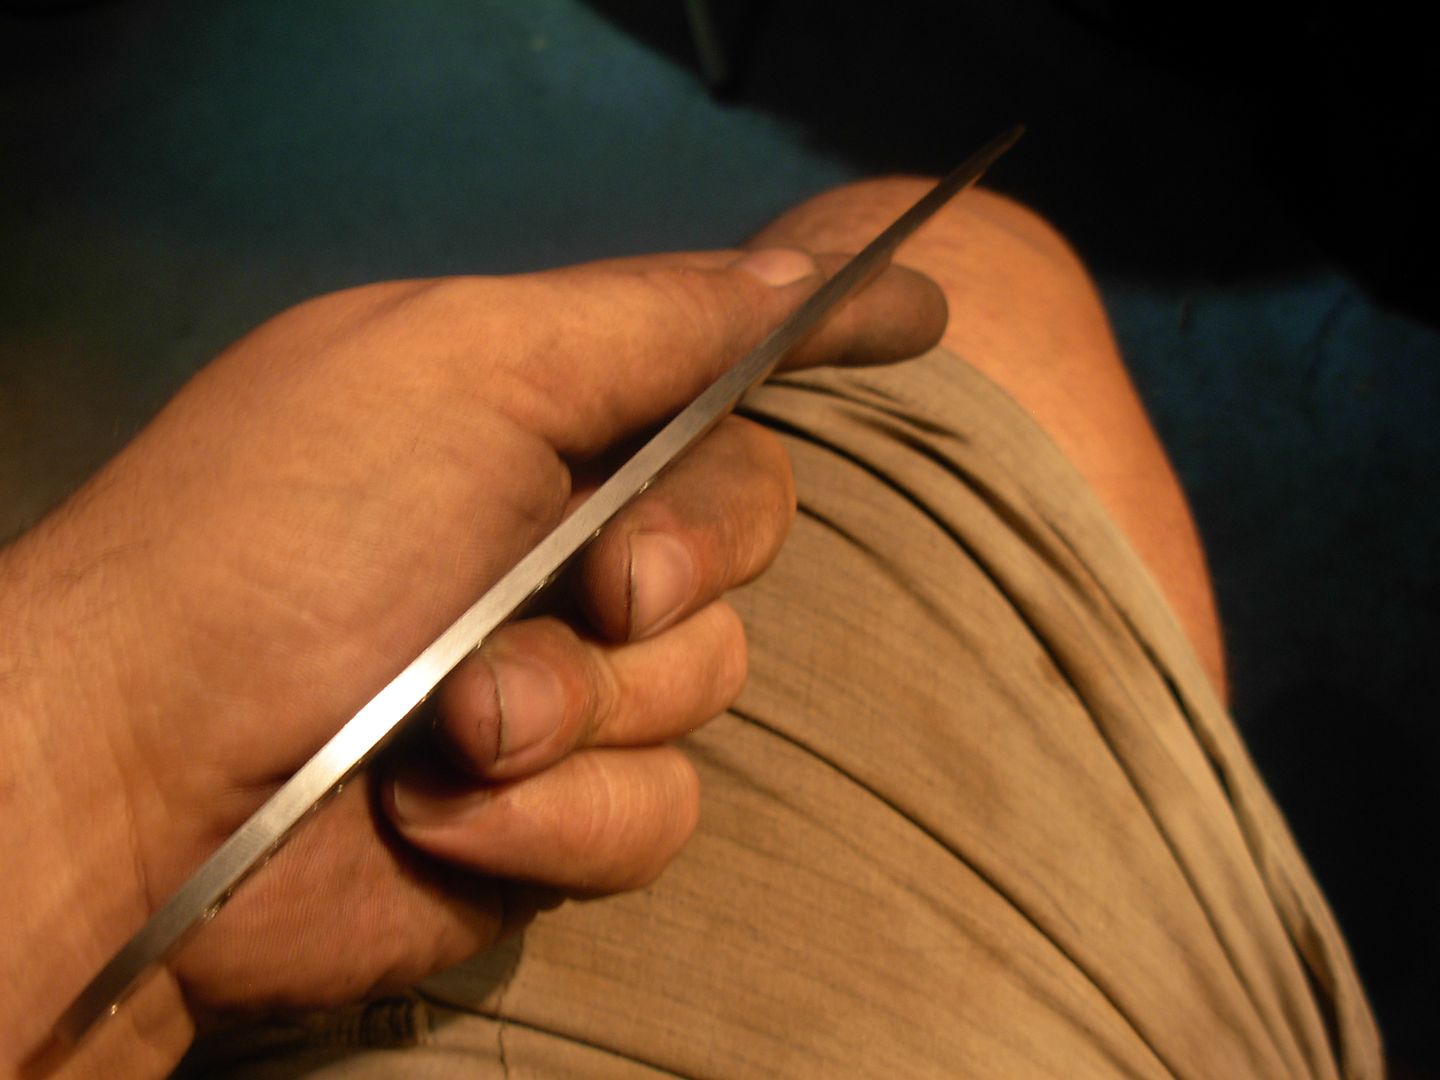
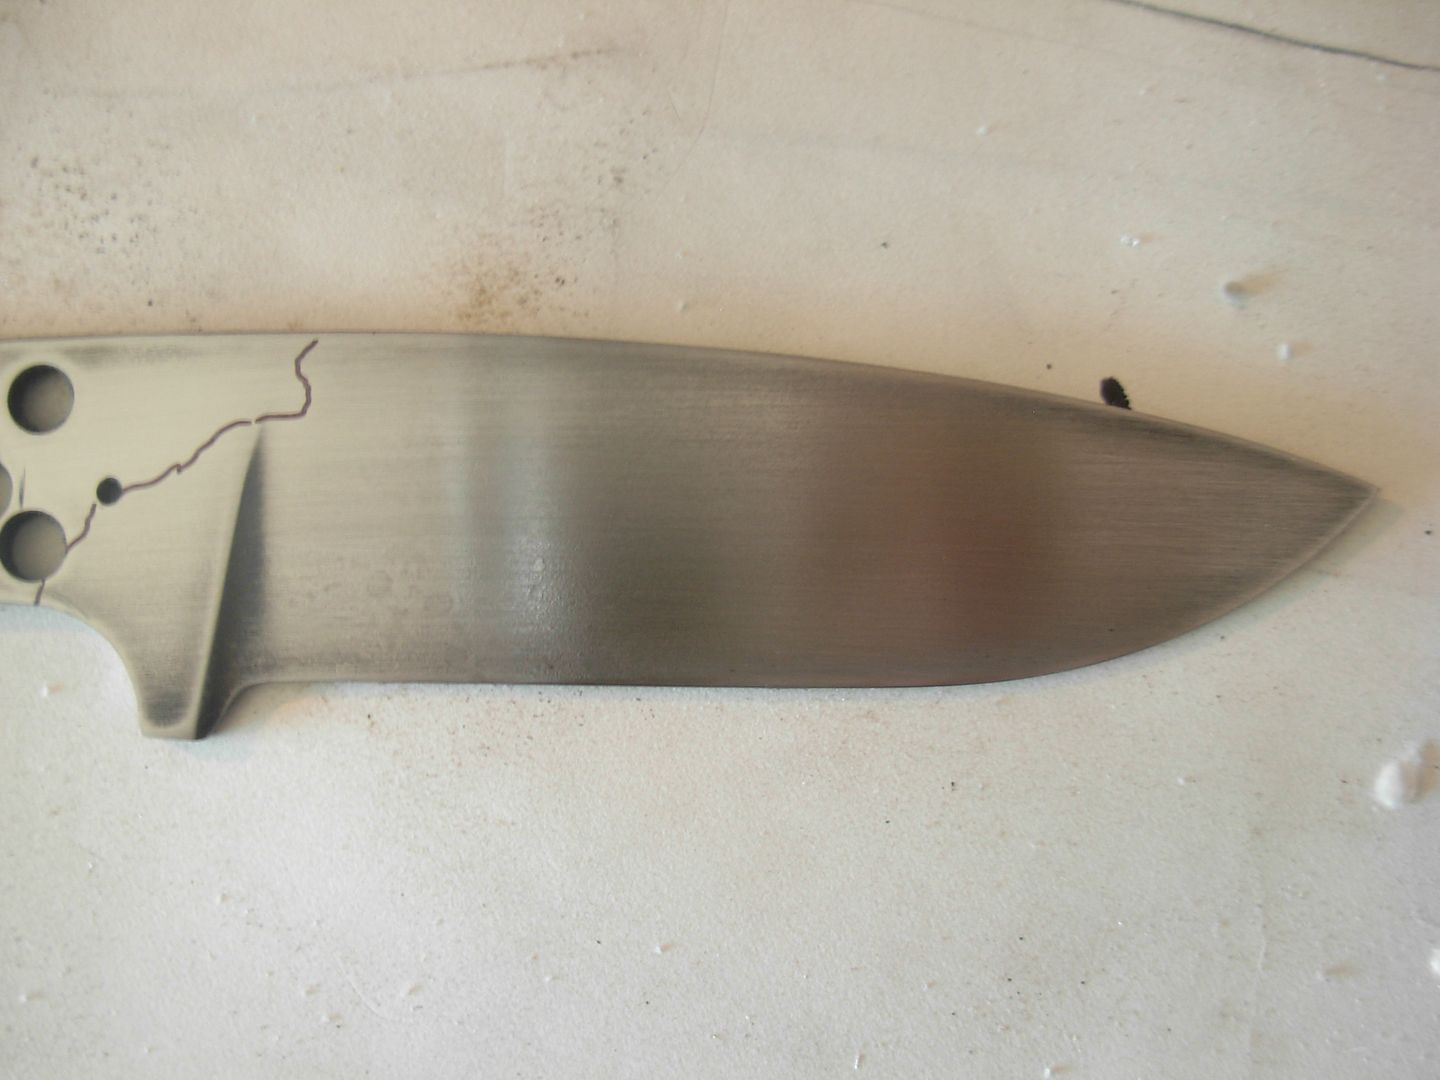
The final step in Stage #1 is to sand the profile with 220 grit paper in line with the length of the blade. Just hold the blade in hand and scrub it out. The goal here is to have ZERO corse scratches or file marks left on the profile and ZERO scratches running across the profile. Everything nice and smooth and running in line with the blade.
If you are following this tutorial and reach this point with your blade......
Congratulations
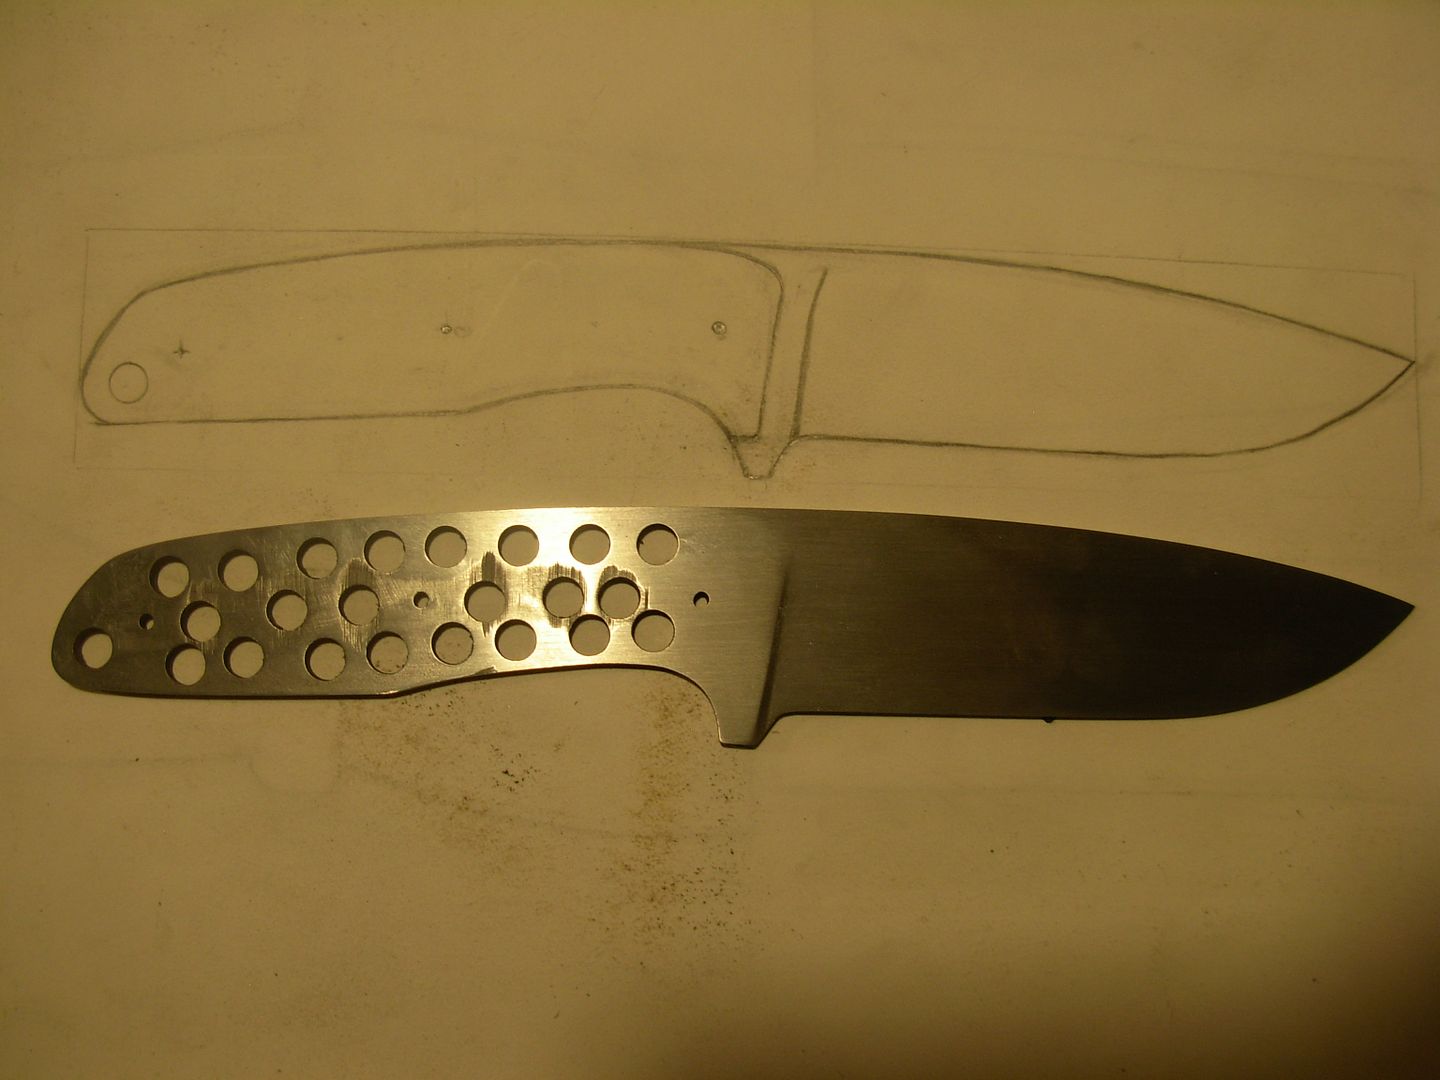
You have officially completed Stage #1 of making your first knife !
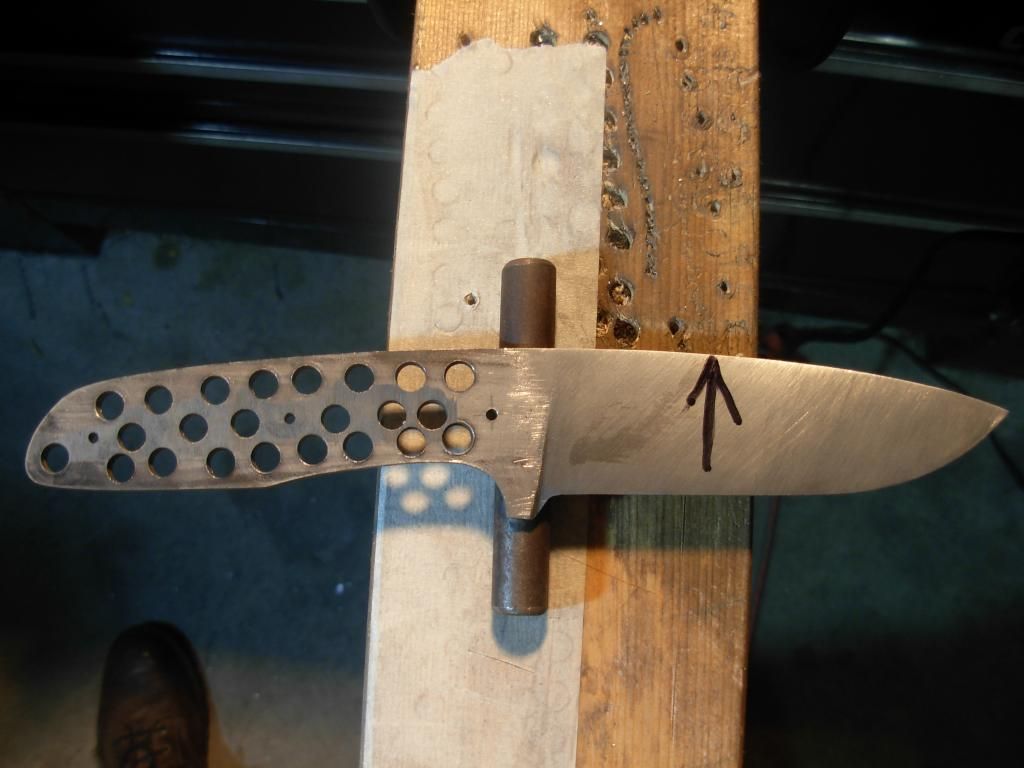
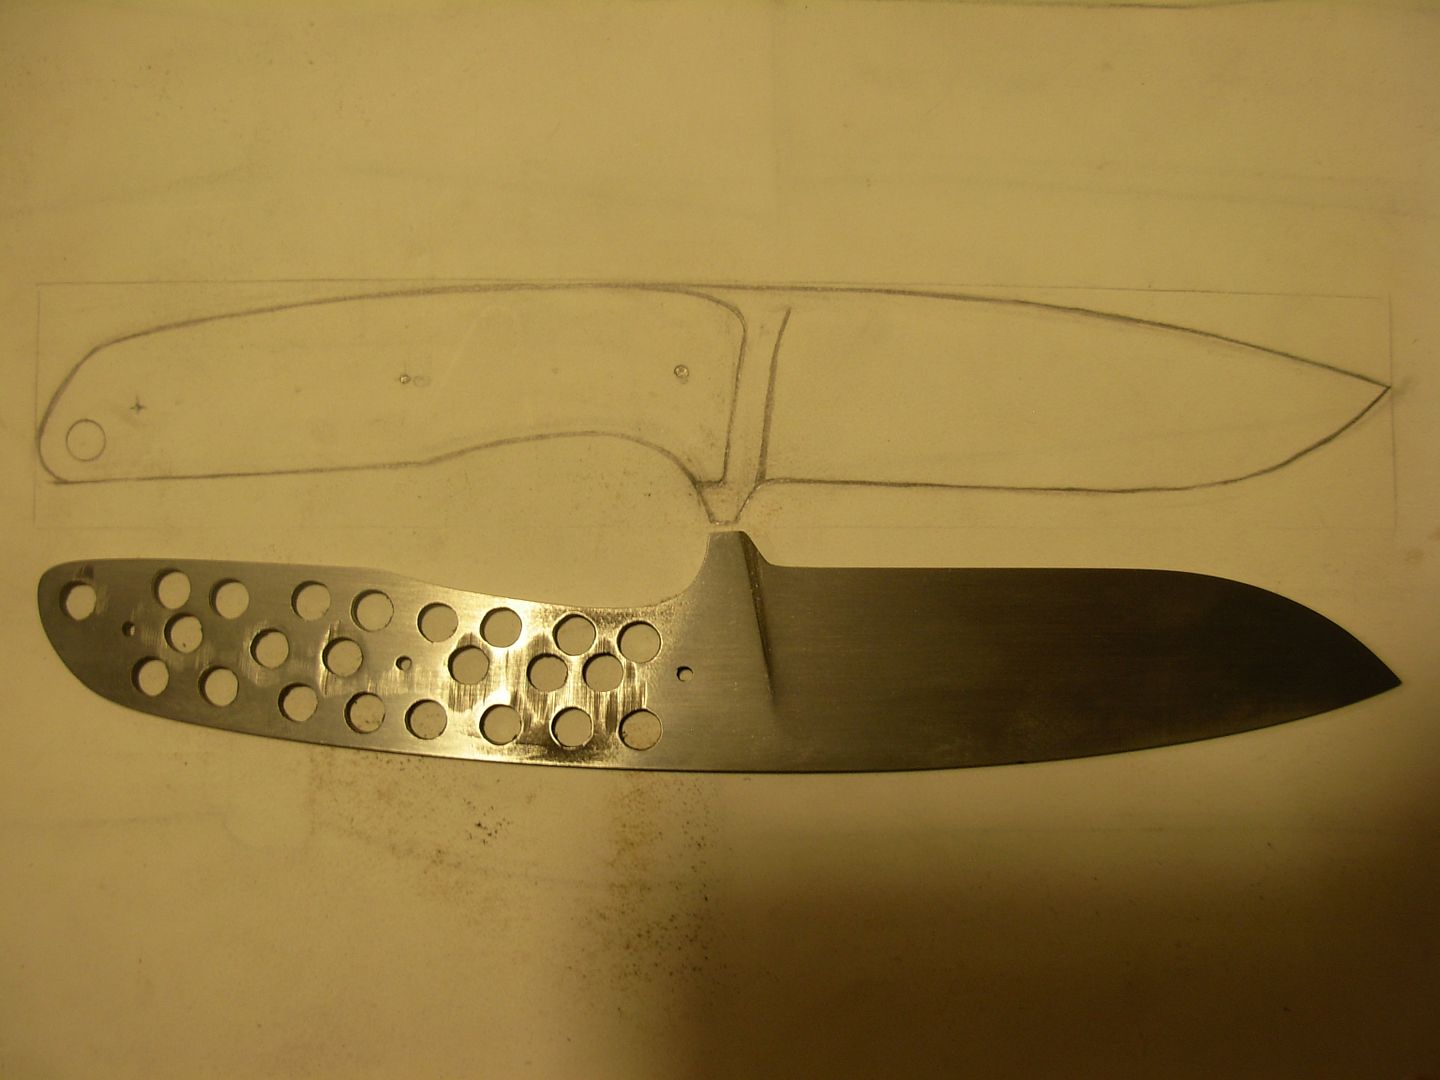
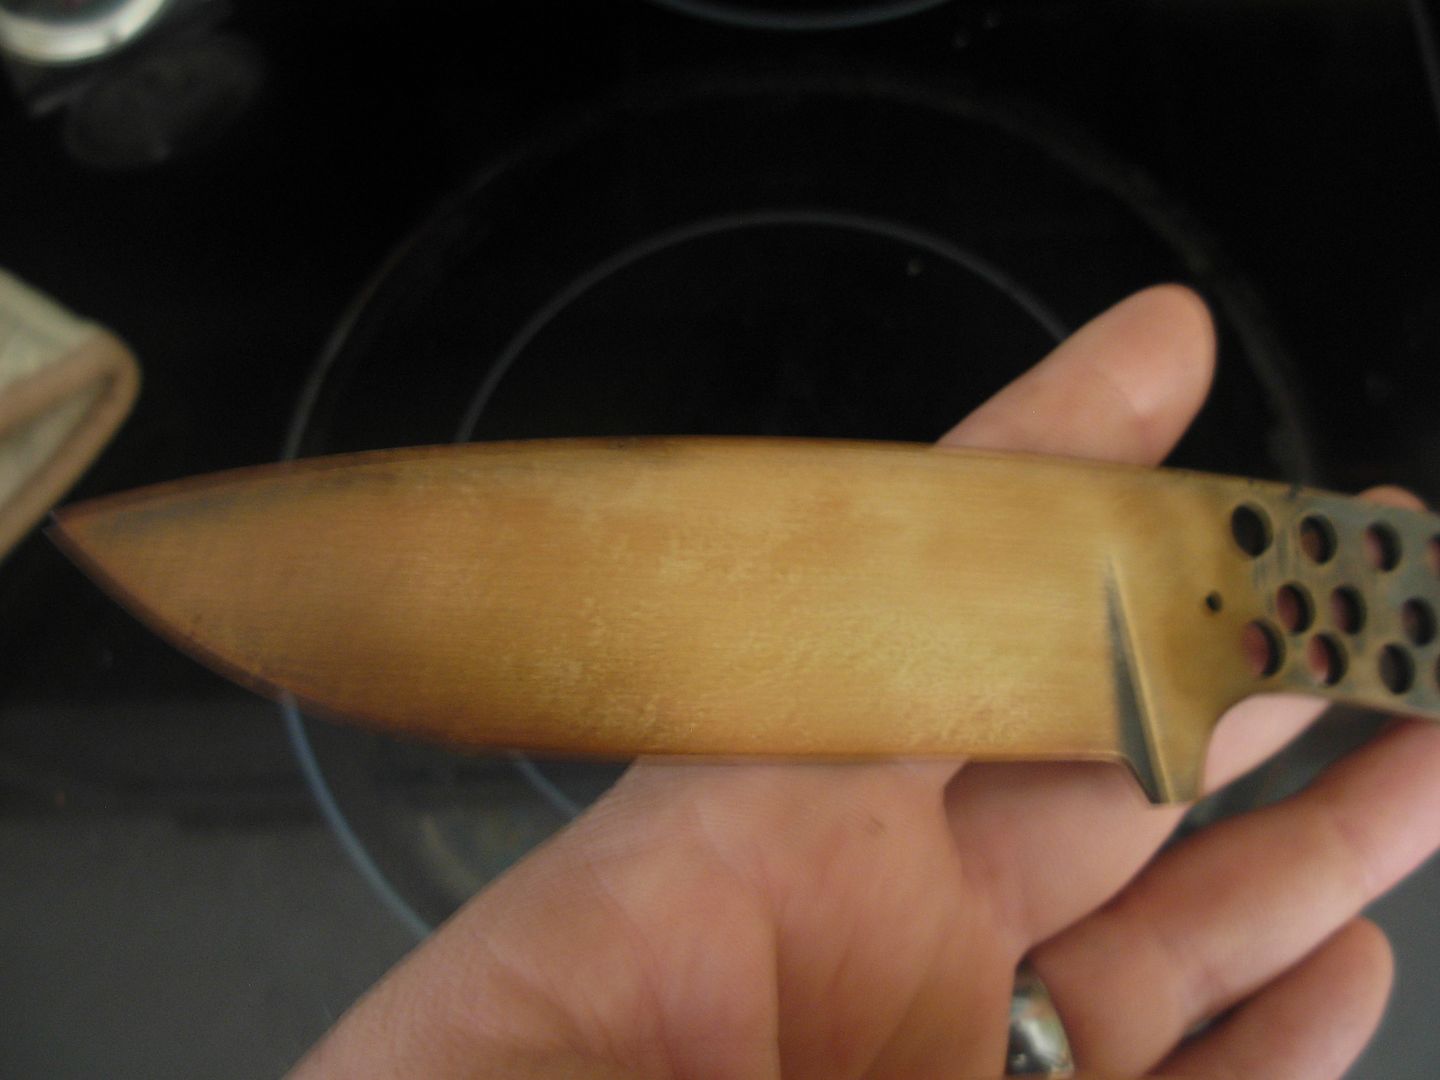
Now you should be patting yourself on the back for a job well done and comparing our blade to our plan to self asses our progress.
-Josh